Well that seemed to work so I'll plough on regardless!
Up next was the monitors as I figured even if I progress no further it will at least look like I have RSE fitted to the untrained eye!

My car has Audi Exclusive Poplar Brown Silver wood trim which might prove impossible to get hold of used pre-cut for the monitors and/or elusive & expensive if purchasing new. Looking around I have seen prices of £500
per piece banded about on the Internet so I figured I have nothing to lose by hacking at it myself as a first attempt. If I mess it up then I will have to buy the trim but if I don't then I just might have saved myself @£1000

Working in my favour is the cut doesn't have to be exact nor neat as it will be completely covered by the lower front plastic trim although my OCD would punish me relentlessly if it was a poor cut
")
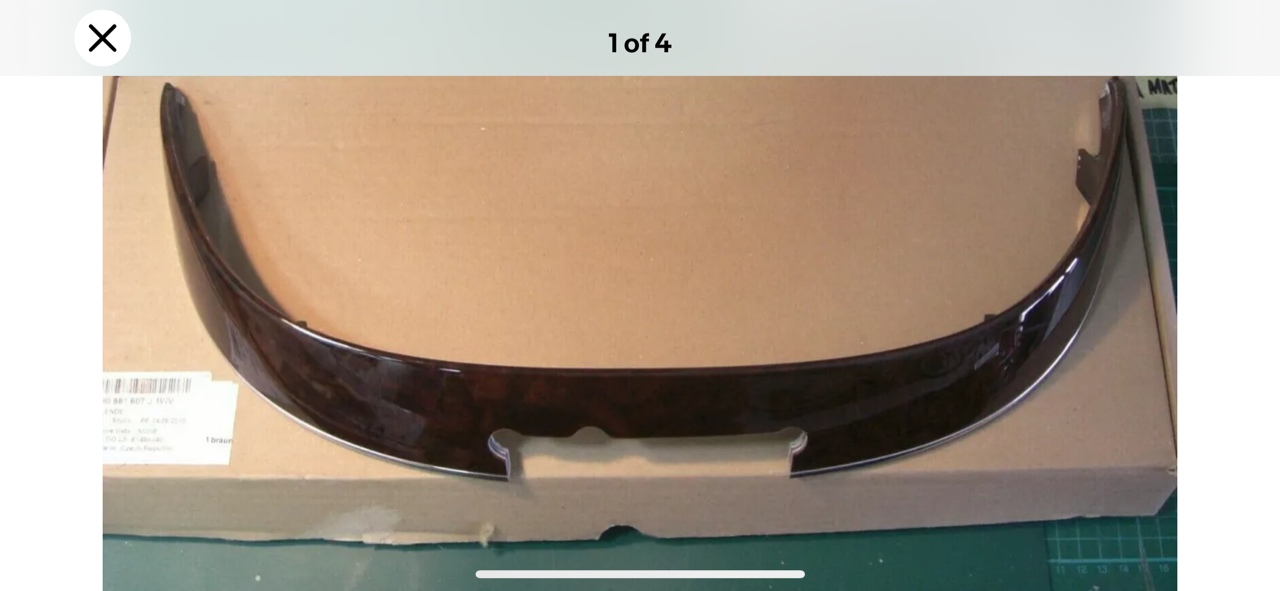
So looking at the bracket on the bottom of the monitor I figured a simple rectangular slot would suffice instead of the intricate shape shown on this photo of an original RSE seat trim from eBay;
I was more concerned at this stage of making a straight & level cut but needn't have worried as I just followed the inside edge of the plastic chrome trim on the long cut with a Dremel which was just the right depth. I found it easier to use a junior hacksaw to cut the two small uprights;

 Finished cut...or so I thought
Turns out I didn't need the two 4H0 885 153 monitor brackets supplied with the kit as the aluminium monitor bracket already fitted to the monitors is designed to fit into the existing bracket in the seat back. It nicely slots in place and will hold its own weight even before you put the two 6mm bolts in to secure it which gives added strength because I do worry that unruly rear seat passengers might grab hold of the monitor to help extract themselves from the back of the car!


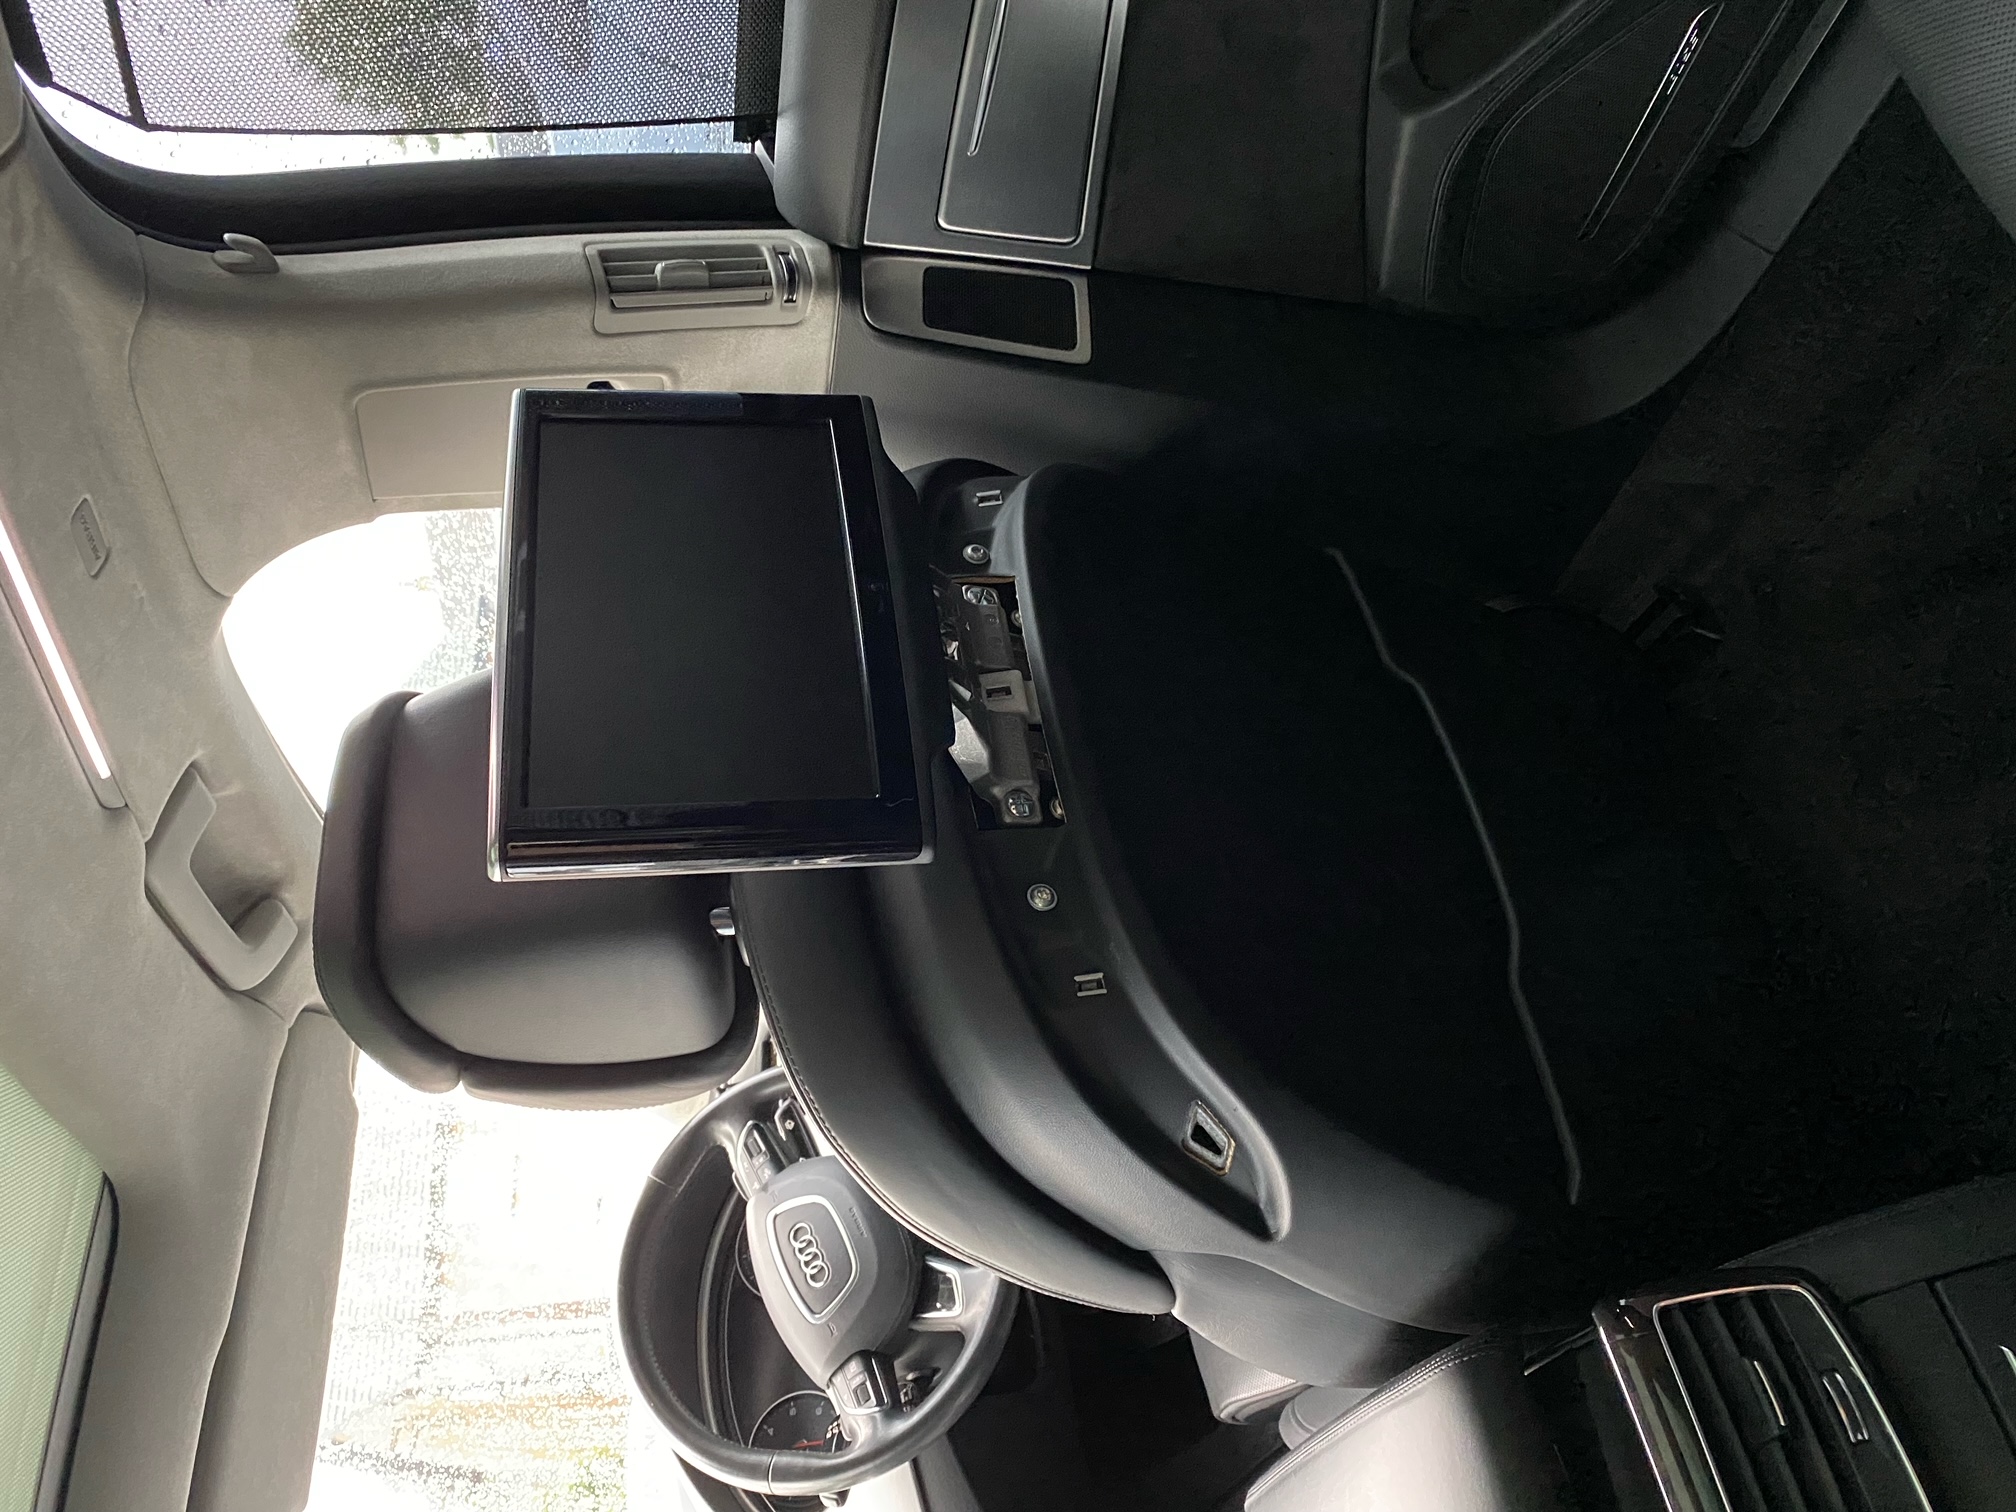
And if anyone wonders what the inside of the seat looks like if you undo those two T30 Torx screws and lift the back up & away then brace yourselves;

Next on with the wooden trim;

Jobs a good 'un I thought and then went to fit the plastic monitor trim to cover up my carefully cut slot but the lower trim wouldn't fit into place no matter what I tried.
On closer inspection it was found that the two plastic legs on the bottom of the trim were impacting on it preventing it fitting down into place.
Now I realise why the eBay photo has those rounded holes opened up in the corners. Bugger...ah well off with the wood trim again awaiting another visit from Mr. Dremel;
 Now I should have a finished cut
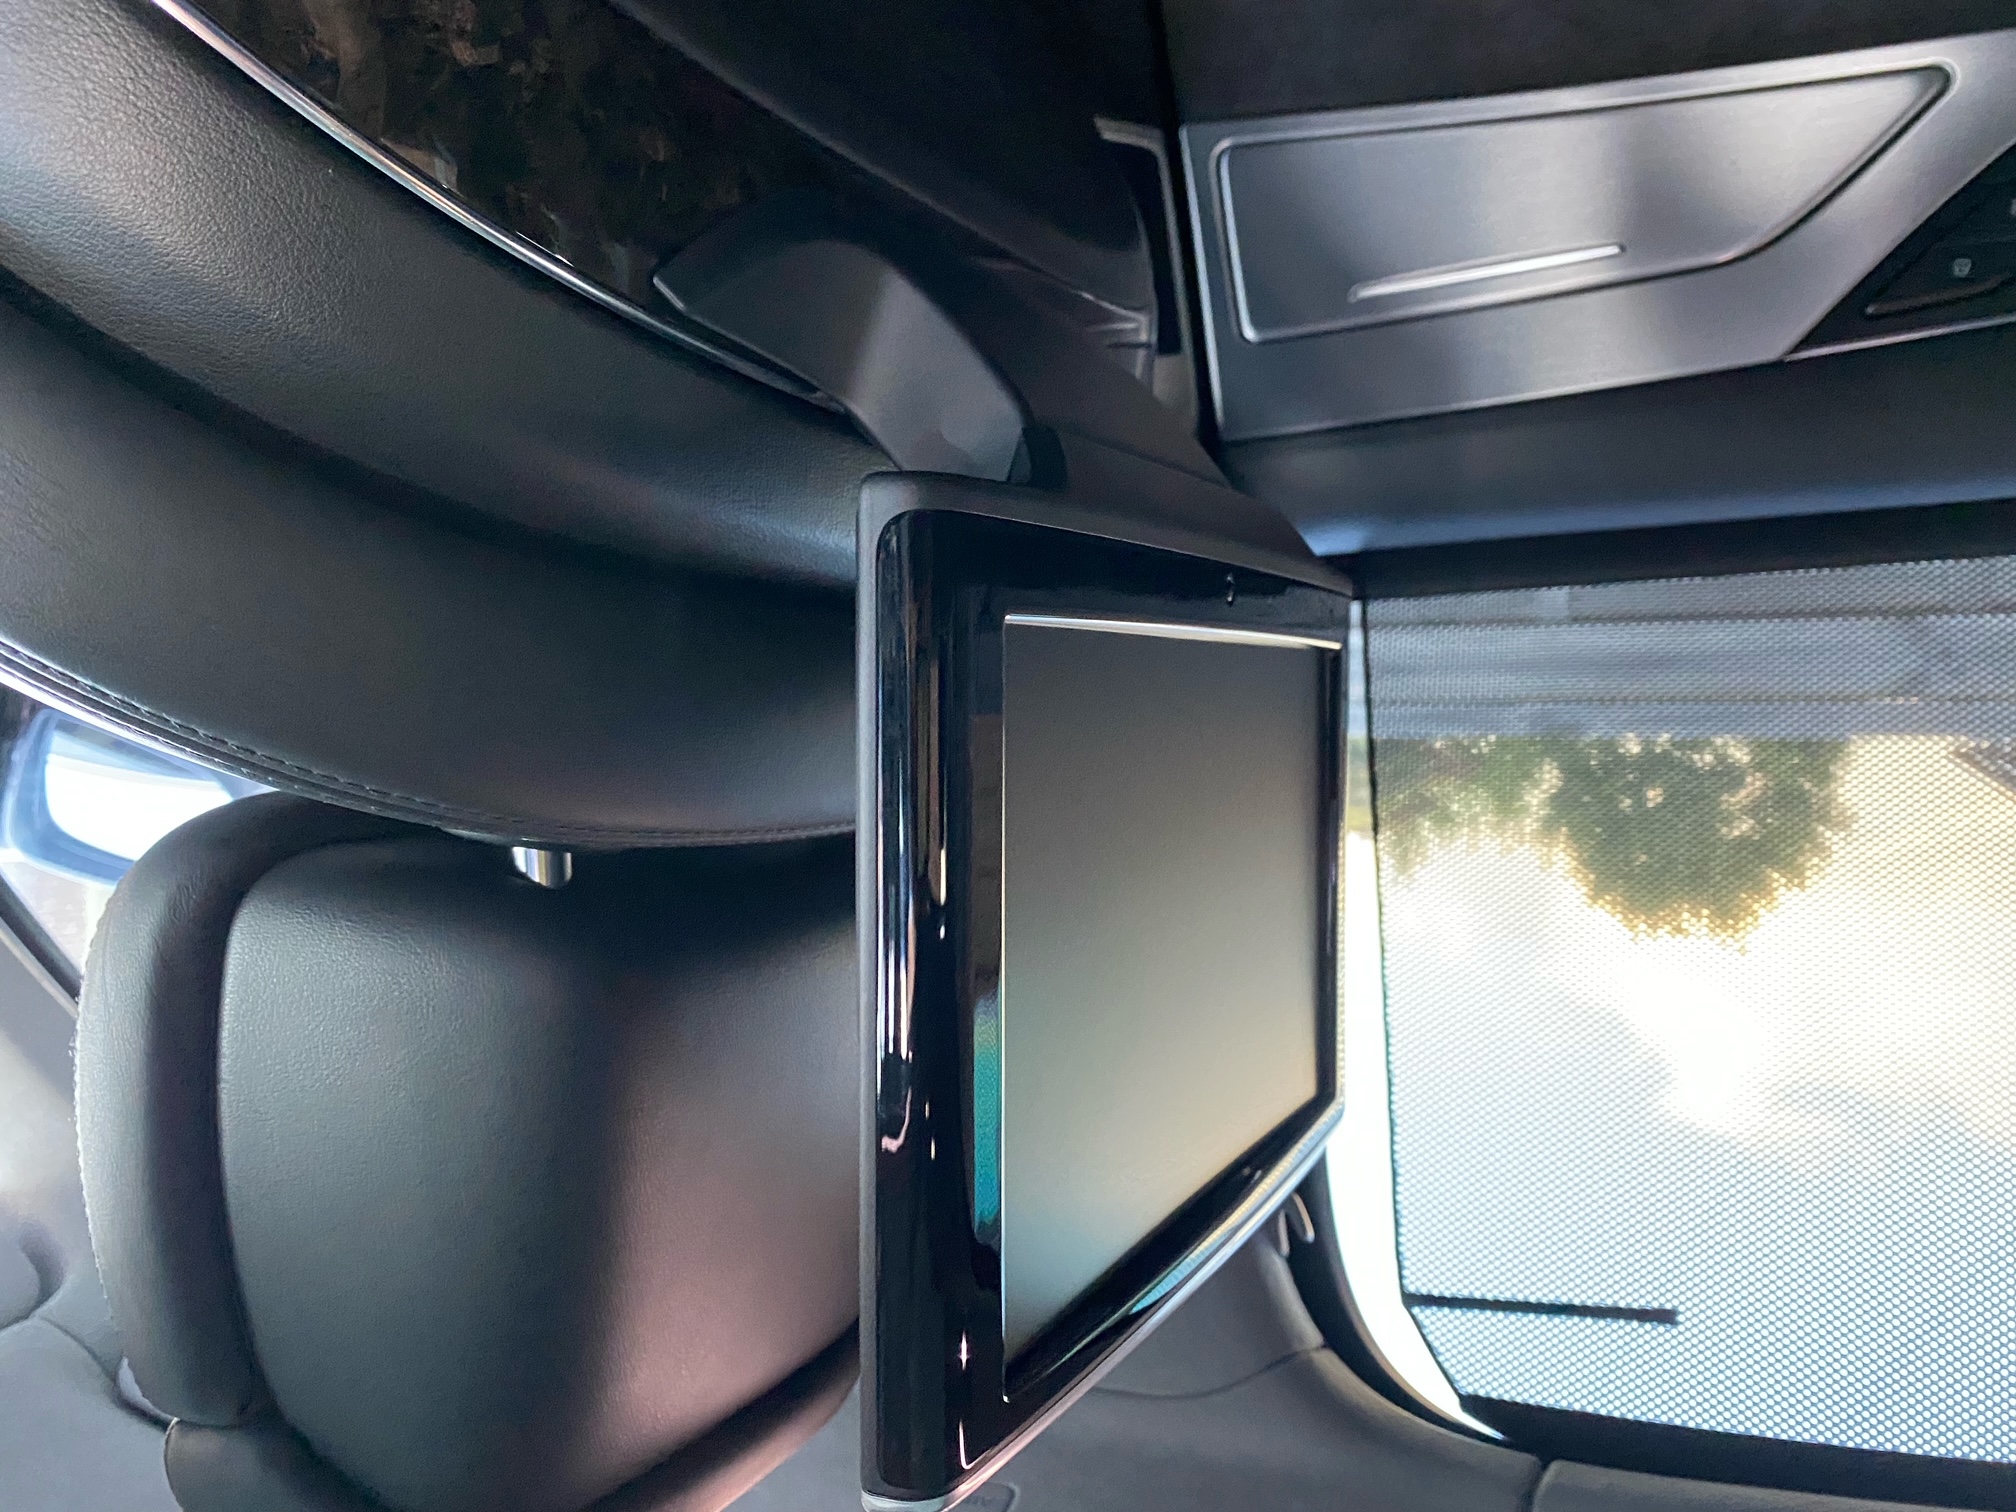
 Close up showing the legs on the trim now allowing the trim to sit low enough to clip into position. I have to say the thought of taking the easy way out and just cut the legs off did cross my mind


Looking good so far...to be continued

-=Glyn=-