Apologies all, for the lack of updates. I have a habit of pressing 'preview' instead of 'submit' which, followed by a few late nights to finish the car off meant I got a bit behind
")
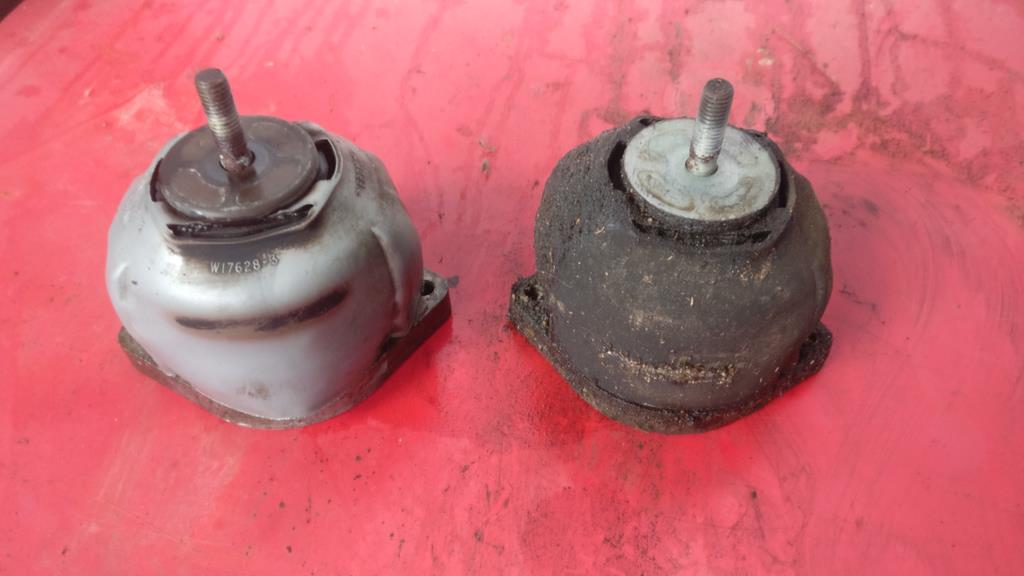
Clean gearbox mounts probably don't make the car run any better, but they do make it nicer to work on

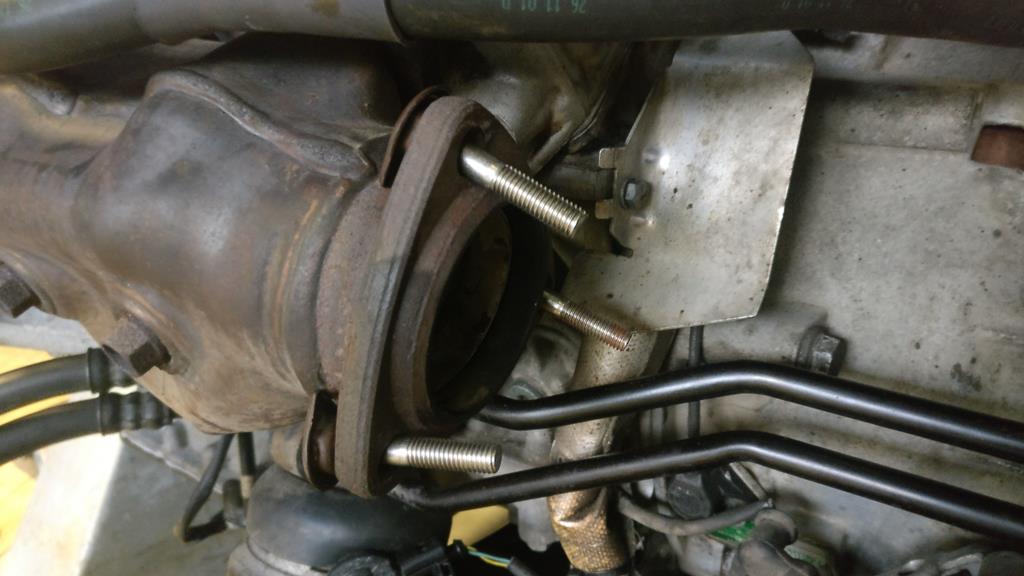
Exhaust manifold bolts replaced with stainless
Engine back in

The subframe locating pins mean that I haven't lost any of the front wheel alignment which was done in phase 1 of the project, as I set the subframe with these before that was done.
The right hand cam belt cover was cracked and I don't have a spare so this was repaired with specialist adhesive. These covers are nylon which is very difficult to glue as it has low surface energy so traditional adhesives don't stick to it.
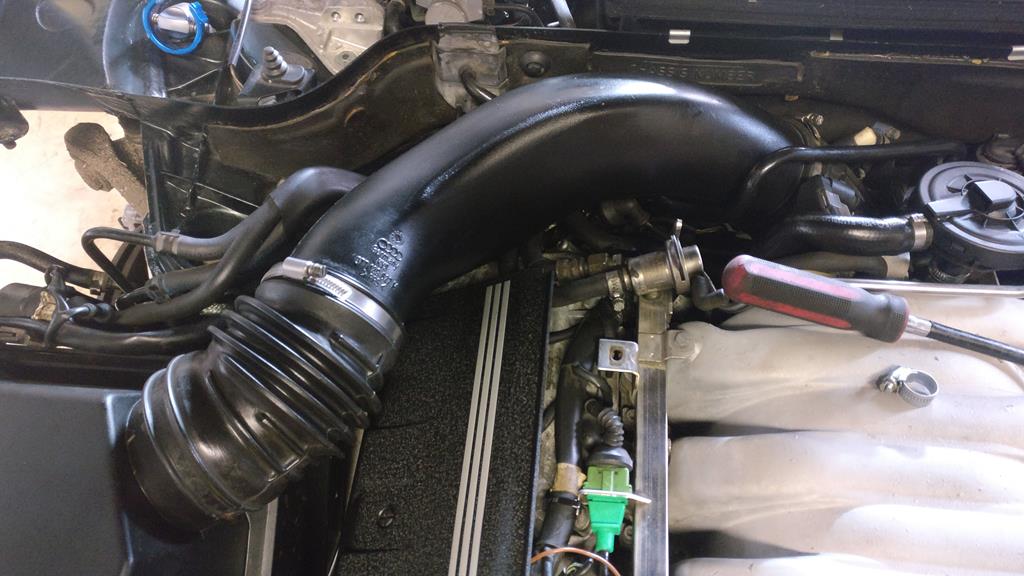
This was a bit of an April Fool's trick on me! I spent a good 5 minutes trying to work out why the intake tube wouldn't sit right before I discovered it was previously on backwards

Speaking to Ricky later it turns out he did this while replacing something else, and tbf if you're not that familiar with this area its an easy mistake to make since the ends of the tube are in the same place regardless of which way round it goes.
The coolant breather hose was repaired with a brass tee piece. I might do them all like this tbh as this is much more robust than 20 year old plastic.

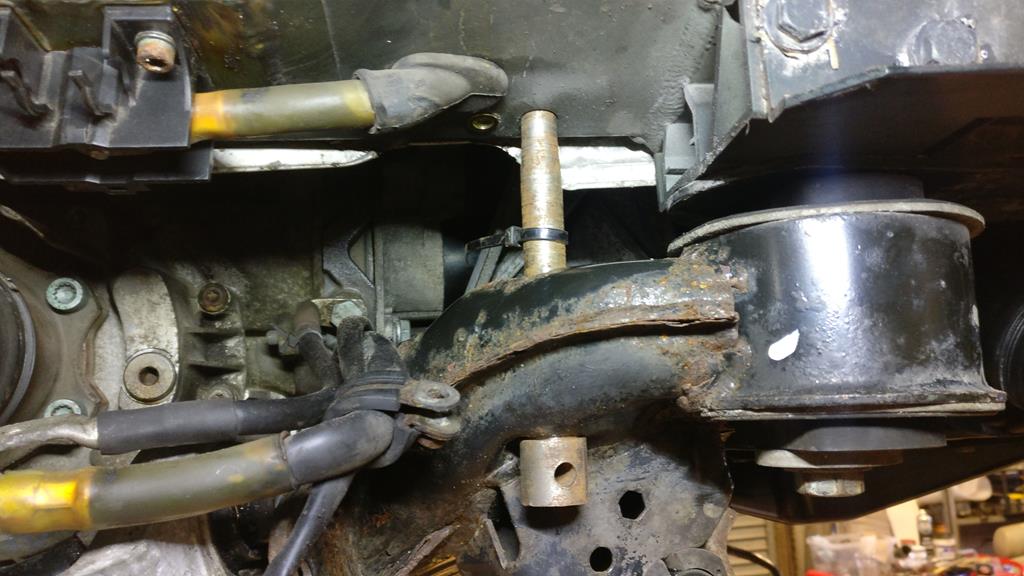
New front snub mount in place. This one originally had two 2mm shims under the bracket, but needed my last 1.5mm shim to sit flush with the new mount. I'll need to get some new ones laser cut for future projects.

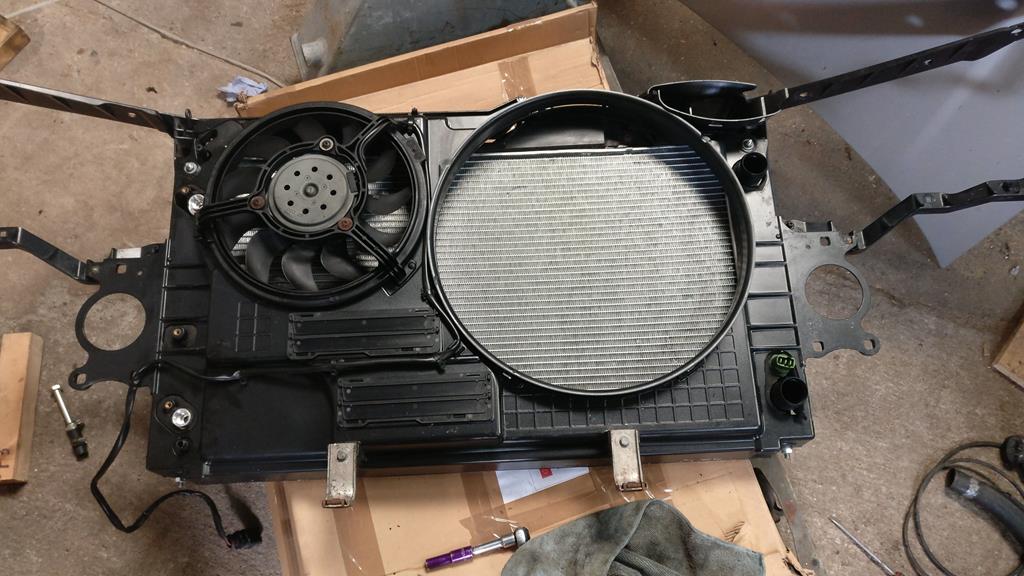
This single picture represents a full day's work!

This is a new radiator attached to a replacement front panel, with the headlight surrounds, fan, and other paraphenalia rescued from the original panel which is a lot more work than it sounds. I've used modified aftermarket rubber mountings for the radiator itself as the originals are NLA. I also straightened out the undertray brackets and fitted new rivnuts to the panel as they always take a beating even on stock ride height.
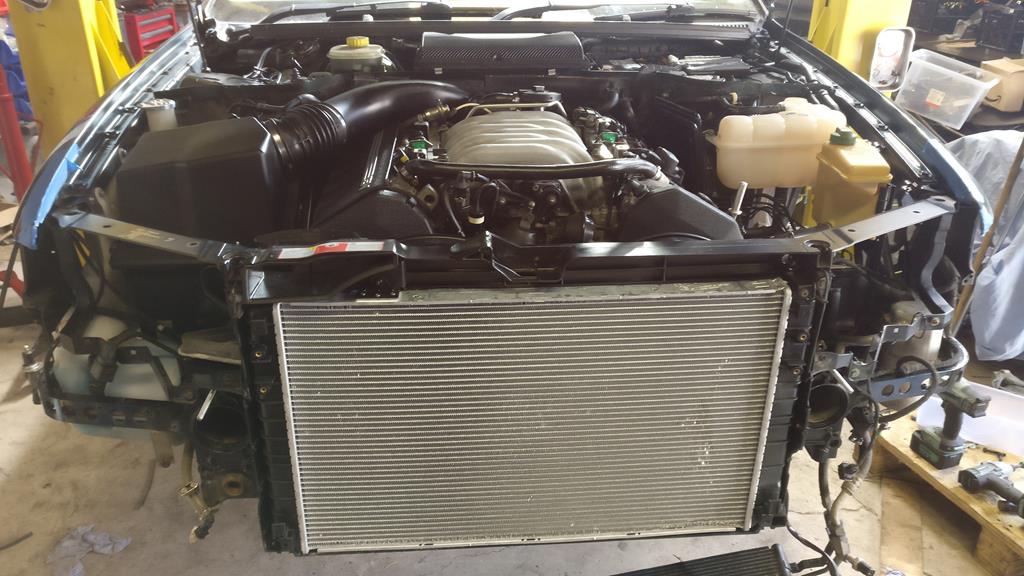
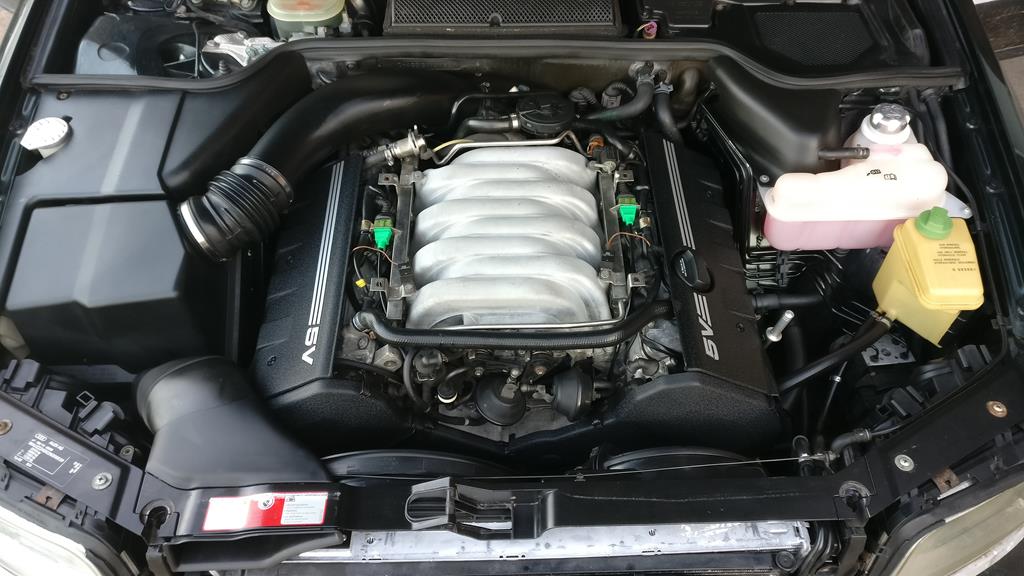
Home stretch now - all the engine bay back together ready for the the front panel

Front panel in place and ready for its first start and warm-up
Up to temperature and you can see the cam phasing on the lower right - zero degrees deviation between banks 1 and 2 relative to the crank

This is what you get by setting the belt properly with the locking tools. I've seen them 6 degrees out when people have bodged the belt swap using just paint marks

Note the duty cycle of both cam adjusters of 20.3% - the ECU is pretty happy with this configuration

This is the witness mark in the bottom of the bumper from the event which killed the front panel. This lines up exactly with the thread on the lower radiator mount, and there is a corresponding ding on the inside.

All back together and looking smart
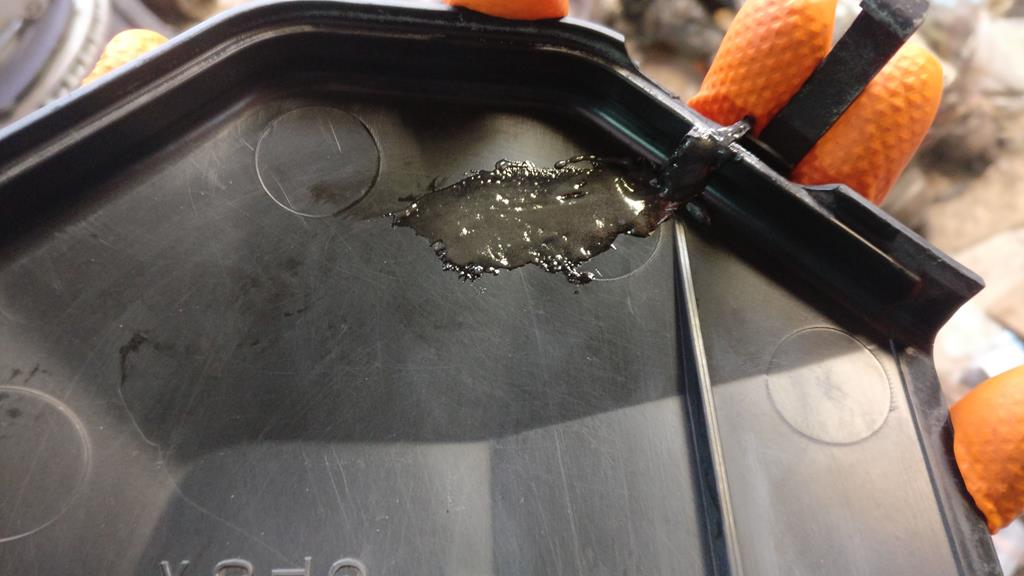
The final job was a brake fluid swap - as you can see, its a little past it's best! It should be changed every 2 years, but they are pretty much all in this state the first time I see them. I think most garages are wary of touching the braking system on the D2s, and with the Brembo calipers tbh its not that surprising since if you don't regularly exercise the bleed nipples they seize solid in the calipers and then you need a caliper refurb to change the brake fluid

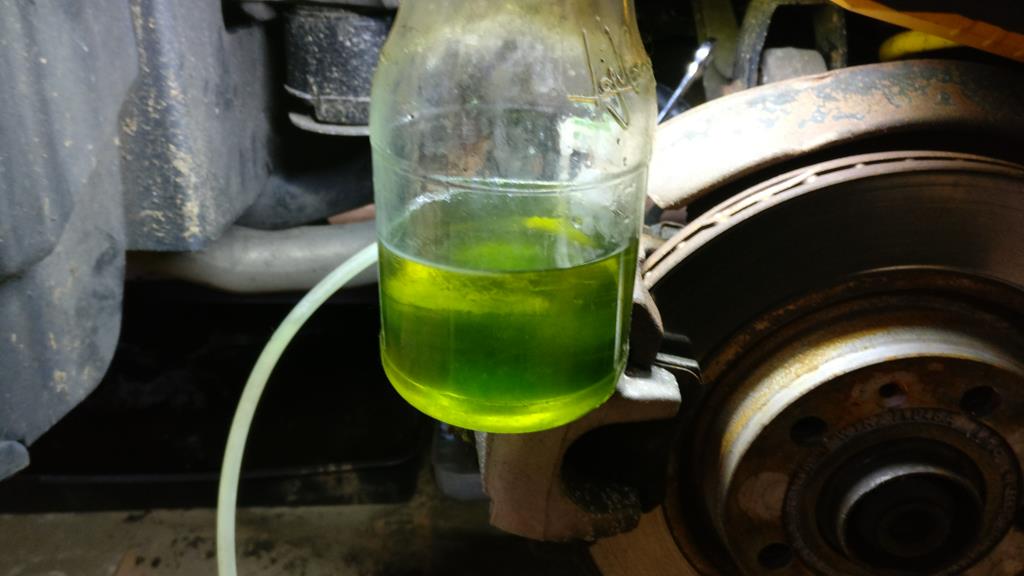
Luckily Ricky's are in excellent condition so the fluid swap was pretty simple.
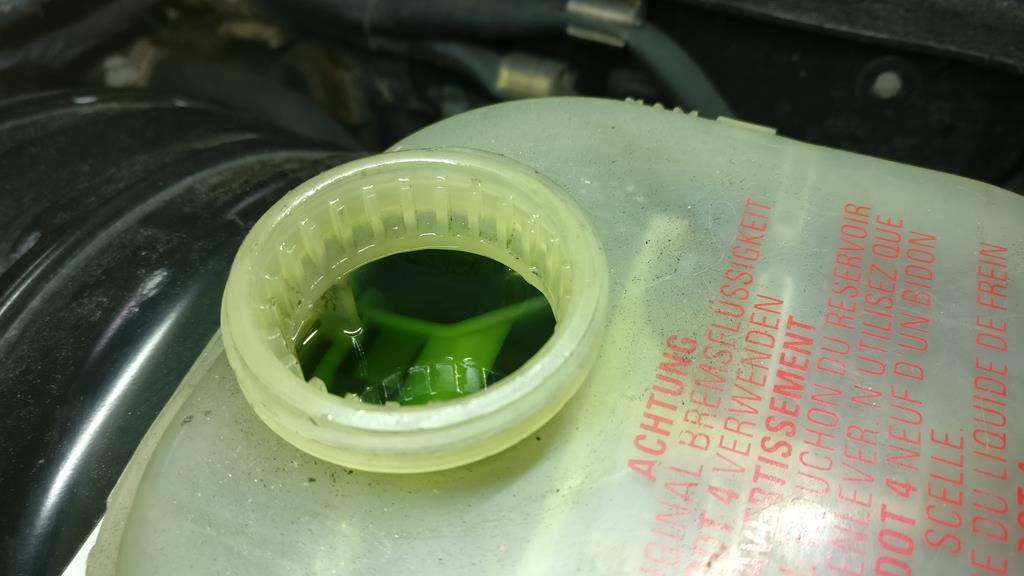
Before:
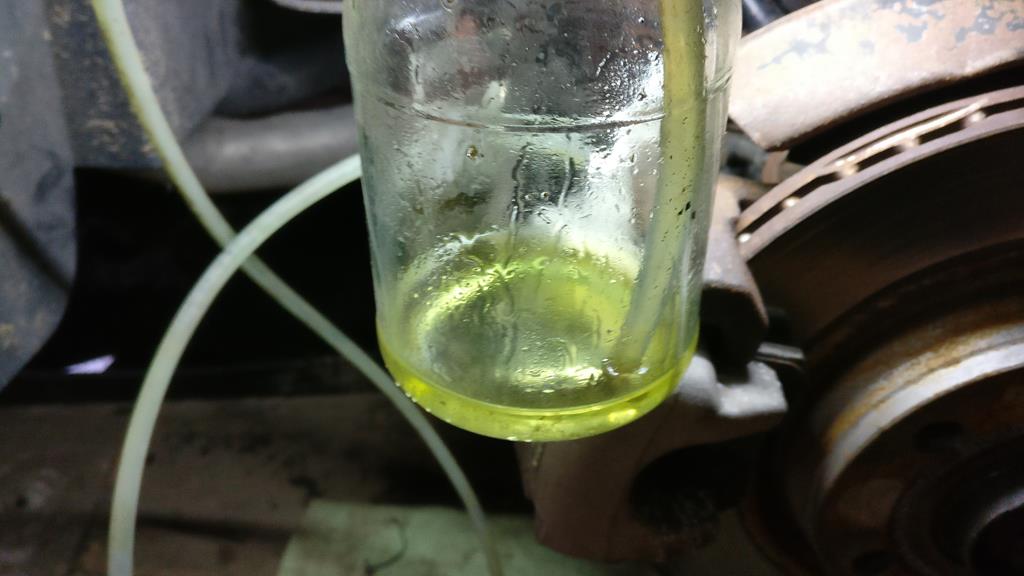
After flushing 250ml through each caliper
Just back from a most enjoyable road test

The exhaust note is addictive!

and thats it! The Green Beast is safely home and on her original (now repaired) wheels, and back to waking up the neighbours