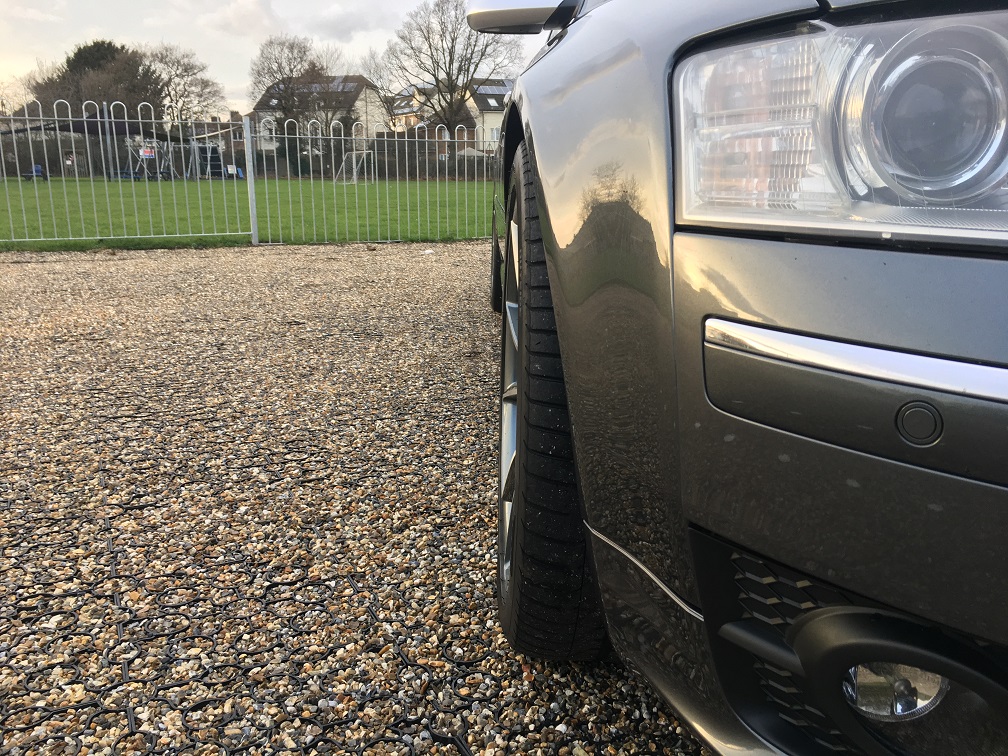
Found some time over last couple of weekends to clear some of the ''To Do things'' from one of my list
- replace both power steering hoses (coolant->rack / coolant->reservoir), inc. flush with new oil.
- remove snapped bolt on the T piece and fit x8 new bolts
- air leak - new throttle body to T piece gaskets x2 inc. x8 new bolts
- replace all x12 manifold bolts in order as per Audi's manual
- ''deep clean'' fuel cap area + new cap and fuel door stickers

- new oil cap
- fit new number plate she got from Father Christmas
- investigate engine oil leak
- investigate coolant leak
- update interior, door and boot lighting with led replacements
- ''sticky'' sunroof only from fully open
- lower suspension (VCDS)
- investigate boot opening issue which requires ignition off in order to open the boot

(something I have messed up somehow and can't undo it)
- new wheels
- good wash+clay+detailer
Power steering hoses.
I've discovered recently a leak on both steering hoses (both coolant side) after checking steering fluid level which showed below minimum.
Removing original clips and putting two new per hose has solved the problem instantly. They were Halfords Fuel line slips 15-17mm.
It's only then I've realised that one of them was a bit perished and I didn't like it. Thankfully it was the easiest and the shortest hose, but because there was a second hose going straight to the rack side I just couldn't replace one so I've done exactly what Del did. It's only thanks to his thread and help I managed to complete this without any major problems.
First fix
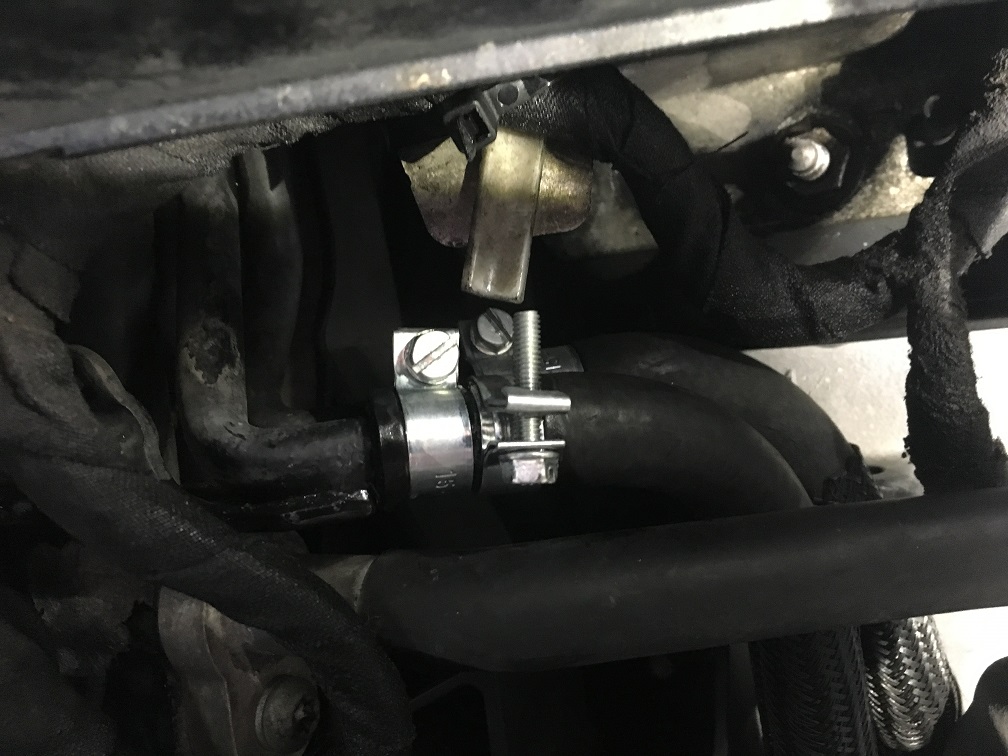
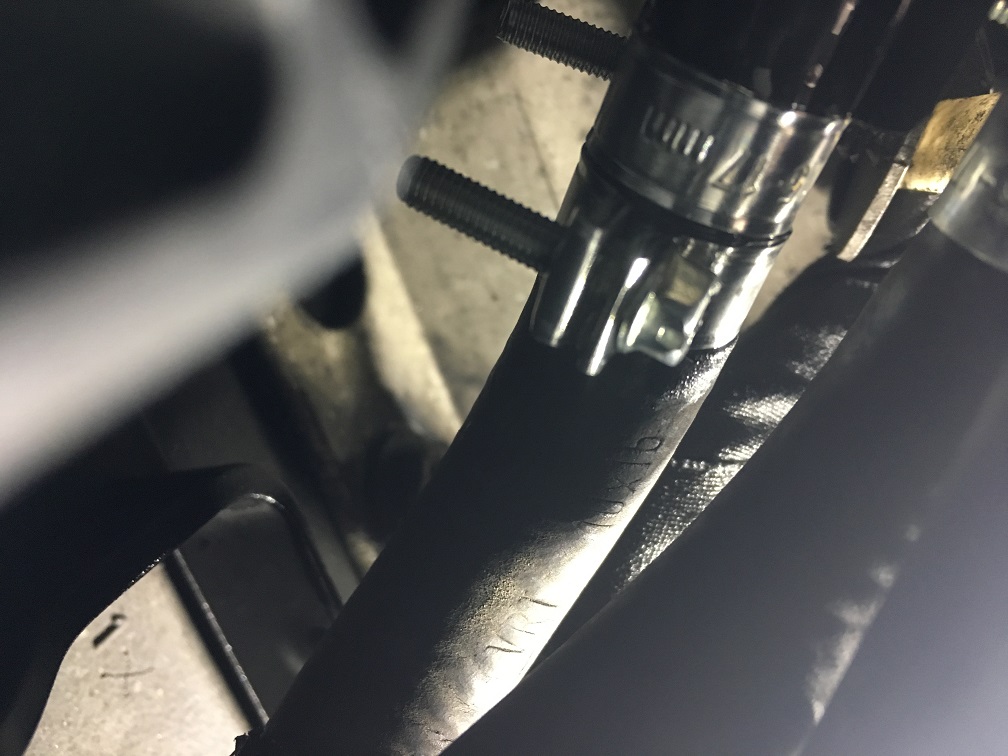
Perished hose
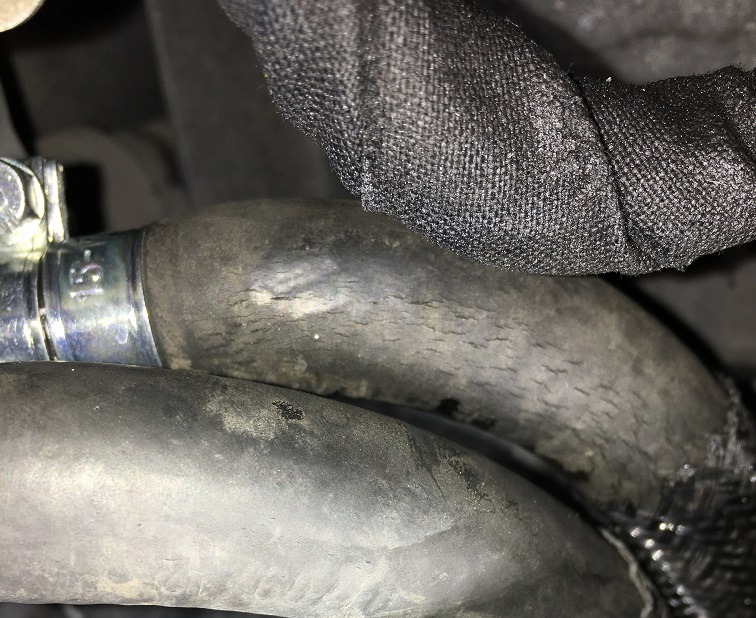
These are the hoses I've replaced

Audi's top engineering when car went for a new steering rack.
To be honest with you, I've tried separating this hose with clips off and I bloody could not do it plus I found very quickly a point of no point of splitting it so I left it like that

It was a very good joint.


Feeding thru was actually ''fun''? Dont know if you say this things today


Blue roll will hold the fluid in the system ready for flushing

It was a very late one due to not starting anything properly until around 12-1pm, but that day I just had to have everything done no matter what, couldn't deal with the fact of waking up to this again especially it was the cold 6 degrees day, from evening down to 2degrees. Plus I wanted to at least run the car for 30min to get all the air out, go thru sequences of full lock to full lock many times just I can leave only re-assembling for a cold Sunday morning.


New coolant to reservoir hose
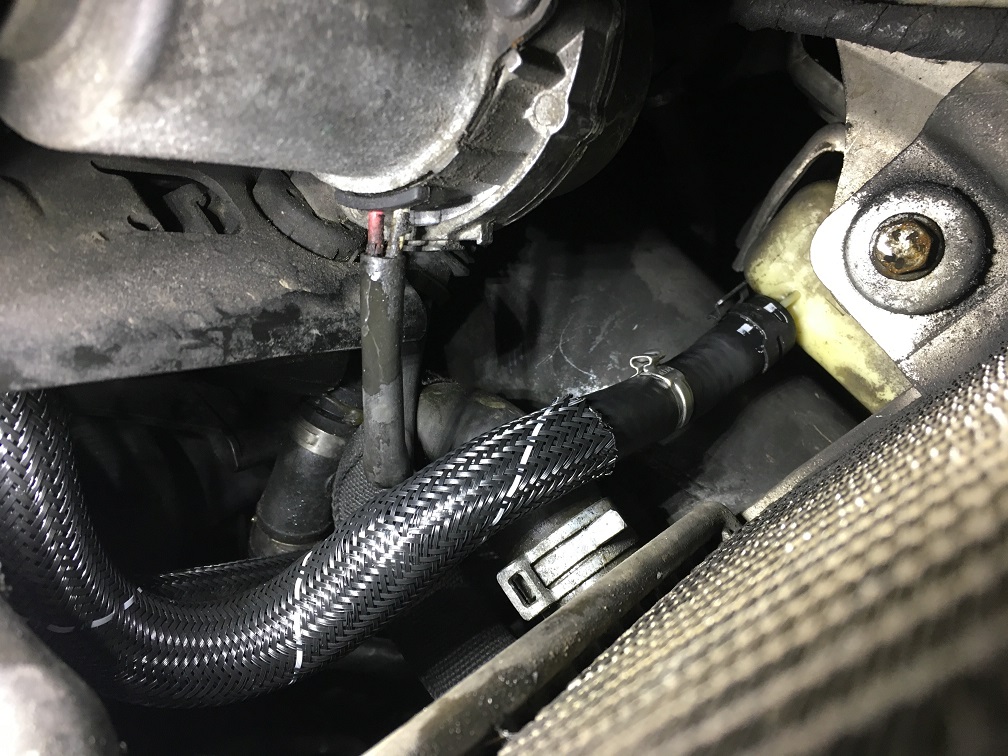
I did put a brand new clip from Audi on each hose by the coolant side and they were not up to the job to my surprise, so I have doubled here as per original fix but this time 1x oem clip and 1x Halfords per hose and its all good.
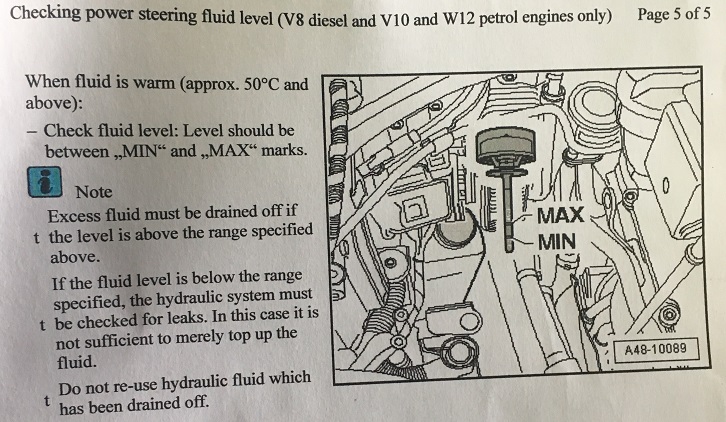
It's worth to read the manual here as it states the fluid only should be 2mm above the minimum when cold and half way between Min and Max when at 50 degrees C.

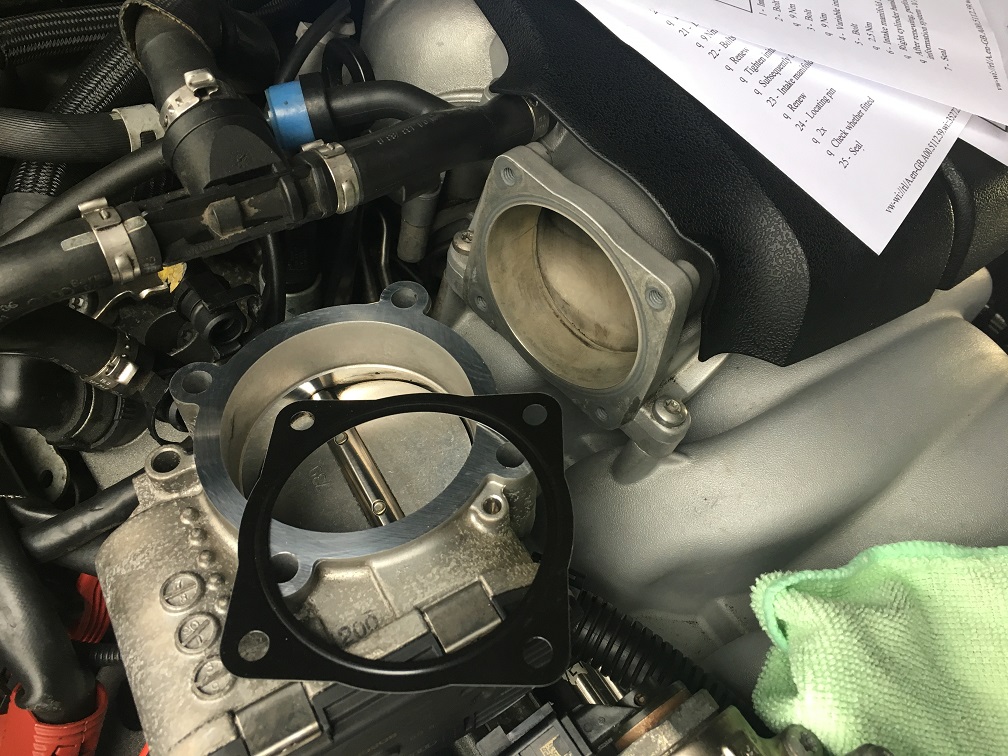
New manifold, T-piece and throttle bodies bolts inc. the one which has snapped due to previous damage or being stretched too far.


Here is the air leak on the throttle body. Had a good clean everywhere and the sealing flanges I have treated with a bit of autosol metal polish.
All sound no more air leak.

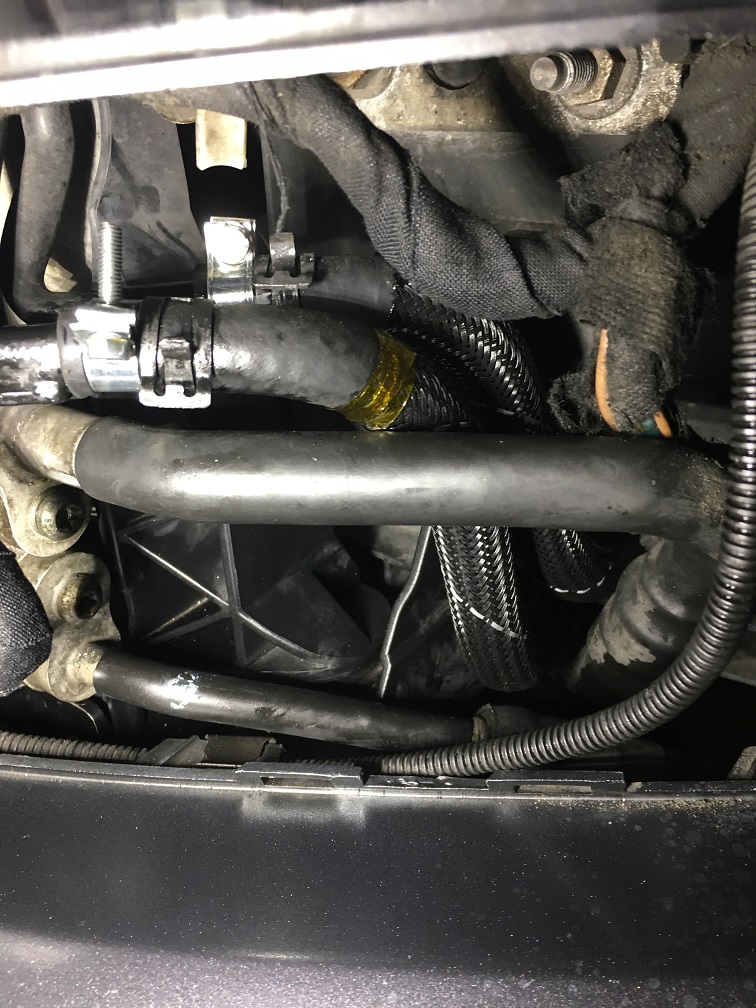
Also I have noticed that on my car comparing to Del's I've had a piece of foam missing from behind the fog grill light and couldn't find PN it ETKA as it was keep saying part number unknown. It was the piece circled in the pic and which was protecting the both hoses and their clips by the coolant side.
Only after scrolling down the list I was able to find the correct part number.
£23 and two weeks later it's still on the back order from Germany.


Fuel cap situation, picture speaks for it self. It was like that since I got the car obviously.
Good clean, new fuel cap, but door labels are same as the foam on the back order from Germany so I will just have to wait with polishing the flap from inside and sticking all new labels.
I am well aware that most of you would thing what a ******, new stickers ?? But I also know that there is few of you looking at it and saying that is a Good Job


Silly as it sounds, but it has made a big difference to my very often petrol station visits


FOR ALL OCD GUYS
I have found the way already for the fuel cap to sit horizontally already

New oil cap.
Just took the part number from a first model of V10 R8 and £26 later it was on the car - YES David, the correct way


It does look more like its the right place for her, not the oem black boring cap.

Found the tiny coolant leak - alternator. This is still in progress, but it will be done soon because I just can't stand leaks !

Engine oil leak.
This one was a strange one because of the airflow thru the bottom grill above the engine under tray could easily create this image of leak by just blowing around the leaking power steering oil.

So I washed the entire bottom of the engine and sprayed a lot of brake cleaner. I run the car for well over an hour and no oil so far, but after test drive bottom was covered in a little of oil again. So 3 more cans of brake cleaner later, spraying it from the top, both side and from the bottom as well to wash down entire engine block without the engine's under tray underneath I went for another test drive and nothing, another-still nothing, few days later with engine tray already fitted I have shoved the camera thru and still dry so it must have been power steering oil sitting somewhere.
Sticky sun roof situation.
Sill haven't looked into the tracks system yet so dont know what lubrication does it need and where. Sun roof will stop near the closed position and reverse back but only from fully open position.
Unless something has unfolded somewhere at the back and glass is catching it when goes fully open and drags it almost to closed position where it jams and reverses back. Need to have a proper look and stick camera there as well maybe.
Limited boot opening.
Bare with me here. In the past until I was VCDSing few weeks ago I was bale to open/unlock the boot with either engine running, just ignition on or engine and ignition off. I was able to do it by pressing the button on the remote control or button by the door pocket or by the grab handle switch on the boot lid. Simples.
Now in order to open the boot engine and ignition must be off just so I can open the boot, either by remote, door pocket button or by the boot.
Try to figure that one out.
Been comparing the old and new coding/logs and all is as it was before so this is still ongoing at present.
>>>>>
Also, if anyone knows, my previous A8 I was able to fire up with a start button, leave the car and lock it either by remote or kessy handle and walk away while engine was running and car locked.
I can't get this function to work on the S8 and I looked briefly thru all modules and they adaptation channels, coding and basic settings.
>>>>>
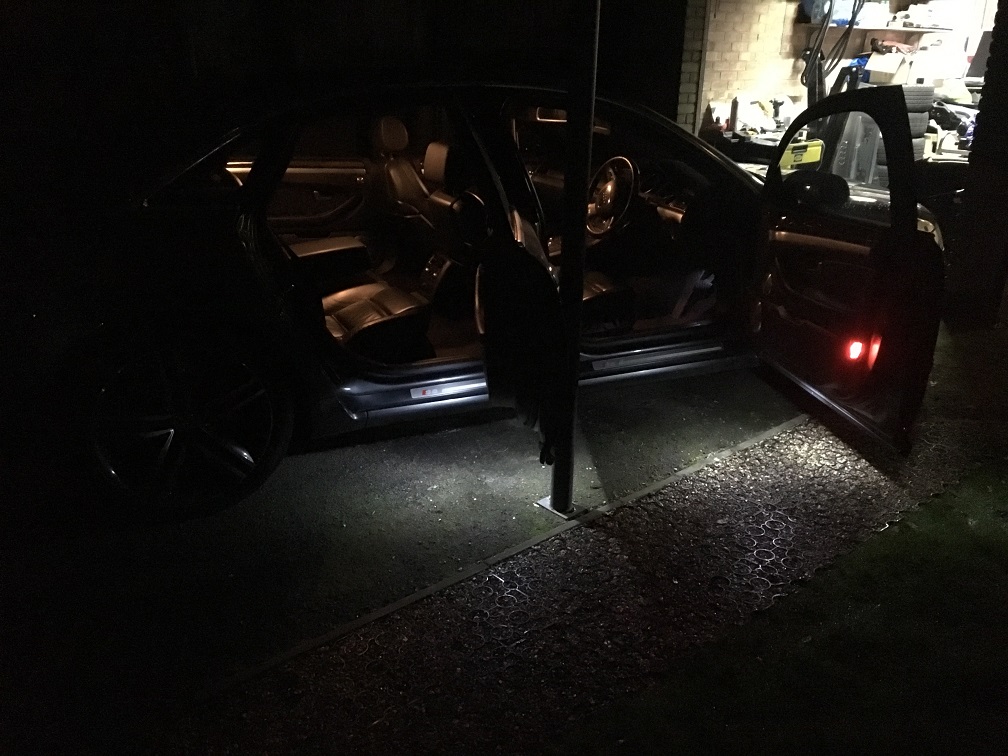
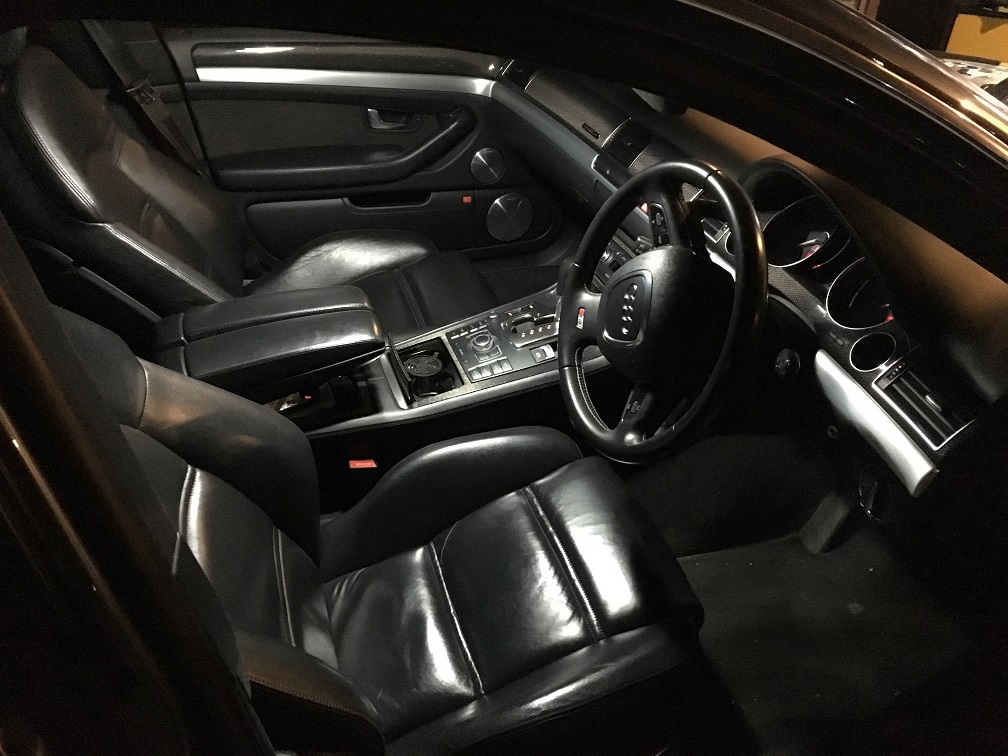
So there was finally time to swap the interior bulbs for leds as the oem look is really bad, outdated and sad yellow.
Went with these SMDs for door's flood lights and boot
http://www.ebay.co.uk/itm/3318541754...%3AMEBIDX%3AIT

...and CREEs for interior.
http://www.ebay.co.uk/itm/1421030176...%3AMEBIDX%3AIT
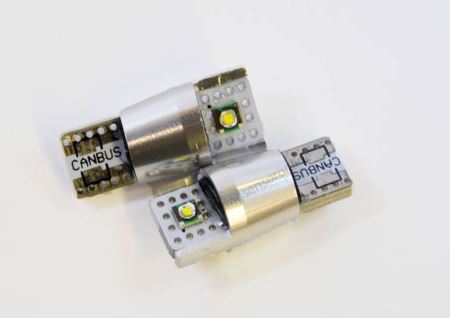
Big difference and the CREEs are dimmable.

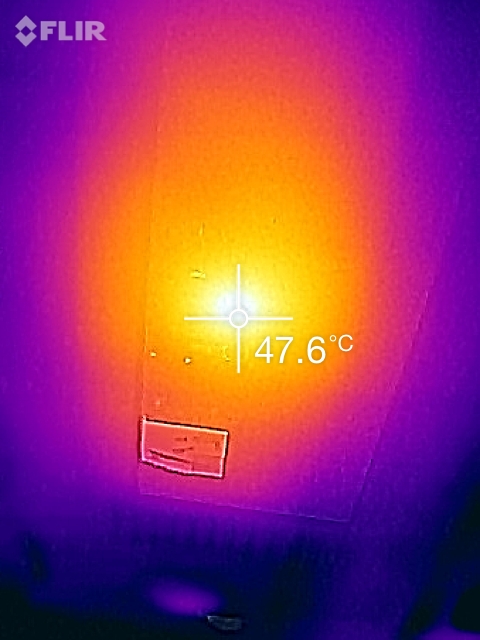
Here are some temp readings for CREE ones. Other ones stayed cool as well just haven't got the picture.

Before going to fit new wheels I have also decided to lower her a little via VCDS. A process which comparing to my previous A8 was a much more time consuming. On A8 I've used the coding and then calibrated the suspension few times and it was all sound.
Not sure if this is only like that with sport suspension, but few times I've had to pull the fuse out for the ECU over night and endless attempts to calibrate the suspension over few days. I found out in the meantime that ECU will temporarily brick it self after few failed calibrations, then unit needs resetting and sometimes left for few hours, then for the ECU to tick all the boxes and allow another calibration a drive of min 5-10miles was required - I did 80miles to calibrate mine over few days.
First was getting one side to lower accordingly to the coding and calibration as it was sitting 10mm higher than the other. This was a pain, so I started putting default values for the front axle so it does nothing and concentrated on levelling the rear axle which after many attempts has finally came to only 2mm difference between the left and right wheel. Then I managed to level the front axle but this time I have scrapped the coding and went back to default coding and started using overestimated calibration values which has levelled the both front wheels being 1mm from each other but couldnt take both of them further 10mm lower and I'm still stuck at this point. The original 10mm drop using coding has remain but this is not enough so thats were I got stuck. Thats was nearly a week ago and I've done some driving so will be attempting the front again soon until I get what I want out of it.
...and after failings with lowering the front using just calibration method I went back to coding method and thats where I am now.
So, not only I find the wheel arch gap as ridiculous on S8 as on the A8, but also wheel's offset as well. Very weird look when you look at stock S8 from some angles. Typical sedan look with wheels inside the arches.
So I went with ET29 9J and kept 273/35's all round and it couldn't look any better to my taste, apart the frnt going down further 10mm

Here are some shots of car being partially lowered after a good wash, some detailer, new V10 plate and fresh set of wheels.

