Quote:
Originally Posted by RICKY D

Same as the D2 S8 Avus wheels. The design is timeless. I really would love a set of either wheel design in a 9x19 or 9.5x19.
|
If everyone could chip in a few bob for a CNC I'm sure we can make our own

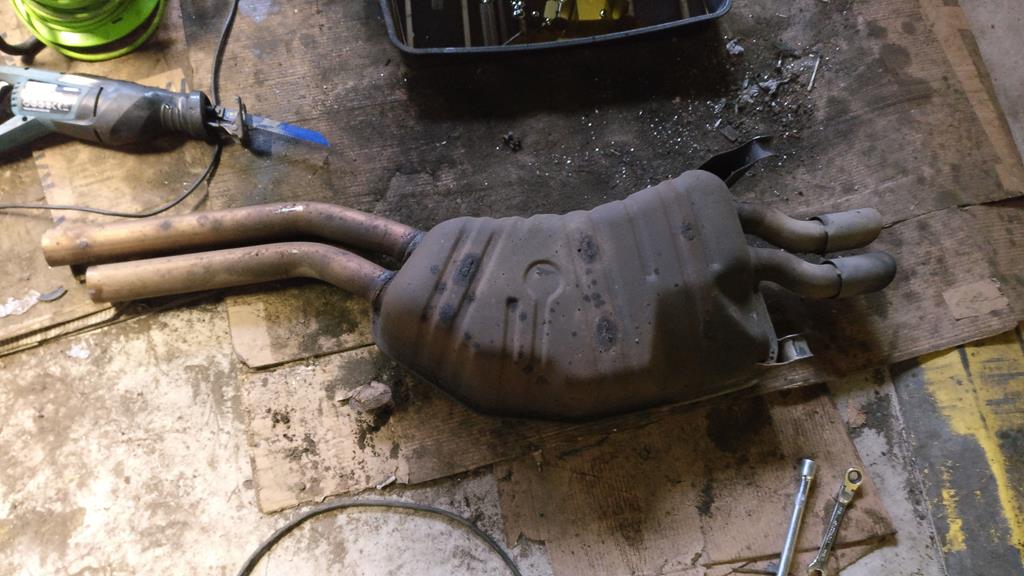
The backbox is being replaced with a Supersport (same as on my S8) to release some of the lovely V8 burble without being too obnoxious as a daily.
Cut the original system under the subframe so it can be fitted with sleeve-clamps

The backbox is fine so that'll go on the shelf in case it needs to go back on in the future
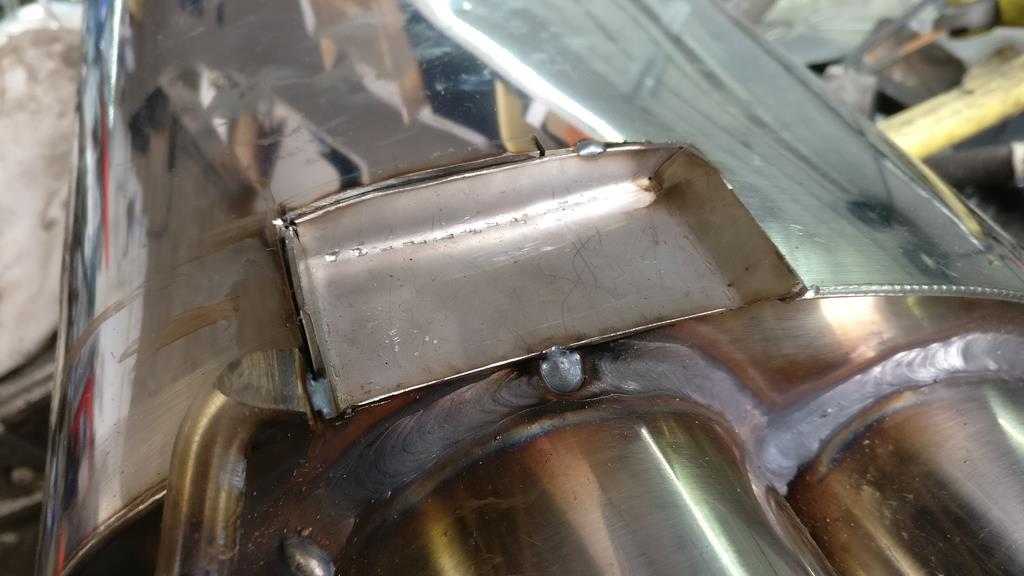
The supersport box doesn't clear the towbar, but luckily I solved this on my S8 so I already knew what to do - cut a gert hole in it

Made a filler plate of stainless sheet


As most of the left hand bracket went away, I reinforced it with a bit of stainless bar

Filler piece tacked in. This will get tigged in place by Craig from Ally Cat in Crediton (who welded Ricky's Green Beast)
The rear calipers are working perfectly, but are not looking very happy. This odd shape on the piston boot is indicative of corrosion in the groove where the boot sits, pushing it out of the caliper housing.

Cleaned up. Its only a matter of time before this pops out and then the caliper seizes up, so both will replaced with new TRW units.

It wasn't any better with the piston pushed back. Removing the piston, cleaning the groove and replacing the seals would solve this, but given Vod needs to be home in a week and replacements cost less than the time and parts to repair the old ones, its not worth it.

While the rear end is in bits and we're looking for handling improvements, I might as well replace all the control arm bushes as they were completely toast
These haven't seen the light of day for a long time! I think he was probably only on his second set of rear discs.

Cleaned up nicely with the wire wheel

Empty wheel well! Once the mud has dried out a bit I will clean this up a bit before reassembling everything
