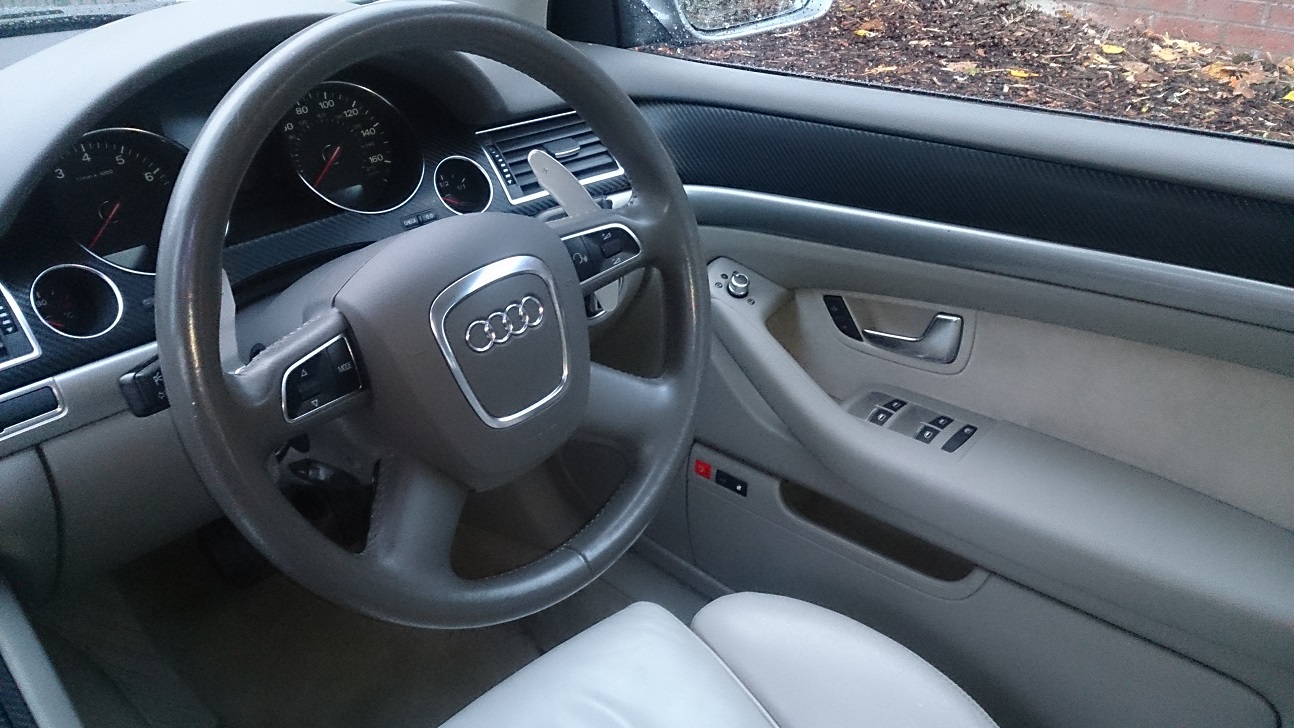
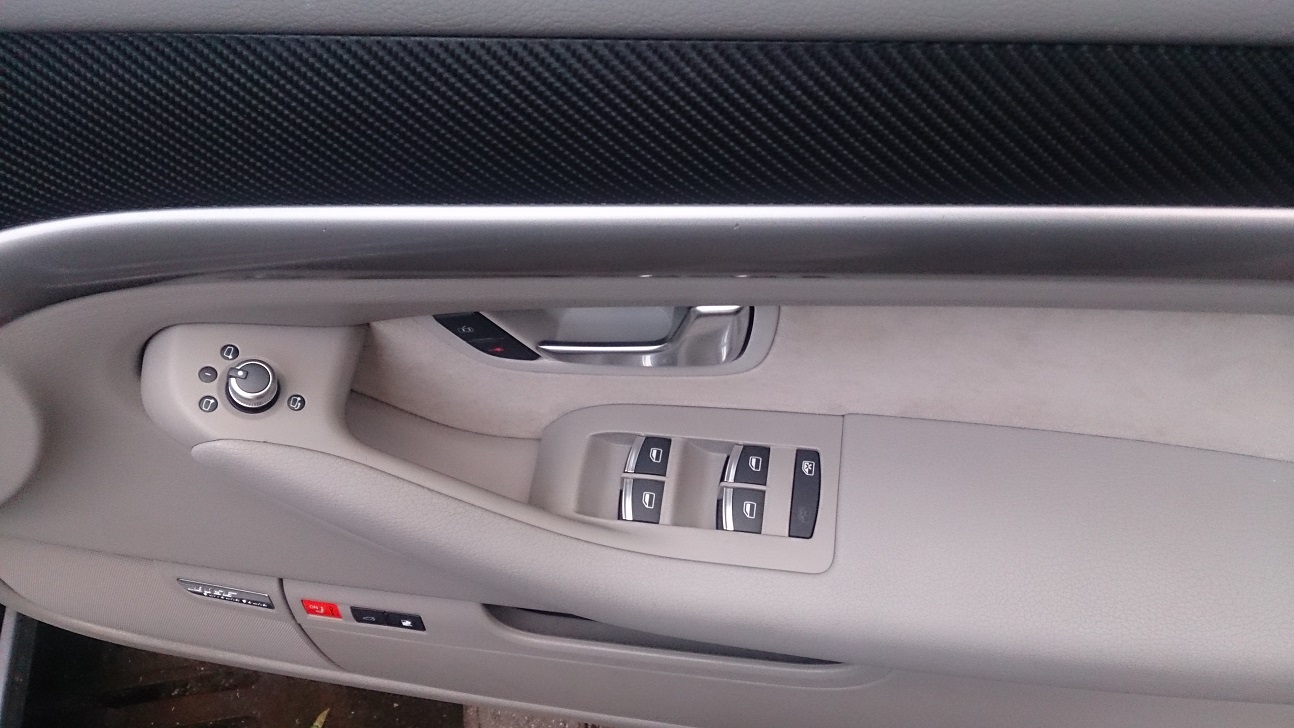
So, today I managed to fit rest of the switches and oh boy, they look sooooo good. One of the best mods for the interior, no doubts.
One thing different in operation is the mirror switch, it is way much smoother.
Scott, we did it and thanks once again for putting this idea last Wednesday in my head, hours spent on research were well worth it.
So here it is, and below you will find the rest of the guide.
There is one thing you have to do to get the master switch fit, but its fairly straight forward.
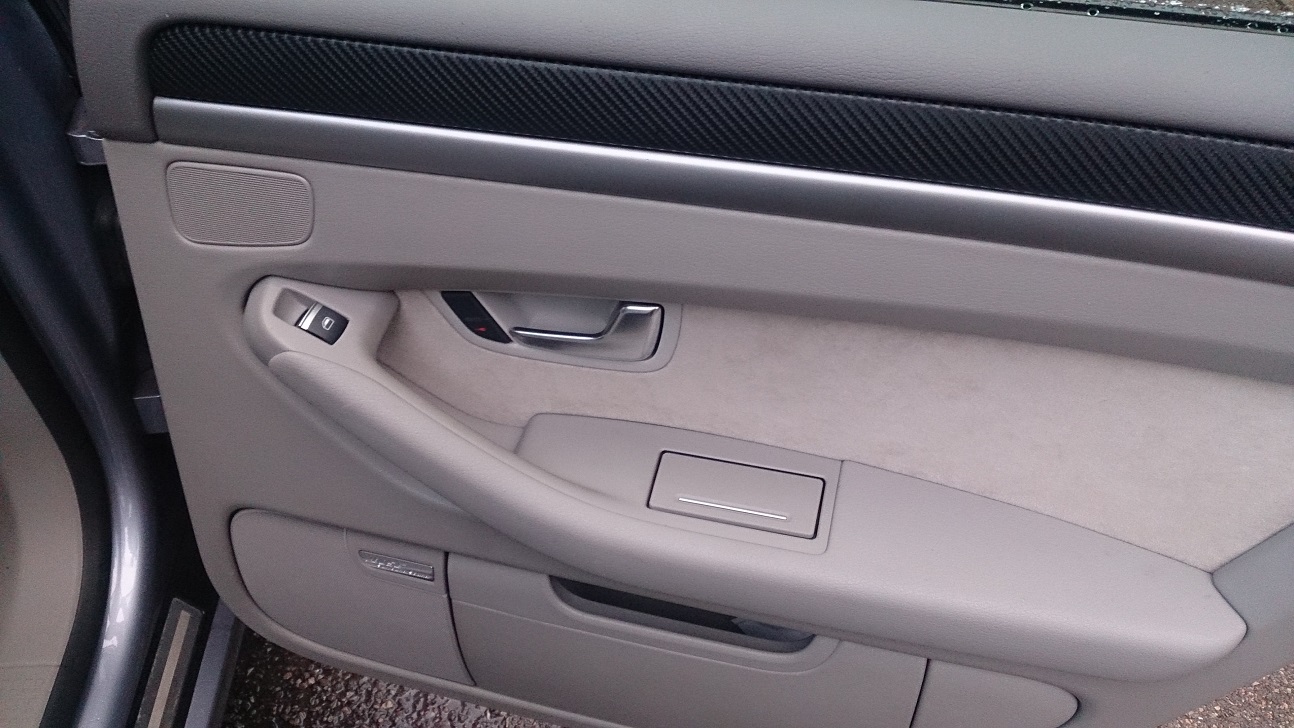
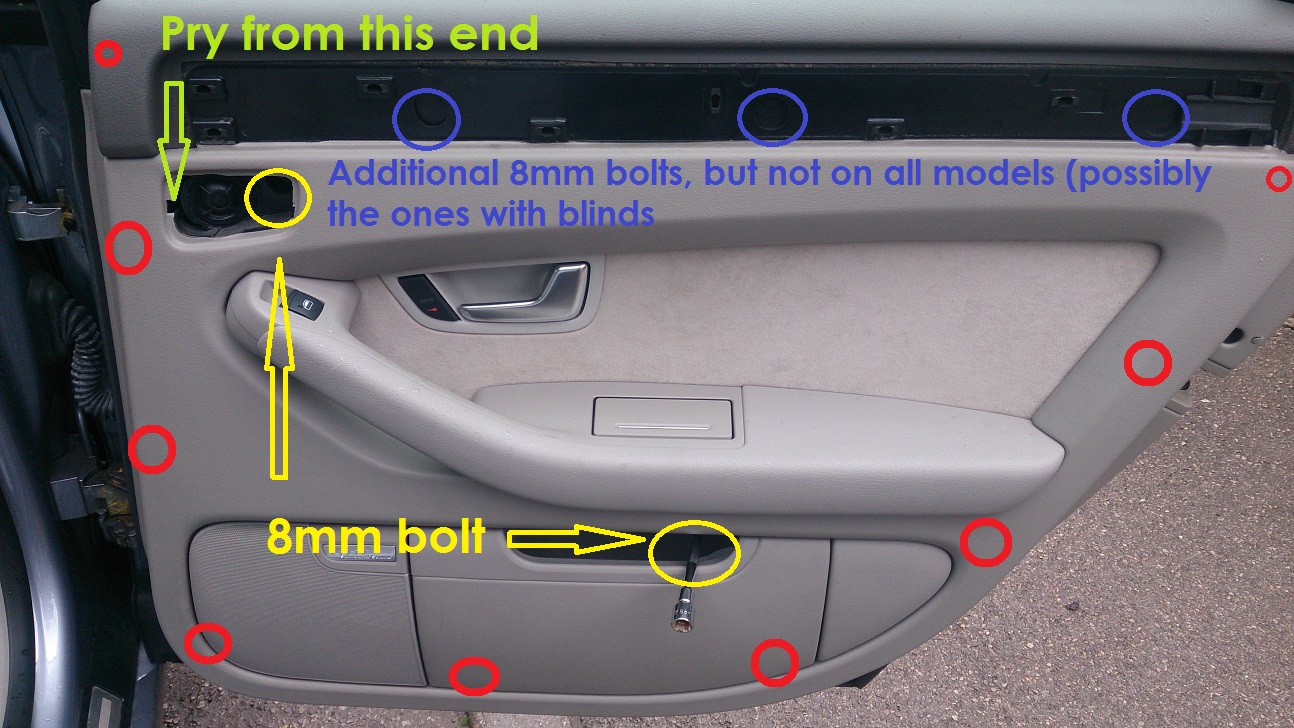
Location of the fixing points on the rear door card.
One thing. When you pull the card off, be very careful and don't pull it to hard !!!
Wiring from the twitter speaker is very short and plugs directly to the main speaker from the top, so please take extra care. Squeeze both sides and pull it up. The disconnect the door handle same as on the front door and then there is one and only main connector at the bottom - it's easier if you do that one last (lean the card towards your body and you will gain a good access to it.
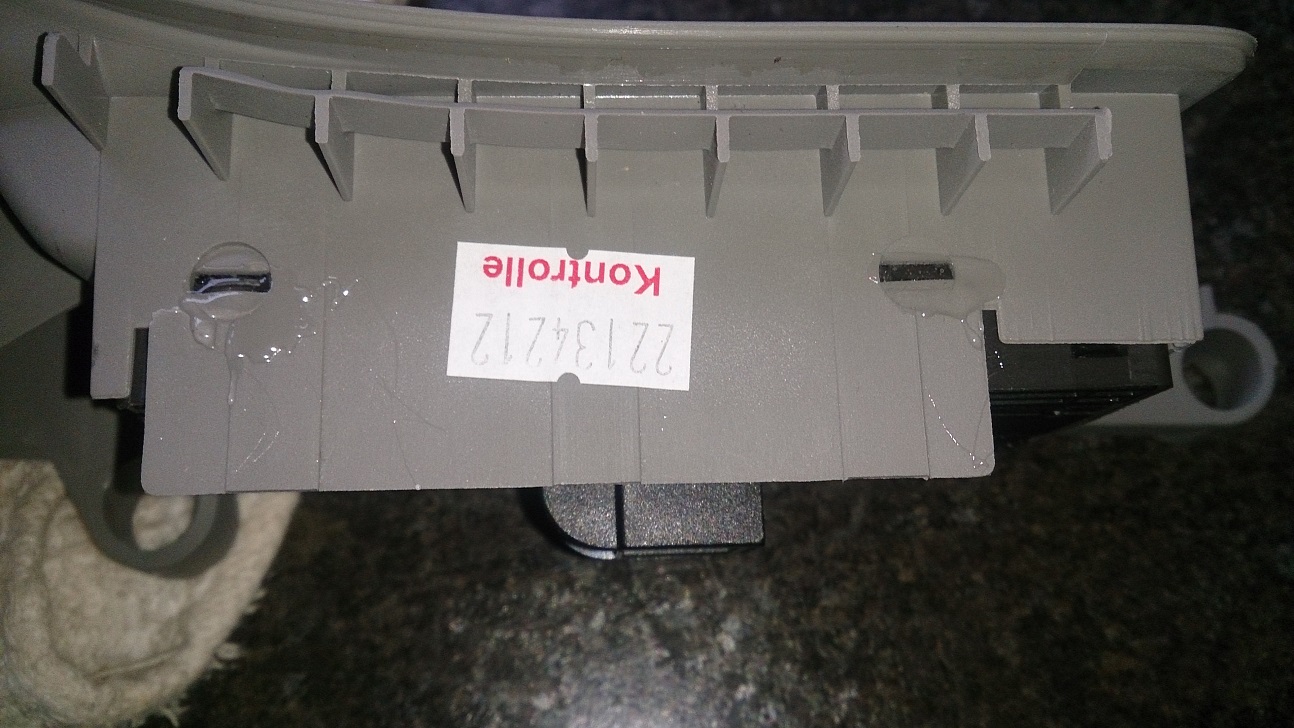
Mirror switch is a bit of a pain, but nothing serious. But, mine was glued on one side from factory, not much, but you will have to break the glue first.
It sits fairly deep. I used iSesamo tool which I squeezed between the clip and the surrounding housing and then used a flat head screwdriver to push it out.
http://www.ebay.co.uk/itm/iSesamo-sp...item43cfe9f159
Here is the only little adjustment you have to do to make the driver's master switch fit, if you don't do this you will end up gluing it. I did as I was expecting to just click in, but instantly both front clips just broke off.
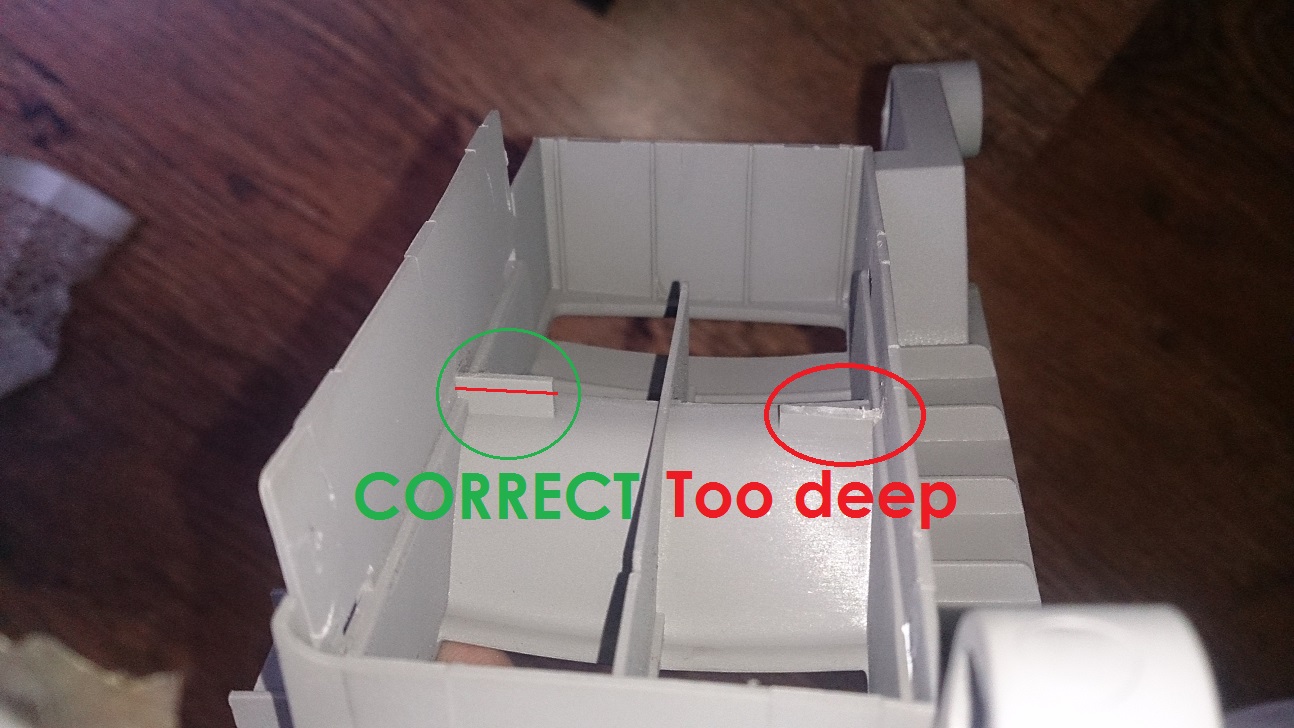
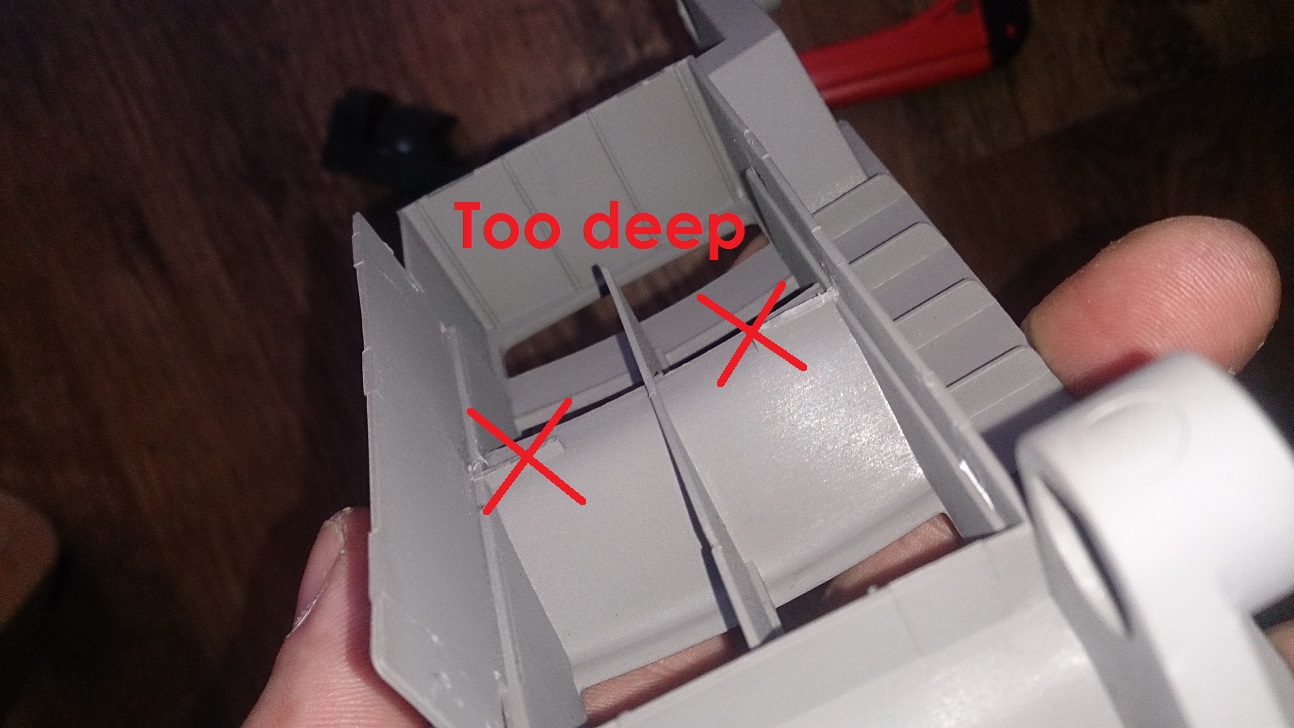
So there is a cut out in original switch for two plastic bits which you will have to trim a bit in order to fit new switch, well, it's better if you look at the pictures as I am brain dead after a long and hard day.

Then if you take too much of the plastic off as per pictures below the switch will go too deep and will be loose so keep cutting off bit by bit until you get the best fit.
At least someone else, me

, made this mistake so you don't have to.
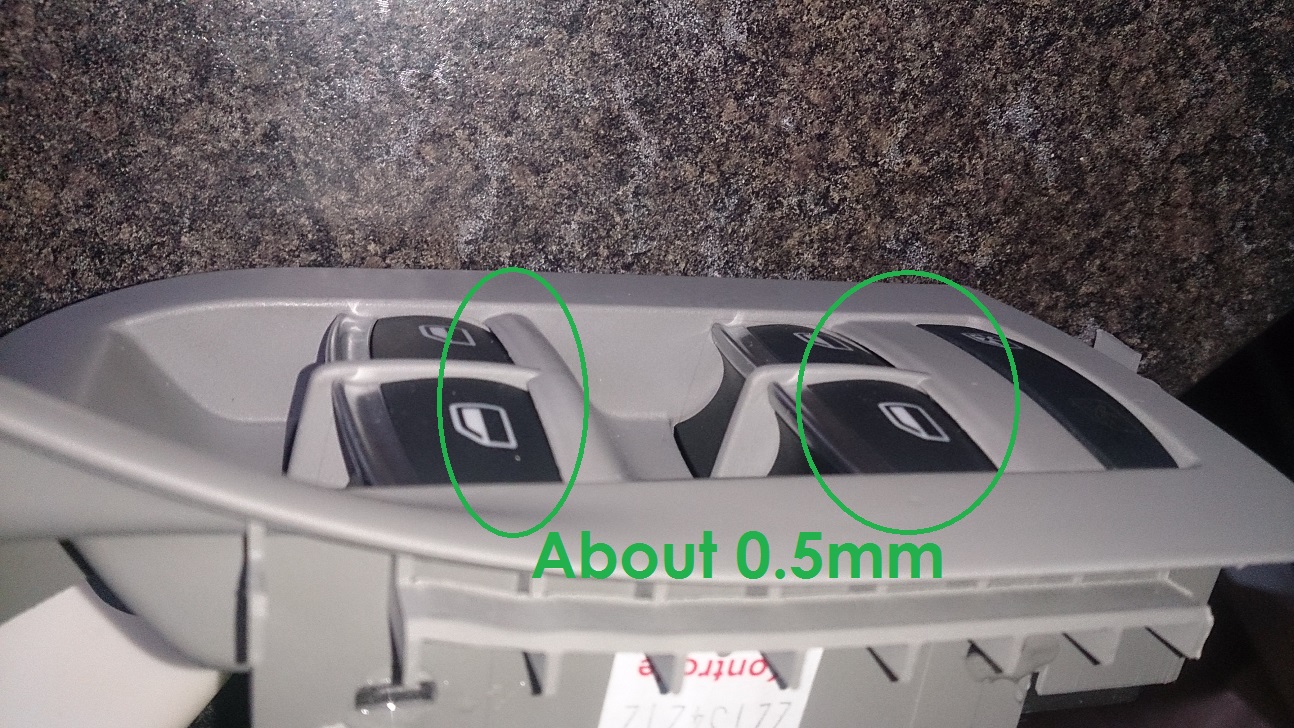
The gap should be about 0.5mm so the caps don't rub.
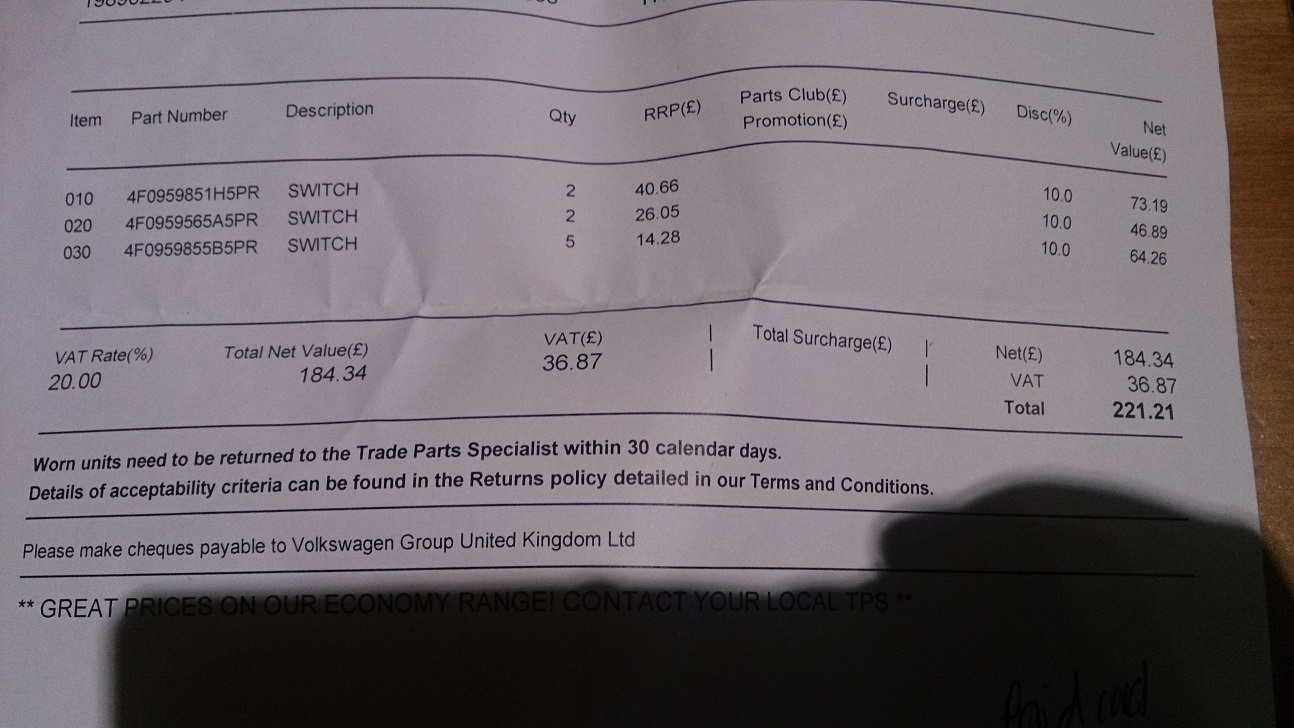
Here is the picture of part numbers and prices.
(this is the invoice for almost two complete sets, mine and Scott's, so don't get put off by this)
Cost about £130

__________________
 2006 D3 S8 5.2 V10
Ceramic Brakes, Bang&Olufsen, DTV, DAB, Rear Camera, BT, TPMS, Soft Close, Auto Boot, AMI , 4 Zone AC, Home Link, All Electric Blinds, Fingerprint, Ski Hatch, Black Extended Leather, Heated Sport Seats, Alacantra, Carbon Trim inc Aluminium Pack 2.
2015 A3 S line 1.4 TFSI - for the missus to keep her away from my car.
Standard S-line equipment, no extras.
2006 D3 A8 3.7 V8 - SOLD but not forgotten