Quote:
Originally Posted by Conan_the_Librarian

Mmmmmmm home made fried rice and garlic sausages! 
Any way, I also started resembling the front suspension. As it was all off the car it was fairly straightforward. The 2 lower arms went back on before the subframe was refitted. the 2 upper arms were put back in the strut upper bracket before it was put back on the car. No herein lies a problem. You can't get a socket on the rear lower and upper arms bolts to torque them up when they are in the car.
See here

Bolts 5 and 23.
Here they are on the car
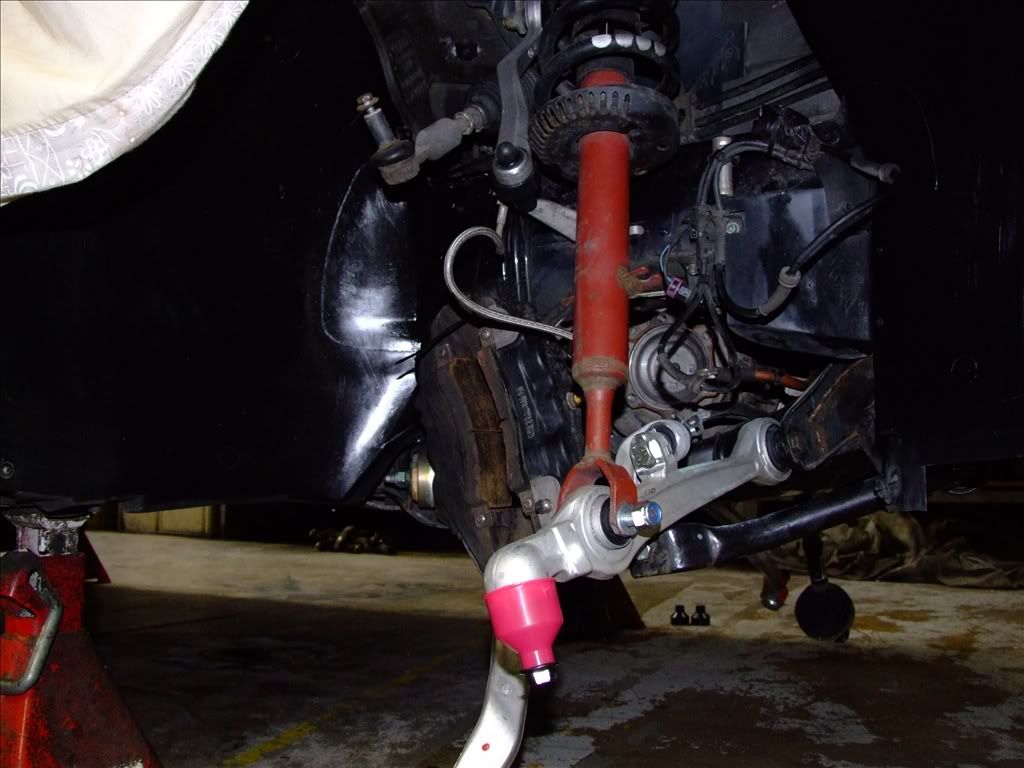
The problem is that are to close to the bodywork. So how do you torque them up to the 90Nm and 90° when you can't get a torque wrench in.
It's common knowledge that the suspension components should be torqued up when the are under load to avoid any pre-loading of the bushes.
After lots of discussions with some Navy engineers there are 2 possible ways to achieve this.
Method 1 - (long Winded) Rebuild suspension. load it up by putting and axle stand under the hub carrier and allowing the weight of the car to come on the suspension. Torque up all the control arms you can and mark the position of the control arms you can't so that after a further dismantling you can line up the control arms and torque them up before putting them back on the car.
Method 2 - (Quicker but less accurate) Practice torquing up the bolts when off the car and undo and redo them using a spanner. Check with your torque wrench. Once you are happy how much effort it needs, reassemble on the car, tighten with the spanner until you think you are there then do a further 90° and mark up the nut, washer and arm with a dash of paint and monitor.
Method 2 was the method I used.
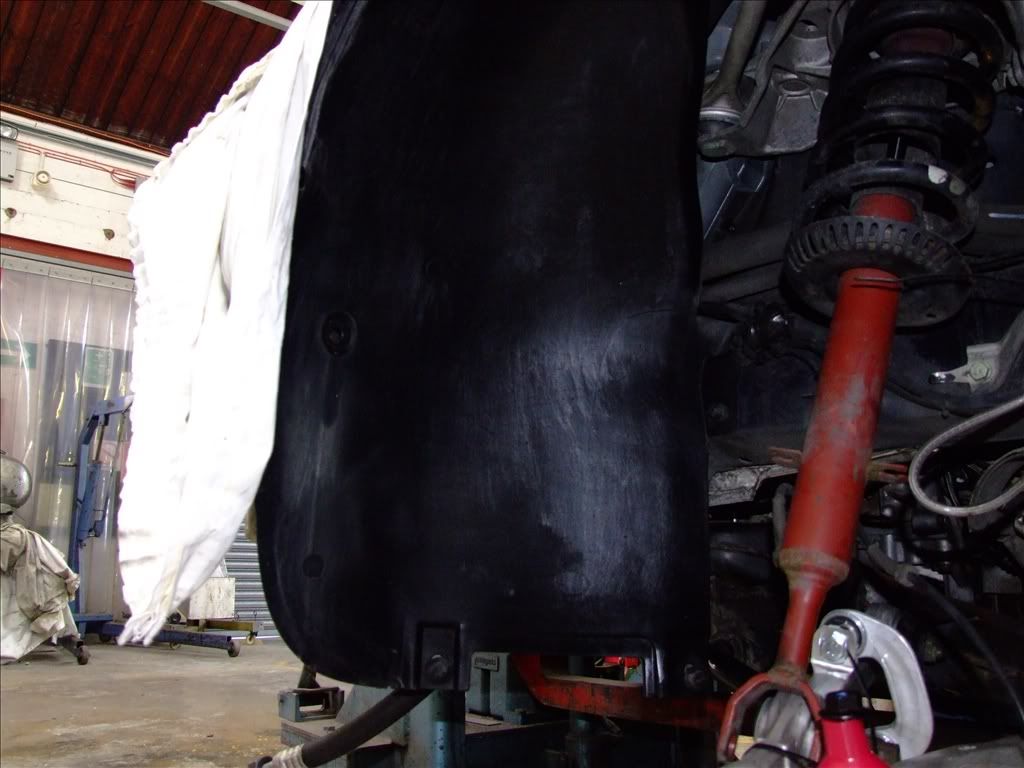
A gratuitous picture of the state of the inner arch after I used W&D to remove the paint...
More tomorrow when I will mostly be attaching things and filling things with liquid and maybe electrifying things.
Disclaimer:
I really am stumbling along blindly with any person living or dead who will talk to me. Anyone who uses this work which is nobody's intellectual property maybe certifiable! :P |
I was not doing a swap...just full suspension part replacement. I followed audipages.com directions and was really surprised when I got to the lower rear control arm bolts...I used my saber saw with new metal blade...thru in a few minutes. I ordered new bolts from the dealer ($3.47 @ after two days delivery from Chicago warehouse). I was pleasantly surprised how nicely the reverse process was completed with finger tight opening in the subframe.
I wished that the upper "lock bolt" for the upper control arms would have been as cooperative. My driver side was OK after soaking a few days! But the passenger side was as Conan experienced! Mine took over 8 hrs...I did not have access to an air hammer...just arm strength power.
Audipages.com has great material for us DIY'ers...Thanks
I really like this "swap" as well....thank you for your humor and direction...I have been searching for two weeks for this same "swap" optional process.
My 1998 A8 has skipped timing...probably bent imput vales....so I am probably in the same boat as Conan was..."swap"....possibly rebuild the old as a spare or for sale to someone else.
Anyone know a great source for quality and low cost for valves and parts? Or a full rebuild engine parts kit?

There is a brave new world out there..."swapping"...ONWARD!

