Took a few more bits out to tidy some other things up
It was at this point I realised that I really didn't want to put all the broken grey stuff back in...
.
.
.
.
so...
.
.
.
.
Dash swap!


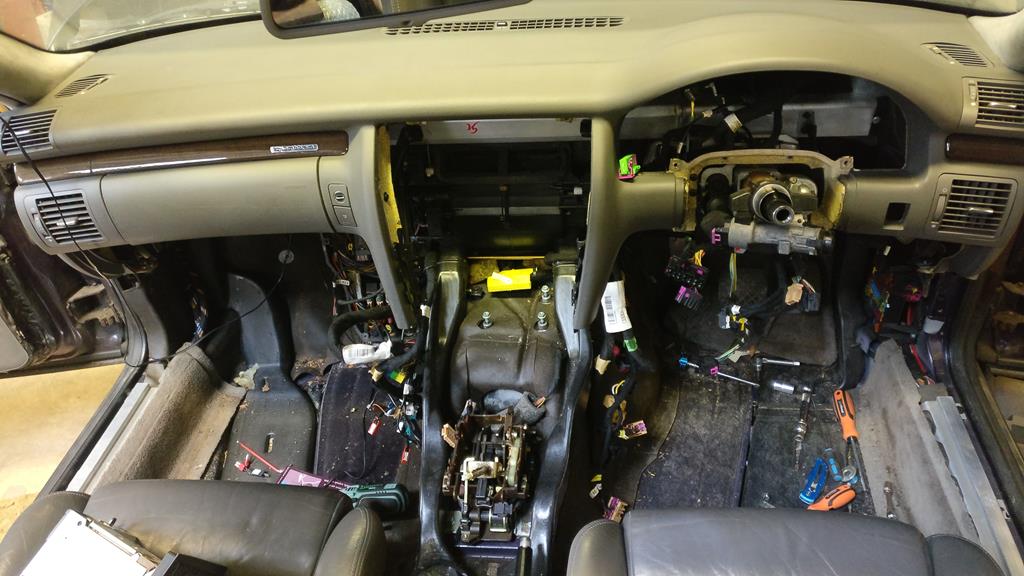
Having dismantled a couple of D2s now I realised its actually very straightforward getting from the first pic to the second - only a dozen-ish bolts, five wiring connectors and 36 minutes elapsed between photos.
Funnily enough, because of the arcane way the D2 is put together, the dash is much easier to get out than, say a B5 where the whole HVAC and half the wiring harness comes with it. I recall a thread on doing a colour change a couple of years back (RickyD?) where I suggested the dash was far too complicated. In fact its dead easy and I just hadn't tried it

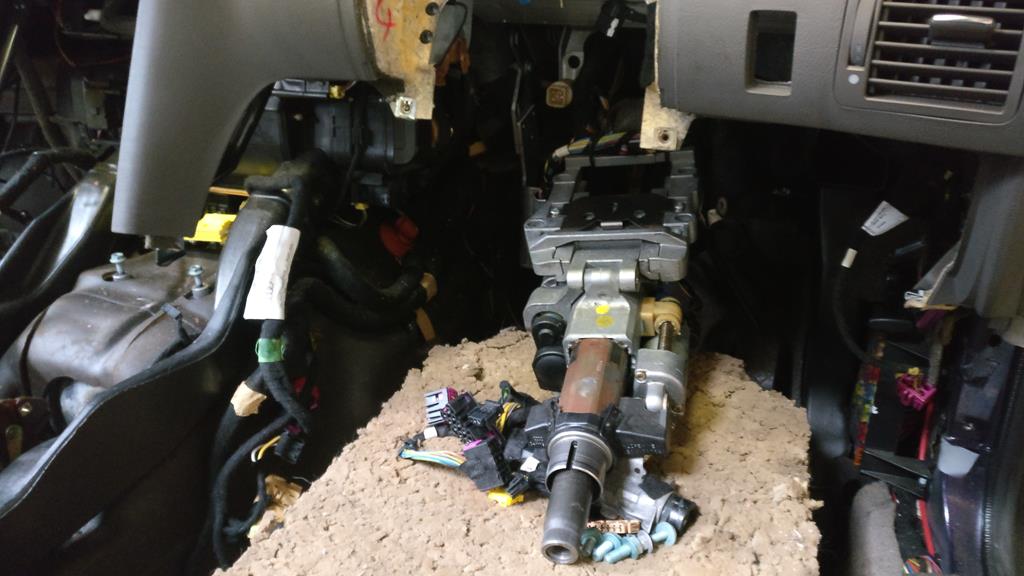
Drop the steering column and rest it on some foam pads so the linkage doesn't come undone and all the wiring can stay put. There are a couple of braces under here too.
A sneaky one up here behind the cluster, plus two large ones on either side and the dash is loose.
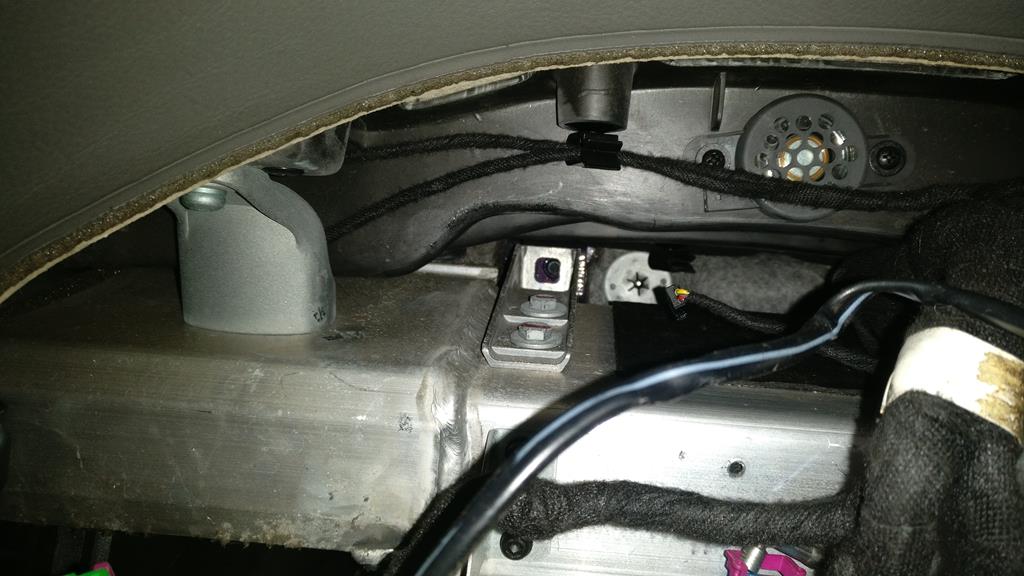
Next thing is to disconnect the dash rebar from the HVAC - there's a duct on either side which feeds the side vents. This is a bit of a pain, but can be persuaded with trim removal tools, then the dash slides backward and can be lifted out of the car.

Begone nasty grey dashboard!

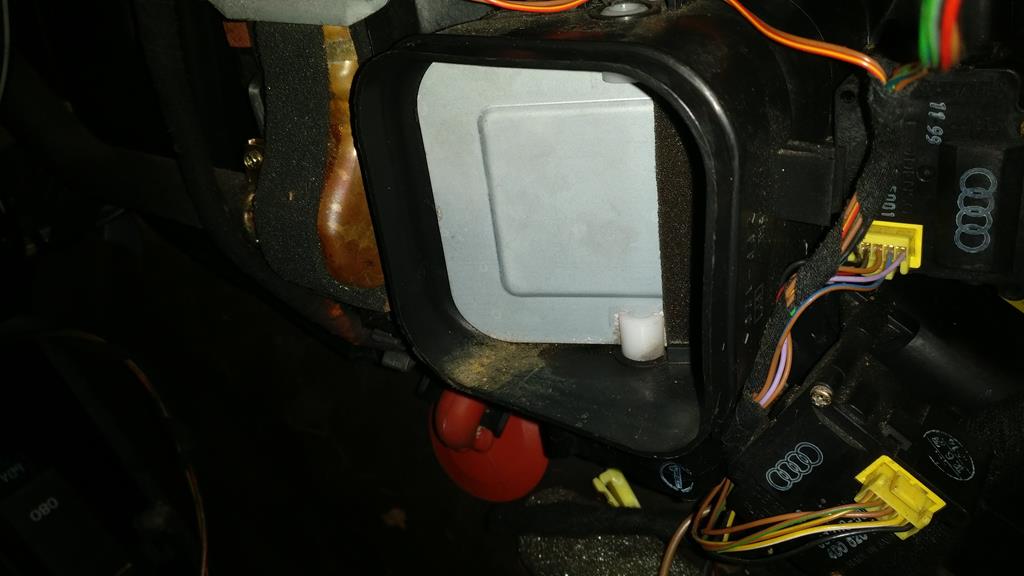
Obviously I had to tidy up behind the dash at this point. I think this car has been cleaned only once in 20 years and 300,000 miles, and that was by the original dealer

This pic is representative of the schmutz and detritus that infests every part of this car - inside, outside, underneath and in between


Thats better

I shall deep clean everything as I go through it.

This is quite the tide mark!
No wonder it was sopping wet inside


This is the replacement dash ready to go back in, although it may be Sunday before that happens as I have to replace the foam seals on the HVAC box first.

I think a lower colour change (ie excluding head liner) could easily be done over a weekend between two people. I will get close, but likely will be slowed down cleaning inside the car as I go, and cleaning the replacement interior before it goes in. I'm also going to run the Aromatek overnight tomorrow to try and remove the stale tobacco smell from the alcantara headlining.
I actually planned to clean the interior before I started the job, but pulling the alarm out accelerated the plan slightly!