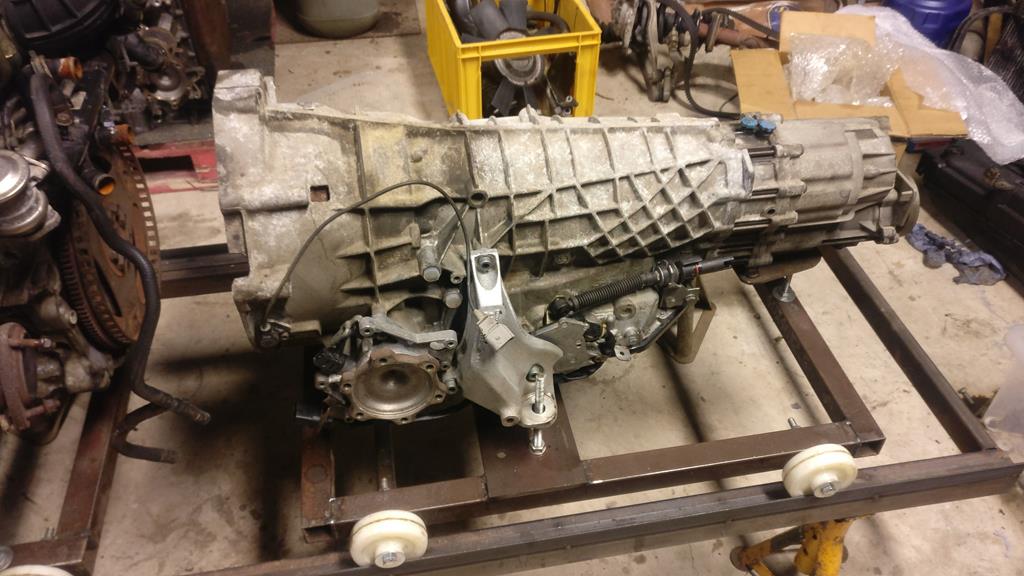
Gearbox day. Pic heavy, but Ian did say the forum has plenty of storage

Lifted off the separating machine

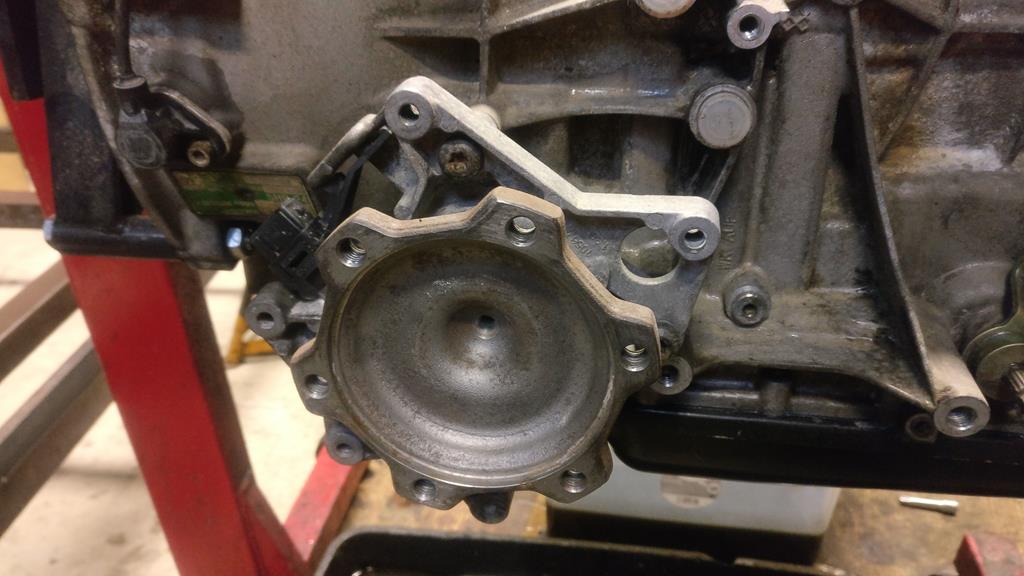
and on to the engine stand
A previous owner has flushed something through the scuttle drains which has formed a type of asphalt all over the gearbox. I've never seen anything like it before - my usual degreaser won't touch it, and it can't be mechanically removed with a brush. It has to be chiseled / scraped off and then attacked with some special industrial-strength degreaser which tends to dissolve any petrochemical product other than polythene so needs to be used with great care! Even then, it was quite a task to remove it. Very odd stuff.


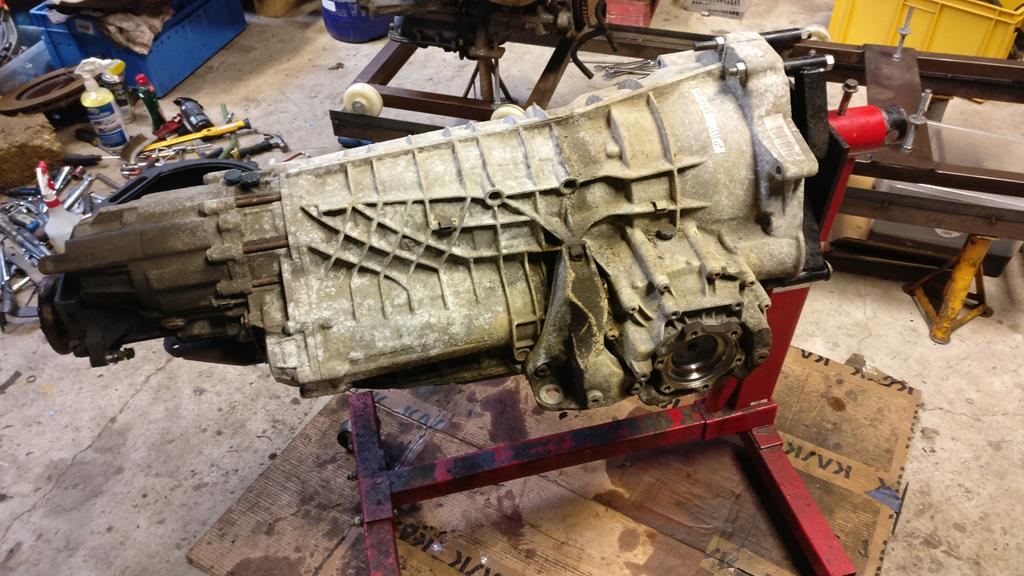
After cleaning and draining the fluids, I flipped it over to remove the sump

No sludge in the pan, magnets not too furry


Nice and clean inside


After letting it drain over lunch, I filled the oil pickup with fresh oil

then fitted the new filter, also primed with oil

I nearly walked in to this monster which had got bored of hiding in the wheel well


Pan and magnets cleaned then the sump re-fitted

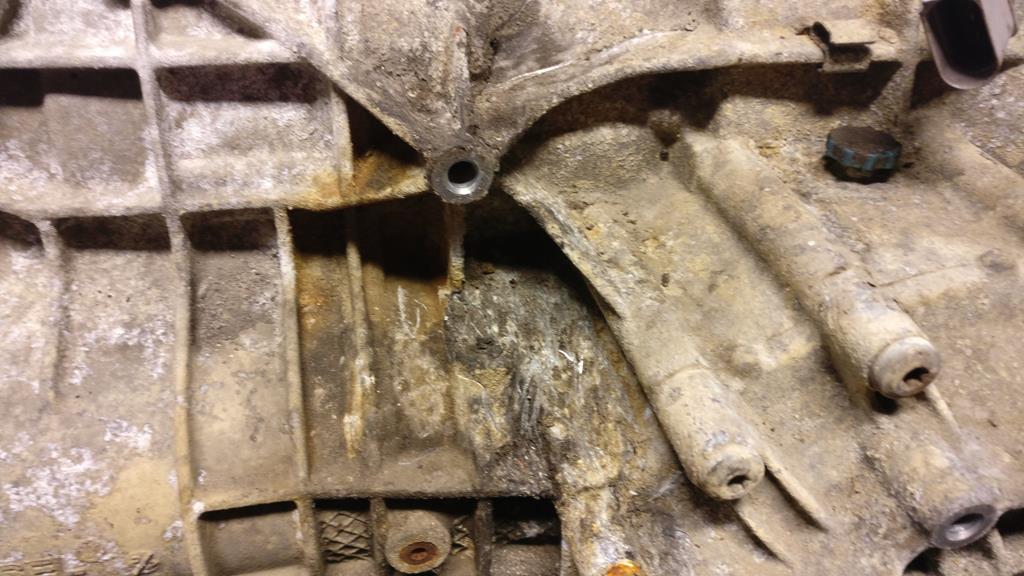
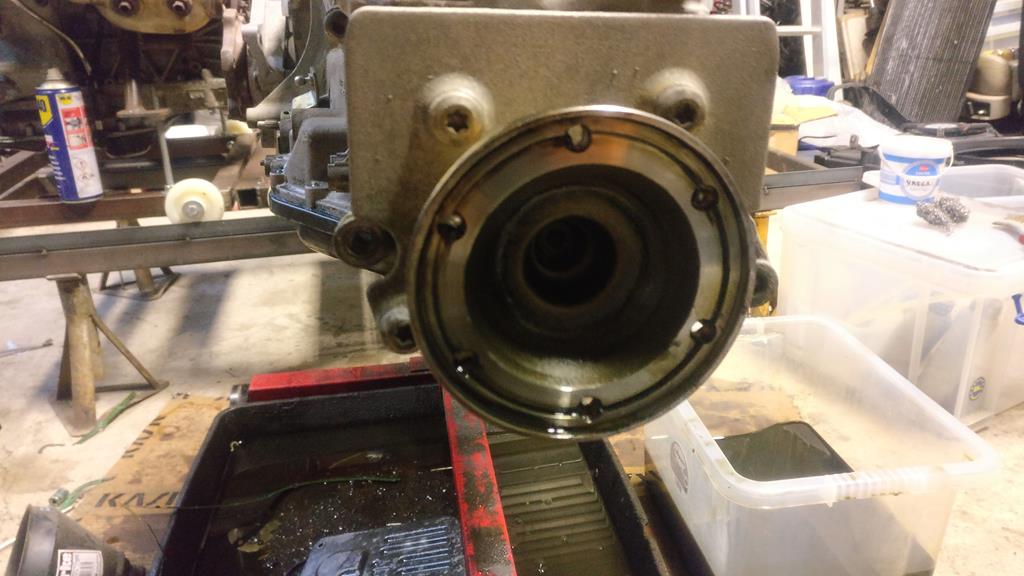
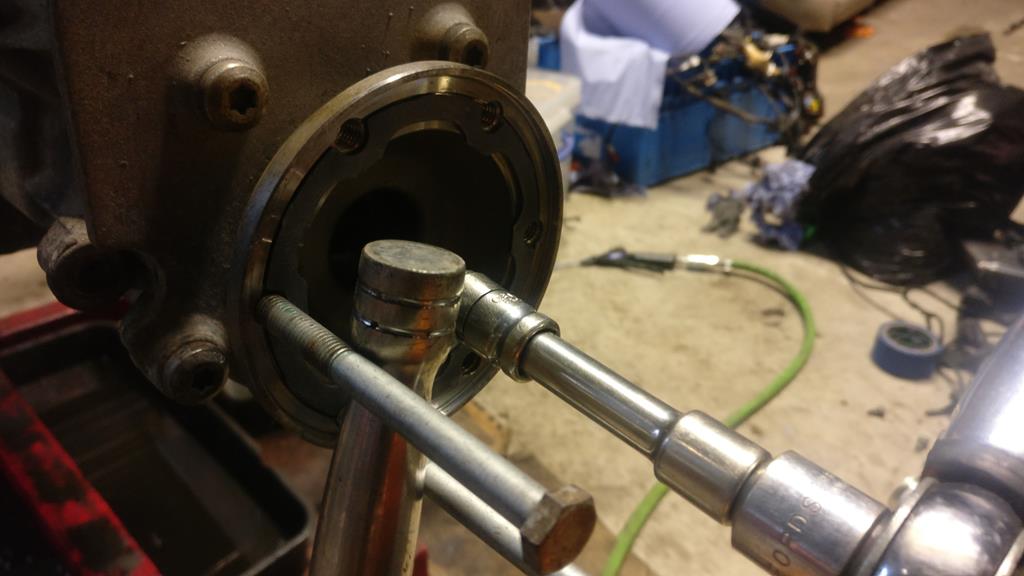
I replaced the bearing and oil seal on the left hand flange as that had a fairly catastrophic leak
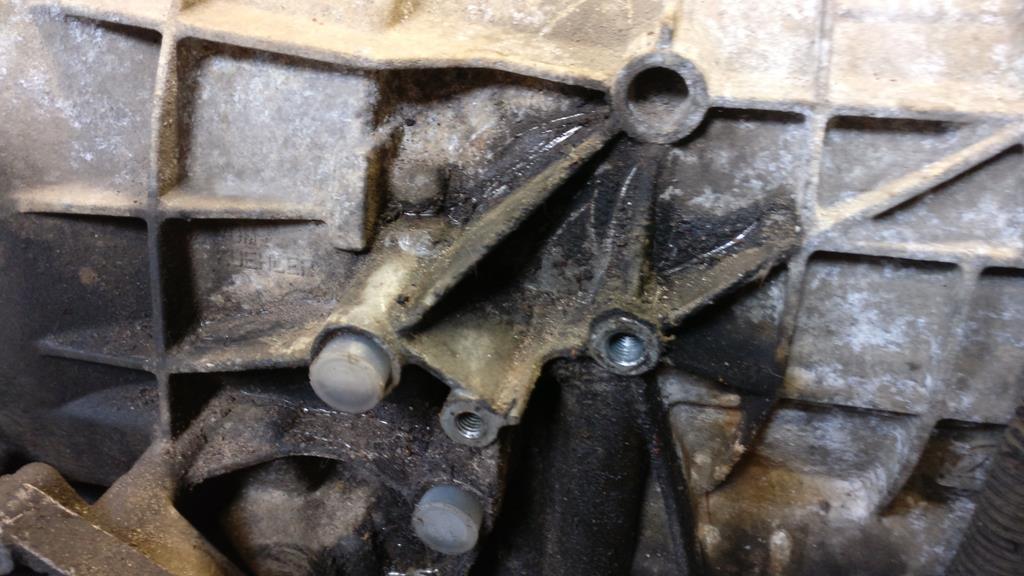
Whoever last did the rear output seal forgot to fit the gasket on the flange

Hold it still with two bolts and a breaker bar to crack loose the bolt in the centre

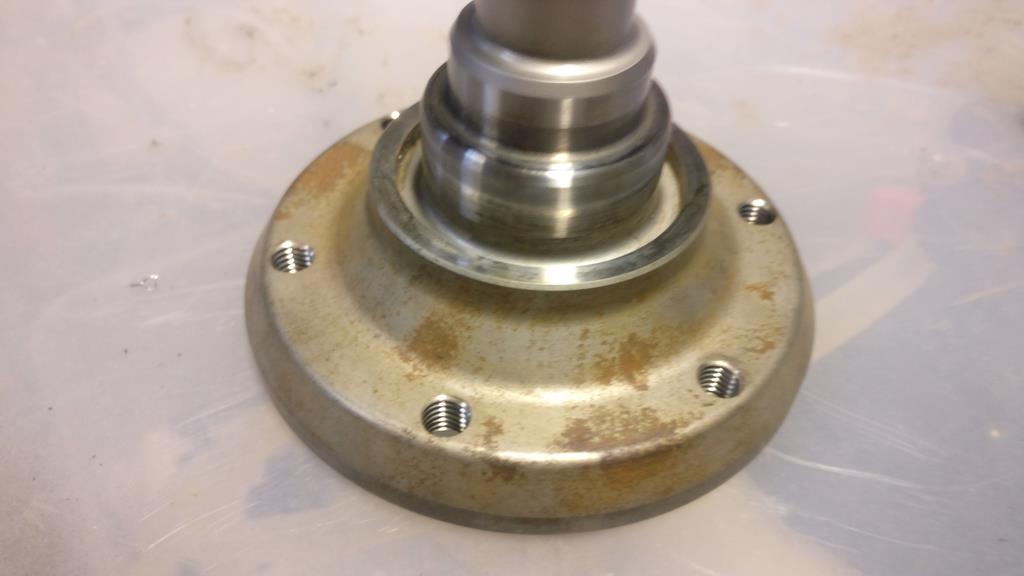
Turns out this one has had the revised flange and oil seal fitted. The seal has an extra lip on it, and the flange has a cutout for the lip. I think the intention was to stop grit getting in and damaging the oil seal, but these revised versions fail just as frequently as the original, so obviously grit isn't the problem.

I keep both types of seal in stock as its pot luck which version any given car actually has. I took the opportunity today to make a drift to push the revised seal in to place, as it needs something to fit over the seal rather than just being flat. Previously I've used a socket, but this is better


It fits over the seal like this so it can be knocked in flush with the mounting flange
Same holding technique in reverse to torque up the bolt.
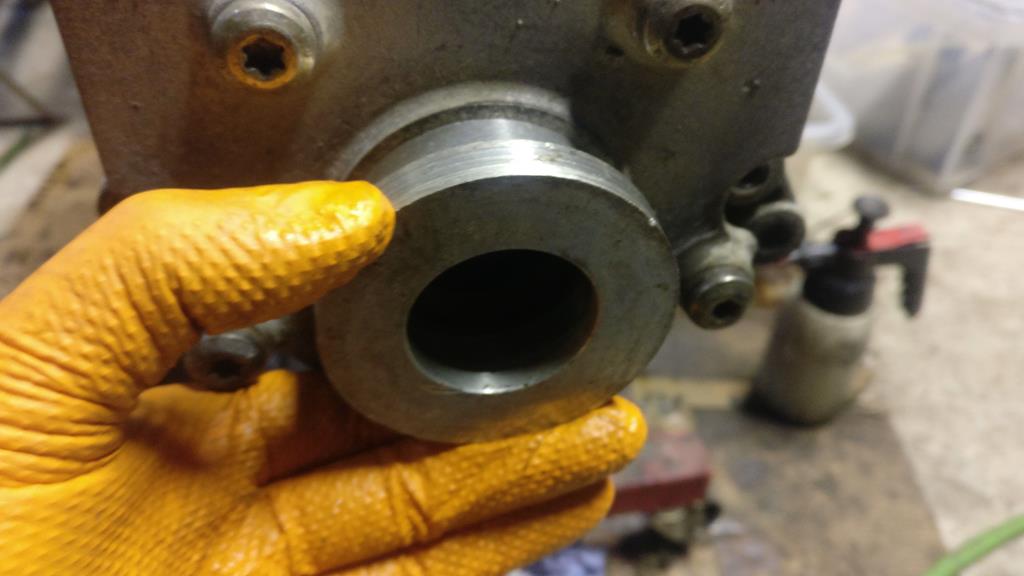
New gasket on the output flange

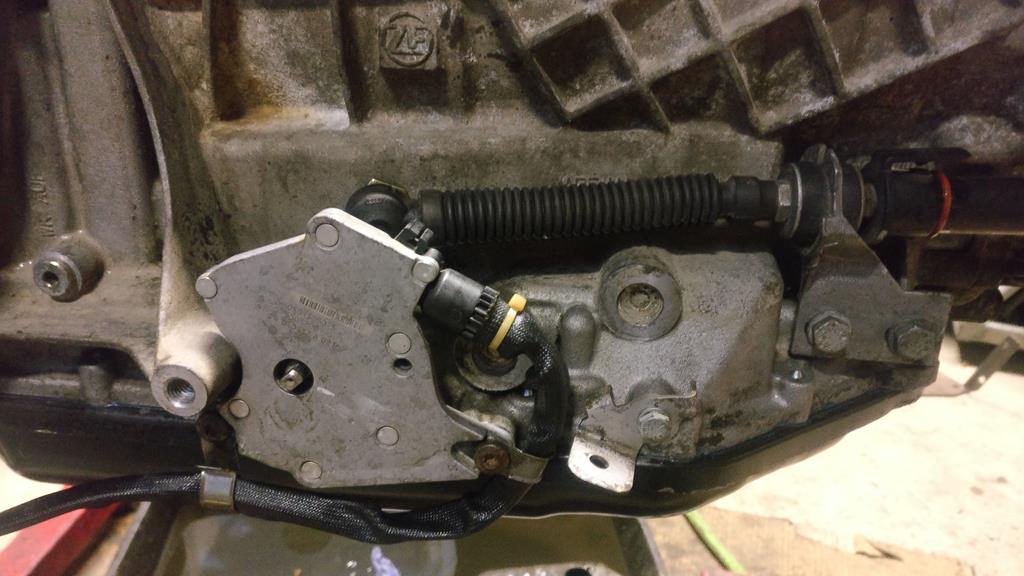
On to the F125. This is dated 2010 so was clearly replaced by the PO around the same time as it had a cam belt. This switch having been replaced before makes me question my diagnosis of the no-start problem, and now I wonder if it is a wiring issue. There's definitely no neutral signal reaching the ECU box from the F125, but it may be nibbling rather than an F125 fault. As I am replacing the wiring harness, that may well solve it so I am refitting the F125 without opening it up for now. I will test it when the wiring harness goes back on and see what it does. For now, I need it fitted in order to put the gearbox mount back on so it can go back on the separating machine.
Also in this pic a replacement shifter end, since the previous one was well nibbled.
Back on the separating machine. I will fill up the fluids and reattach engine and gearbox tomorrow.