
|
|
|||||||
| D3 - Body and Exterior Bumpers, bonnets, glass, trims - Everything outside |
 |
|
|
Thread Tools | Display Modes |
|
#1
 2nd December 2017, 11:58 PM
|
|||
|
|||
|
Hey guys,
So i started to suffer from a faulty door lock on the rear passenger door. The door wouldn't open from the exterior door handle but it would from the interior handle. VCDS revealed the following fault codes stored in the door control module: ------------------------------------------------------------------------------- Address 62: Door, Rear Left Labels: 4E0-910-802.lbl Part No SW: 4E0 910 802 A HW: 4E0 959 801 D Component: Türsteuer.HL BRM005 0180 Coding: 0028462 Shop #: WSC 02313 785 00200 VCID: 1E3454EBC9CD25B683-804A 1 Fault Found: 02115 - Locking Unit for Central Locking 008 - Implausible Signal Freeze Frame: Fault Status: 01101000 Fault Priority: 2 Fault Frequency: 0 Reset counter: 231 Mileage: 0 km Time Indication: 0 ------------------------------------------------------------------------------- A quick Google search revealed that this issue is caused by a faulty door lock on the verge of dying. The only fix for this was to replace the lock unit itself. I managed to find a 2nd hand one on ebay for £30. Part Number: 4E0 839 015 H Below is a guide on how to replace the unit. It is quite a task if i'm honest as you have to remove the following:
You will need the following tools: Cross Head screwdriver Torx 25 and 30 Screwdrivers 8mm Socket Ratchet Set M8 and M10 Triple head socket heads Trim Tools It's a good idea to have some door trim clips handy as you are very likely to damage them while removing. Part number: 6Q0868243 Firstly we have to remove the door trim. 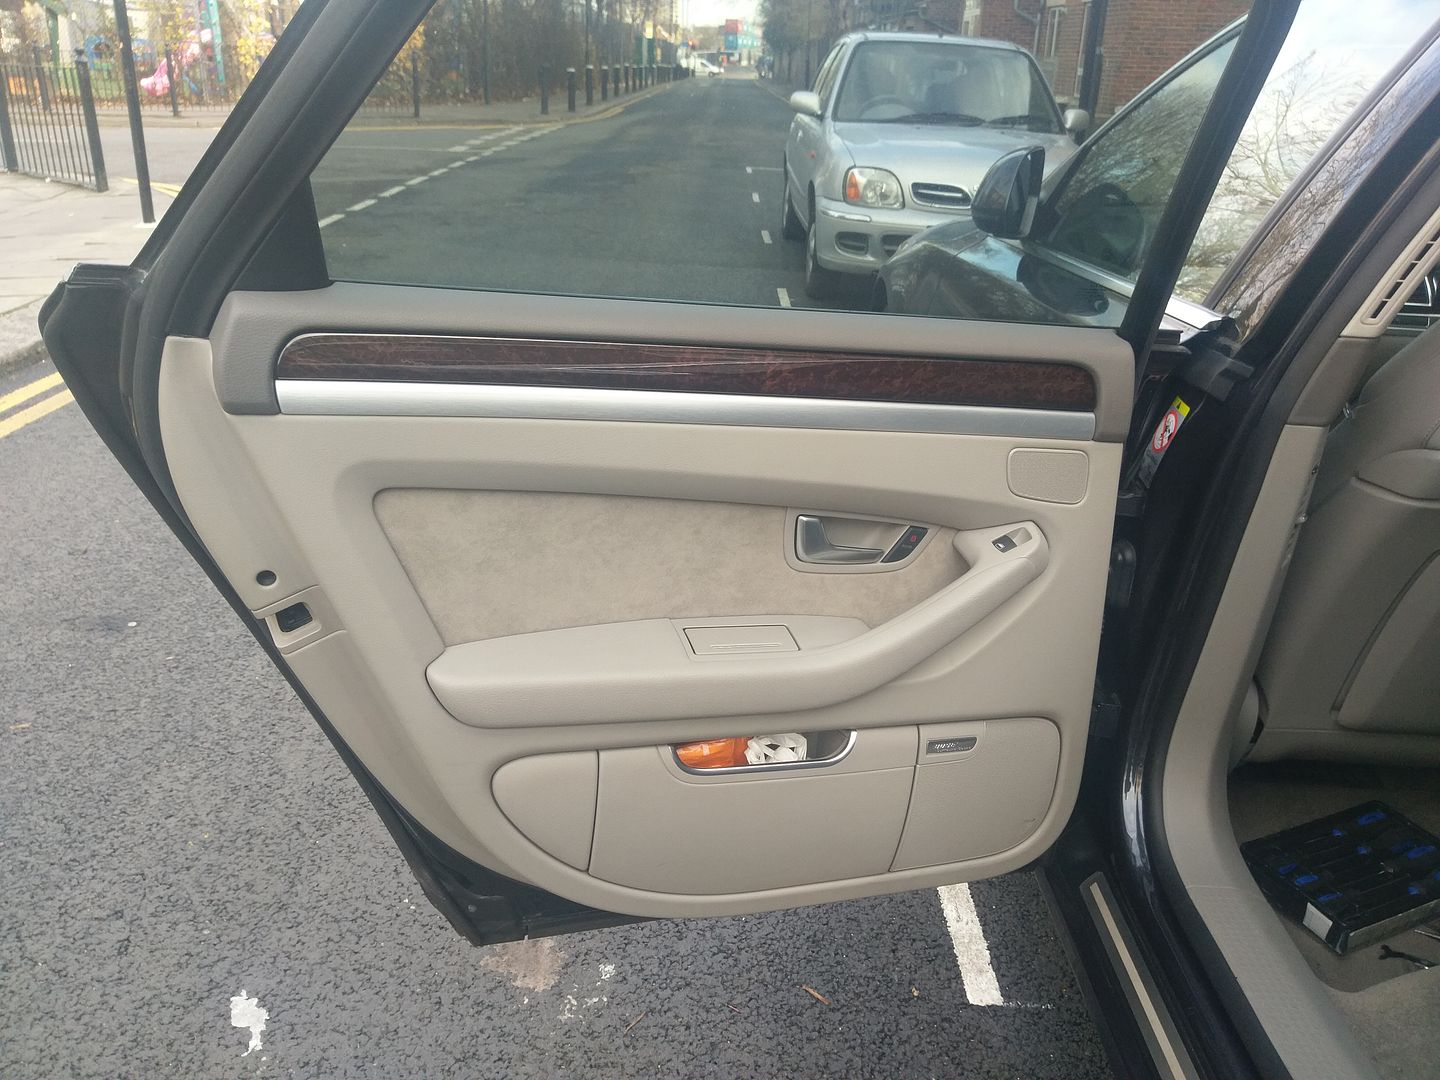 Prise off the tweeter cover with a trim tool 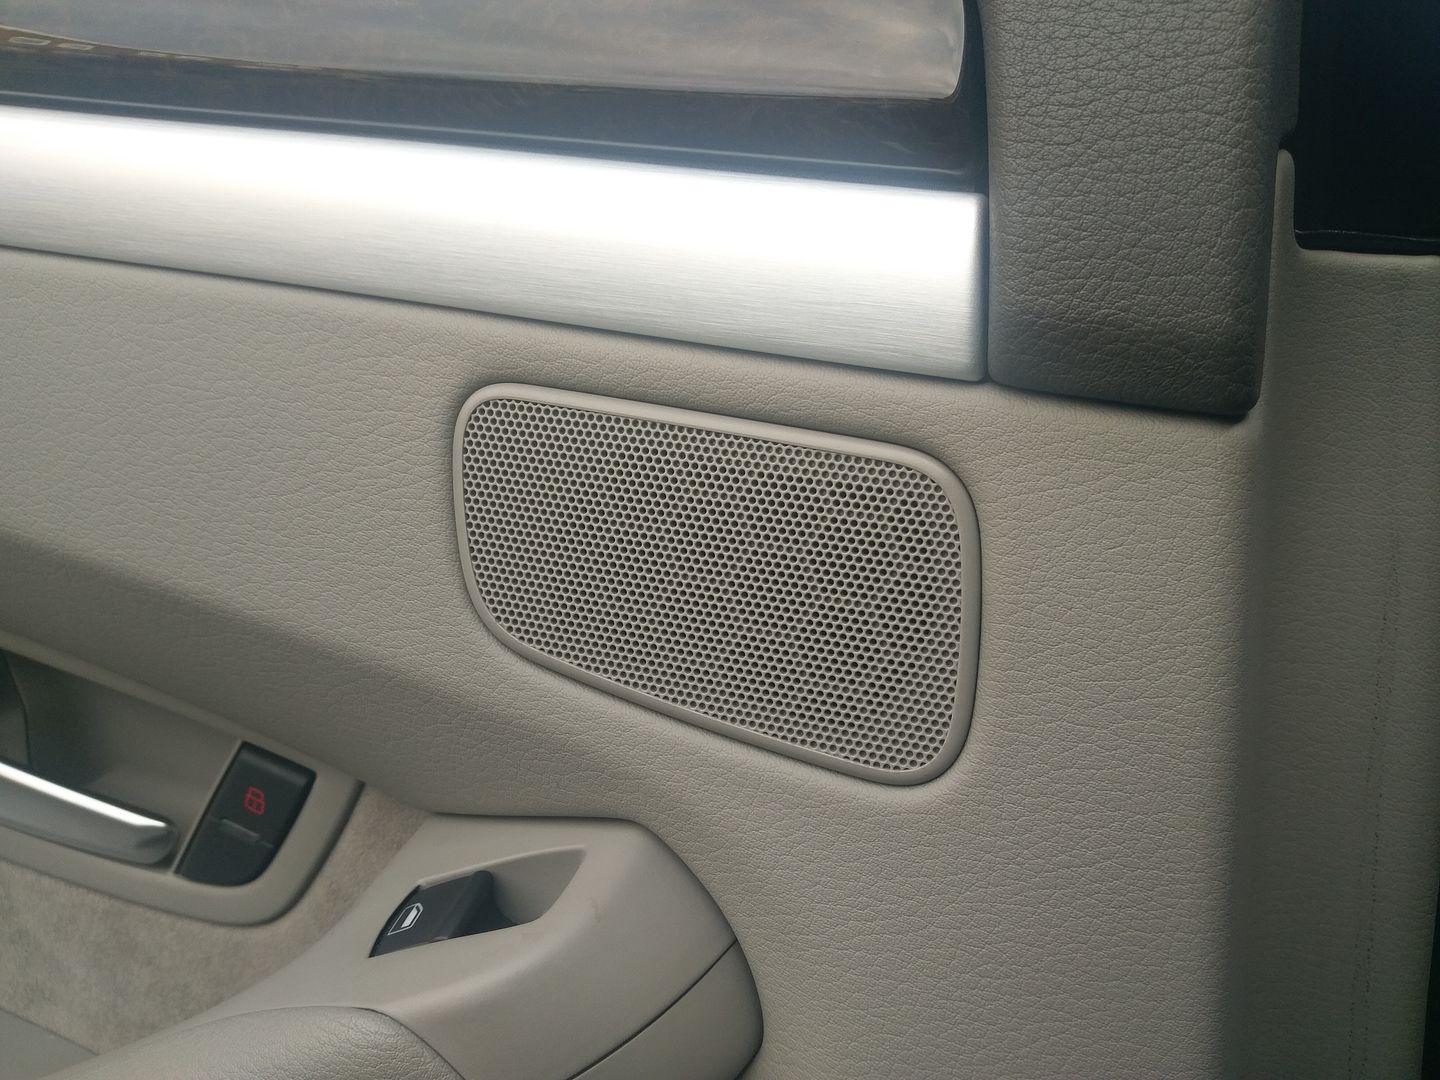 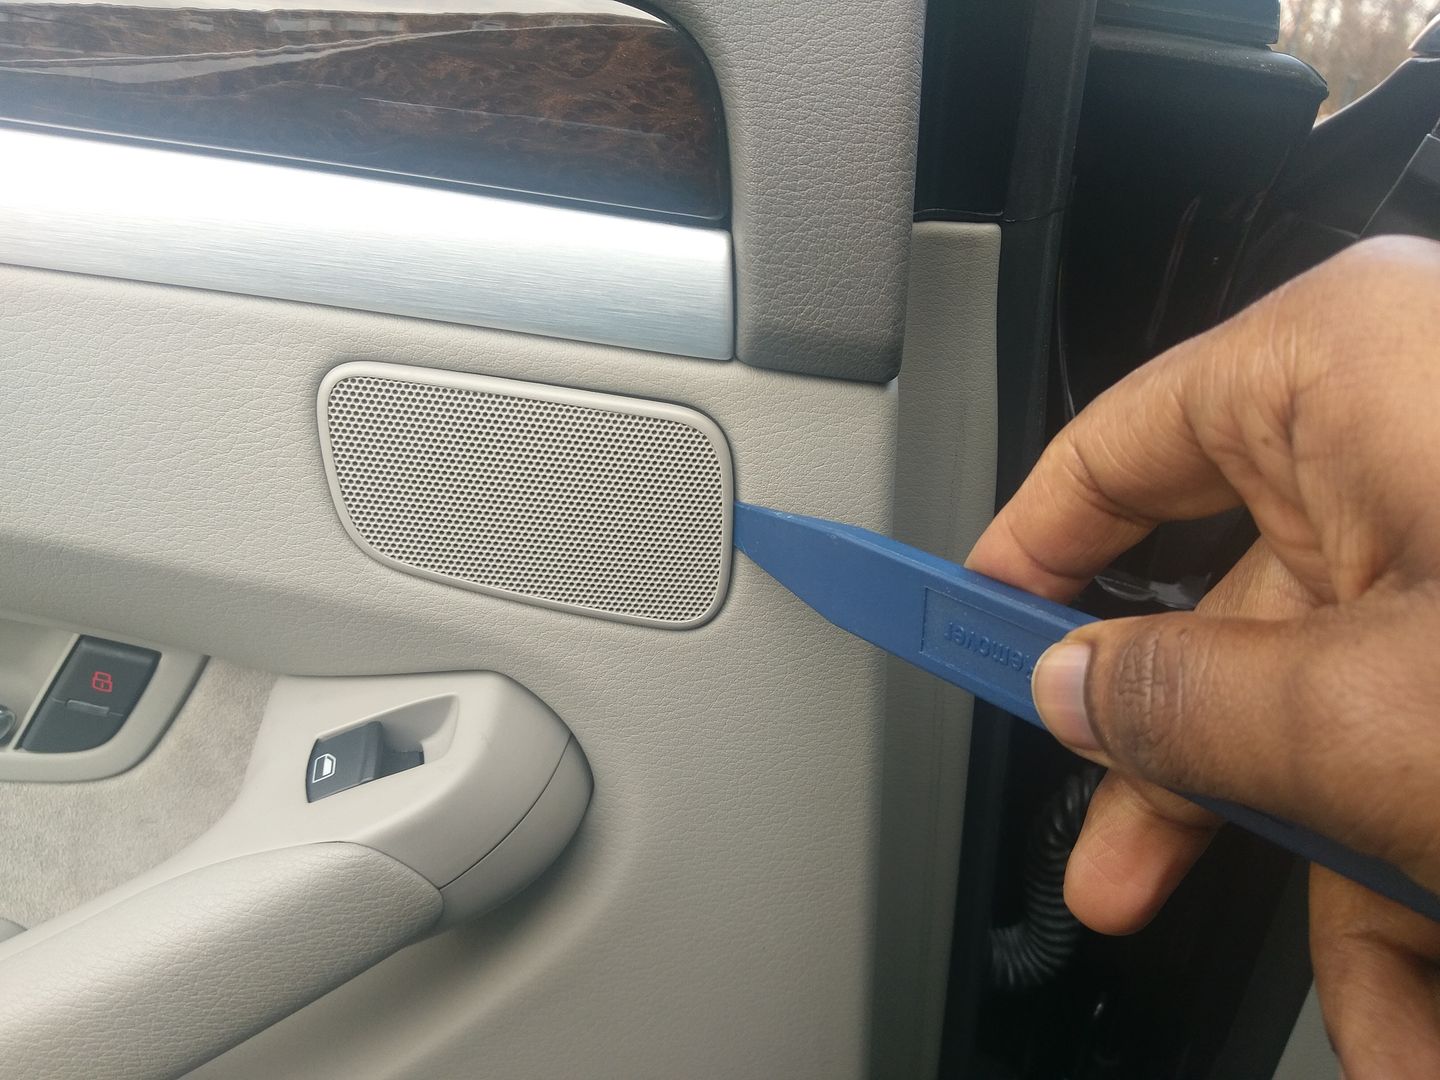  This reveals an 8mm bolt which we need to remove. 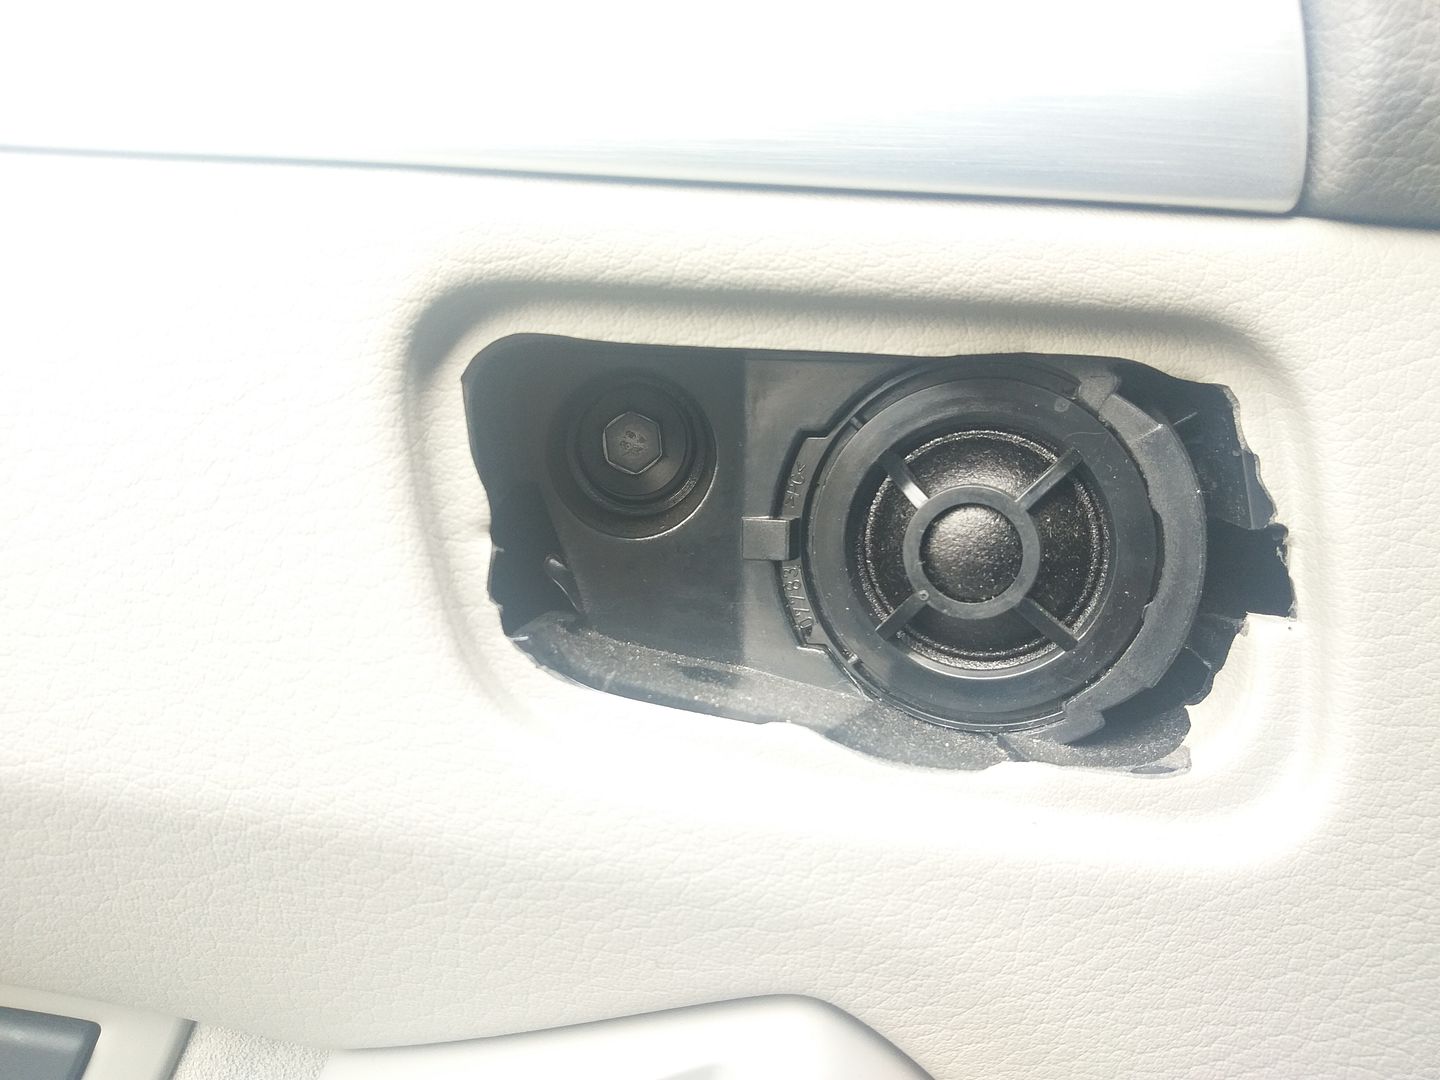 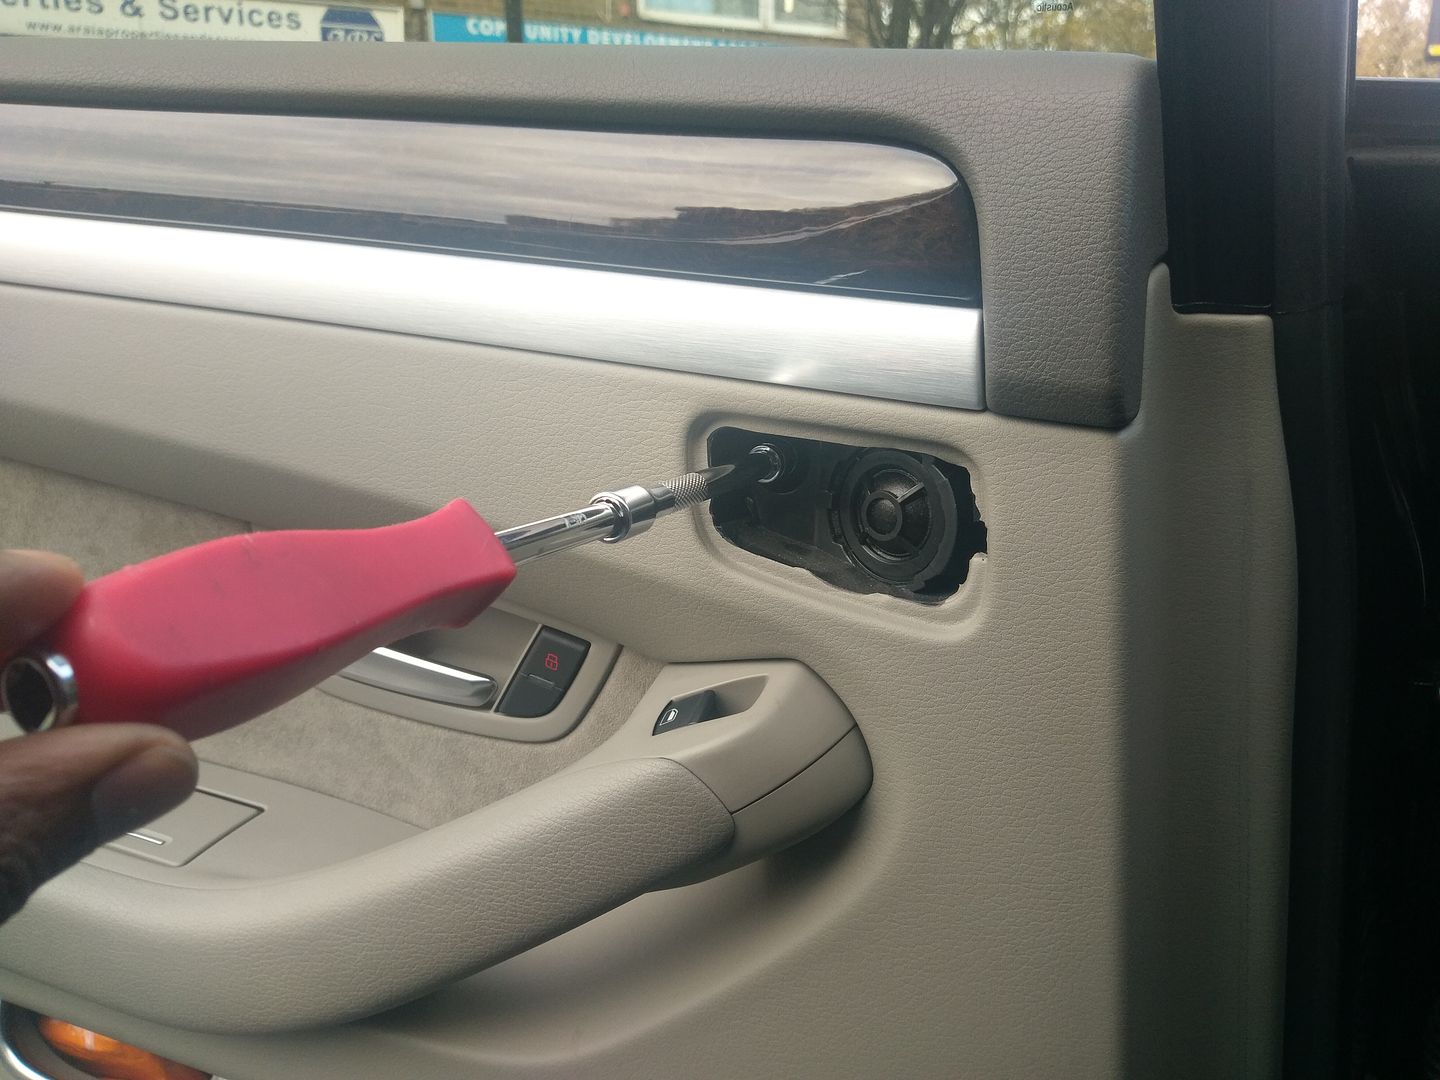 There's another 8mm bolt inside the storage compartment. Always leave the compartment closed while attempting to remove the bolt otherwise it will get stuck behind the door trim insulation.. it's just more work for you to remove it..save yourself the hassle. 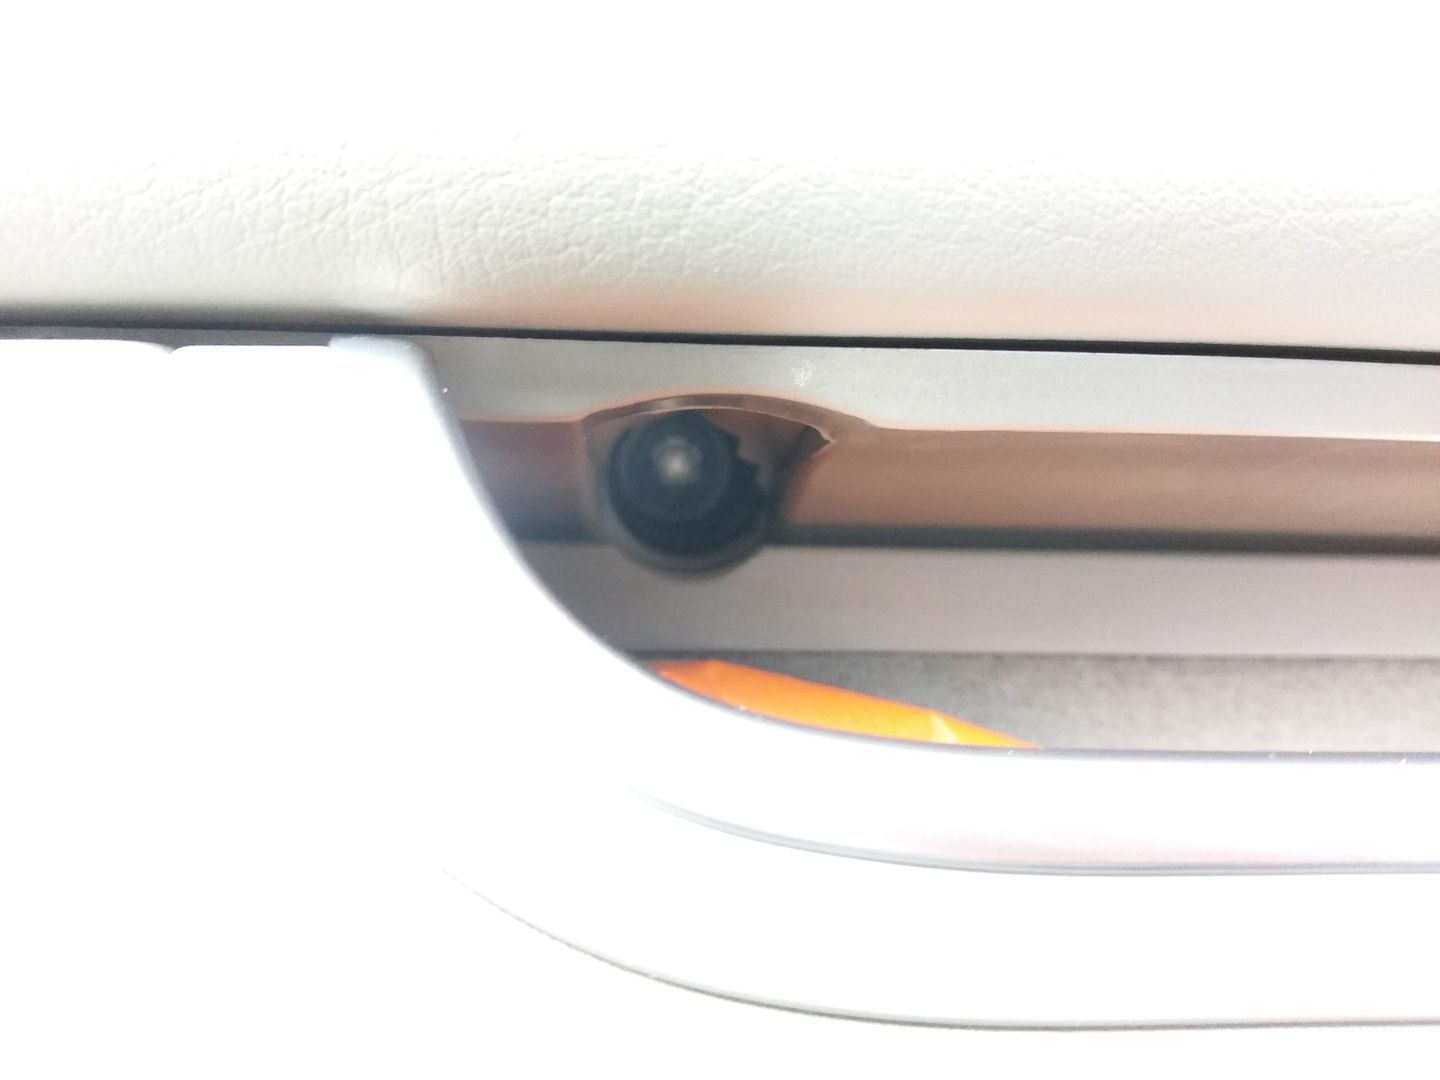 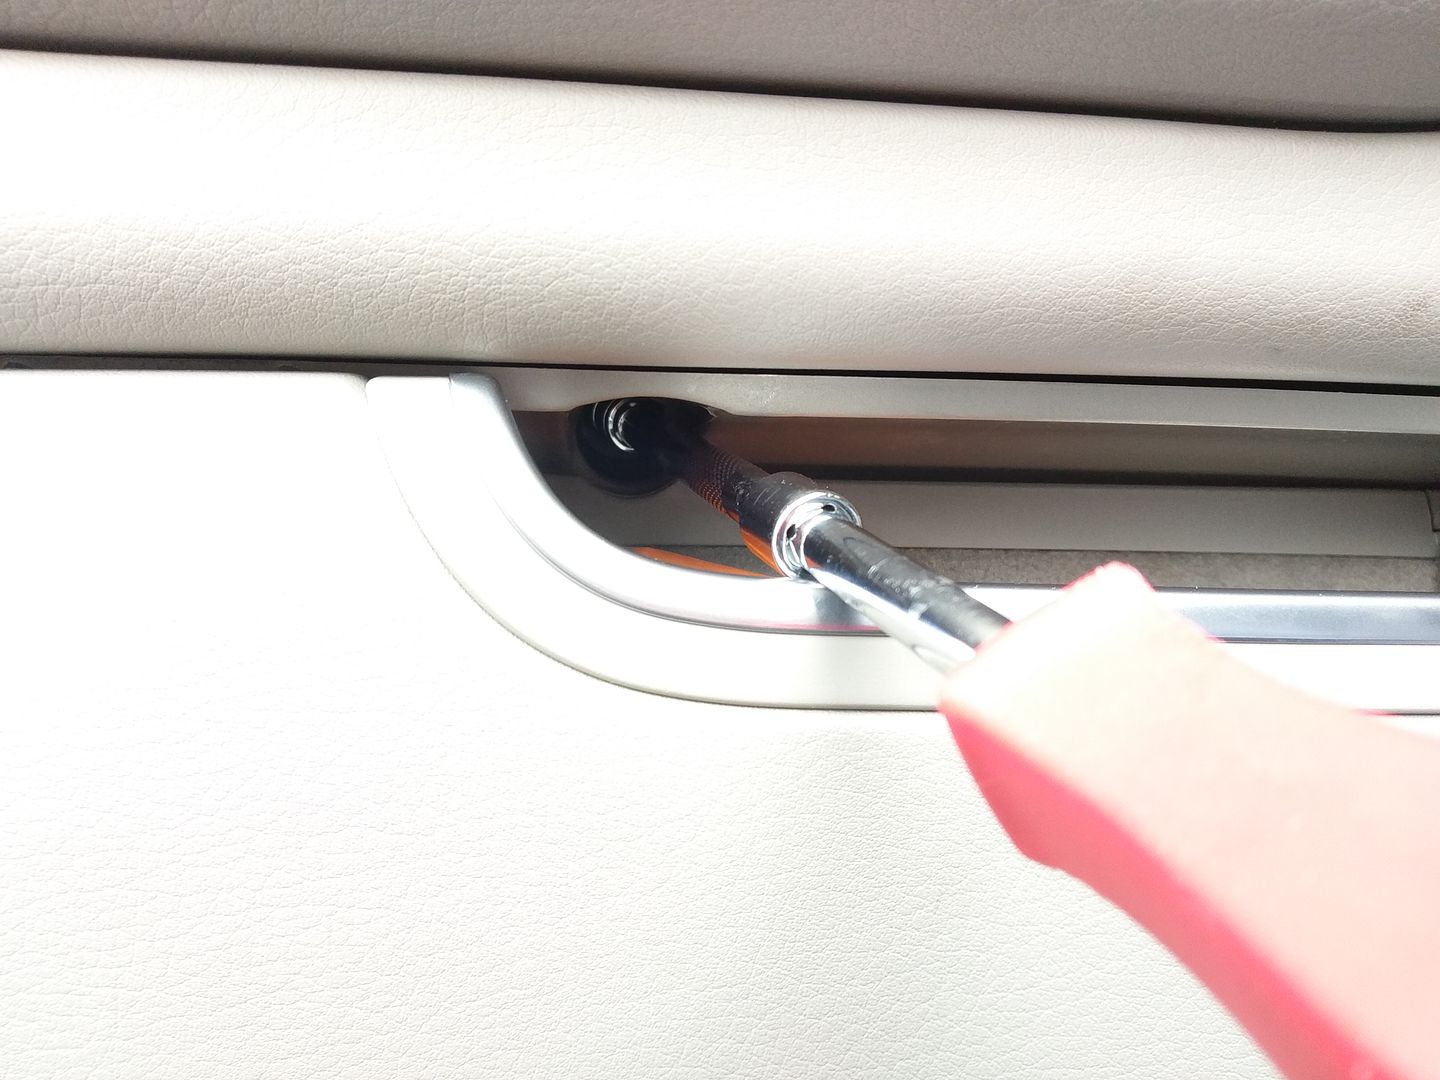 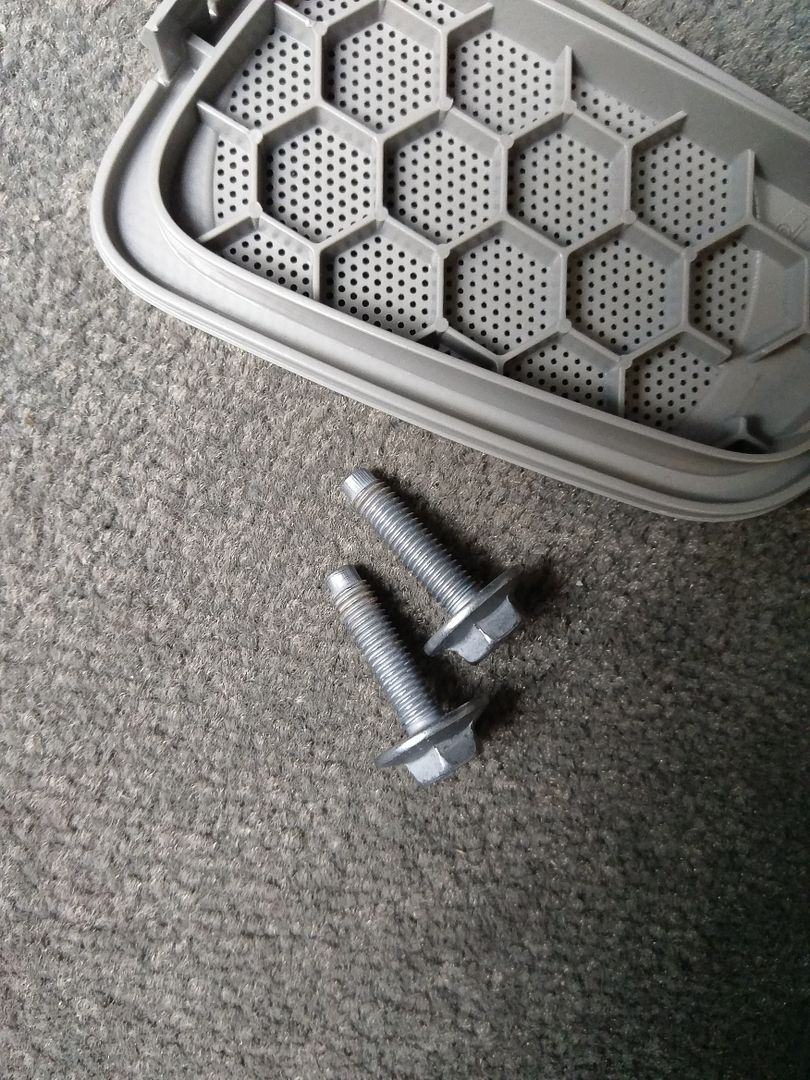  We now have to remove the door trim. Do so by starting at the bottom...slide a trim tool or even your fingers and start pulling the trim towards you to disengage the clips. It's hande if you can have someone stand and hold the door firmly while pulling. Once the bottom clips are out slowly pull upwards and lift off the trim to reveal the bowden cable and tweeter wiring which we have to disconnect from the loudspeaker. 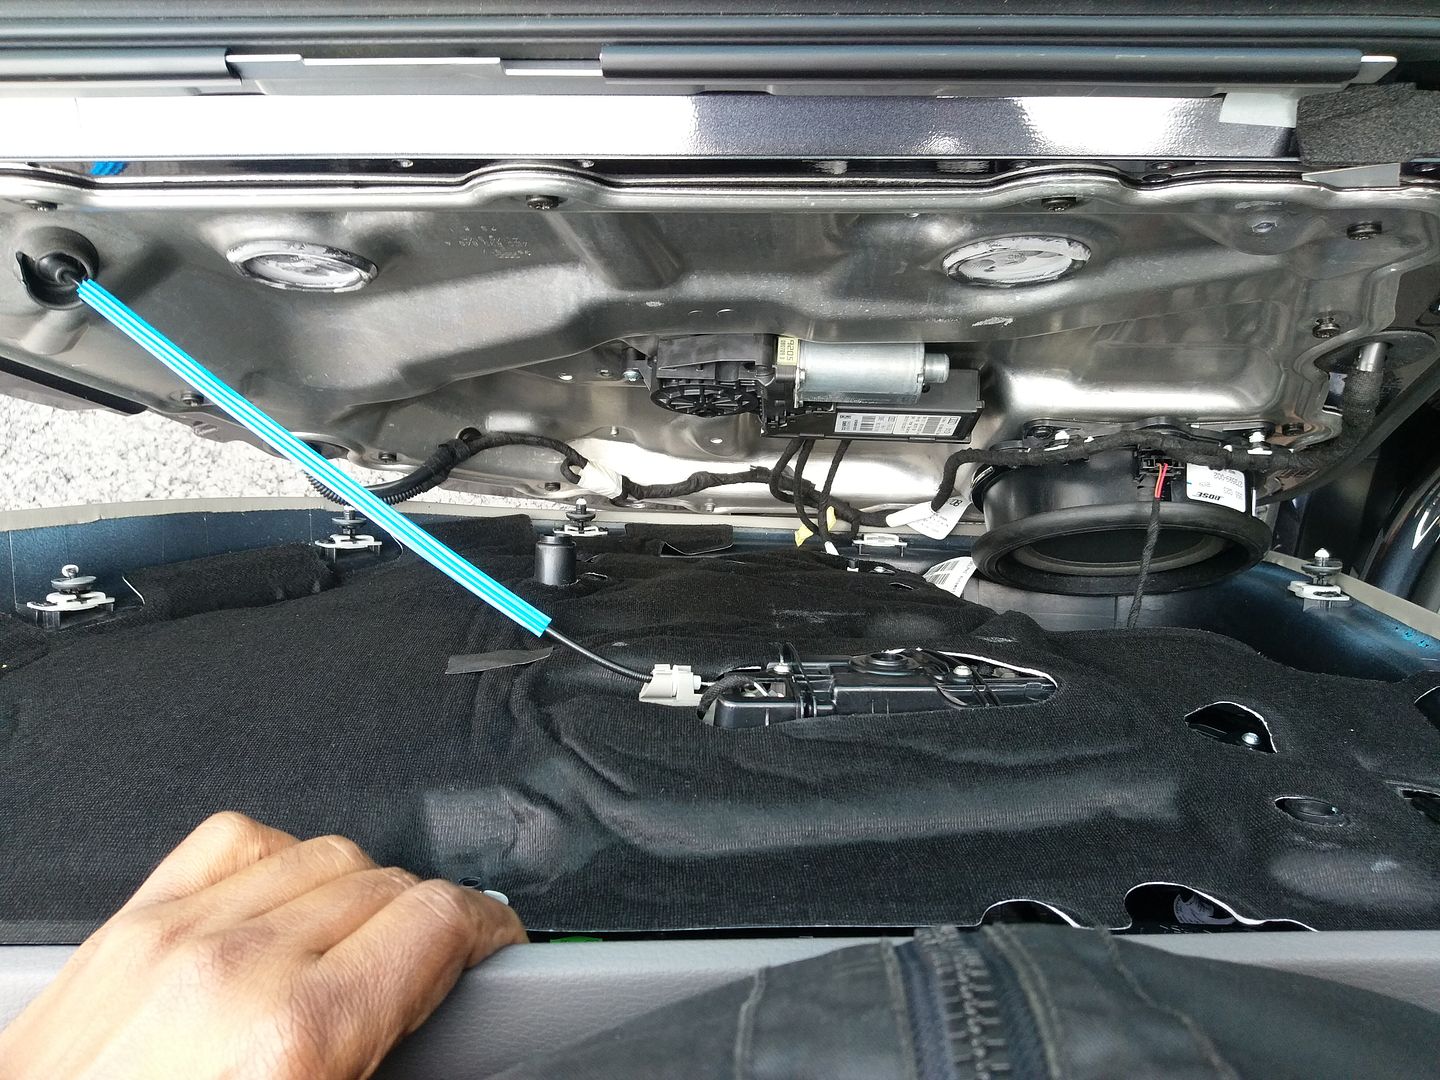 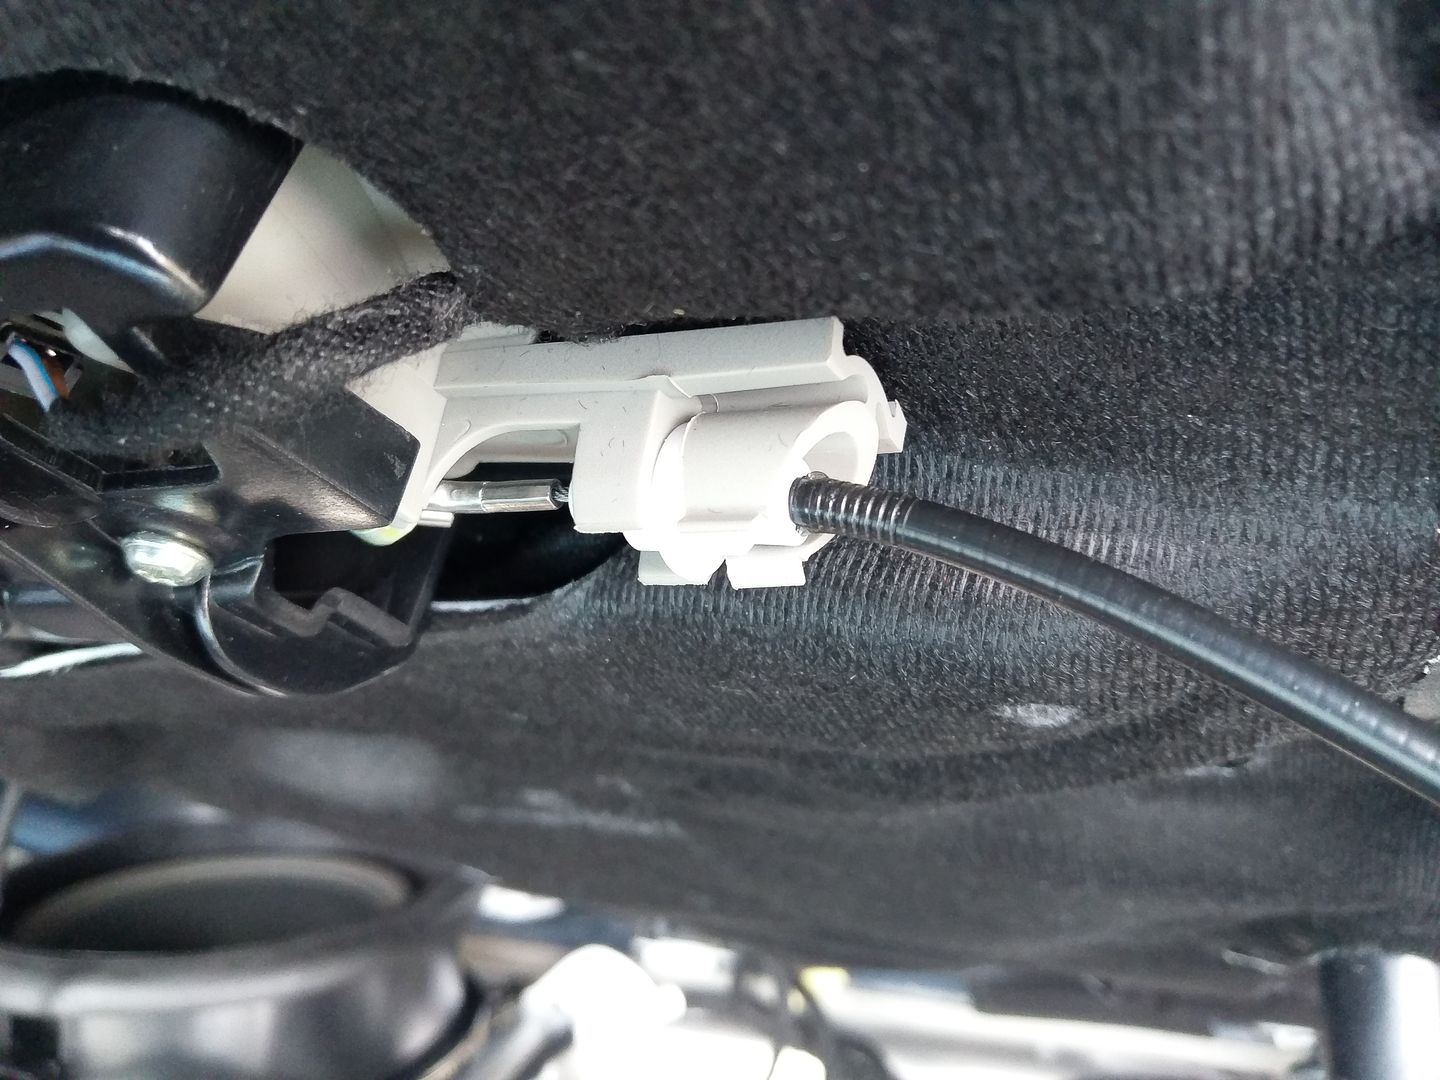 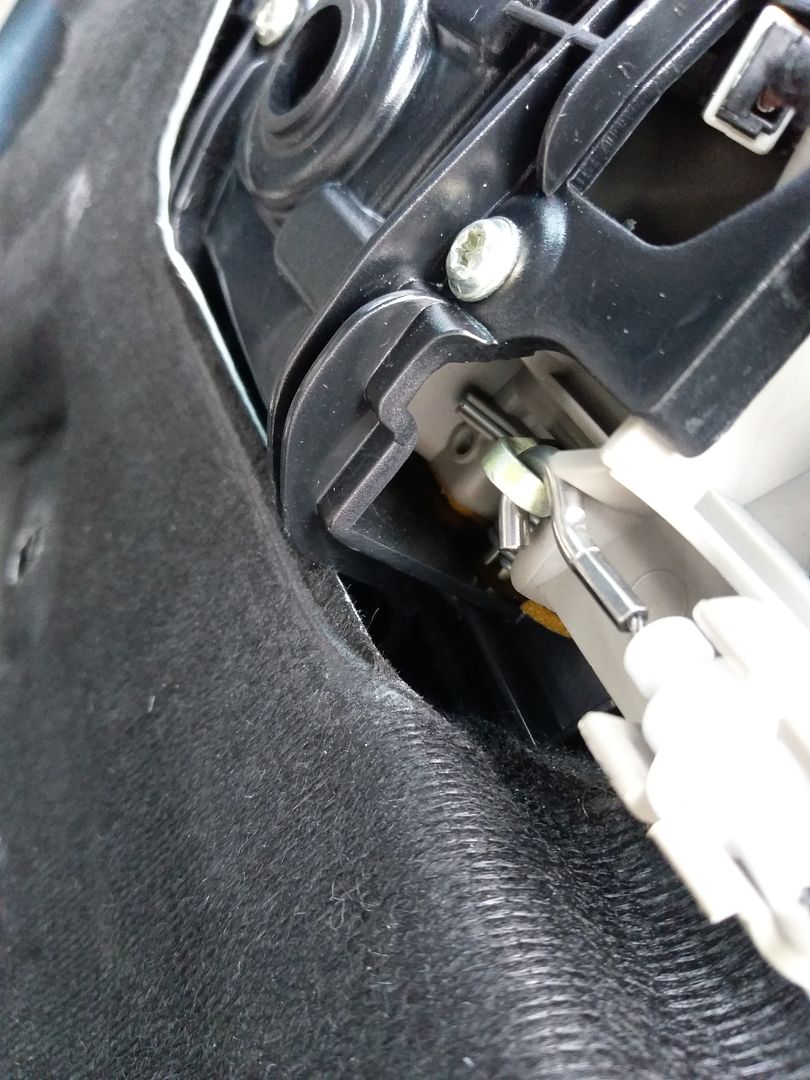 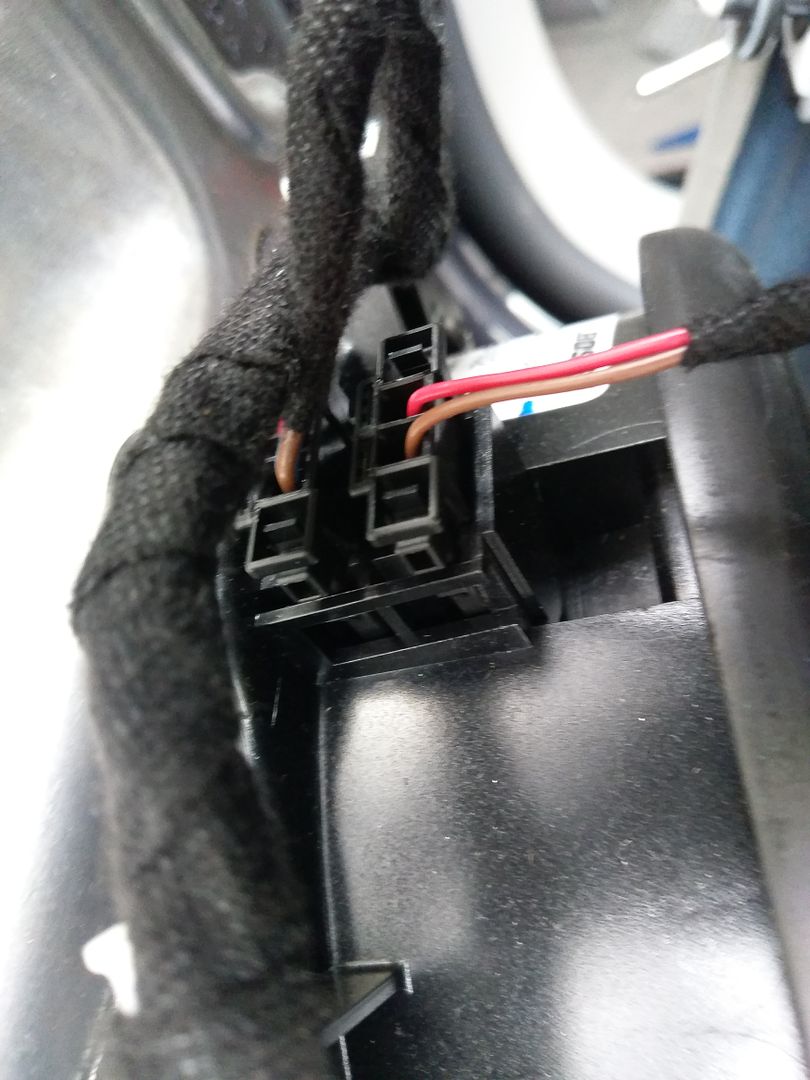 If you can get someone to hold the door trim for you, it's much easier to disconnect the cables and wiring especially the door trim wiring from the Door electronics module. 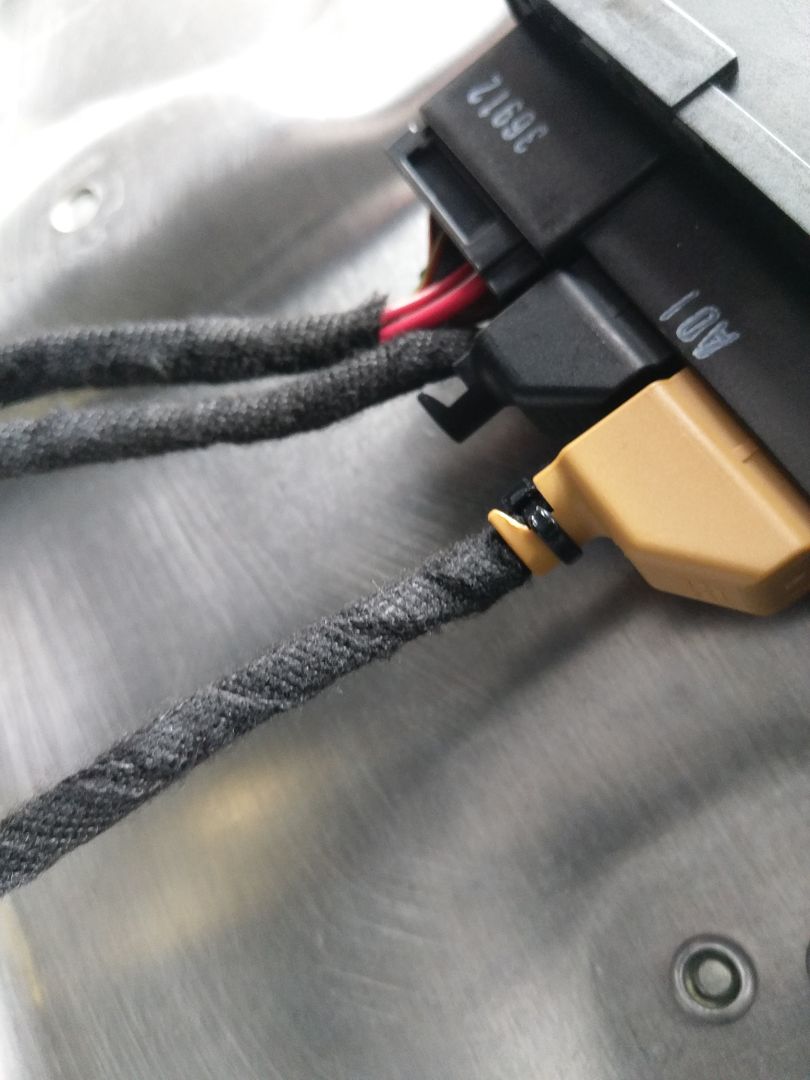 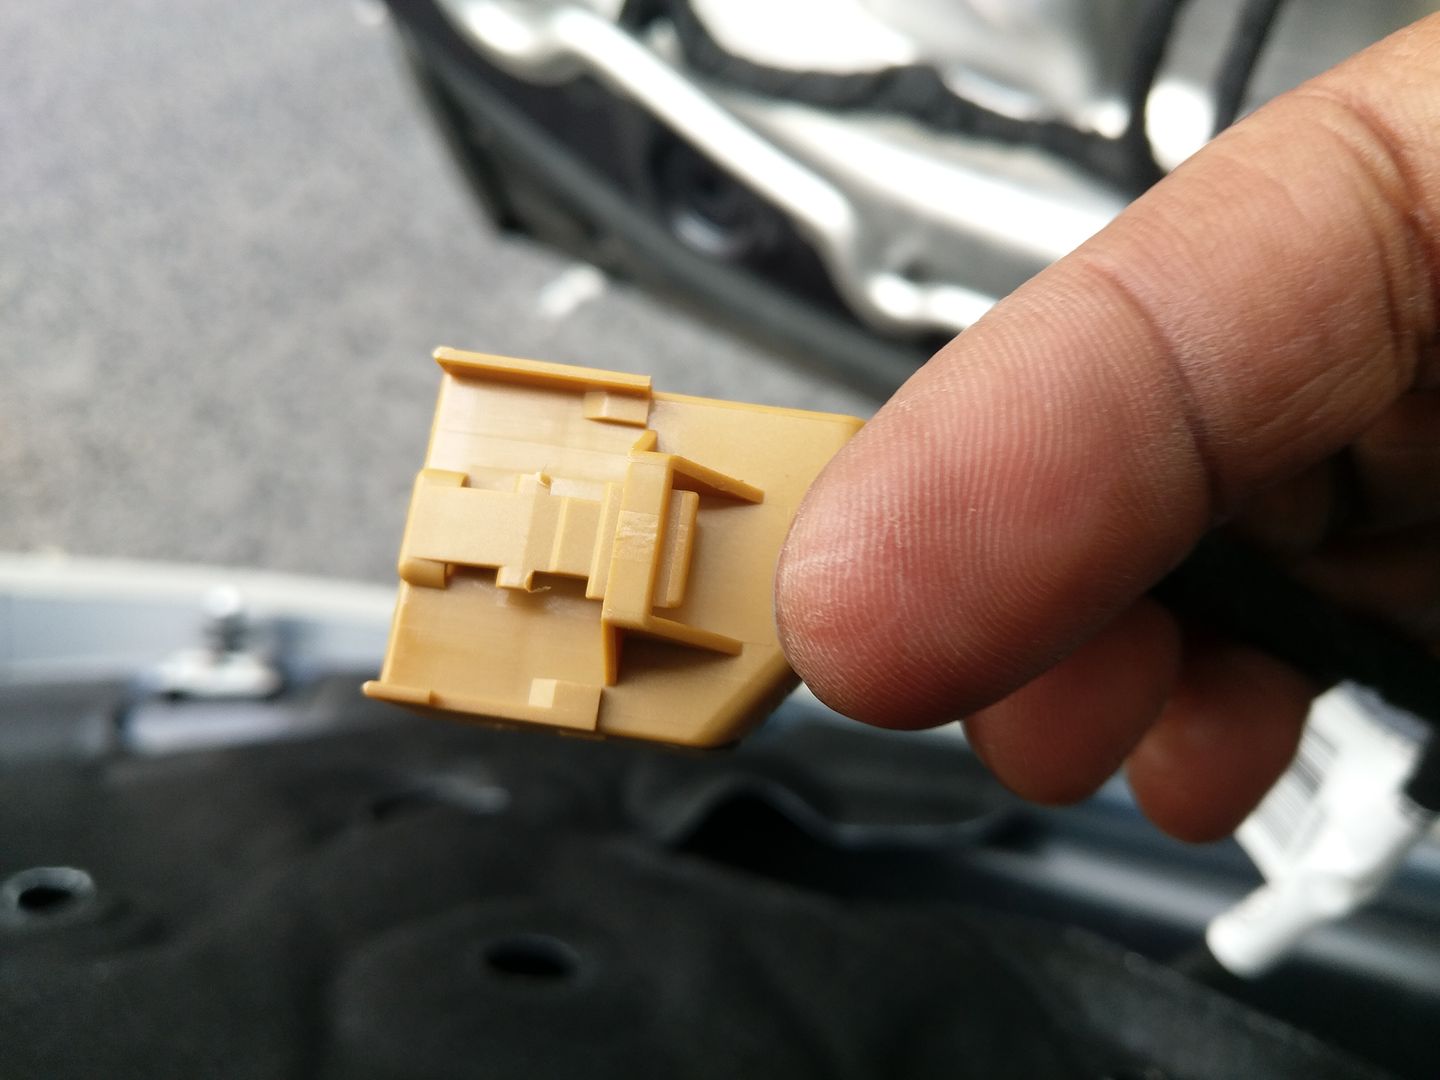 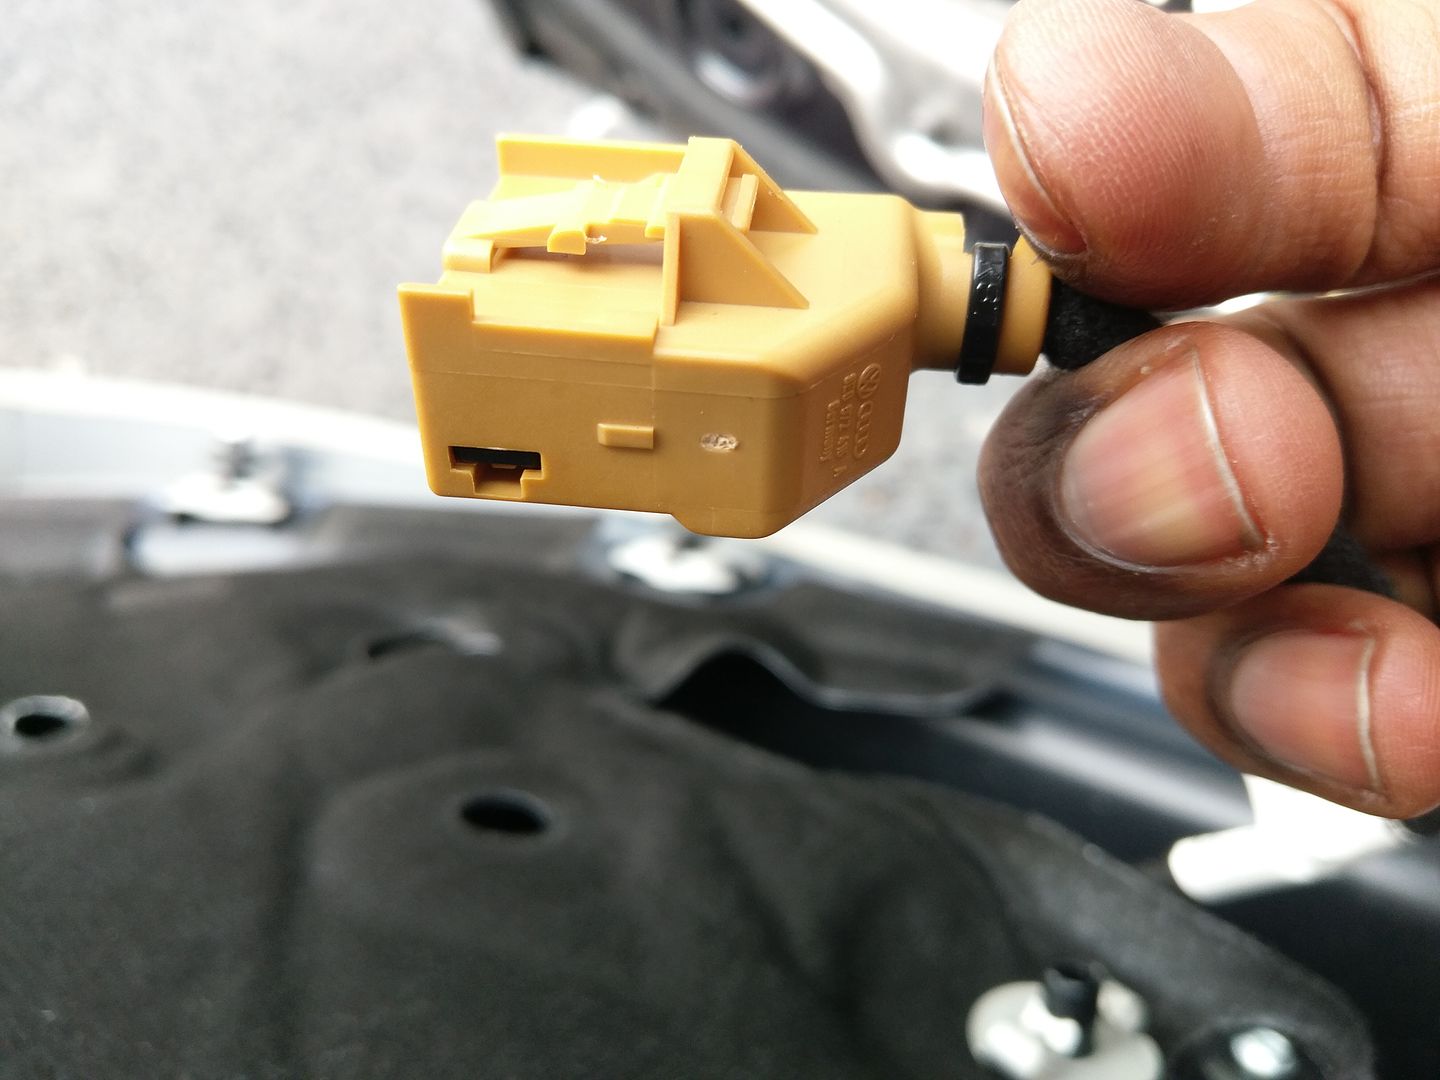 Example of a damaged door clip 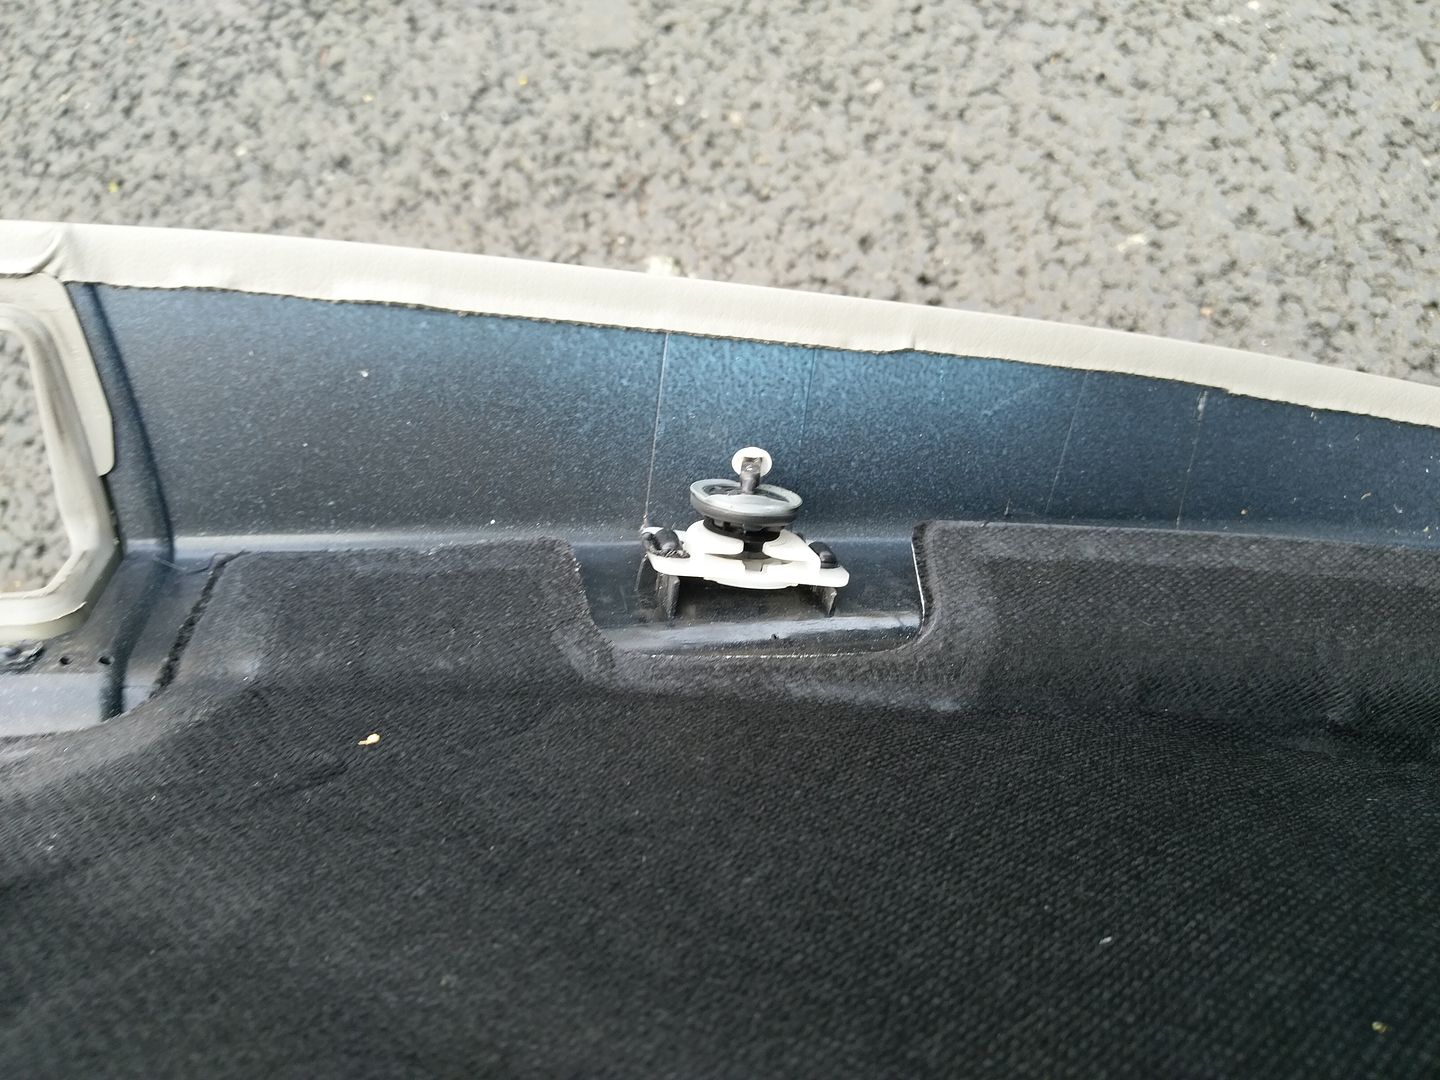 Door trim removed 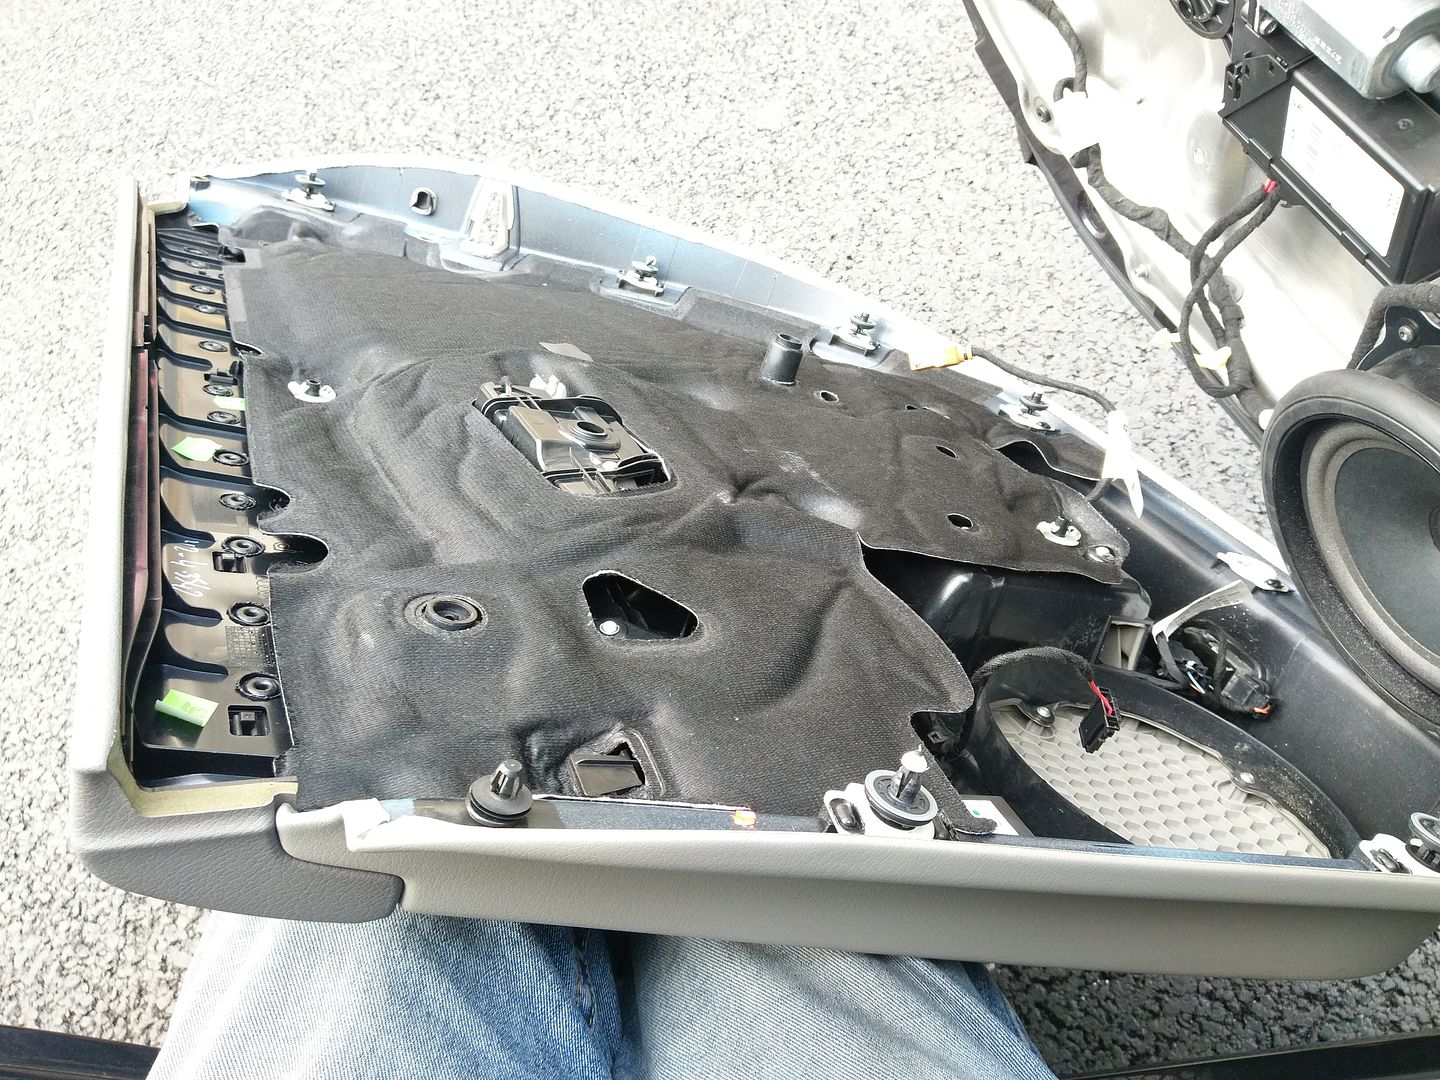 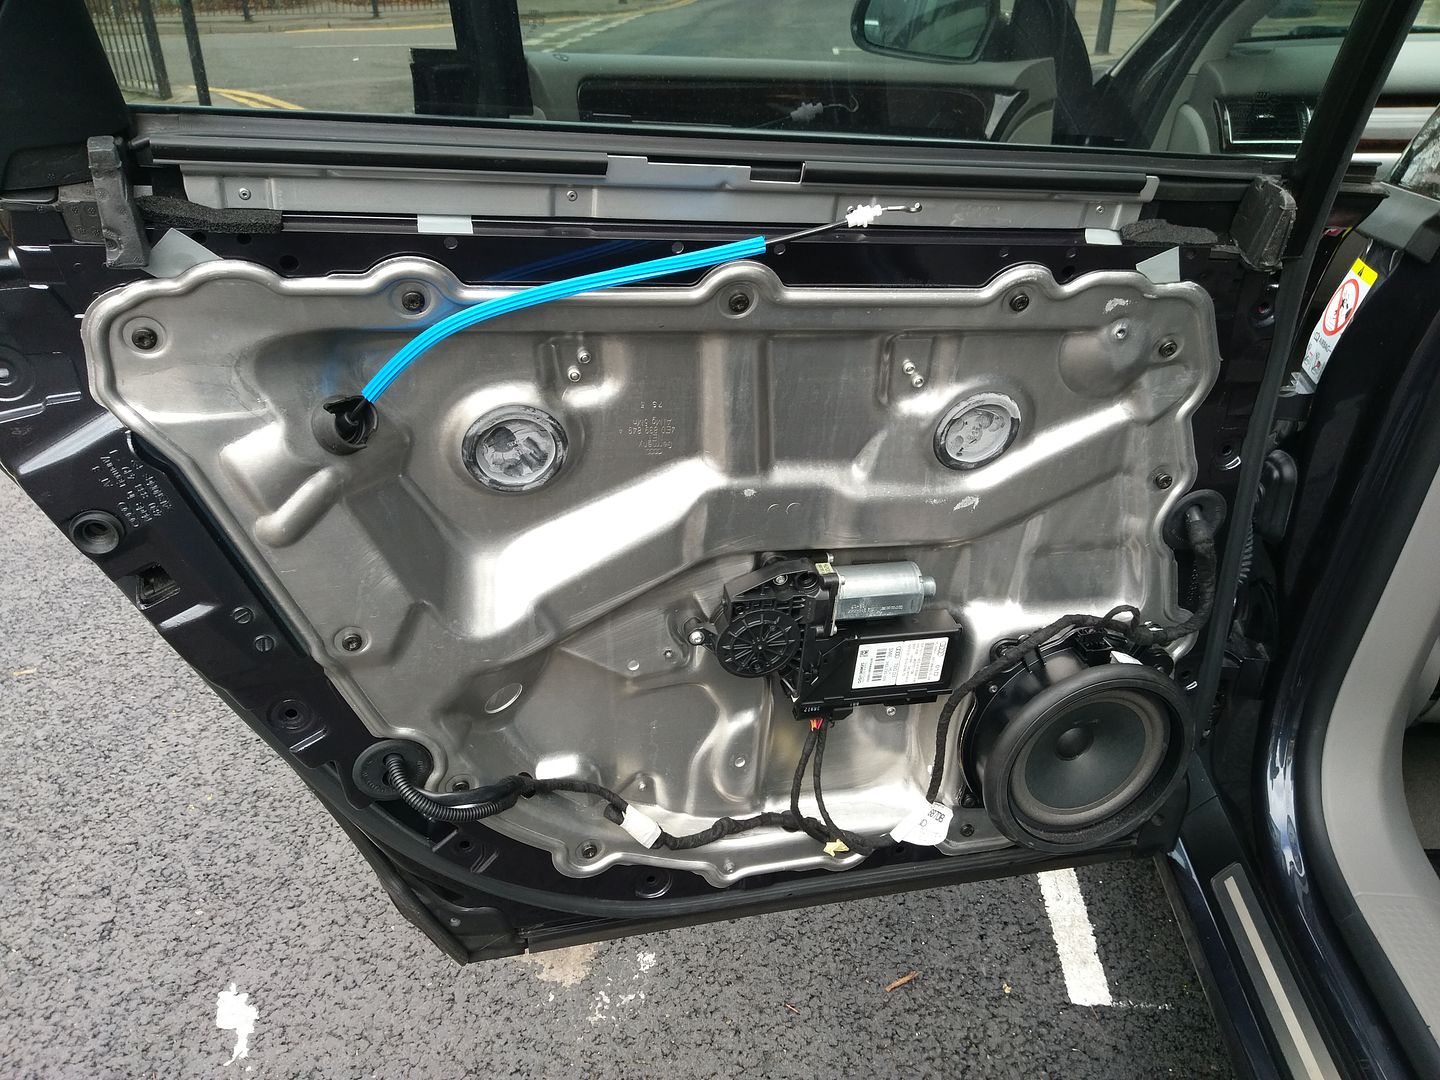 Next we need to remove the rubber covers to reveal the screws for the window tabs which attaches to the regulator. 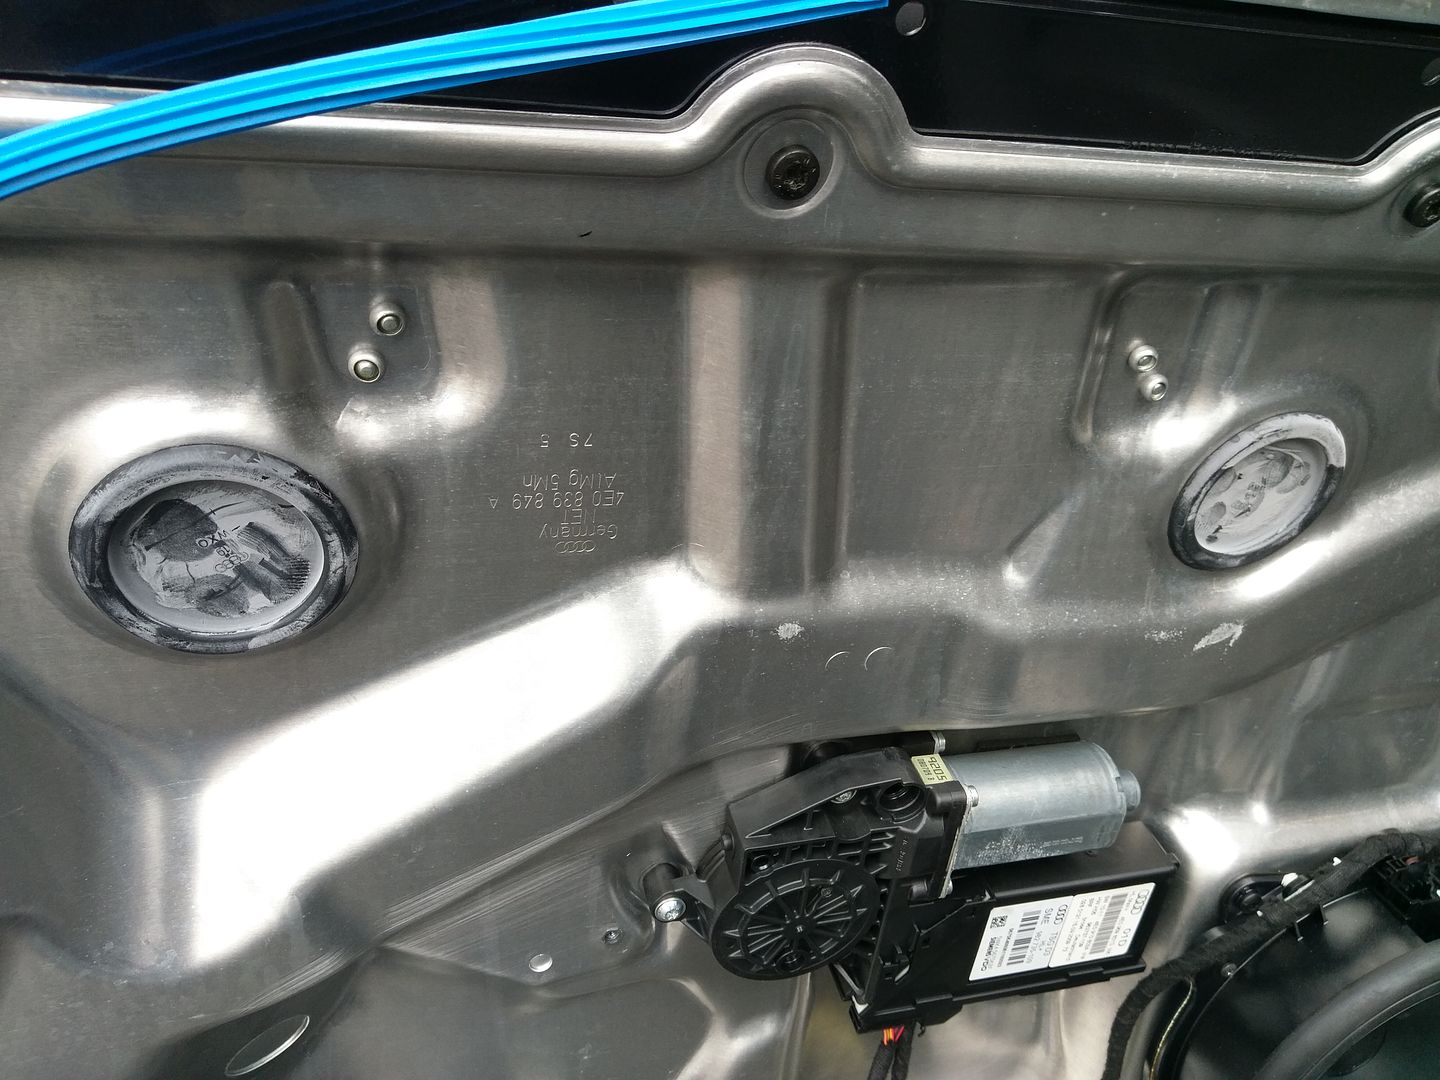 Lower the window till you can see the screws. Take them out using the Torx 30 screwdriver. 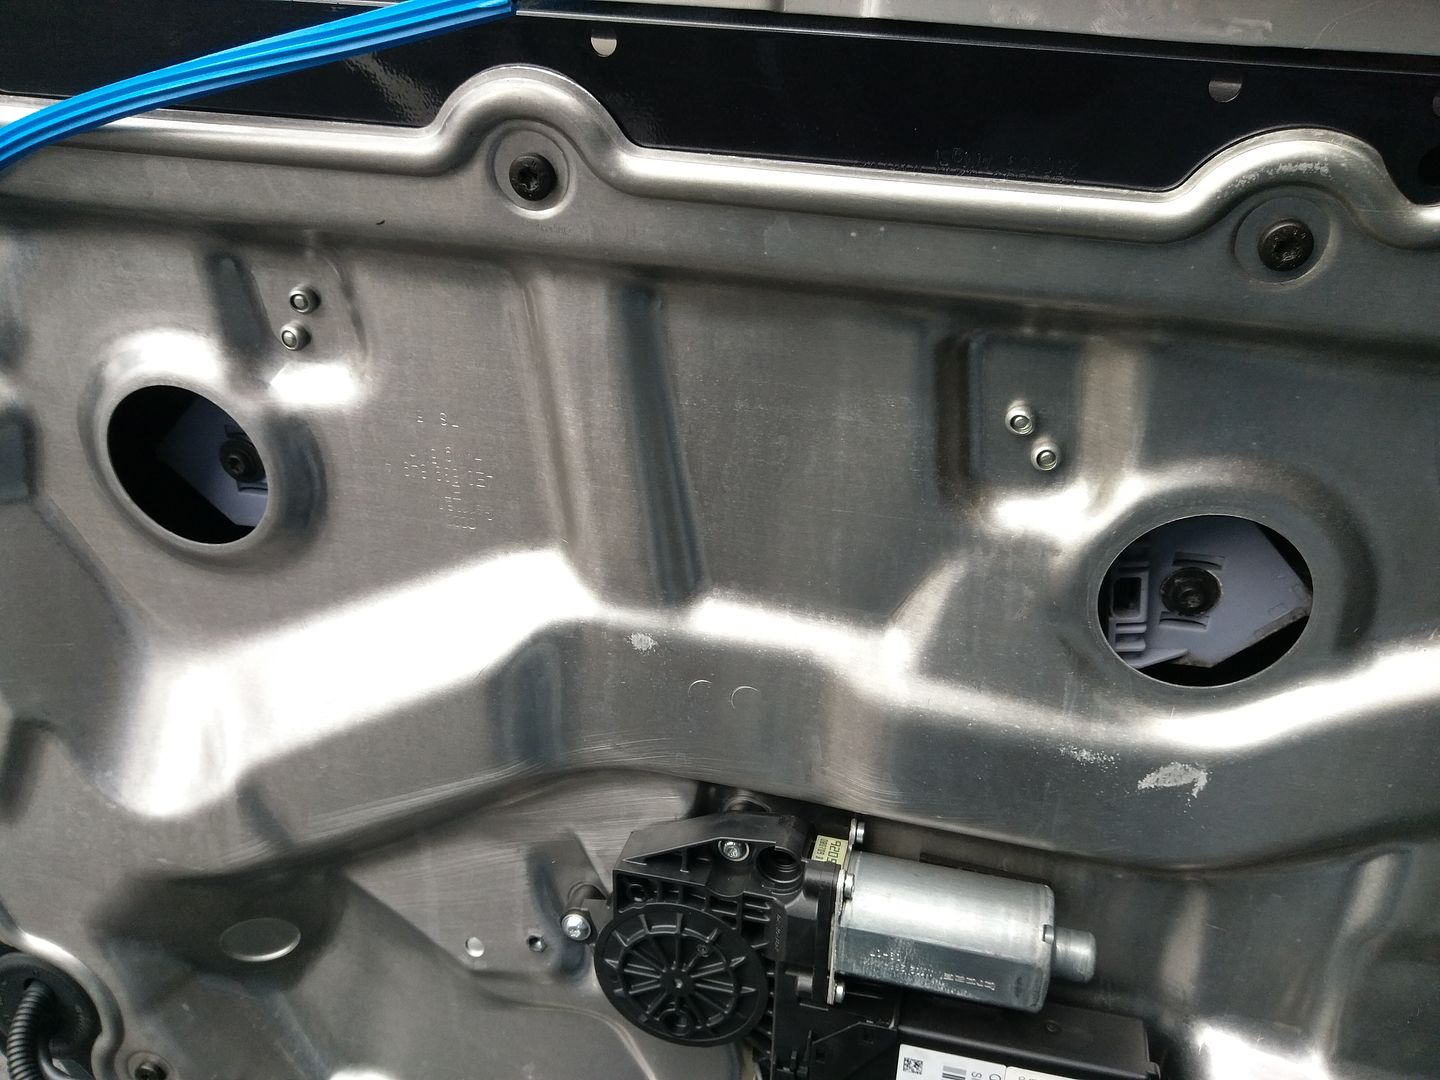 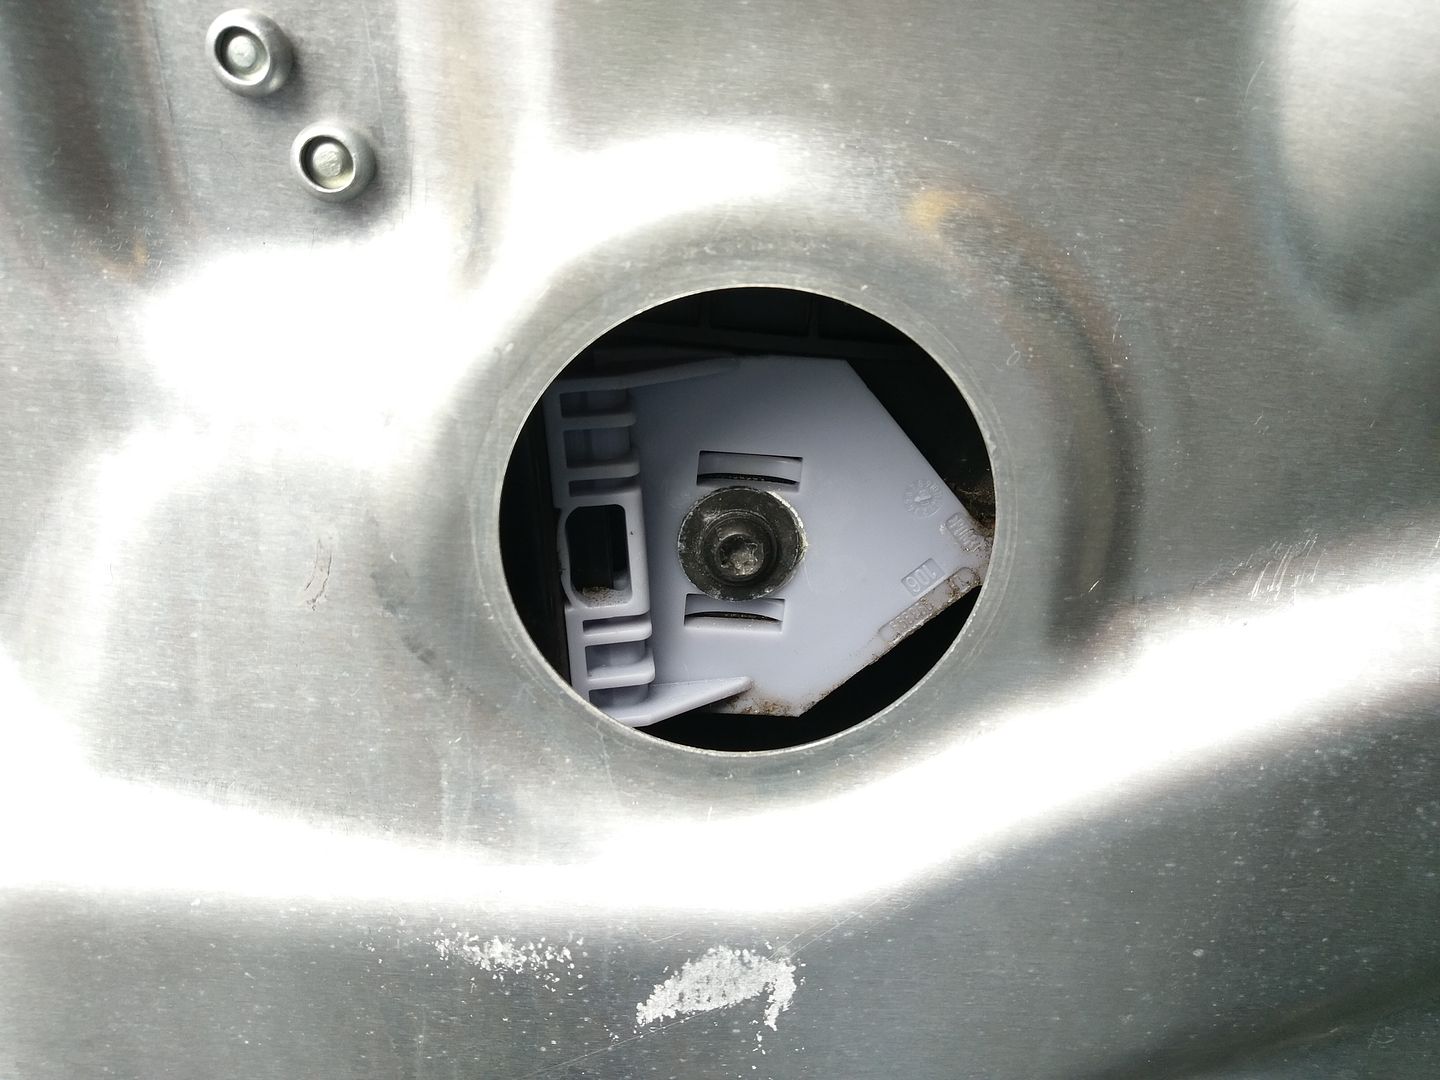 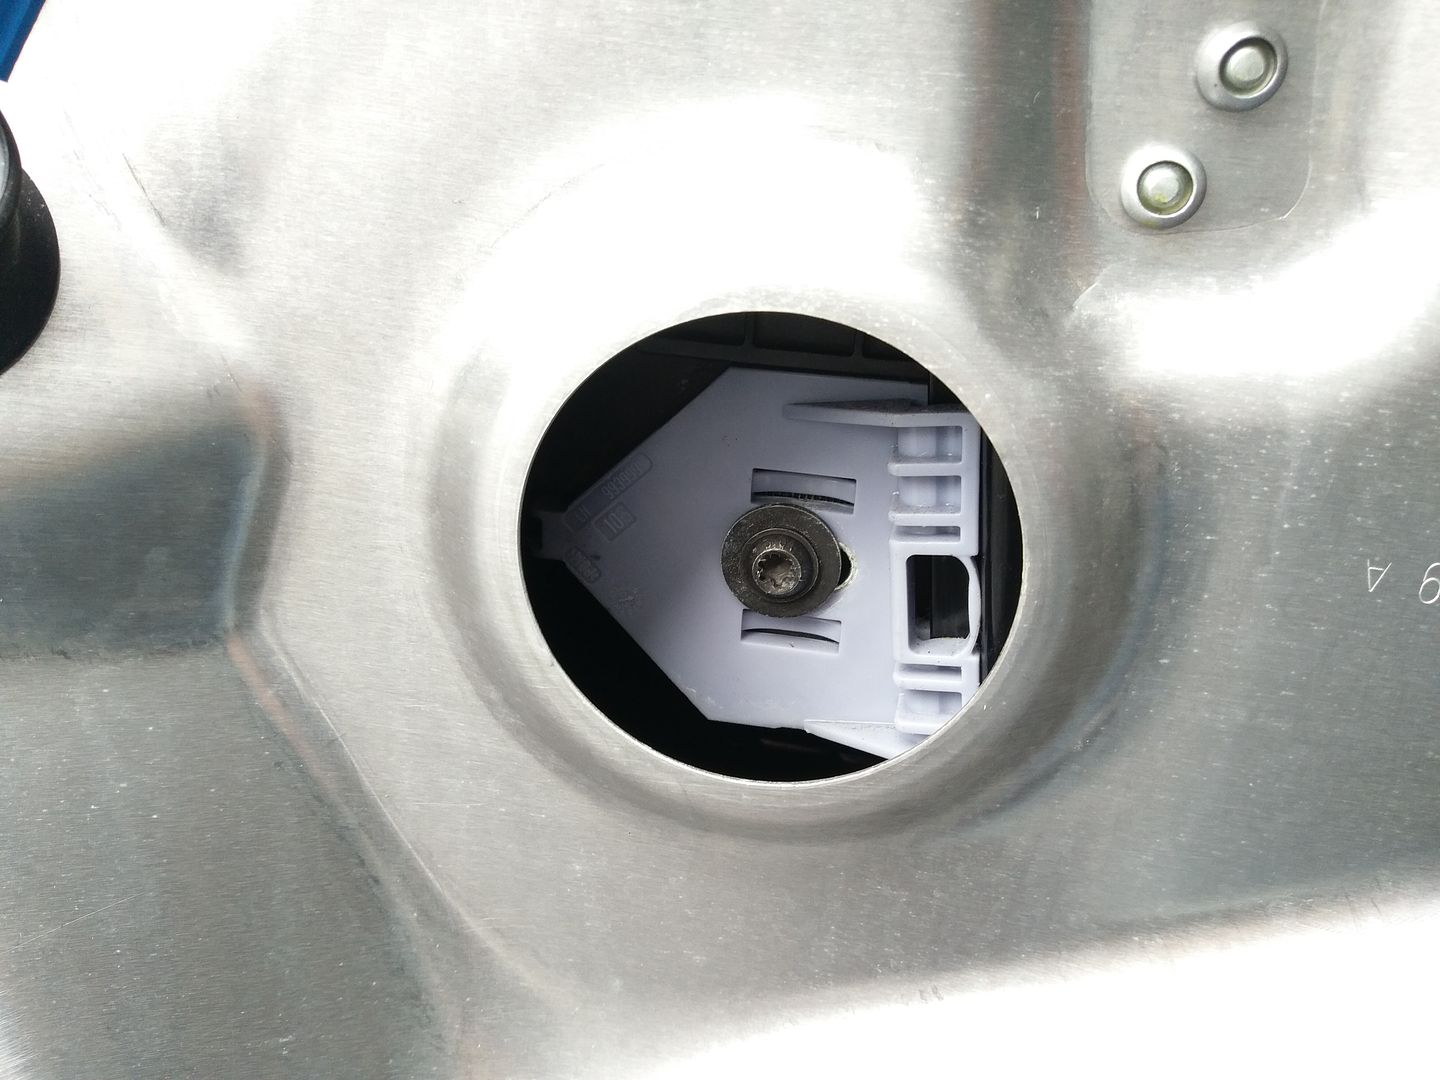 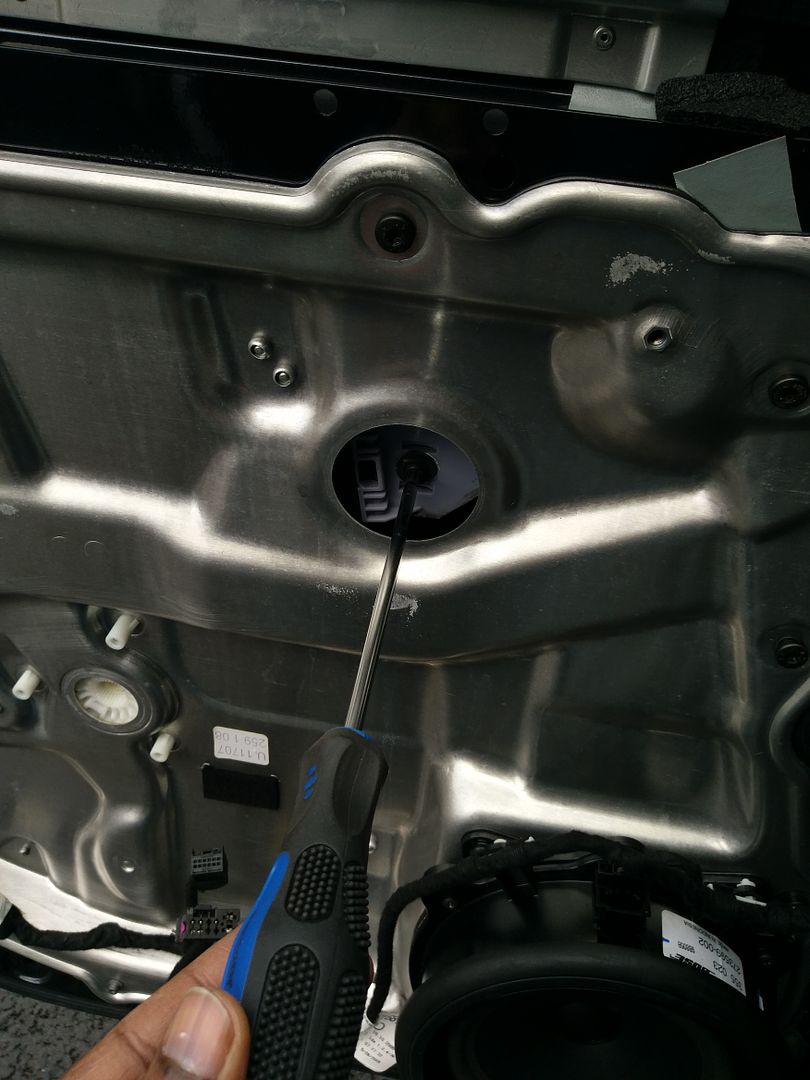 Next we need to take off the Door Electronics Module unit. Unplug all connections then take off the 3 screws with a Torx 25 screwdriver. Pull the unit towards you to disengage and remove. 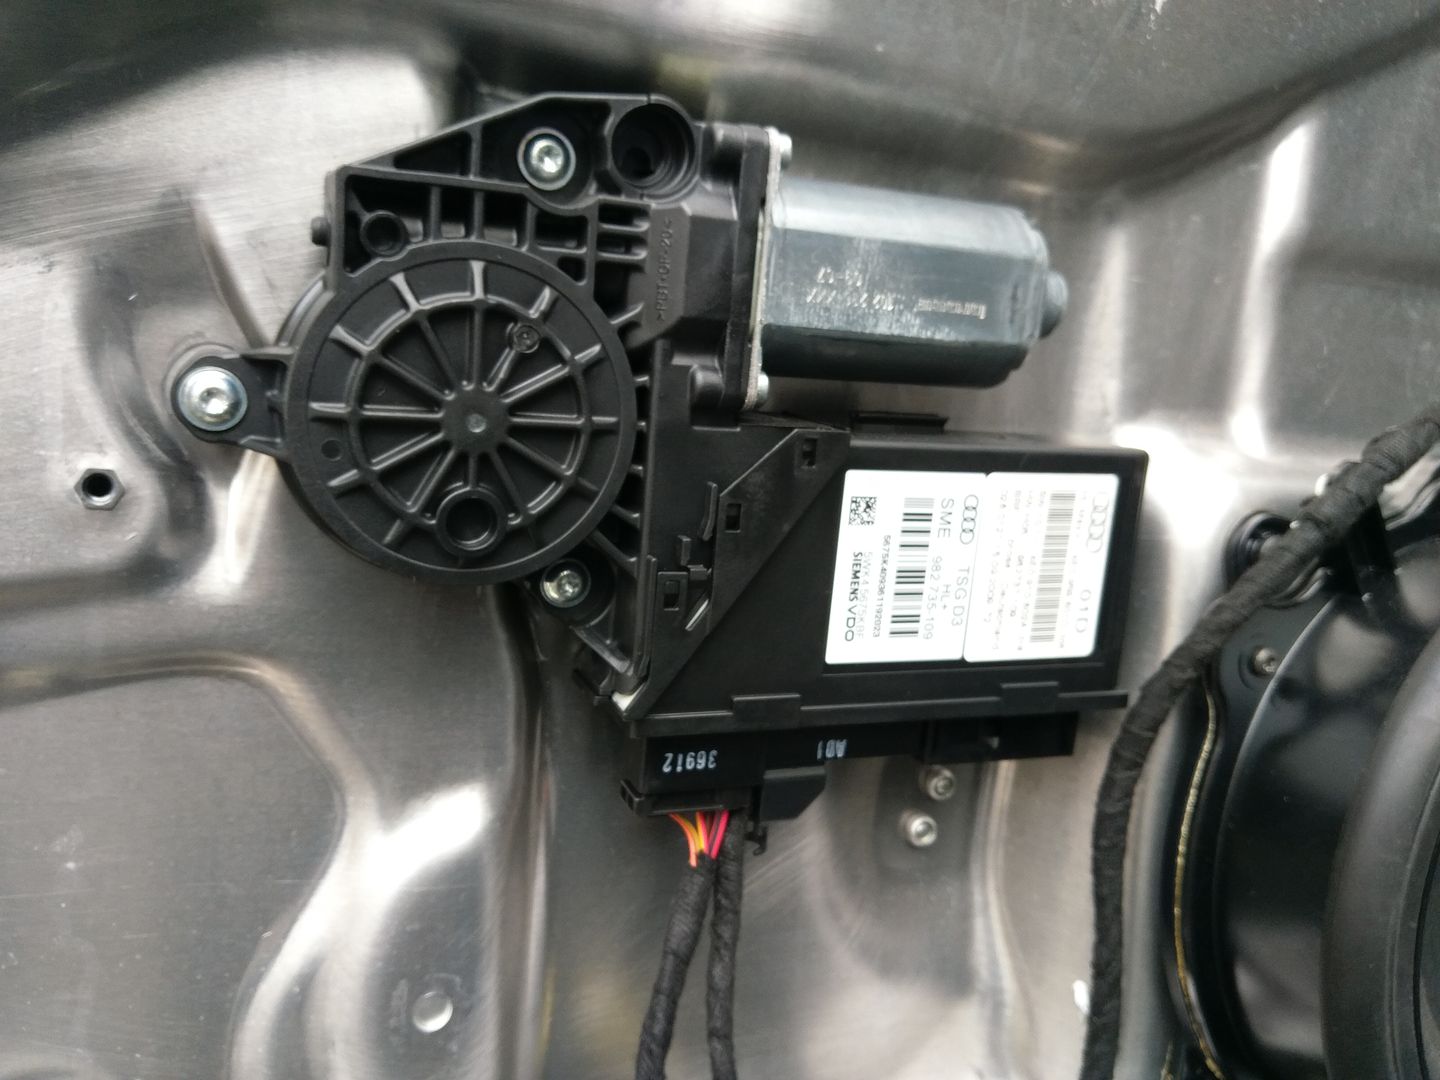 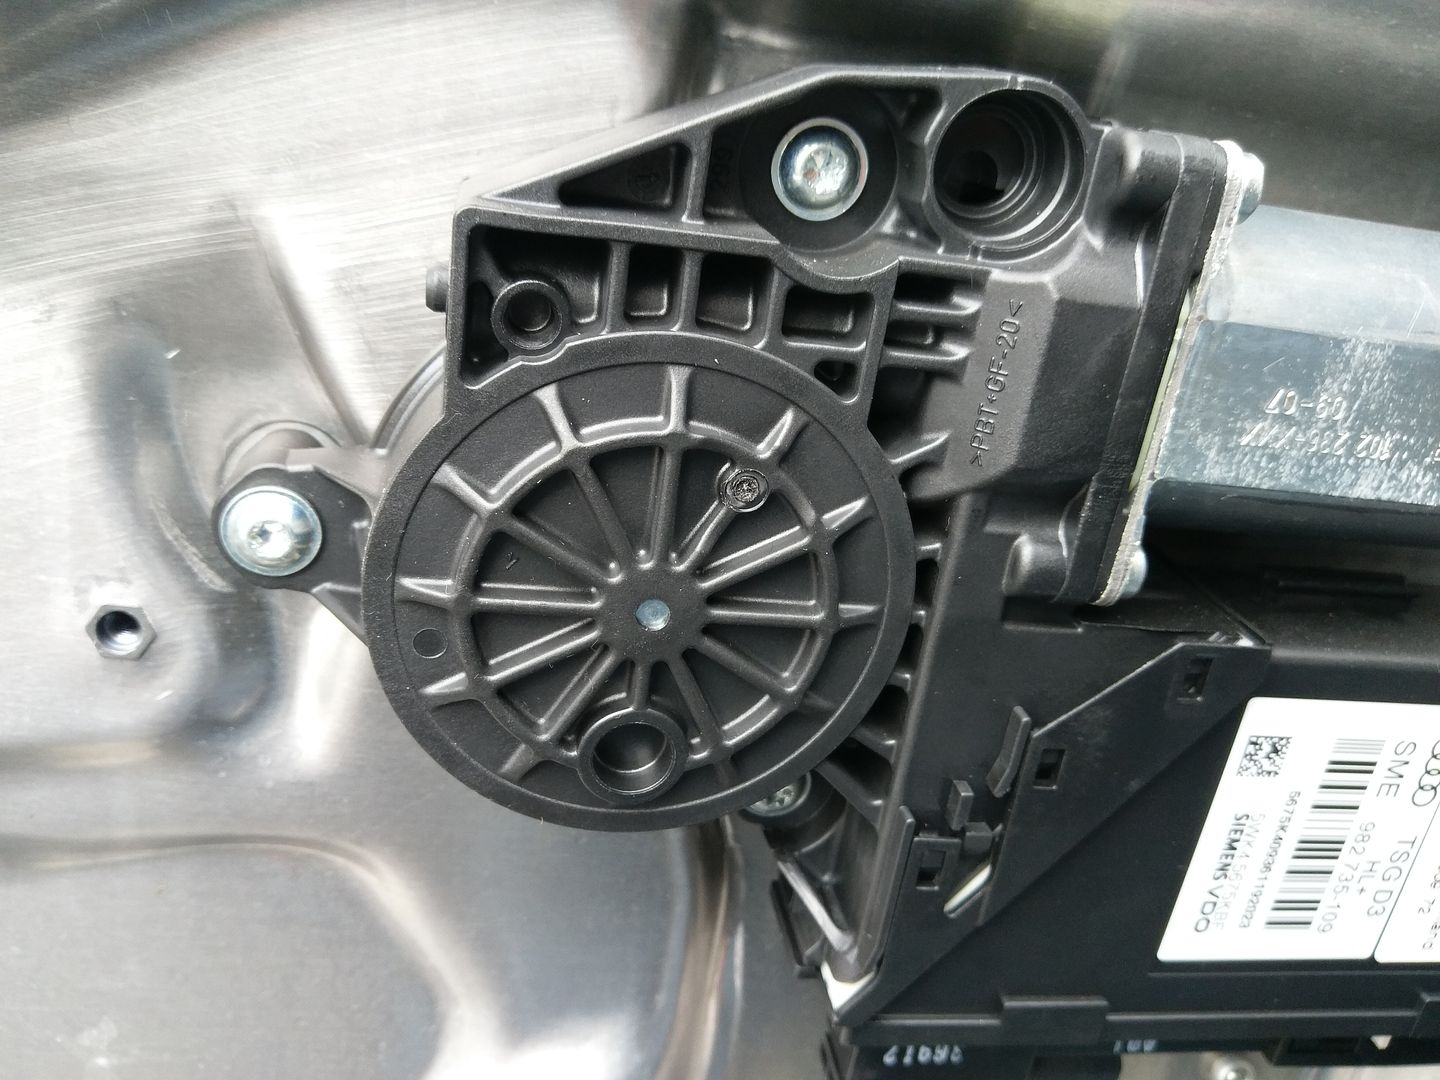 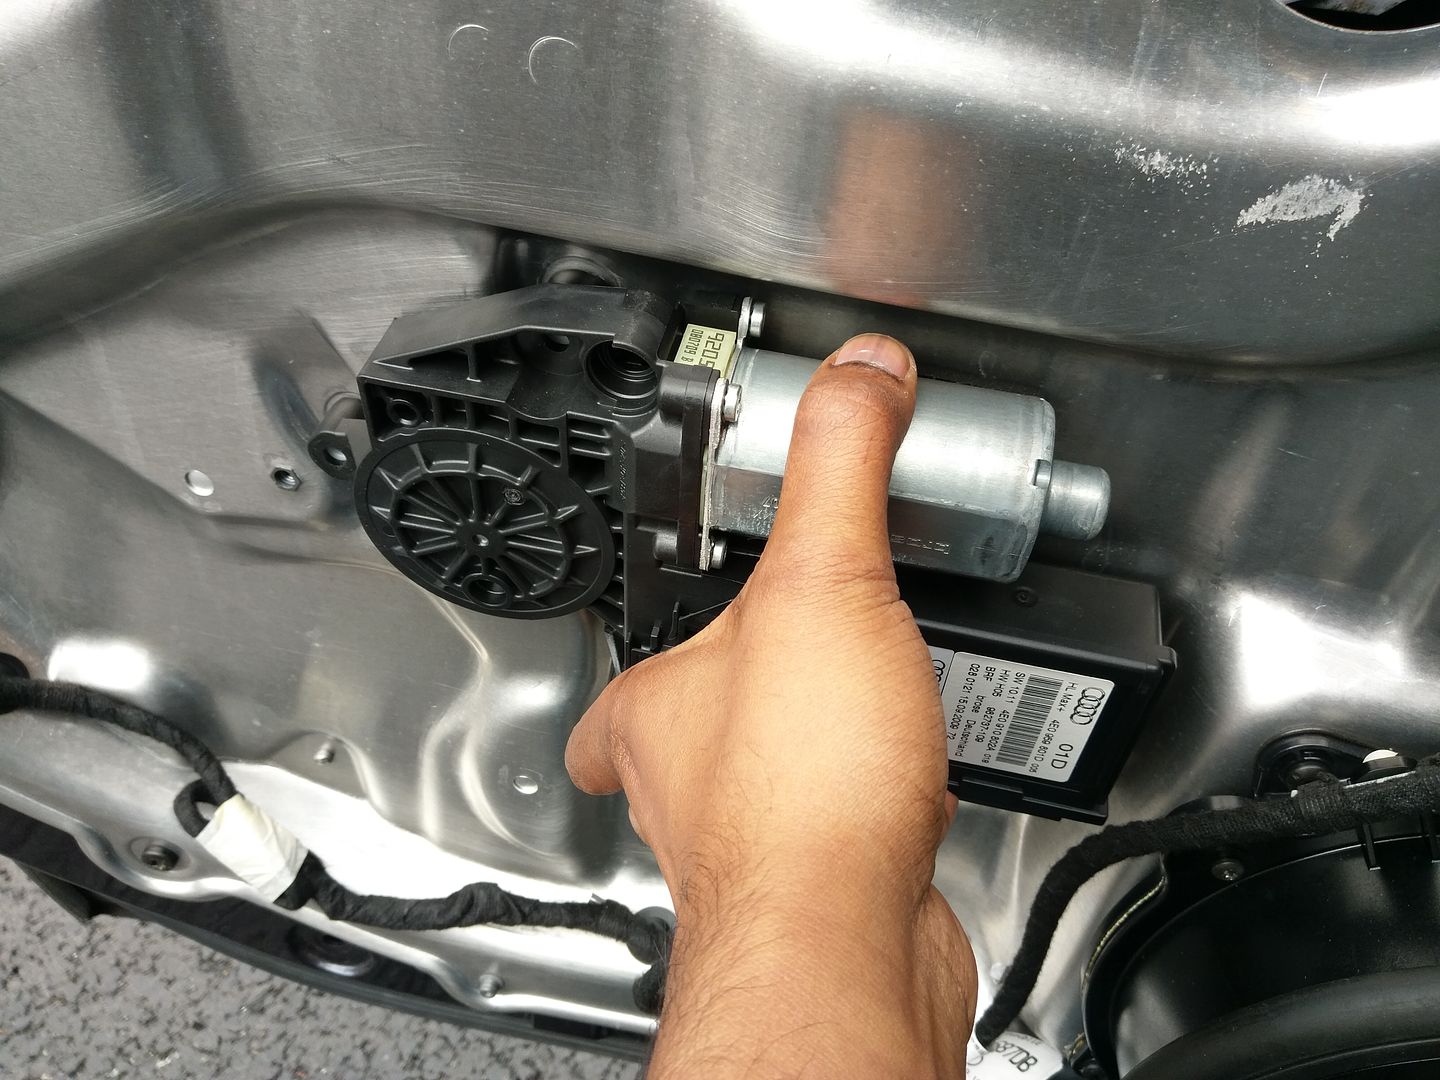 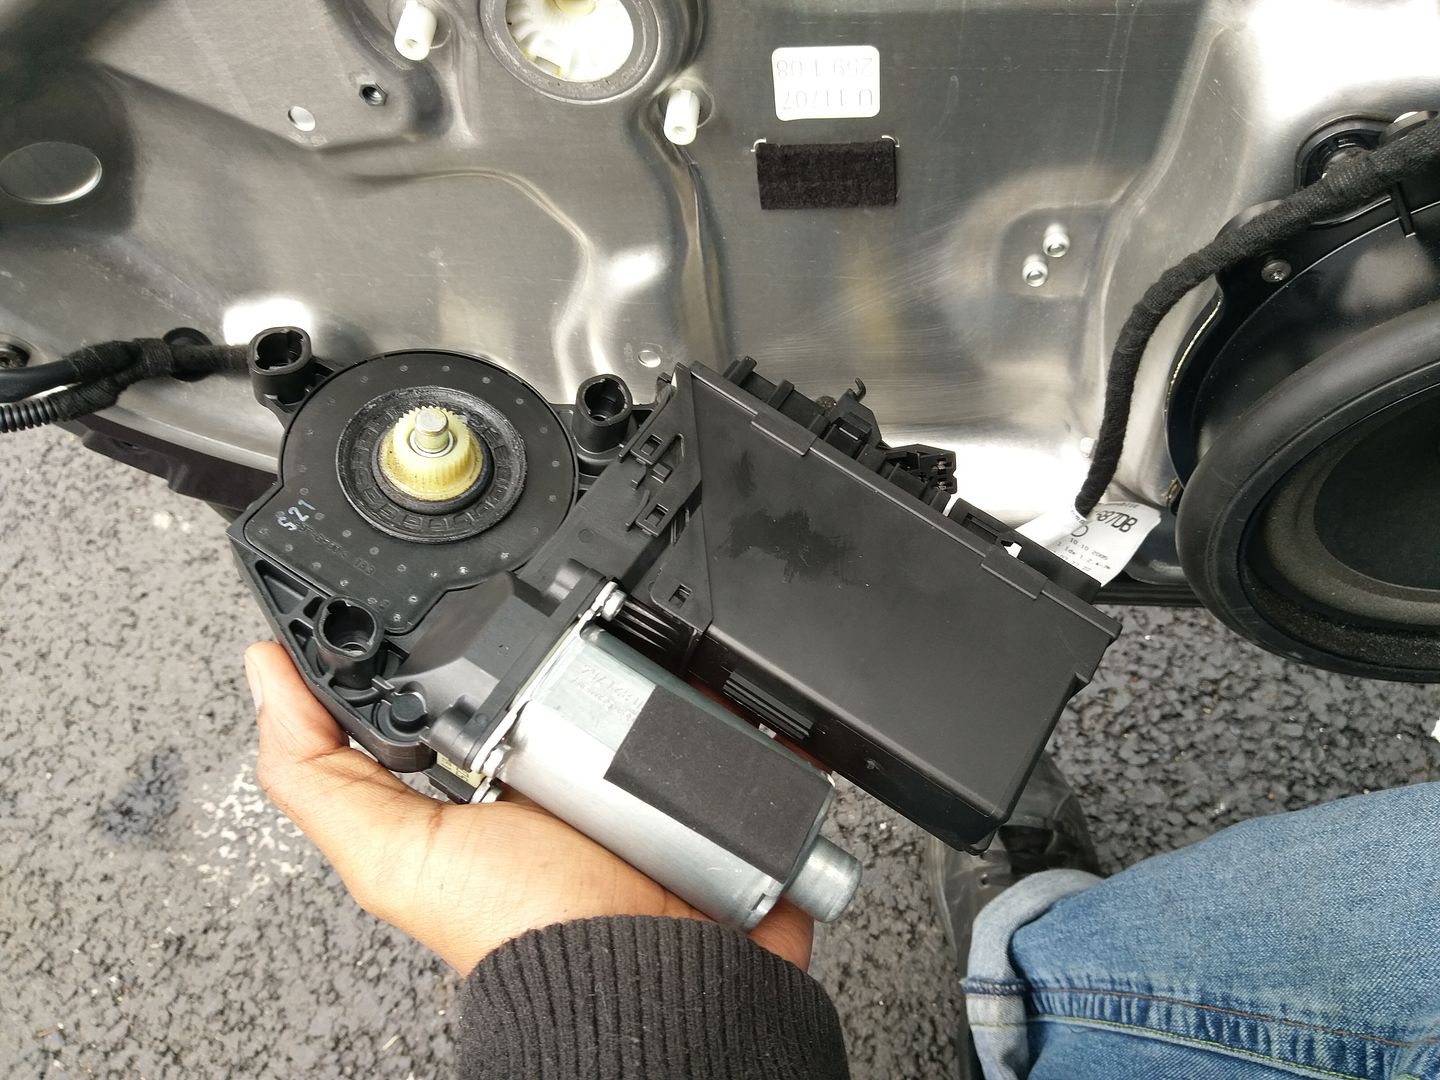 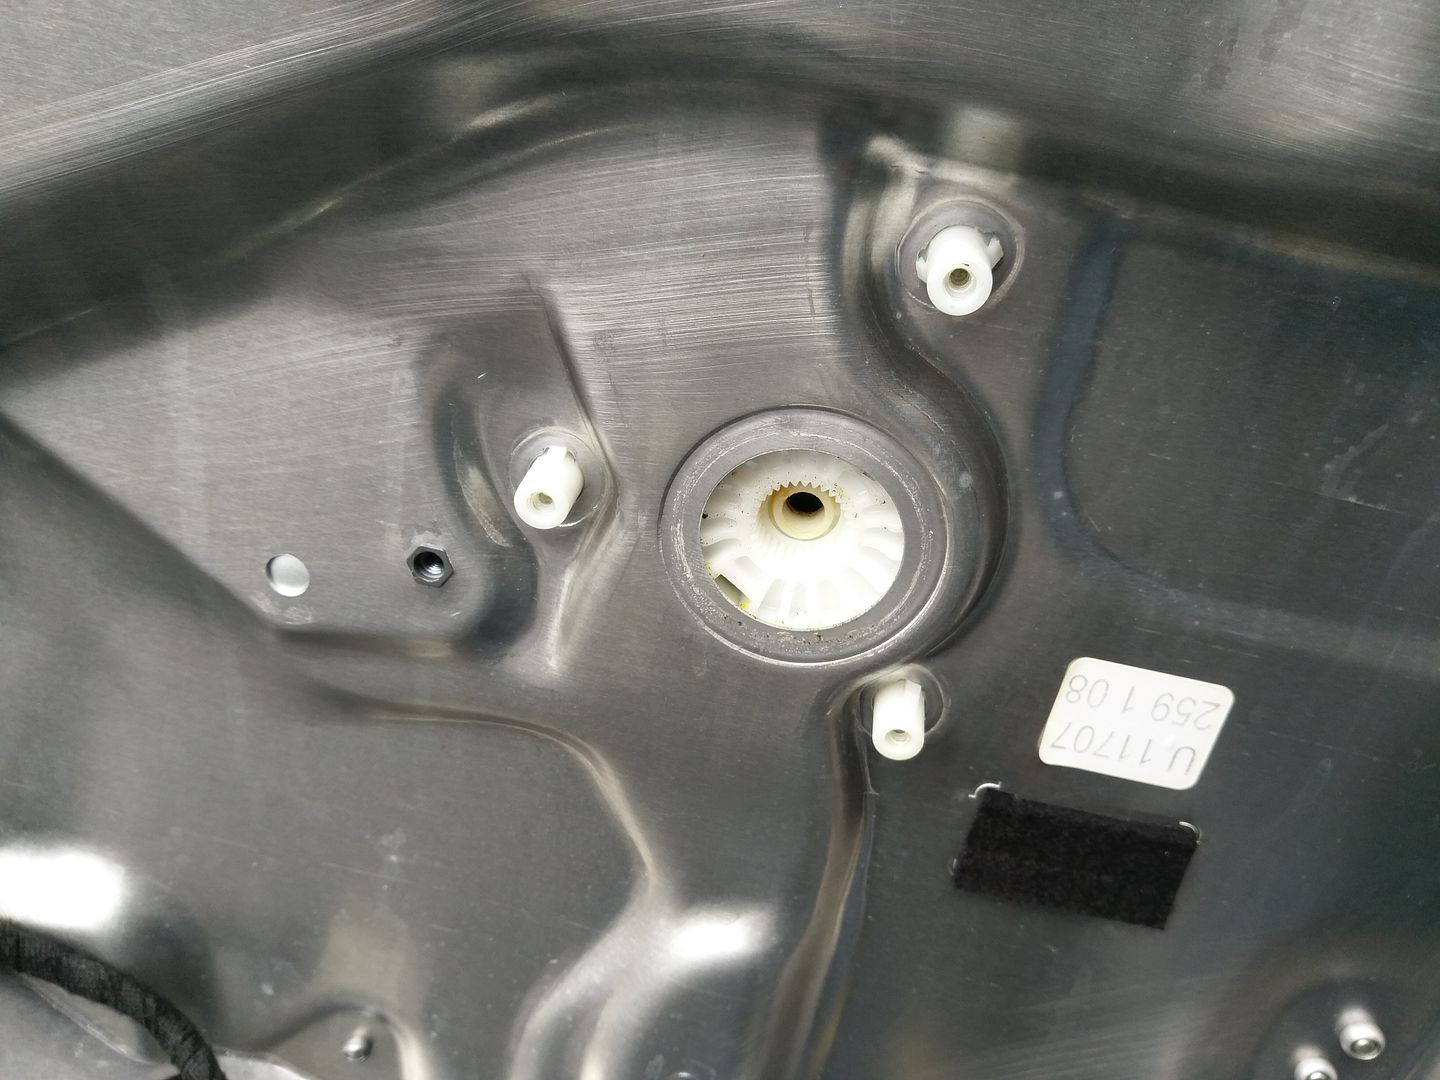 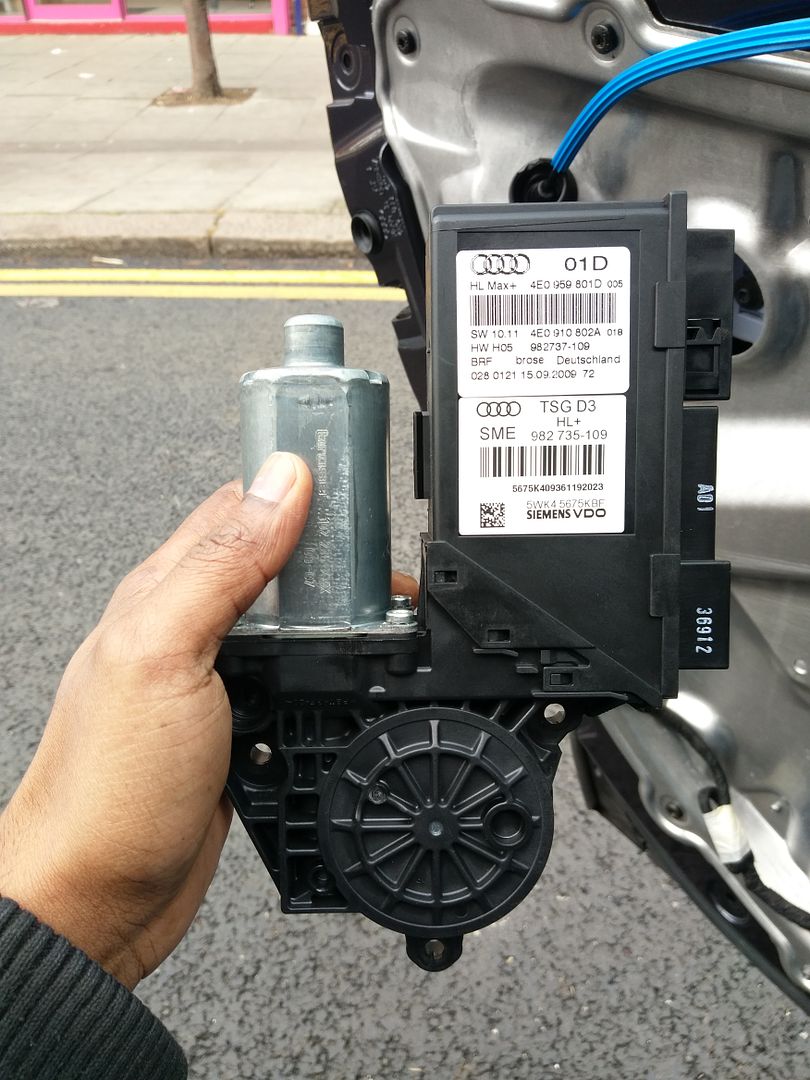 Pull the window glass up and tape it up to hold in place. 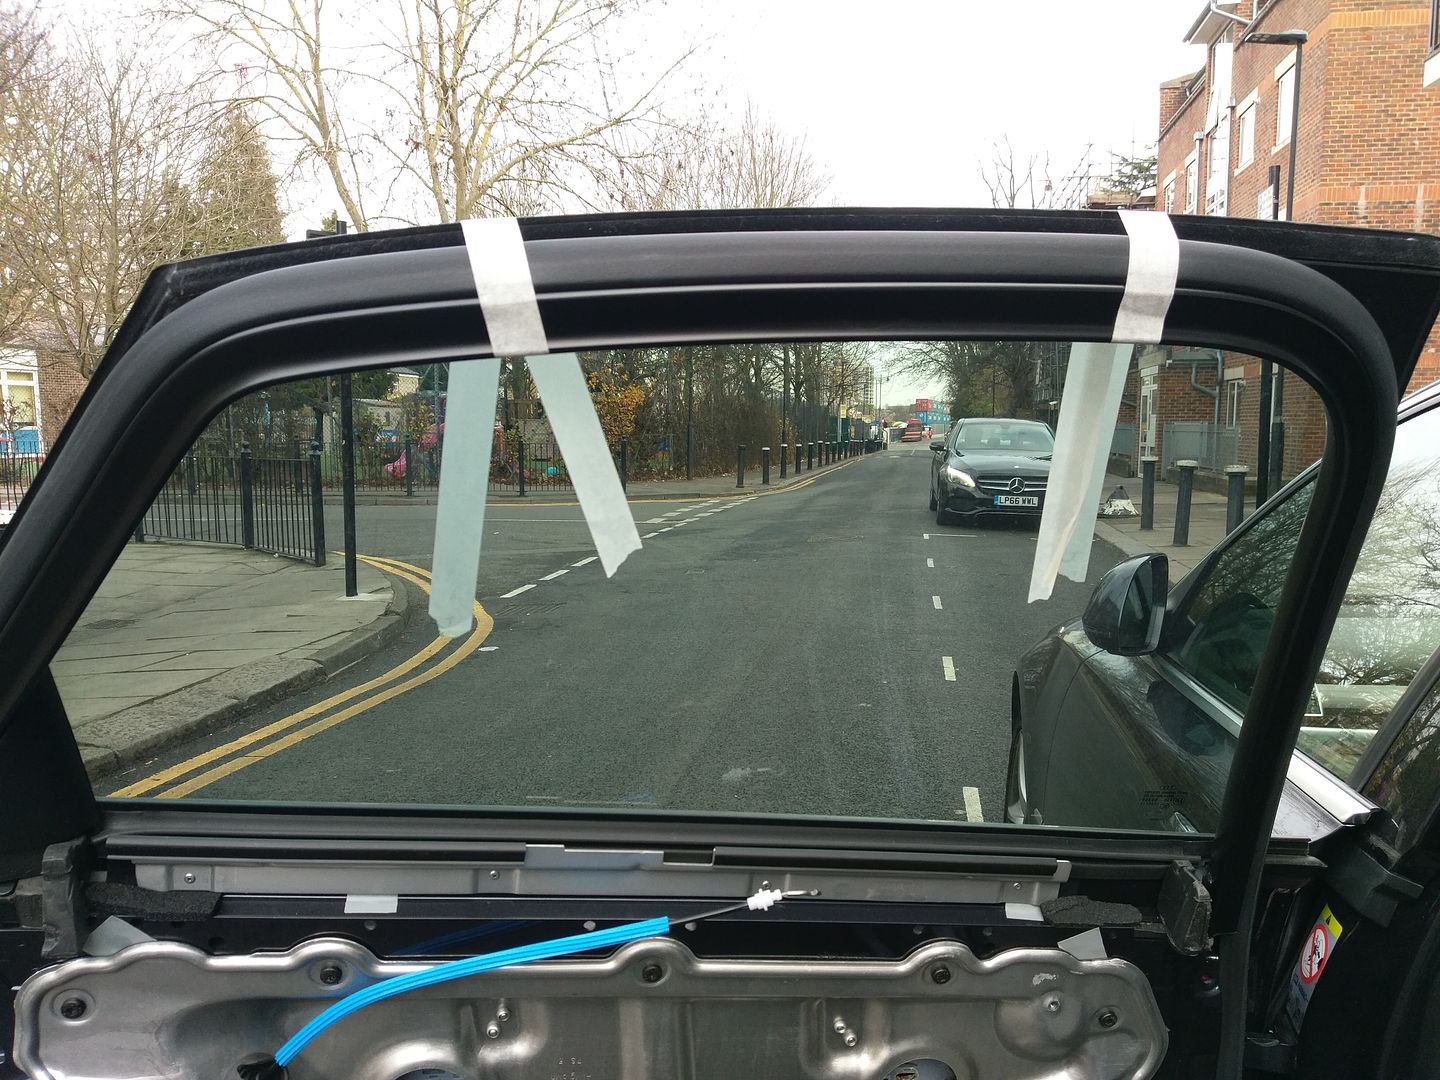 Pry off the wiring harness from its retaining tabs so we can remove the mounting panel with more ease. 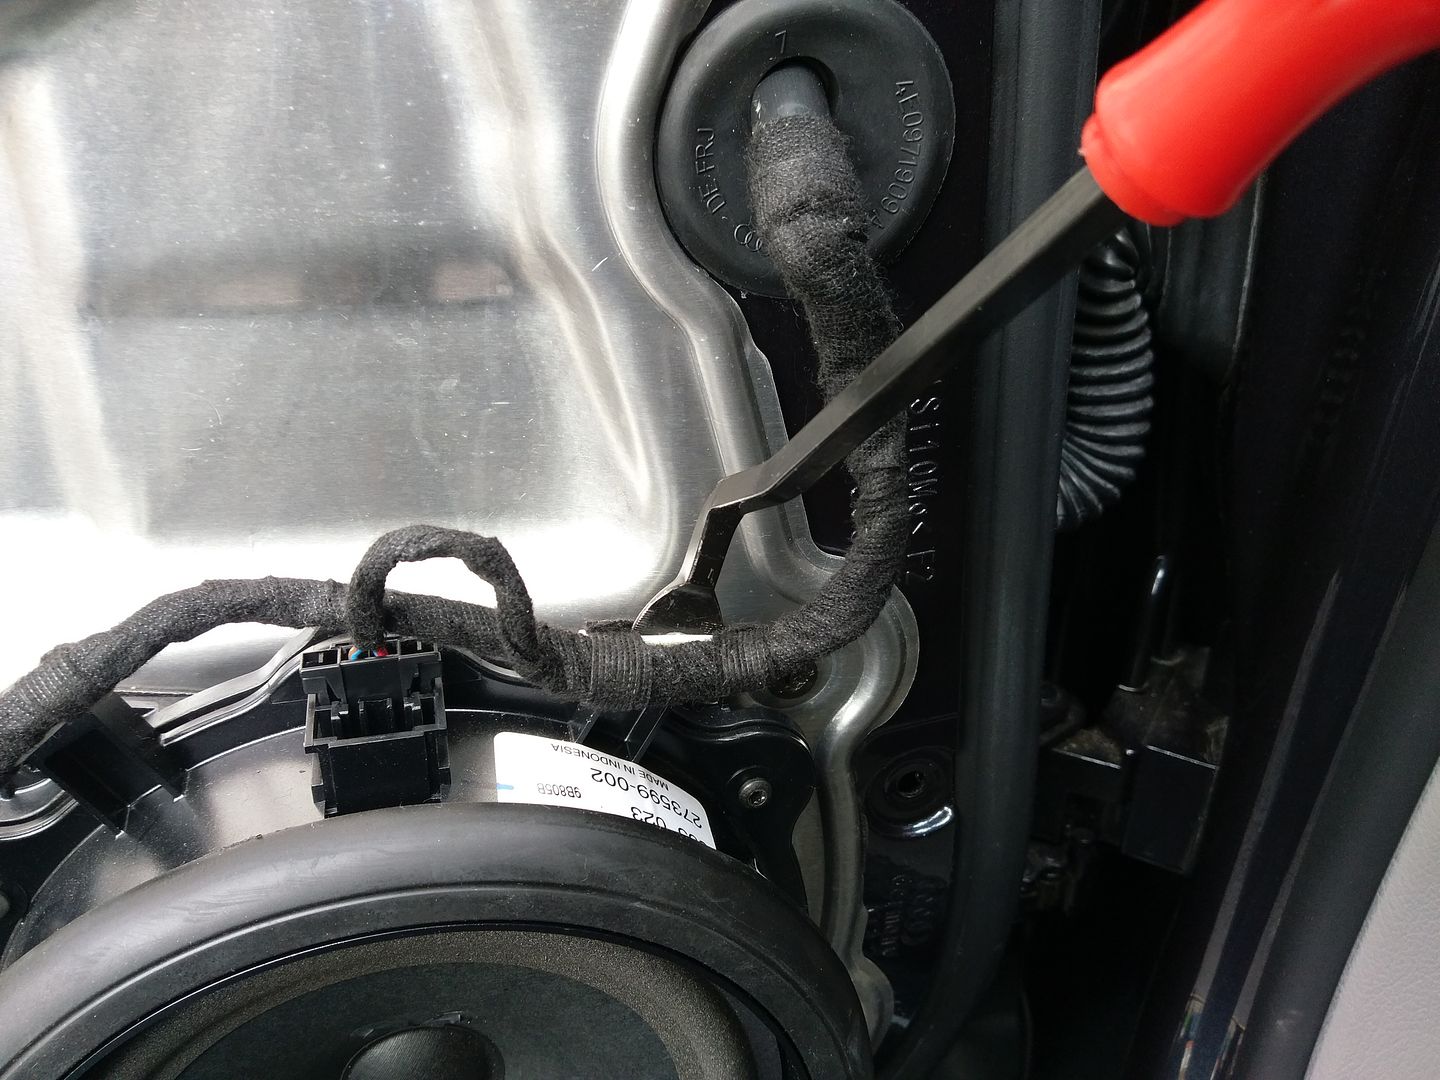 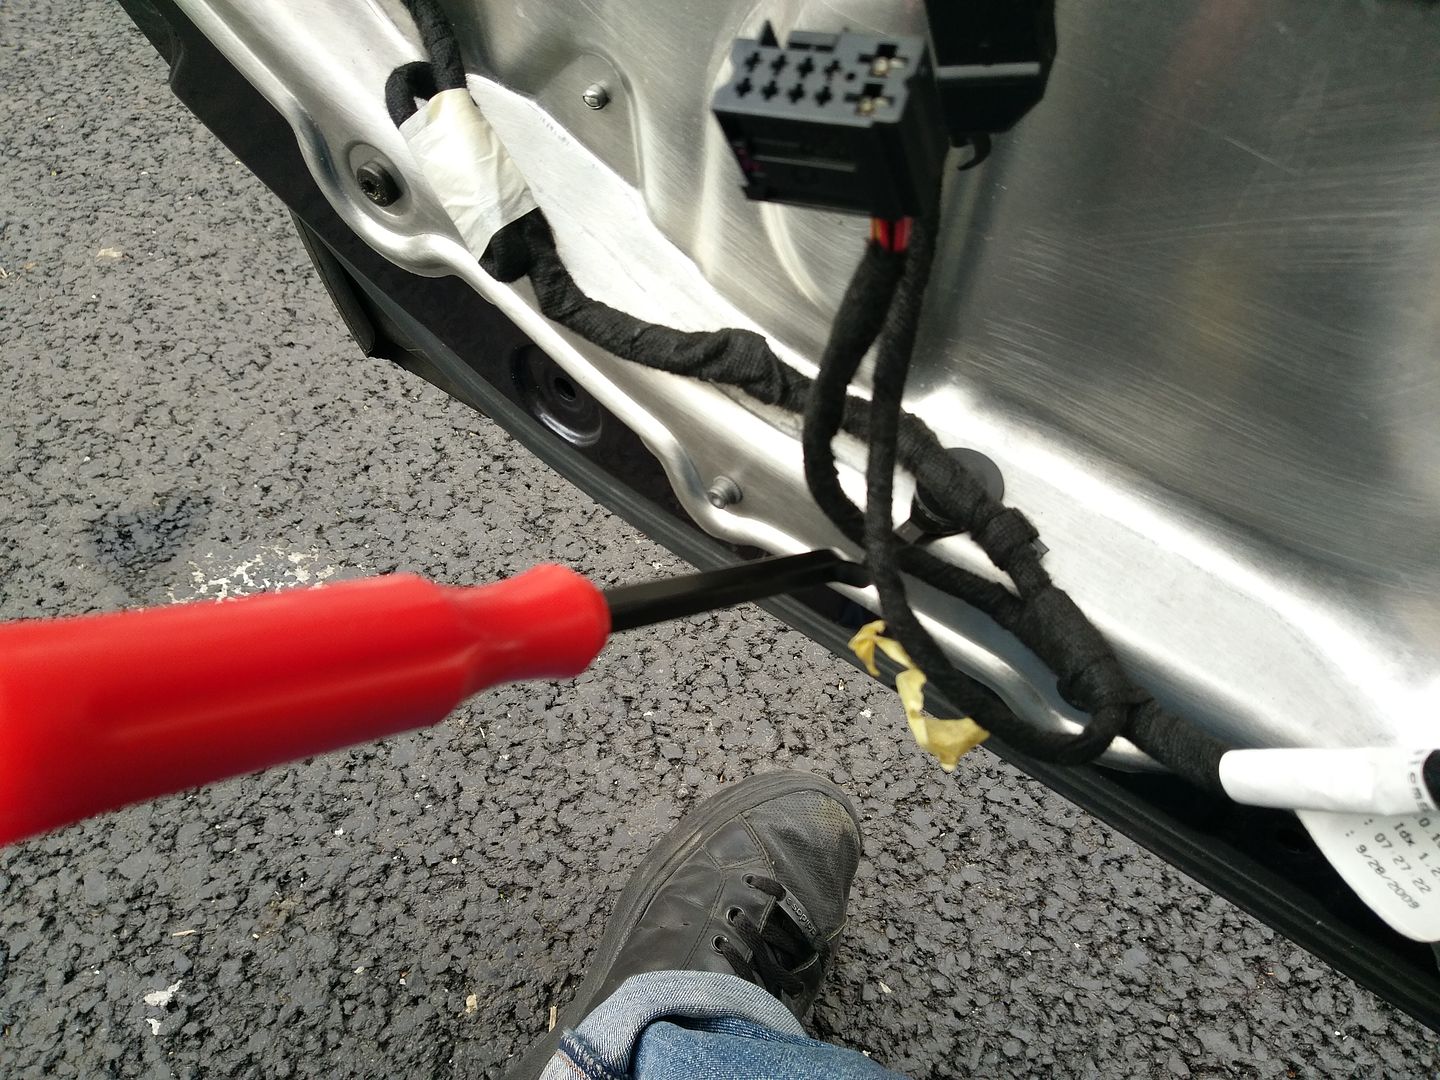 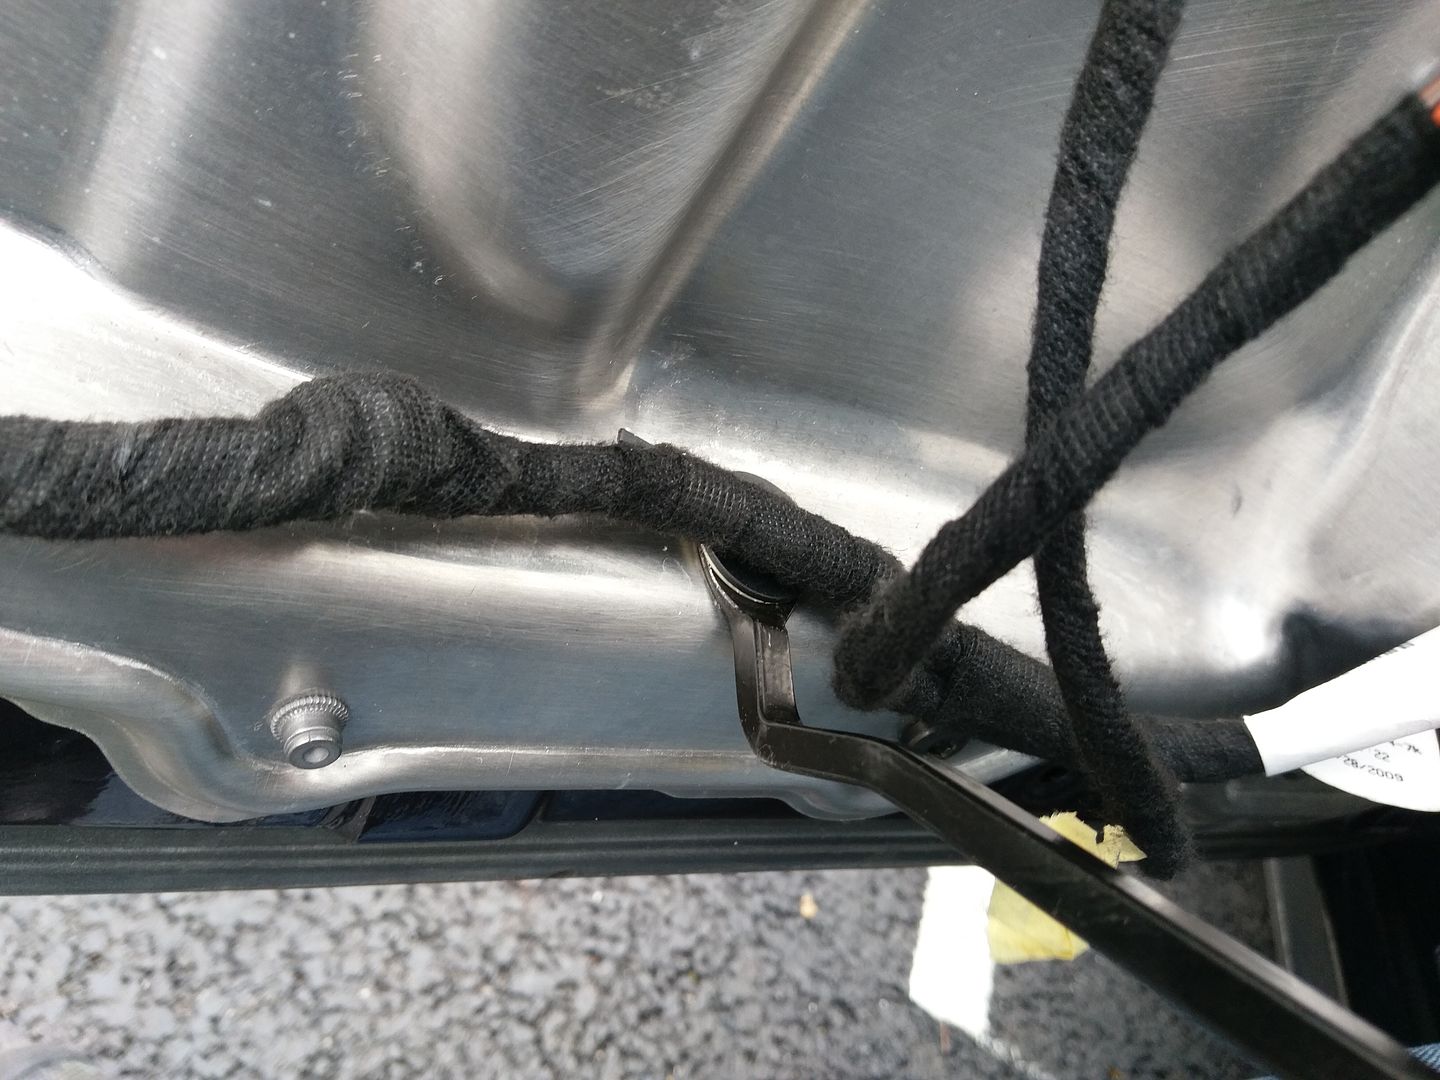 Unplug the loudspeaker connection 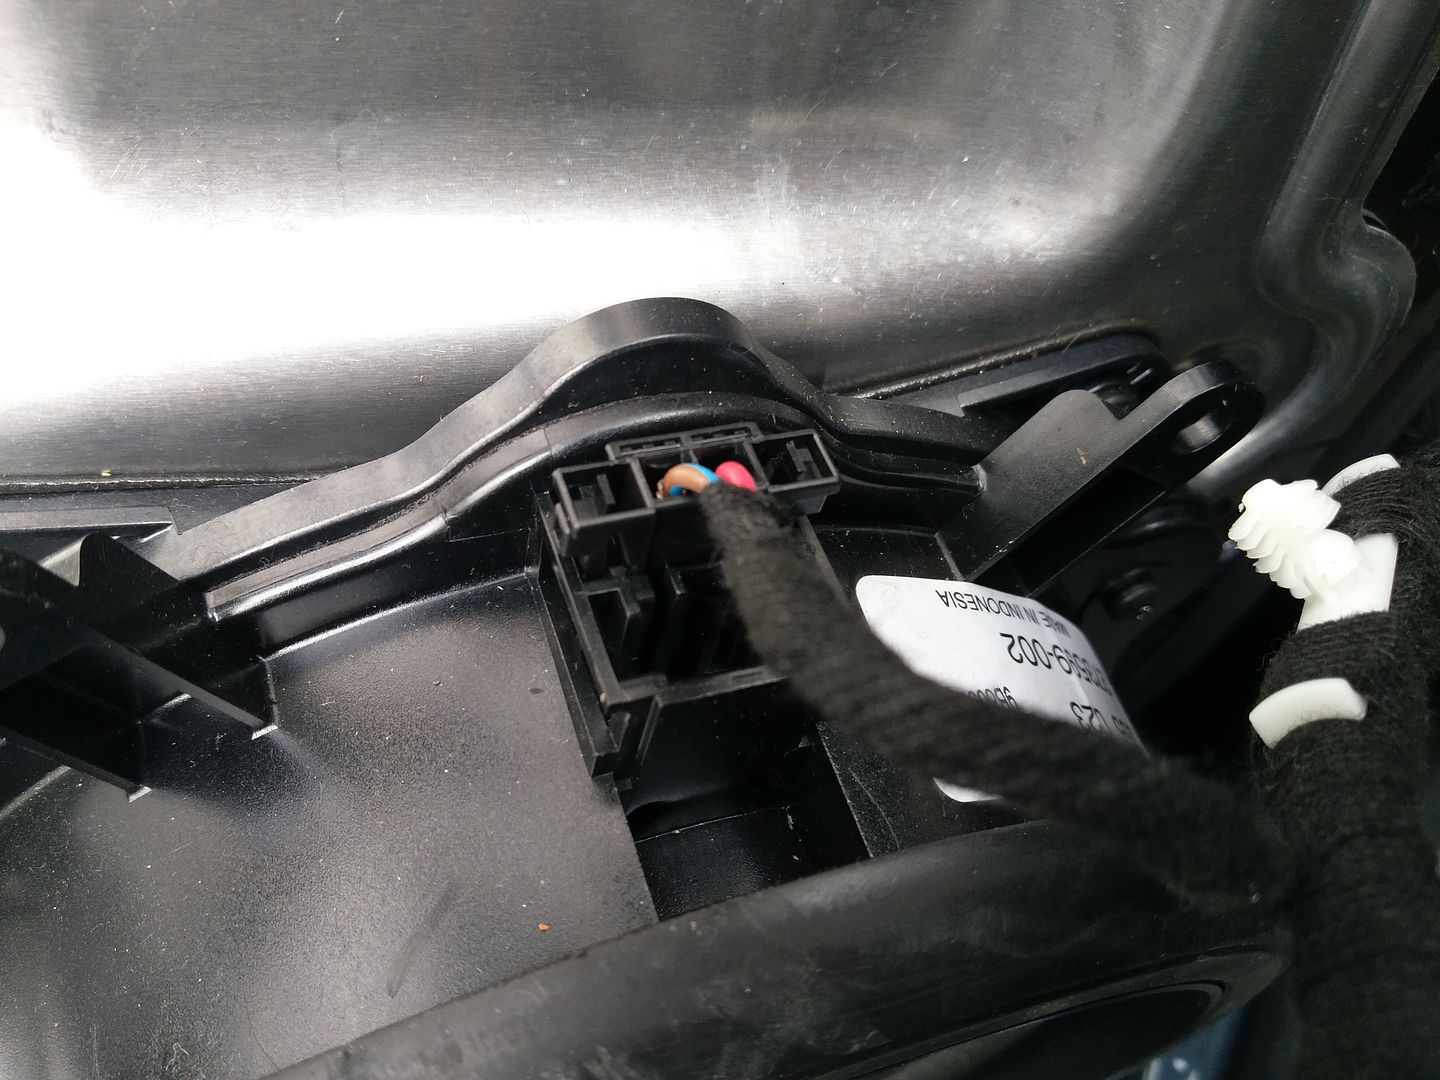 Now we have to undo all the Torx 30 screws which holds the mounting panel in place. There is a total of 14 to remove.  Push the bowden cable grommet inwards. We can now loosen the panel with a flat screwdriver at the edge then pull the lower section out then down to free the panel from the door.  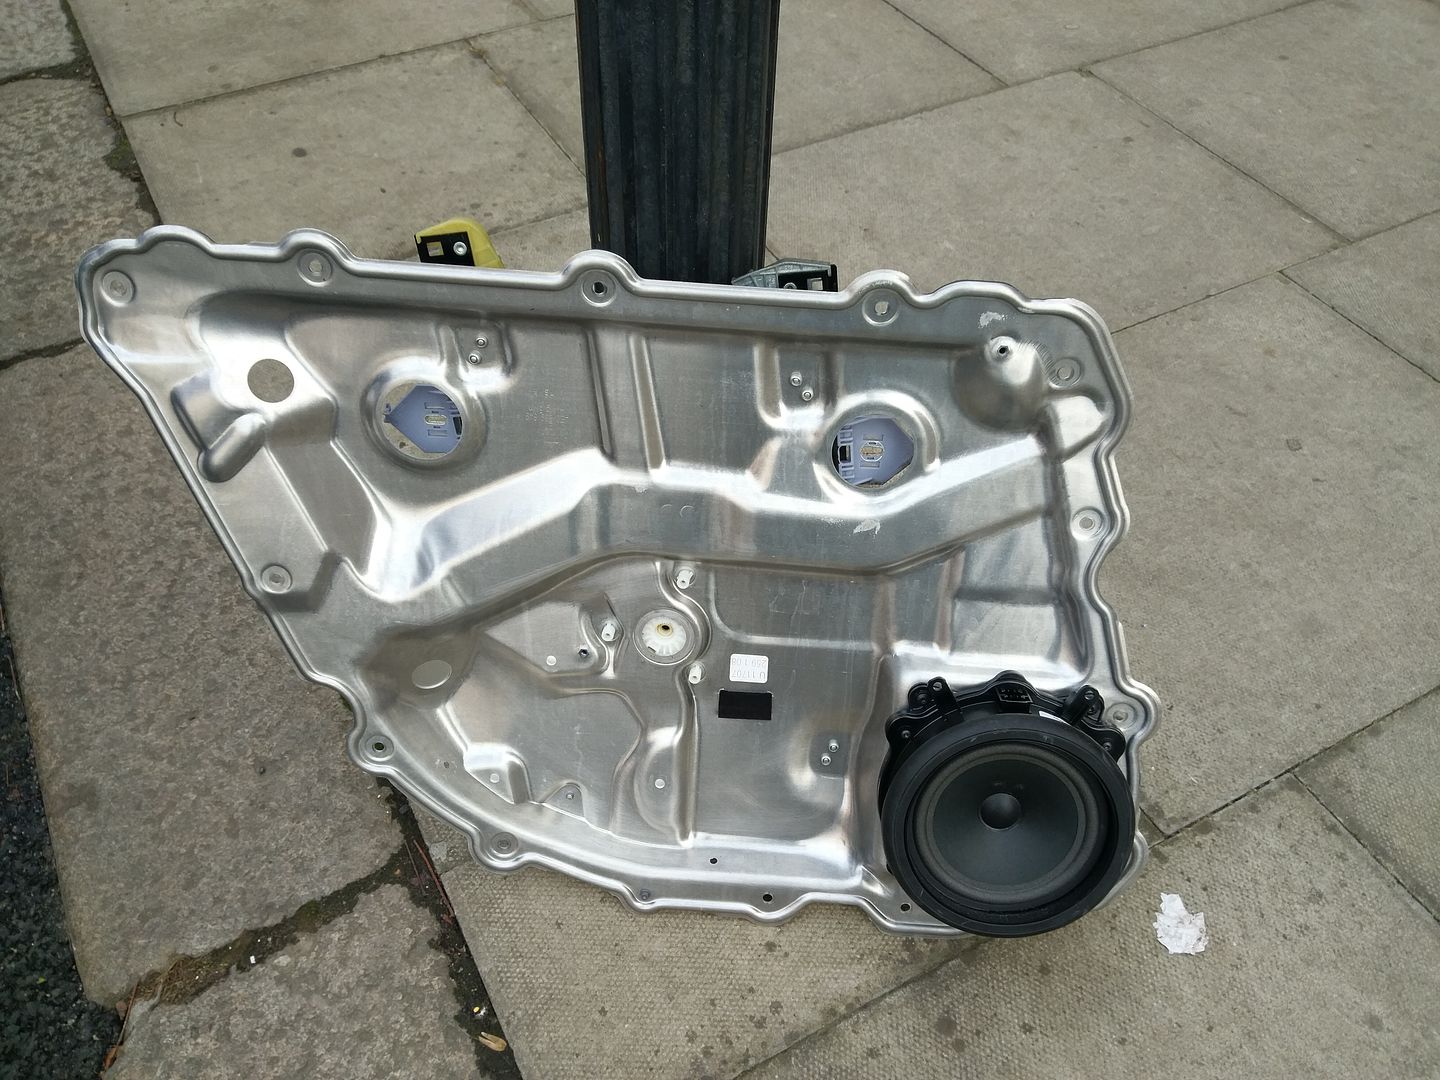 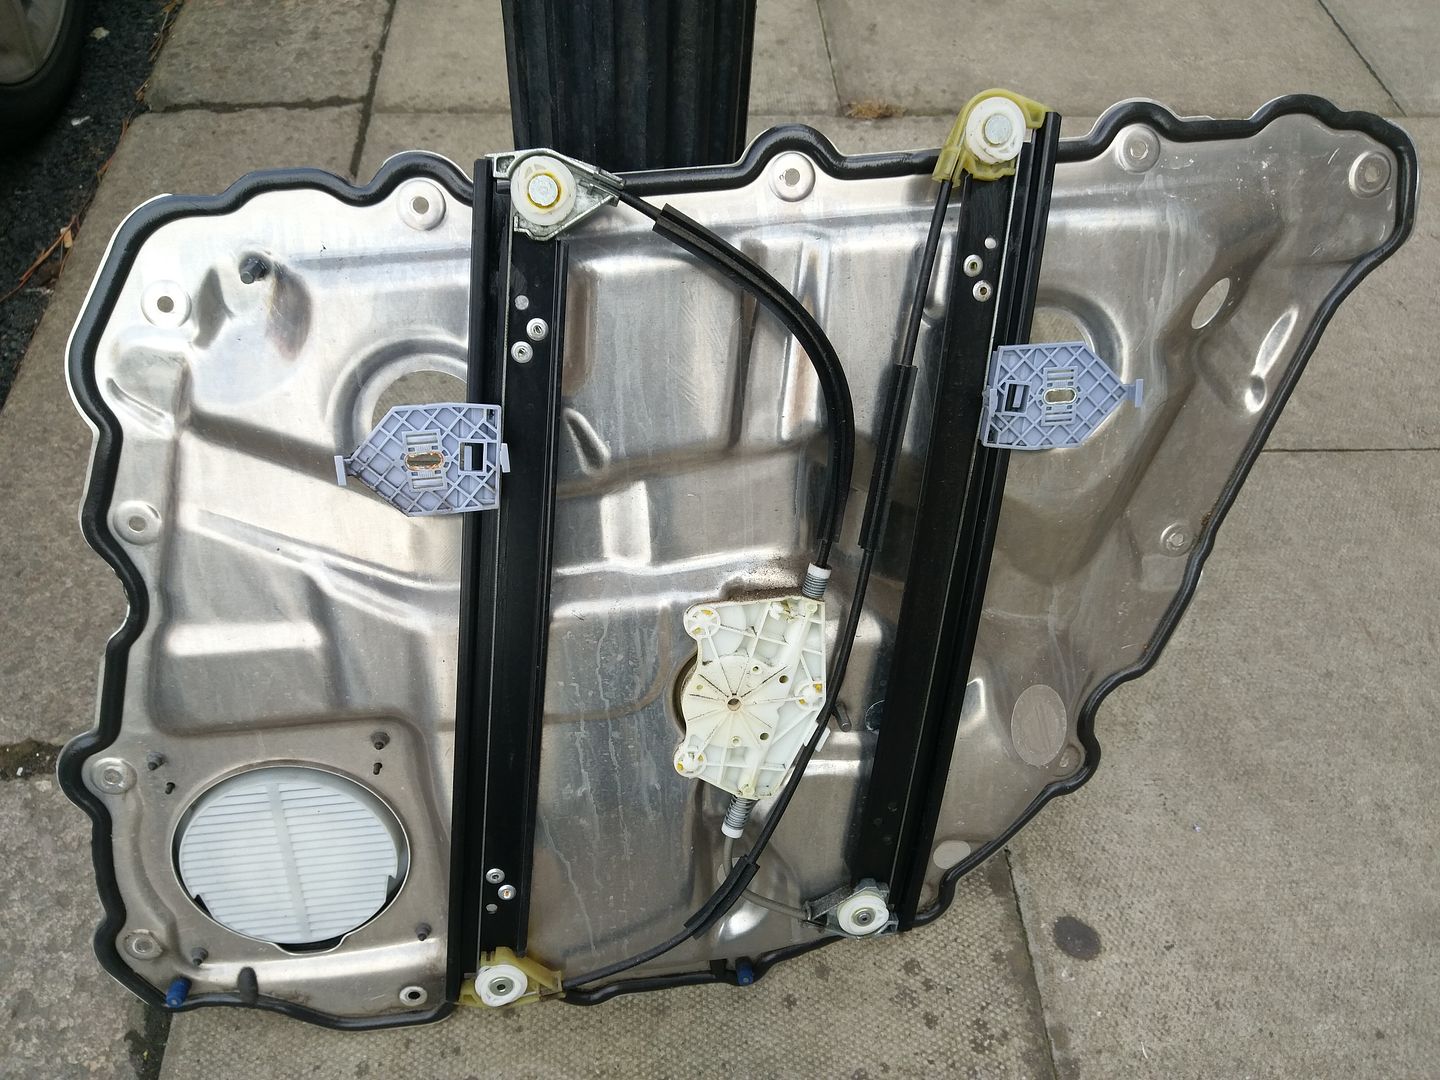 We can now see the door lock unit 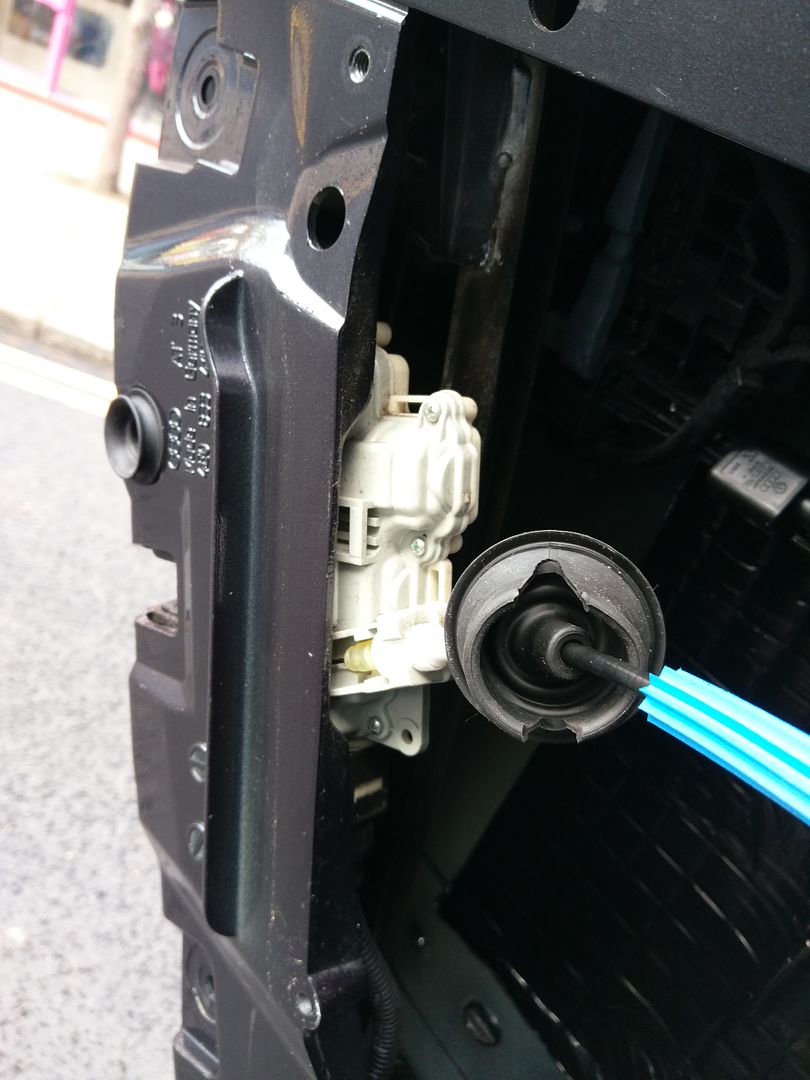 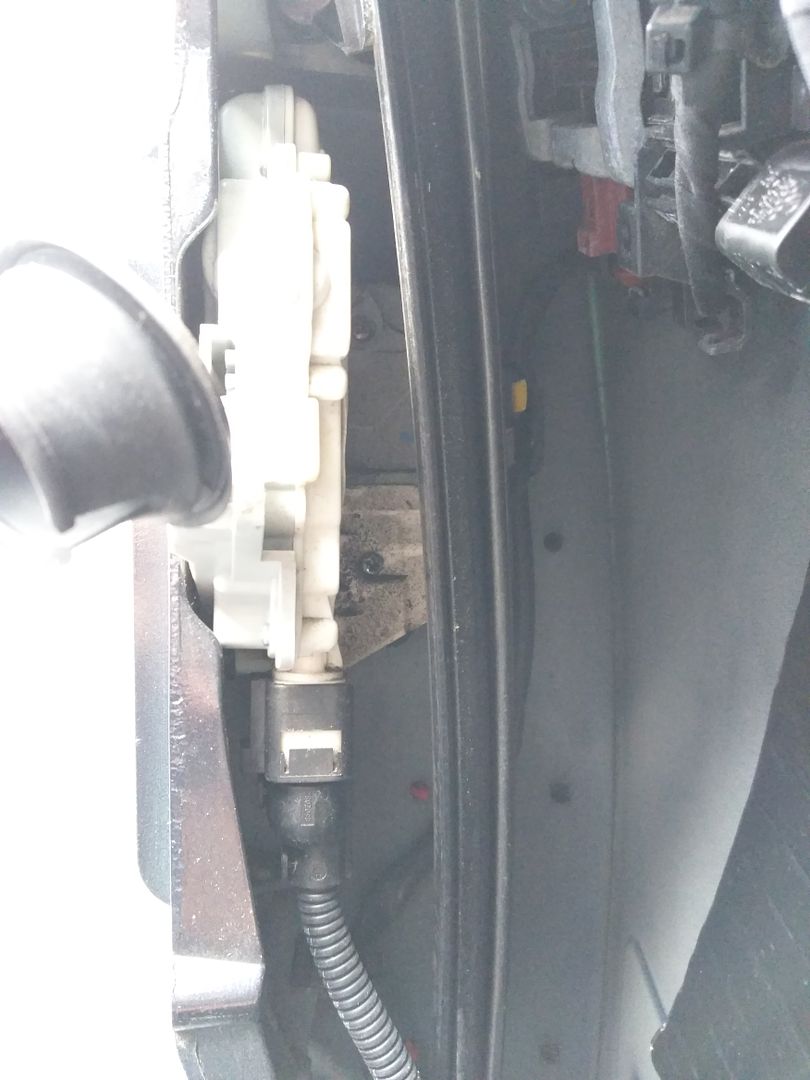 But we now unfortunately have the more tricky part of removing the window frame. We first need to remove the rubber strip around the top of the window frame. Start this by prying off with a flat blunt tool. I wasn't able to take pictures of this step. But you'll end up with this 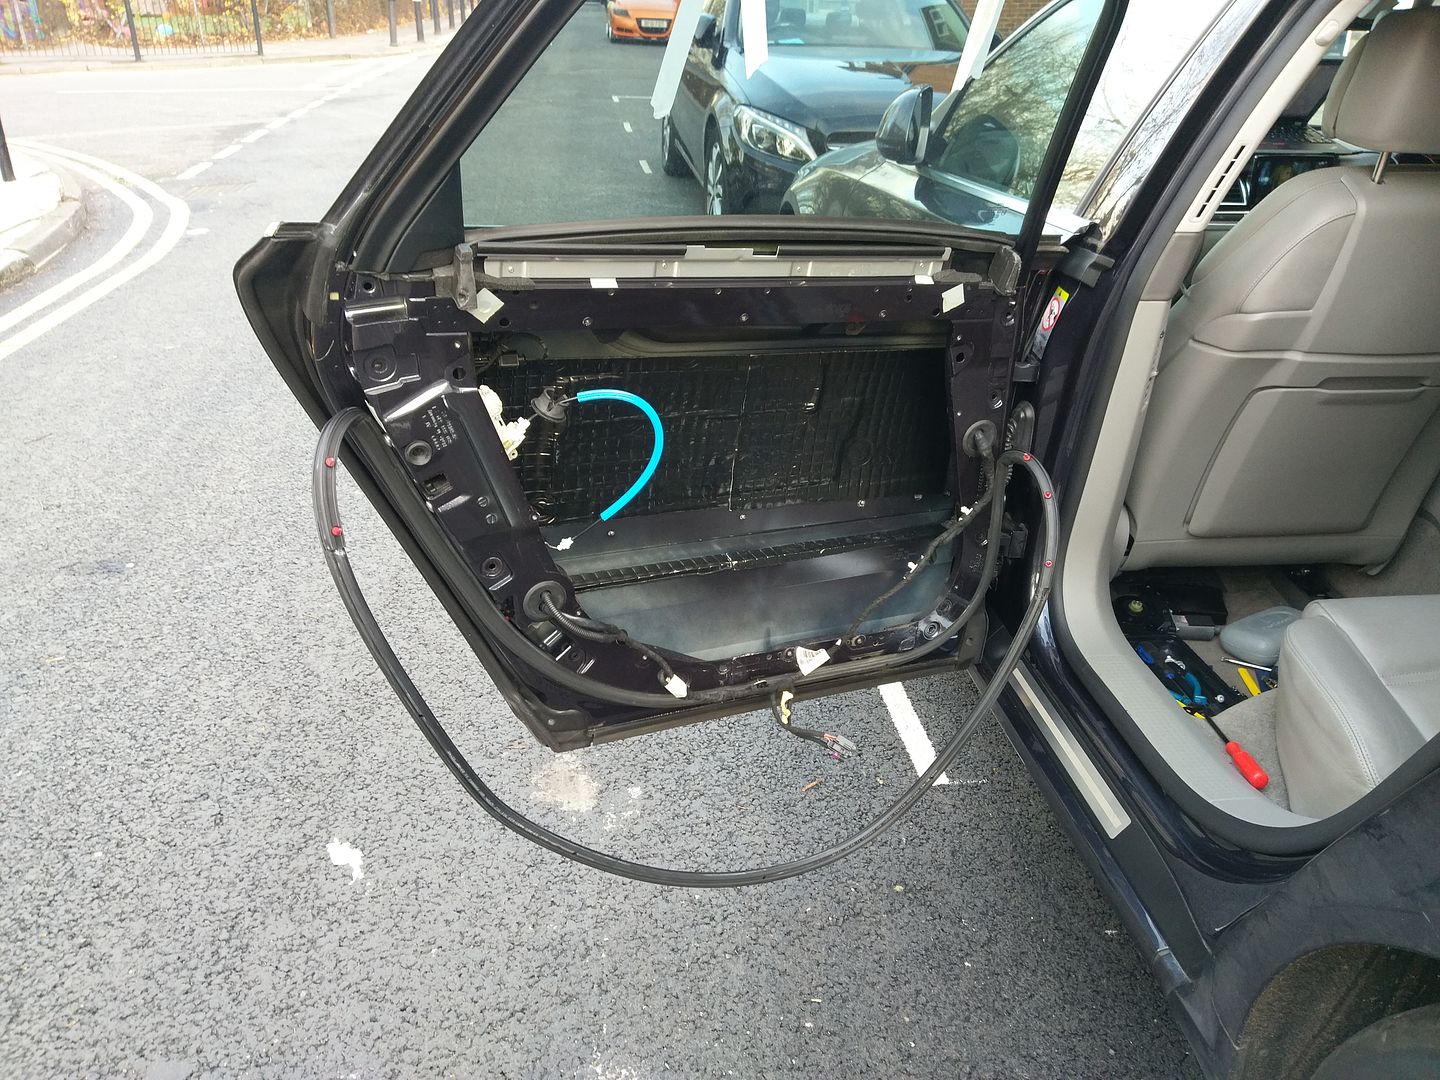  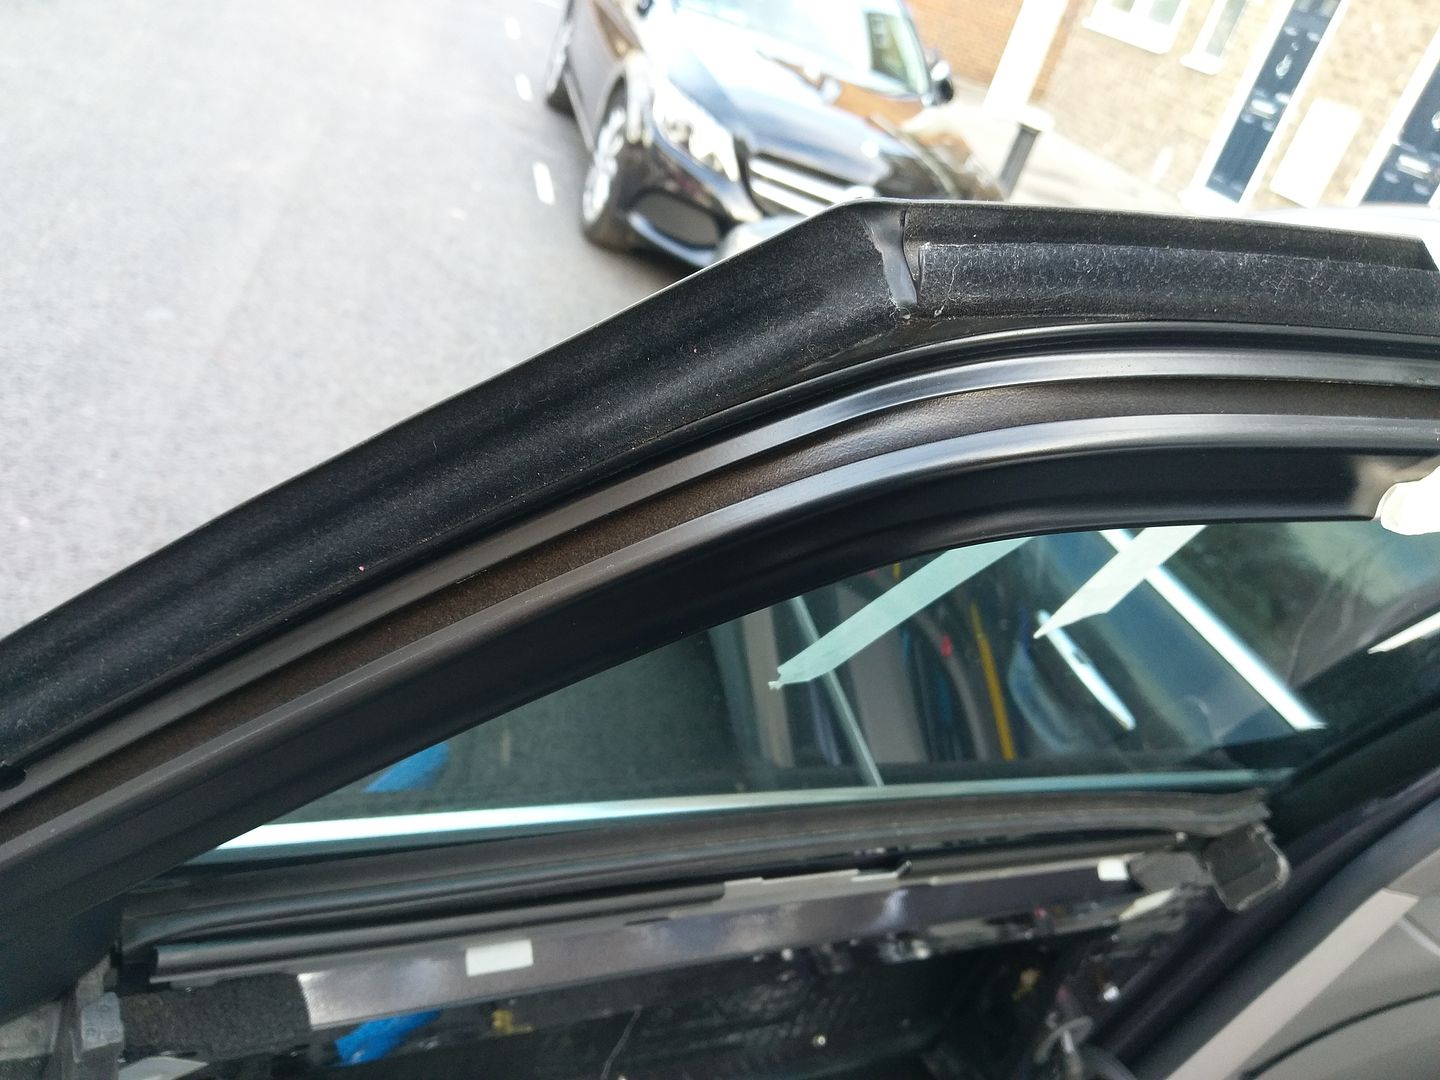 Also lift up the rubber trim at the bottom of the window. 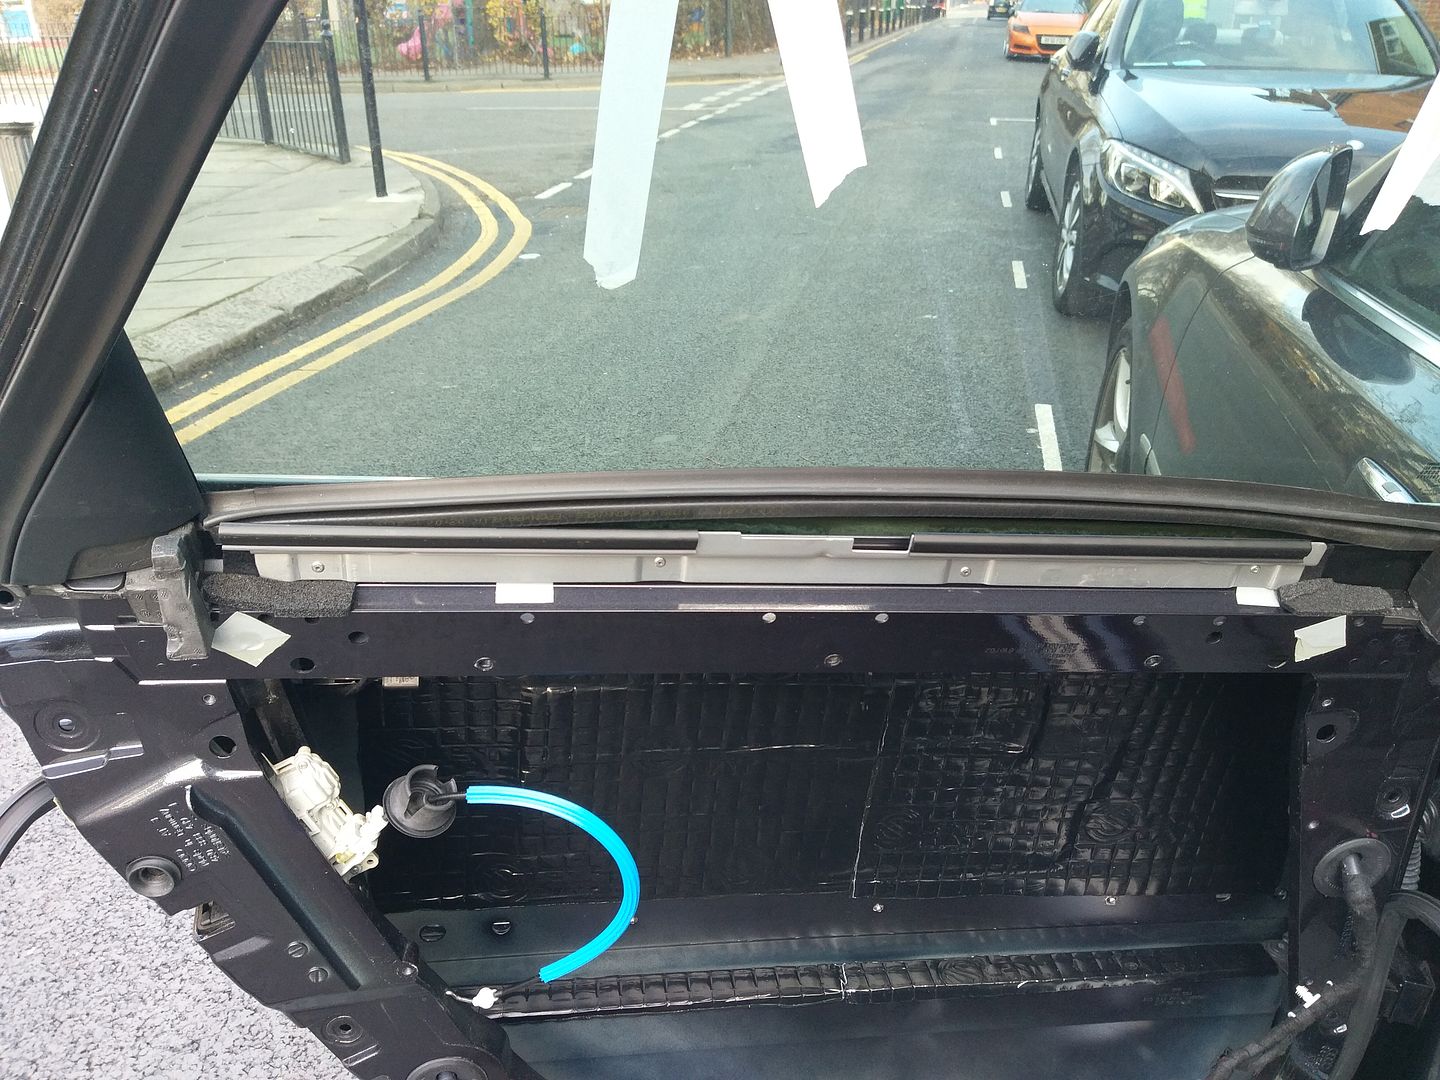 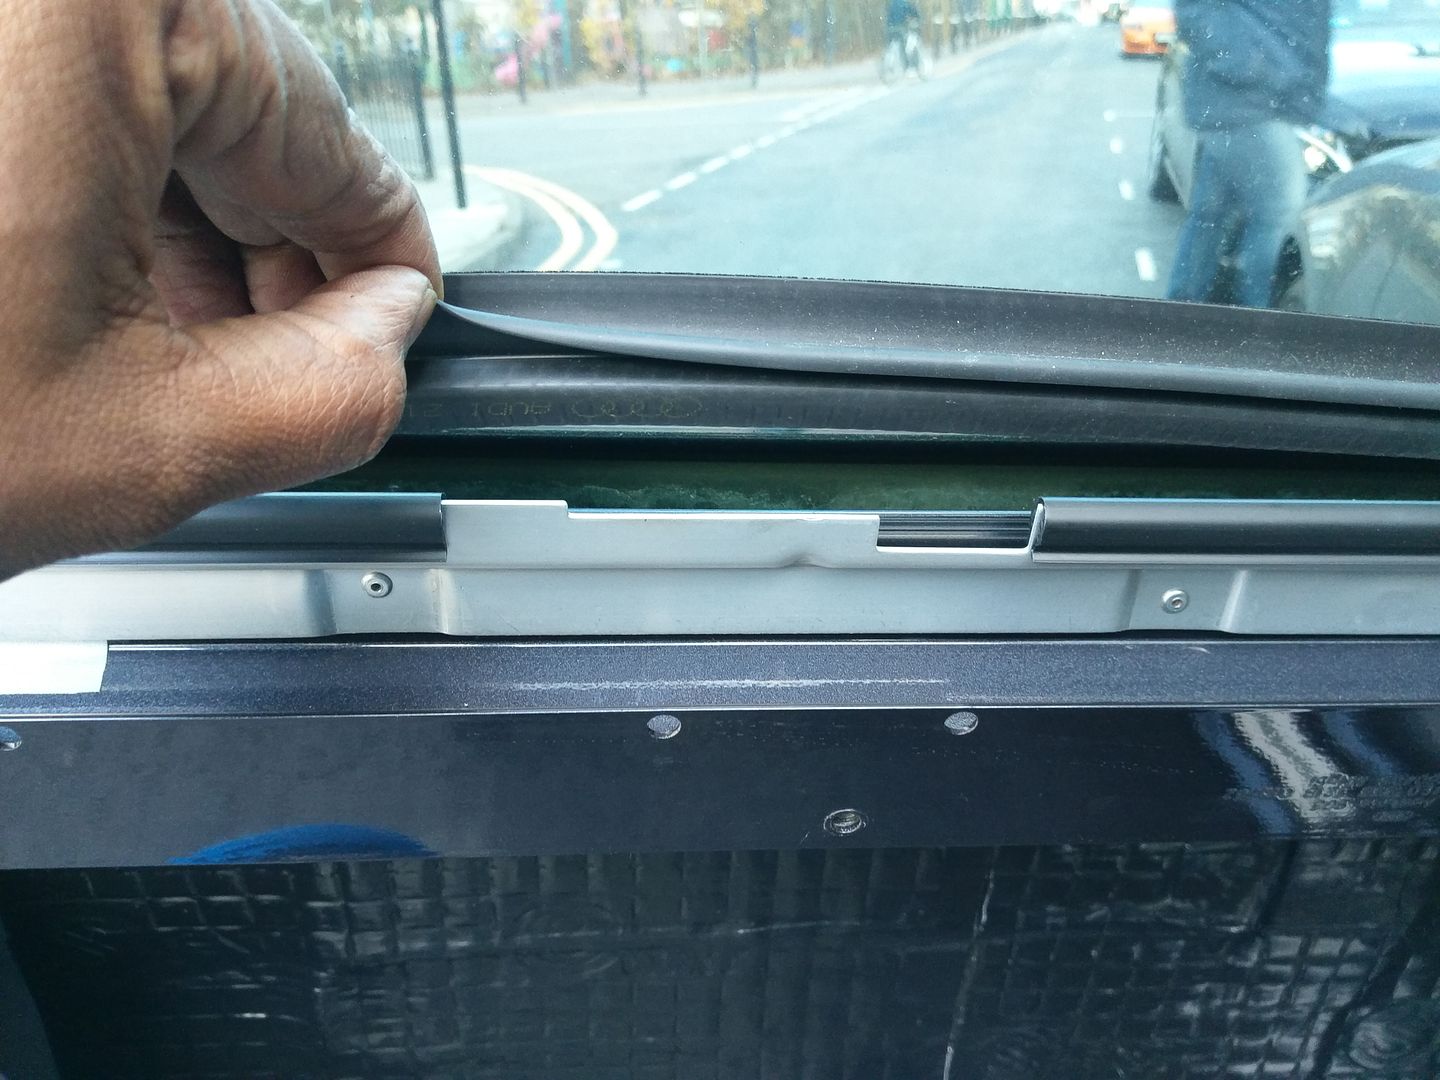 We now have to remove 4 bolts using the M10 triple head bits. There are two on each side. They are easier to access once you get the rubber strip out of the way.  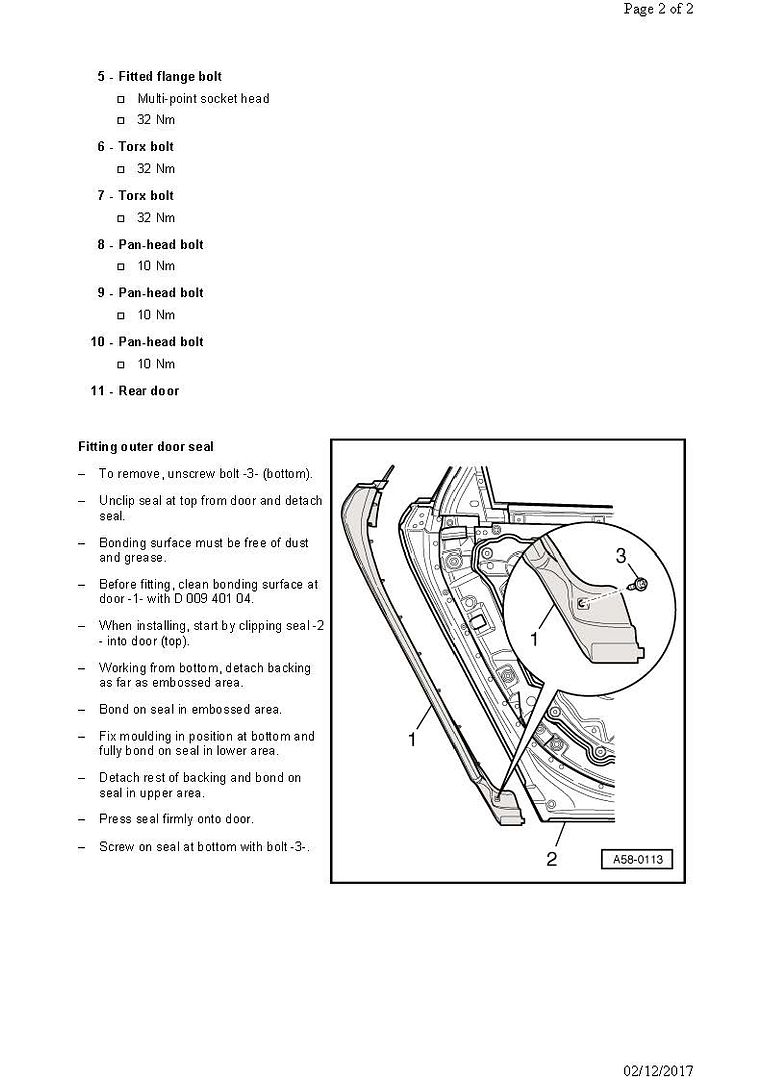 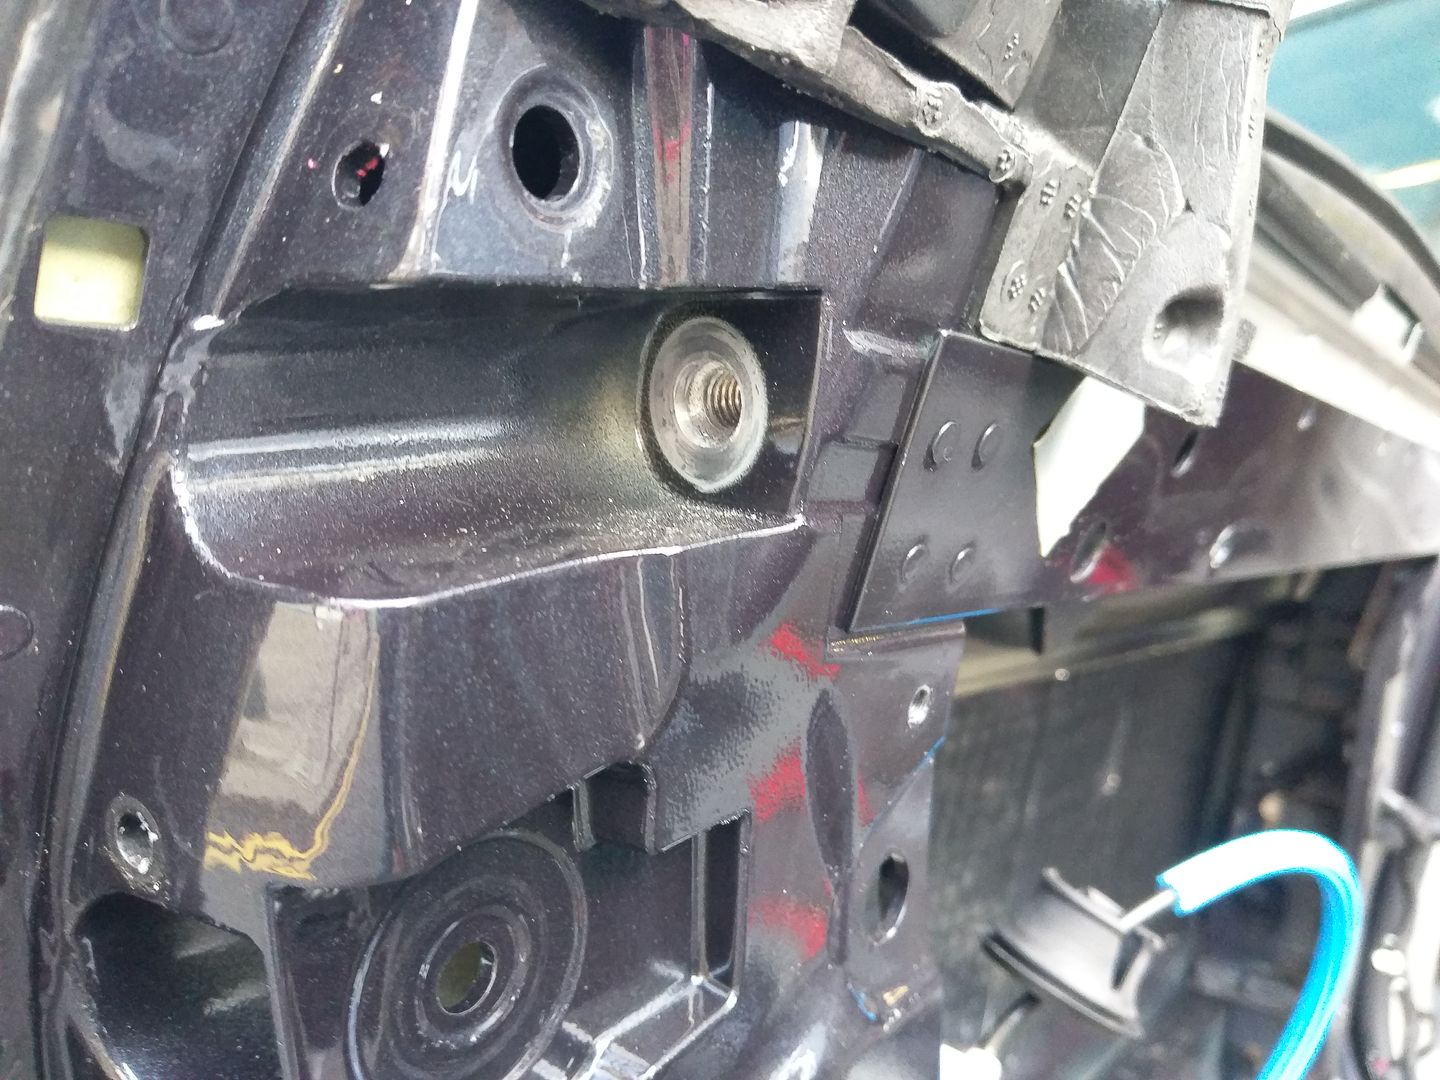 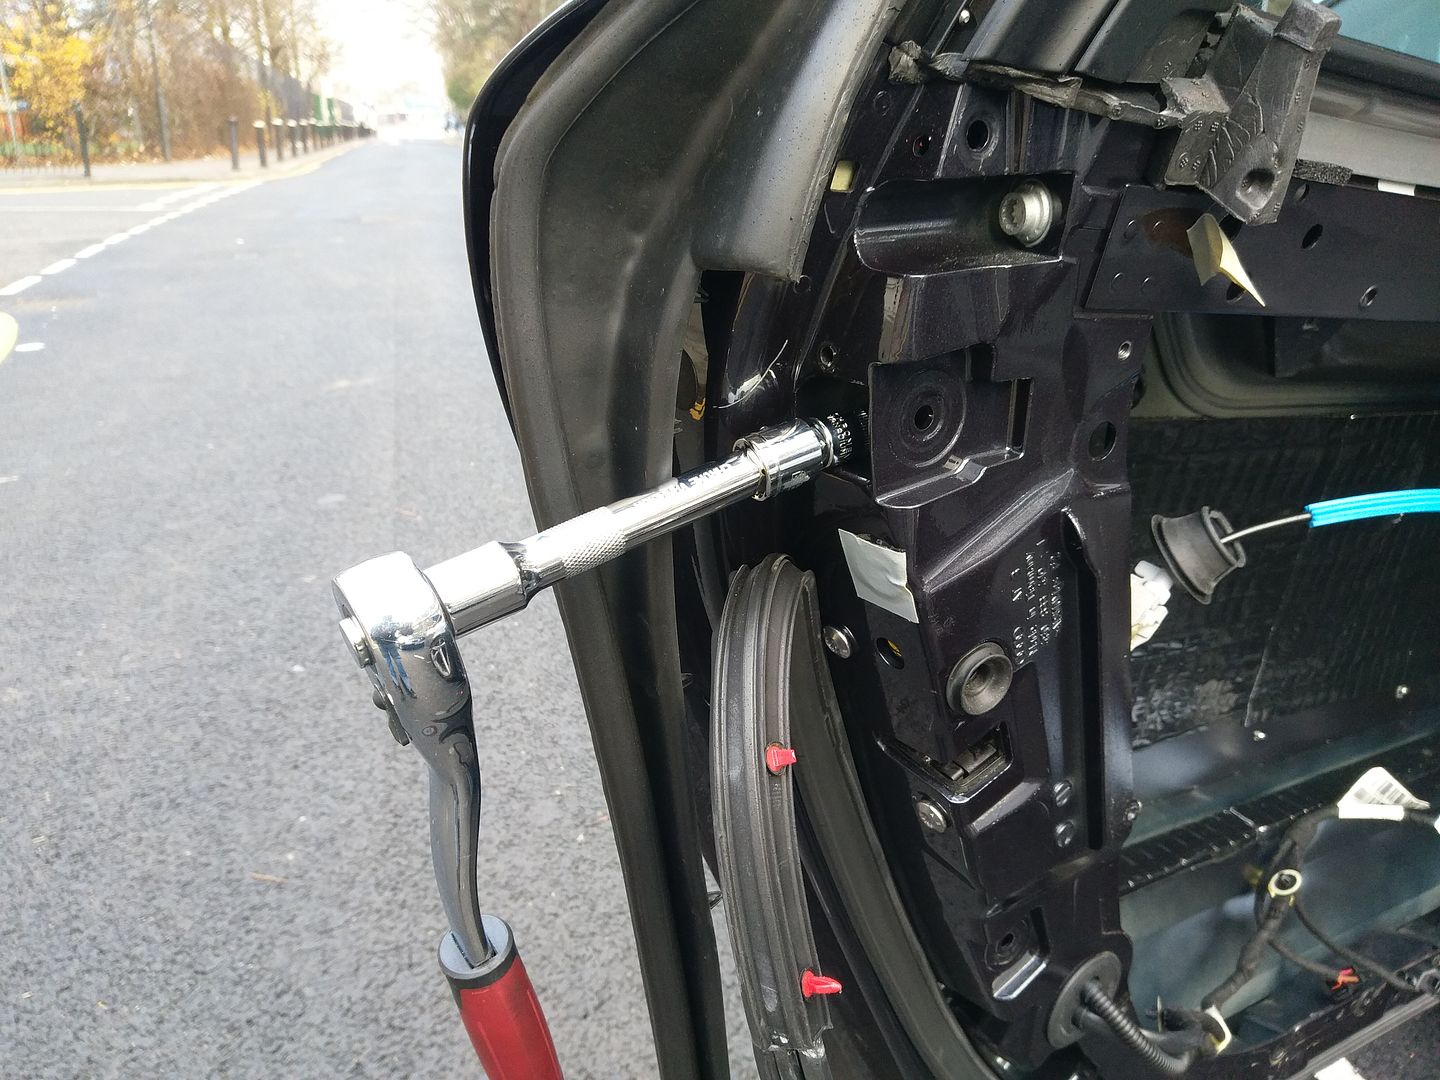 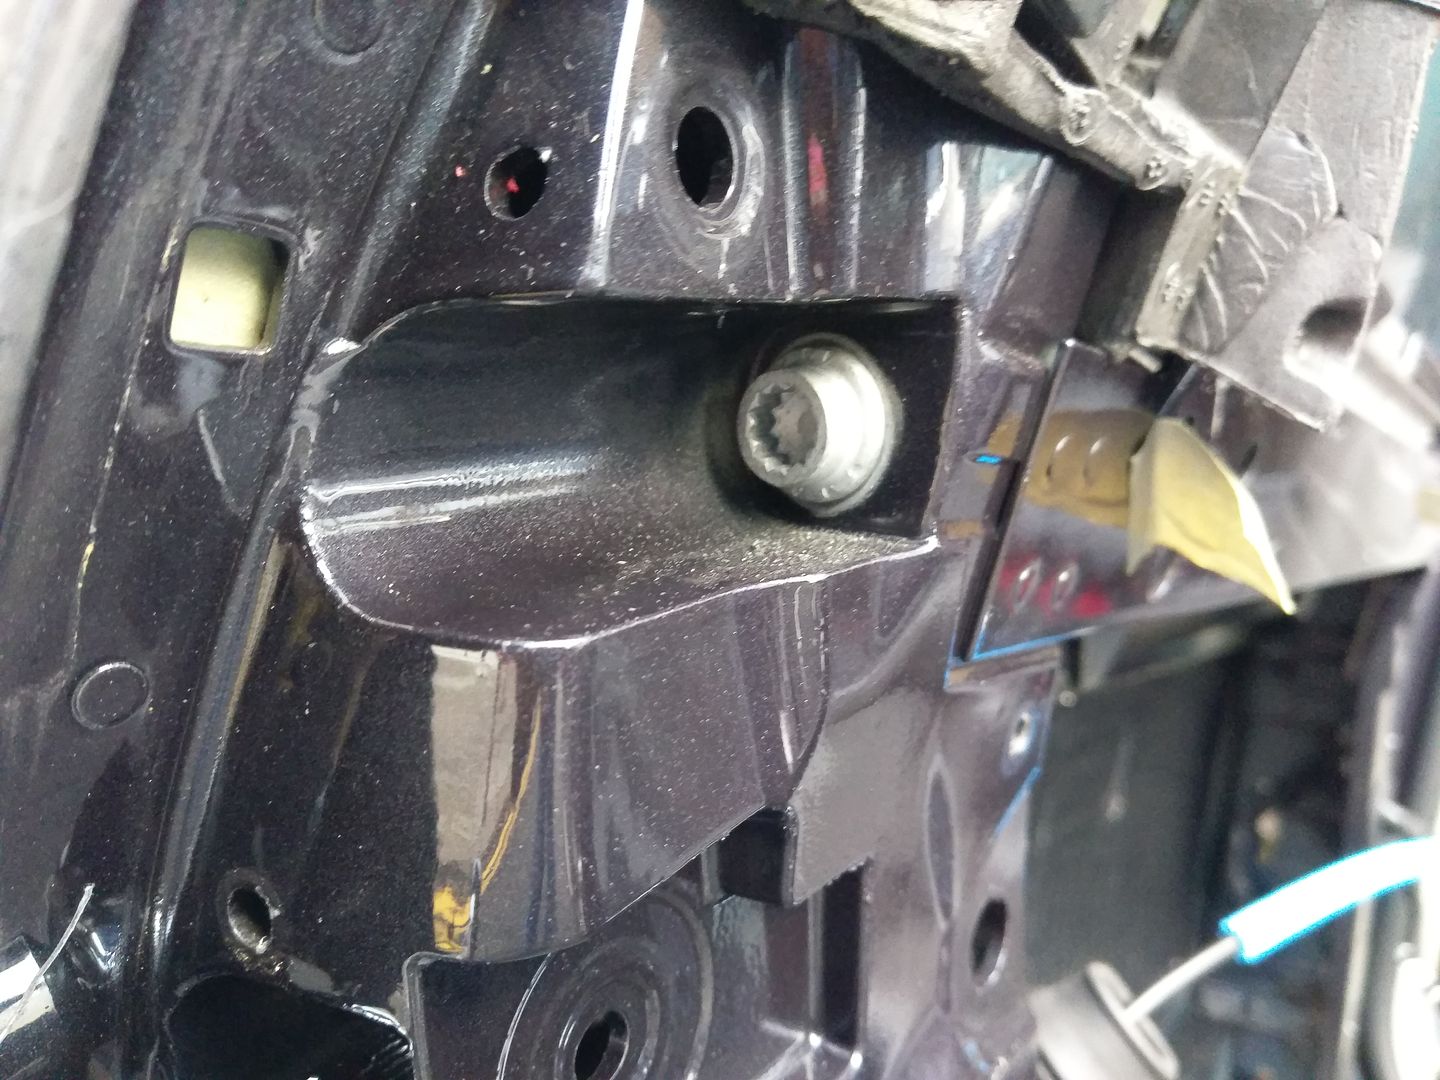 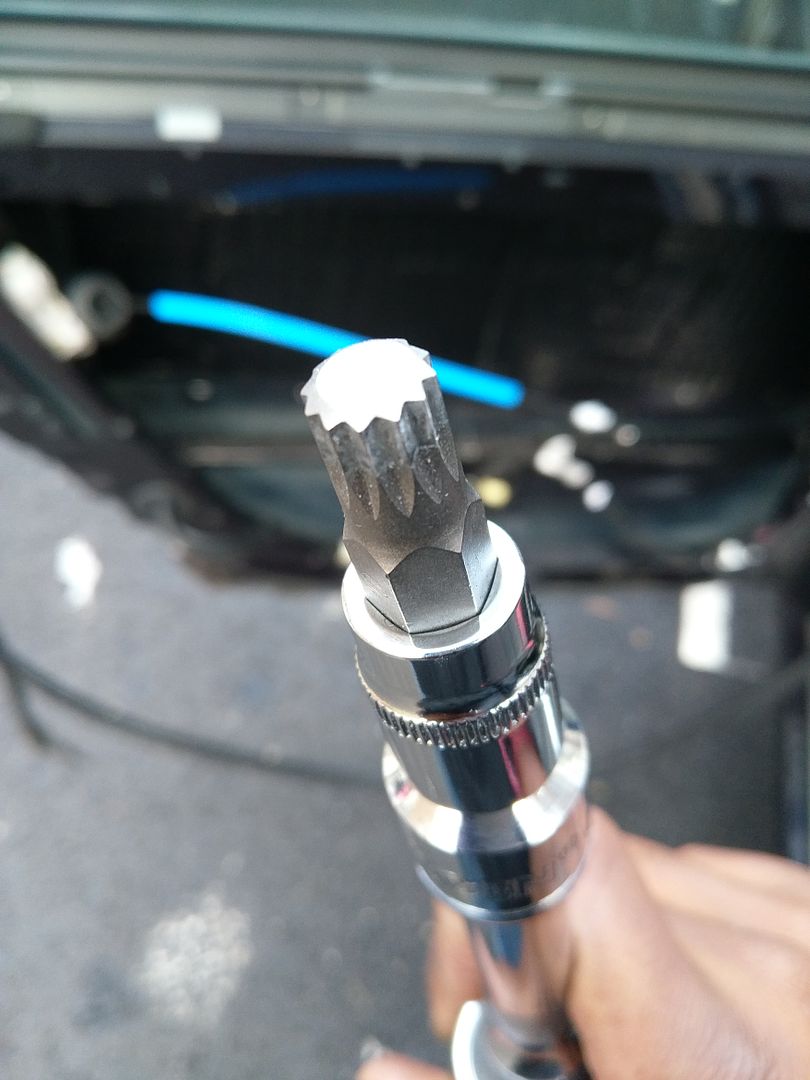 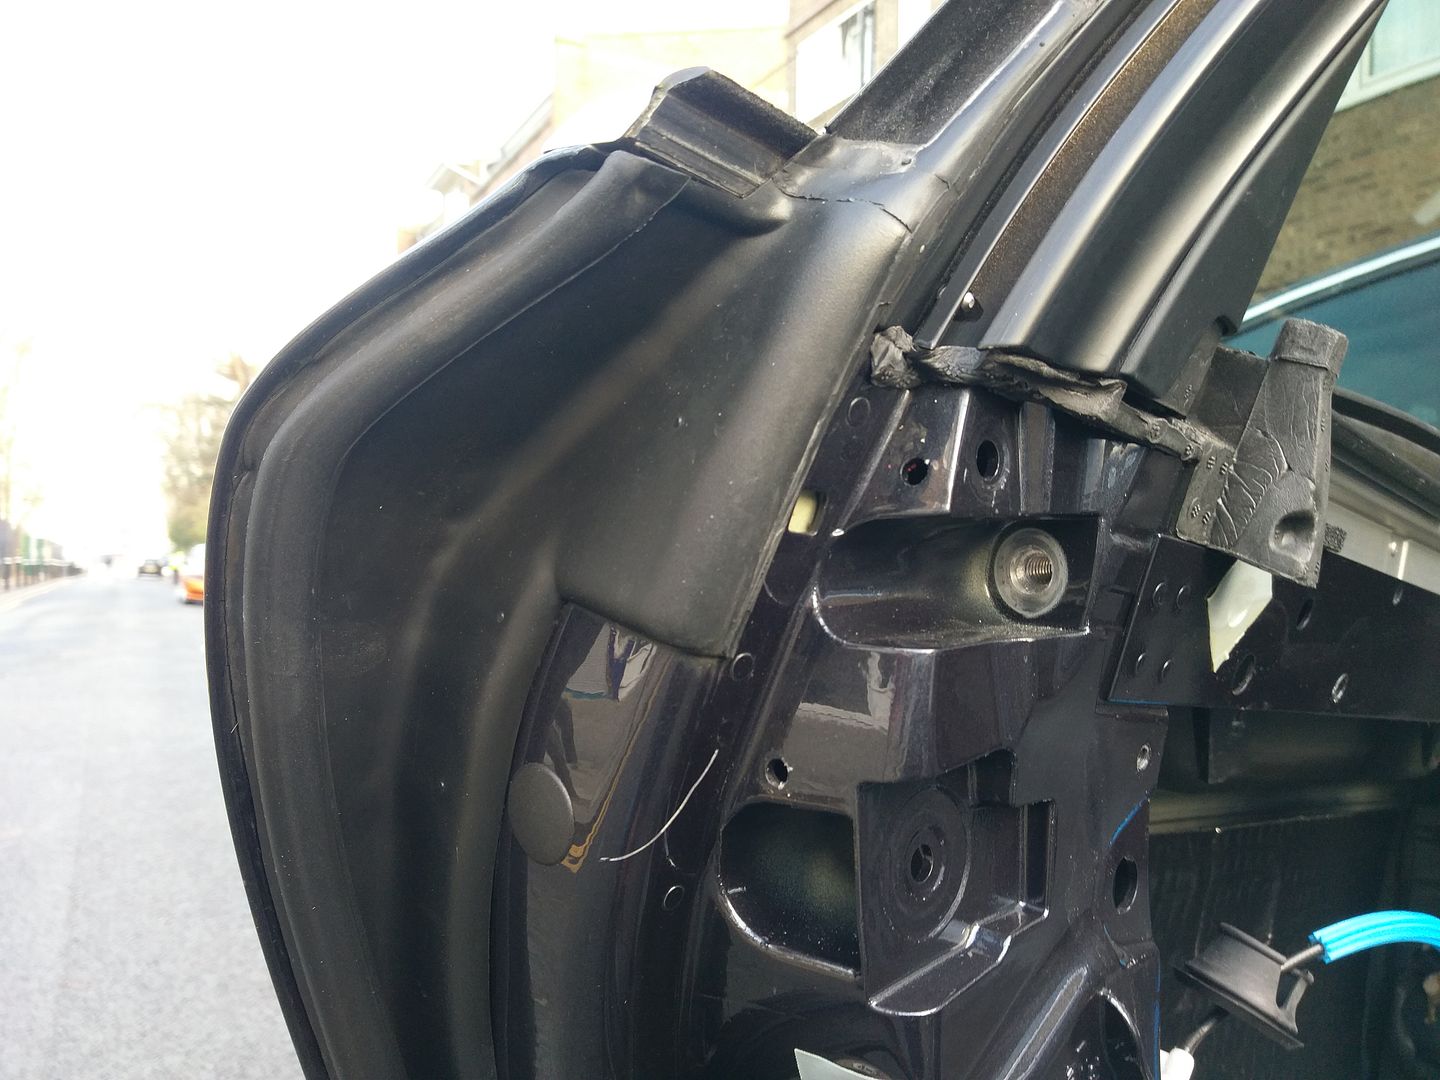 There are 3 Torx 30 screws to remove as well. 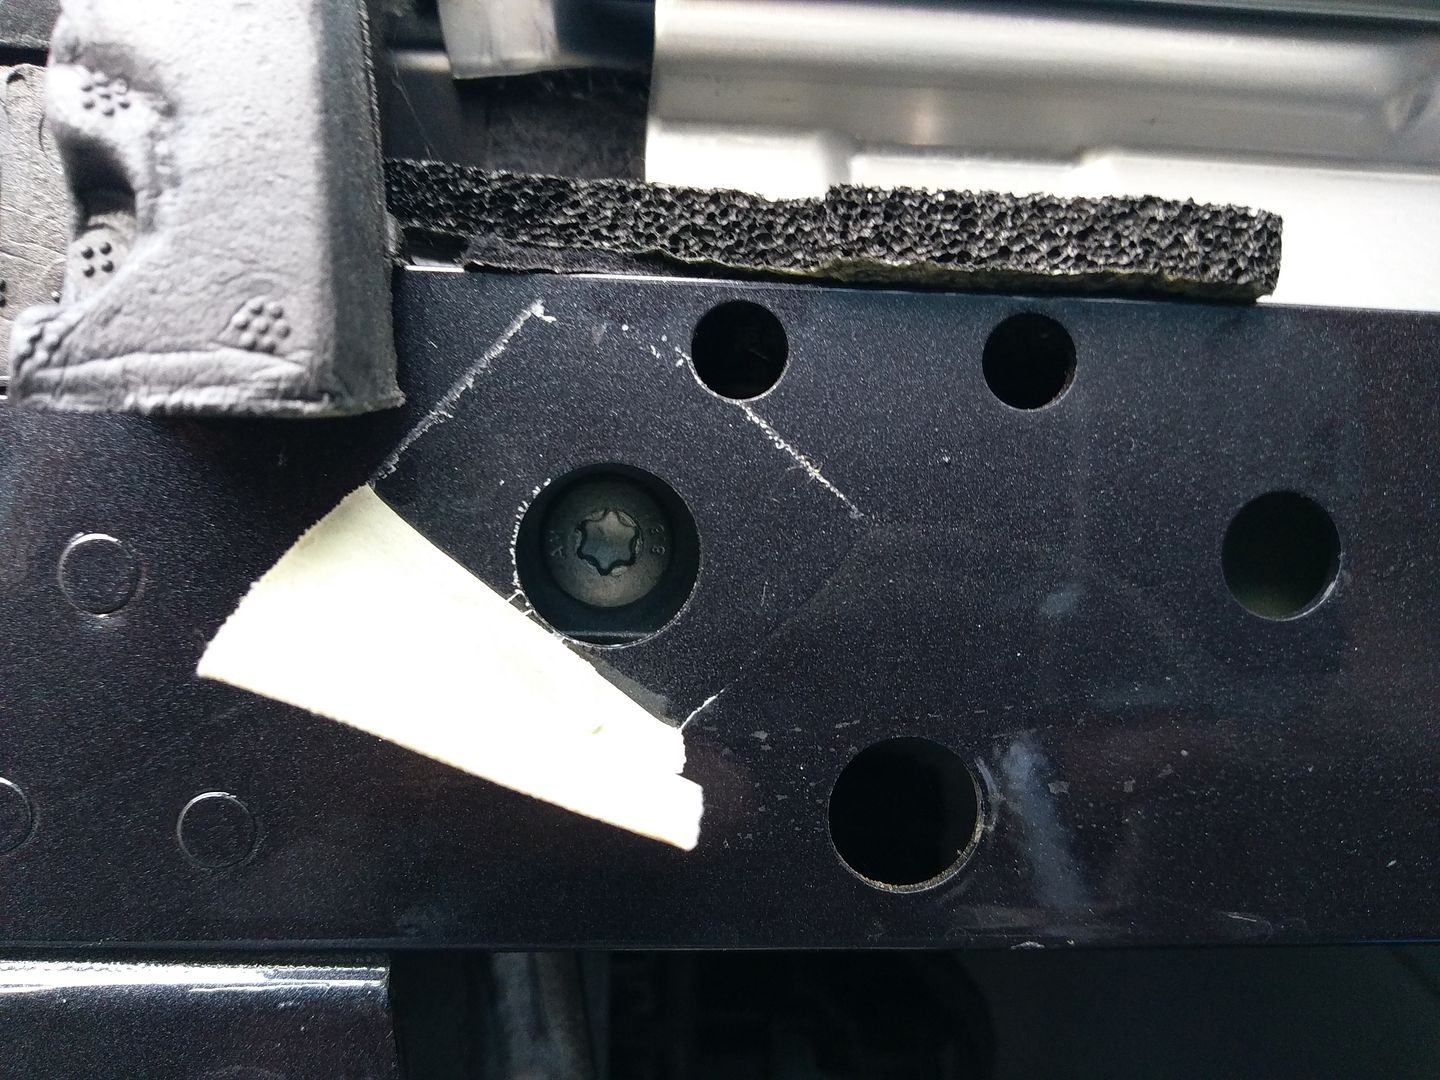  Next it's time to take off the door seal Undo the screw then slowly pull out the seal from it's bracket. 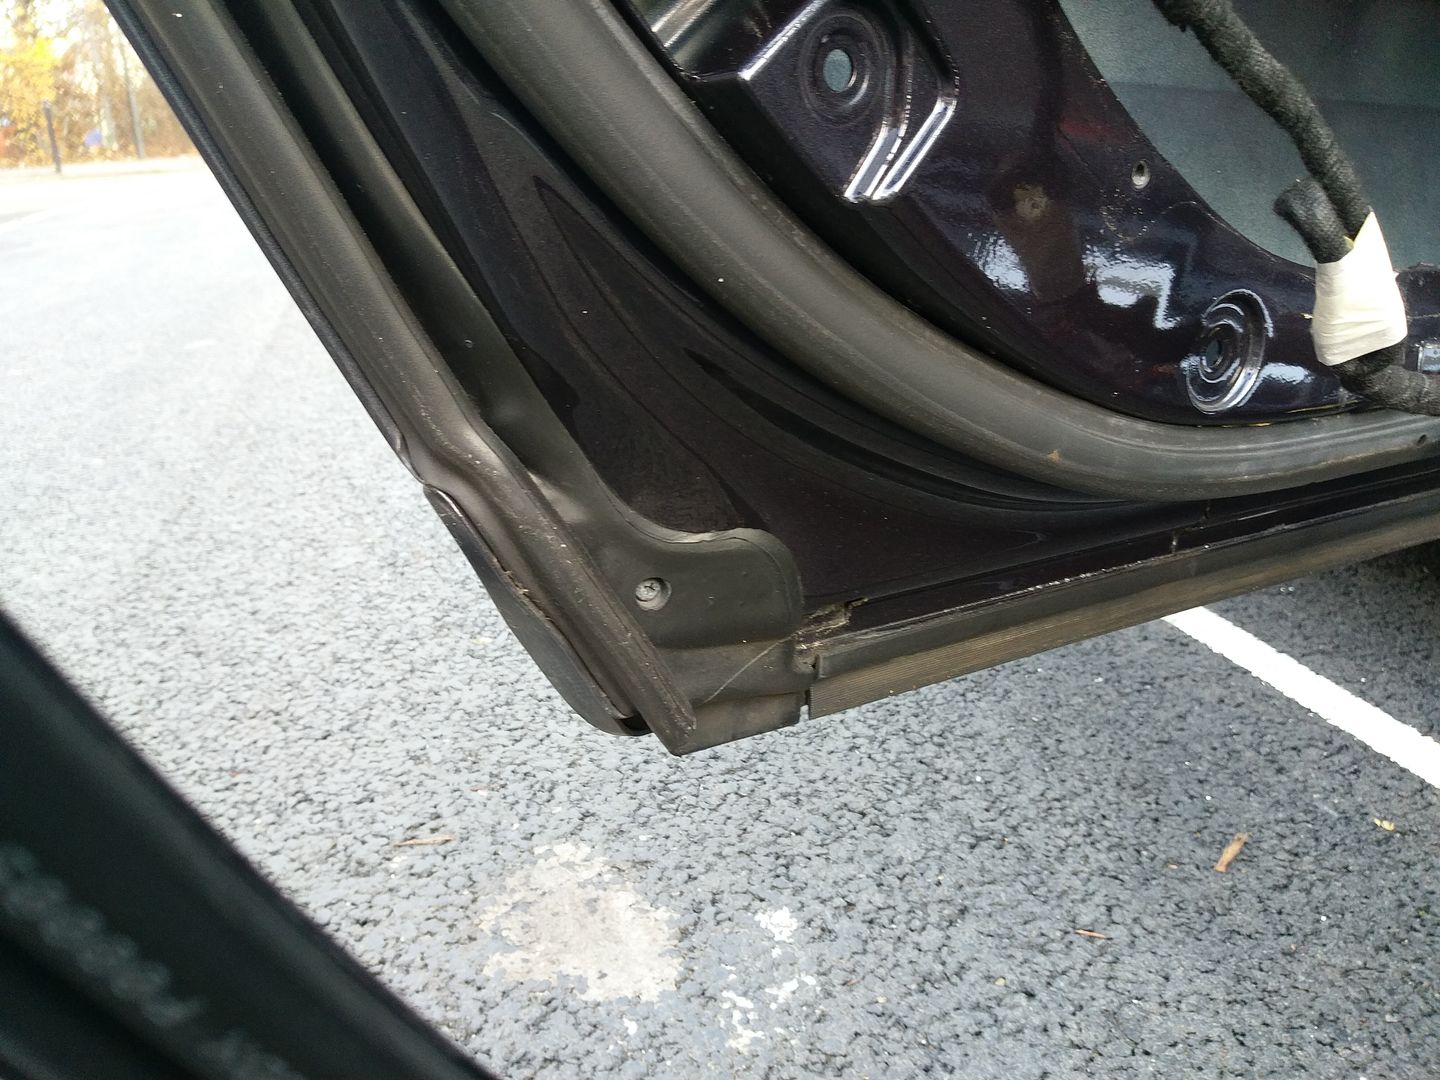 We can now pull off the window frame and keep somewhere safe. 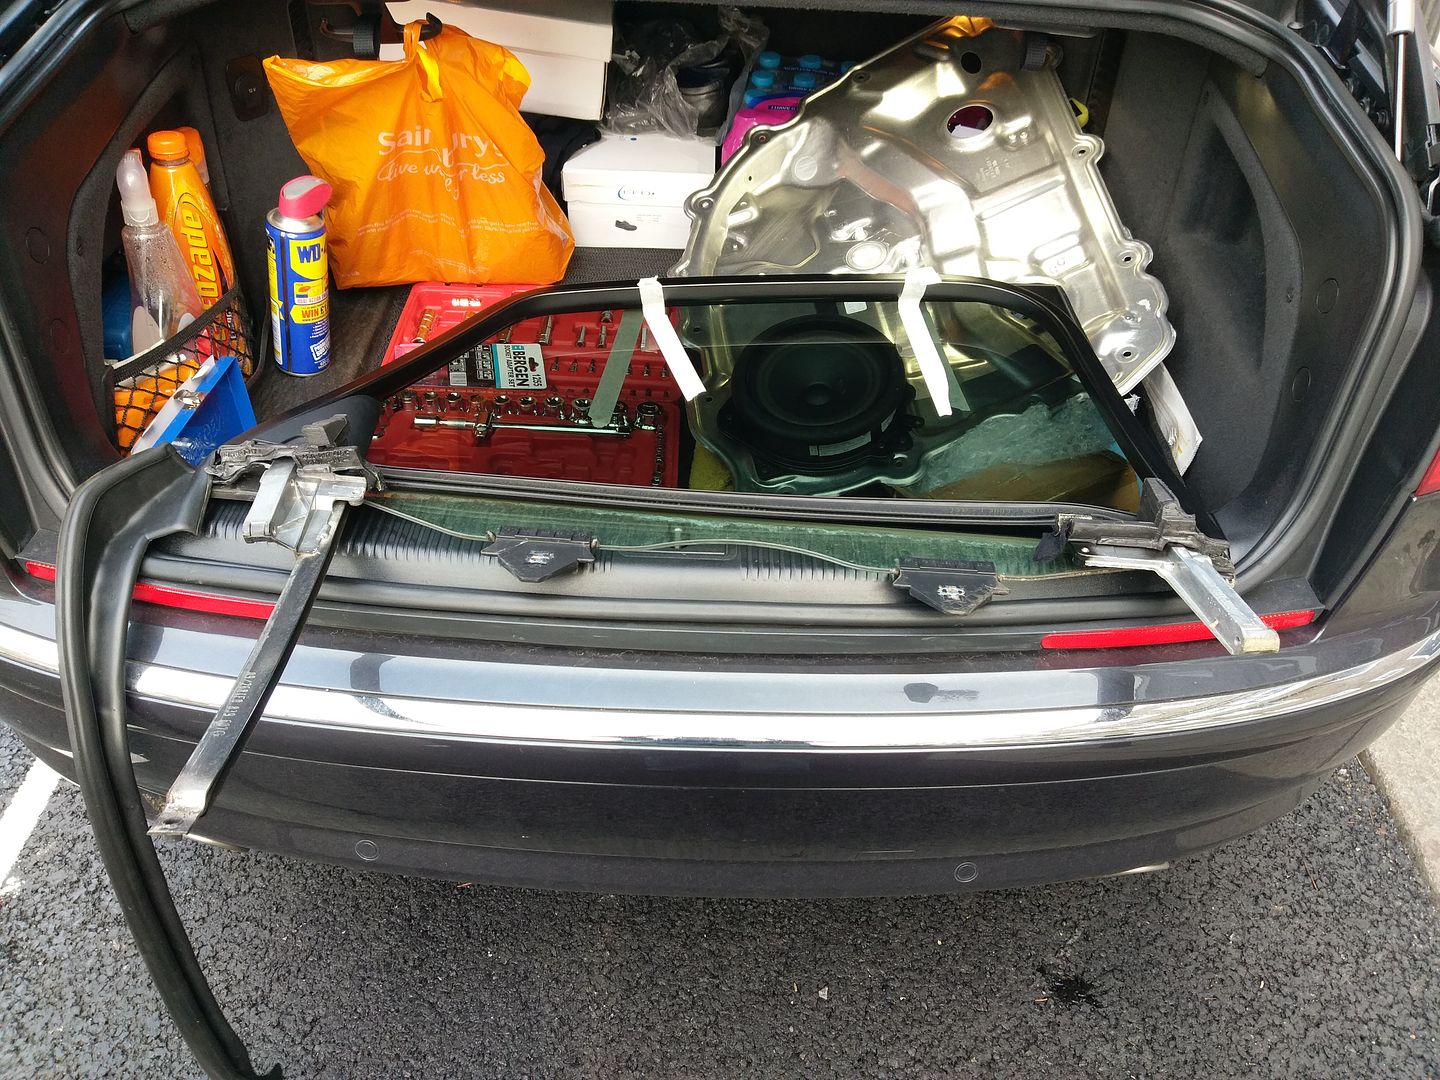 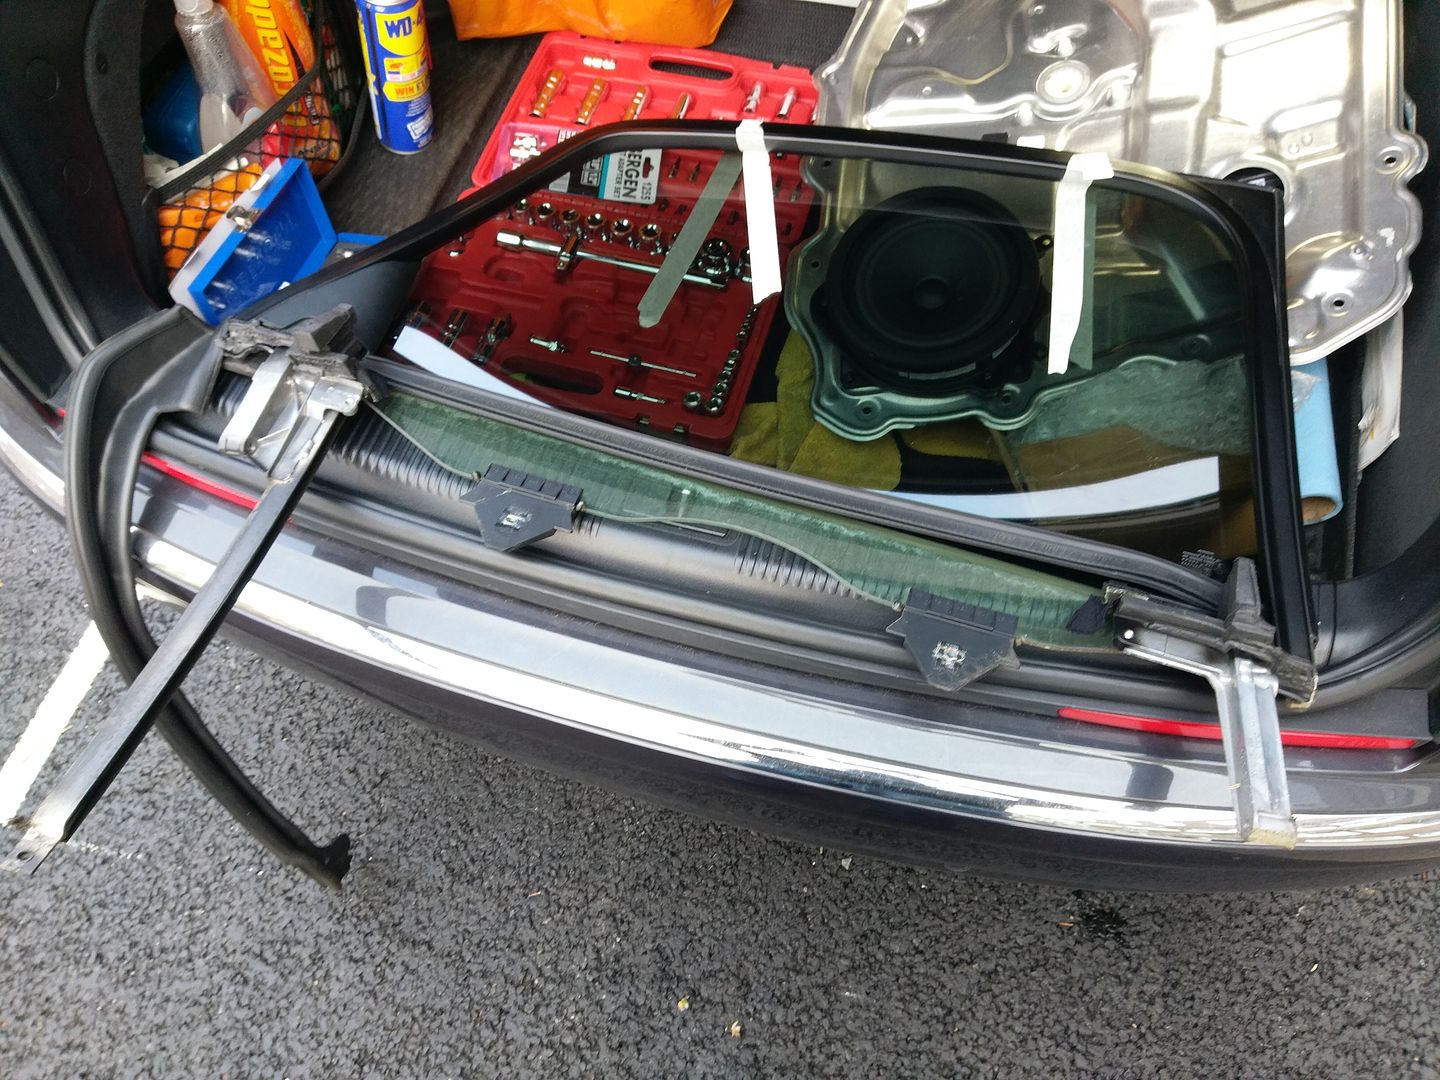 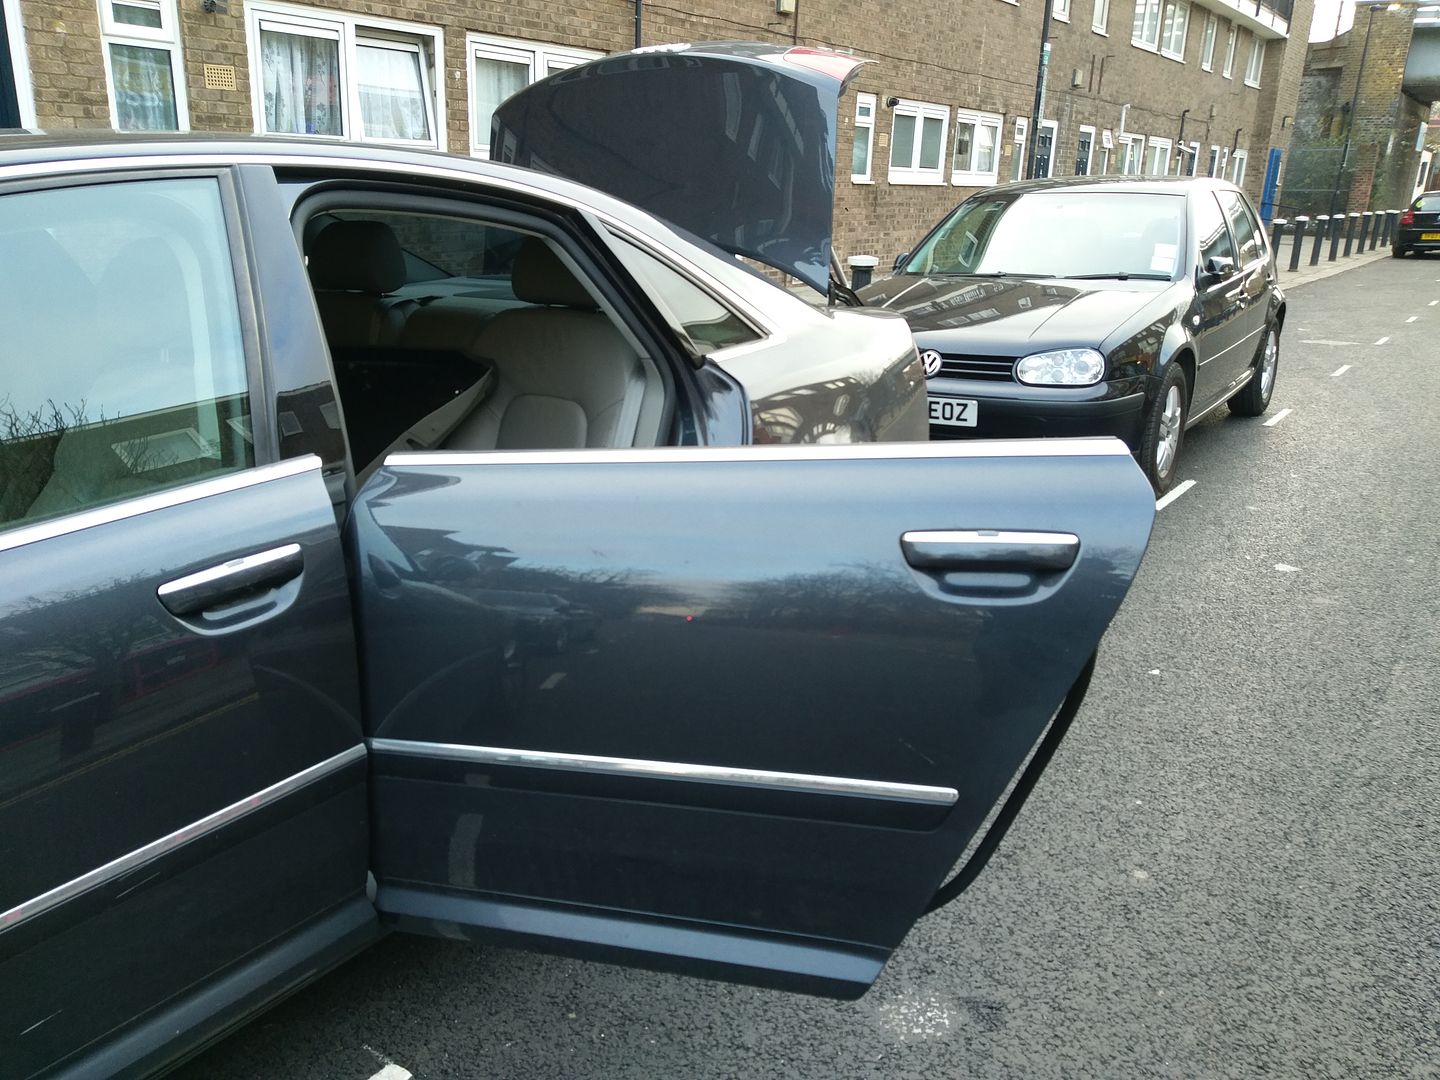 Clearer view of the door lock 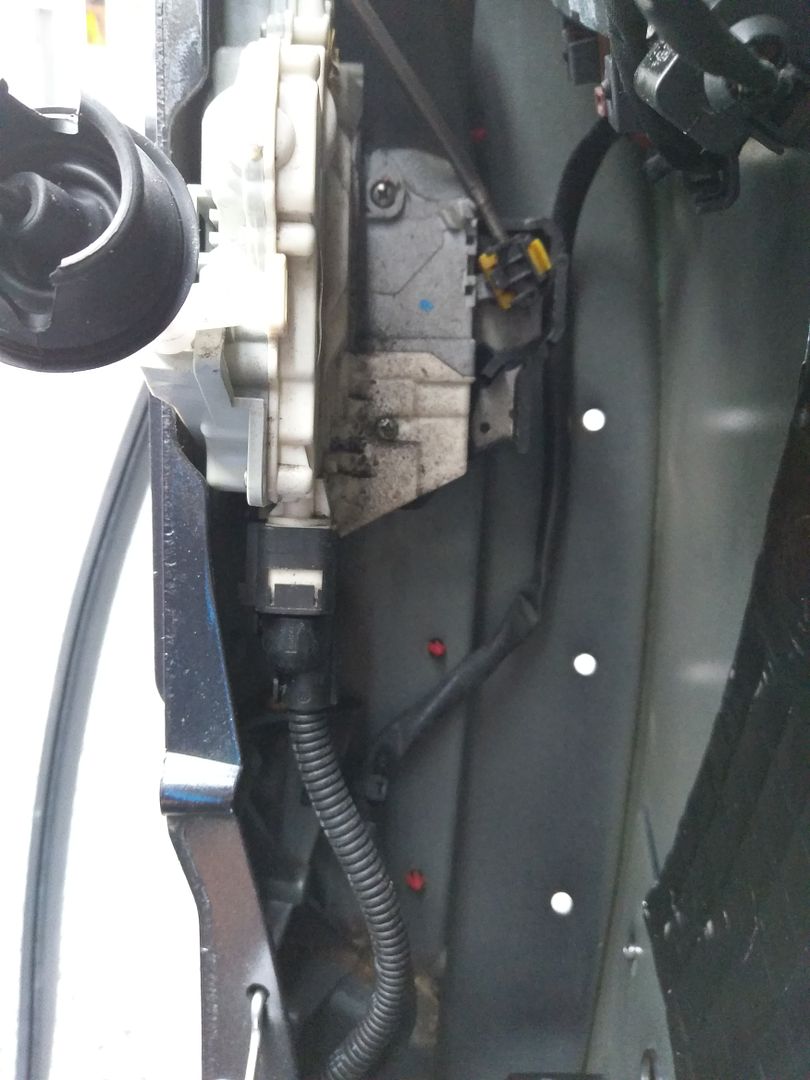 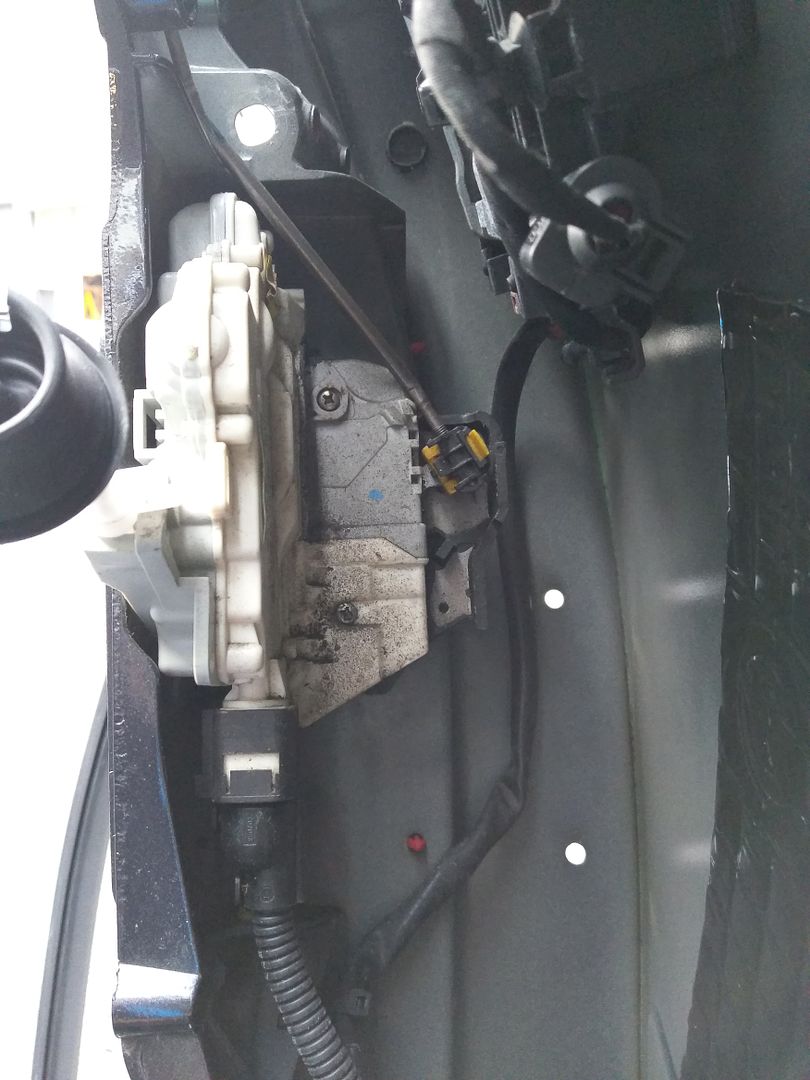 Unclip the rod from the exterior door handle. Price the clip off then slide out of the handle then remove the two M8 bolts to set the lock free. Don't forget to disconnect the wiring. 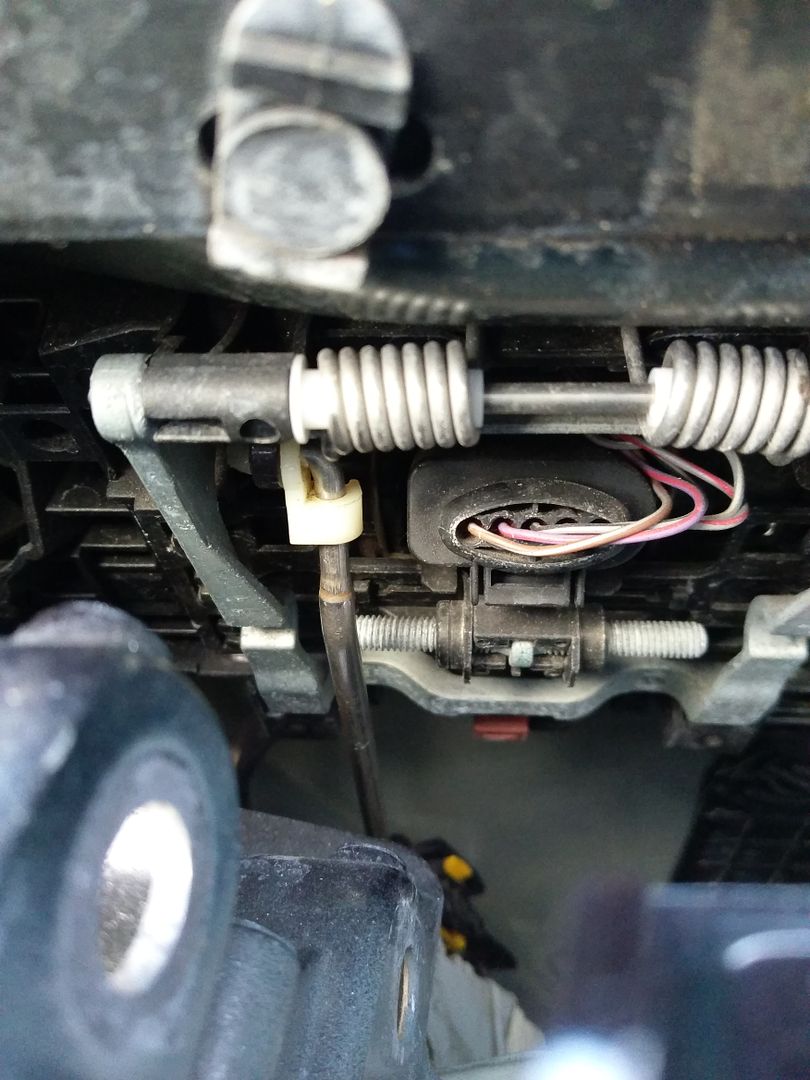 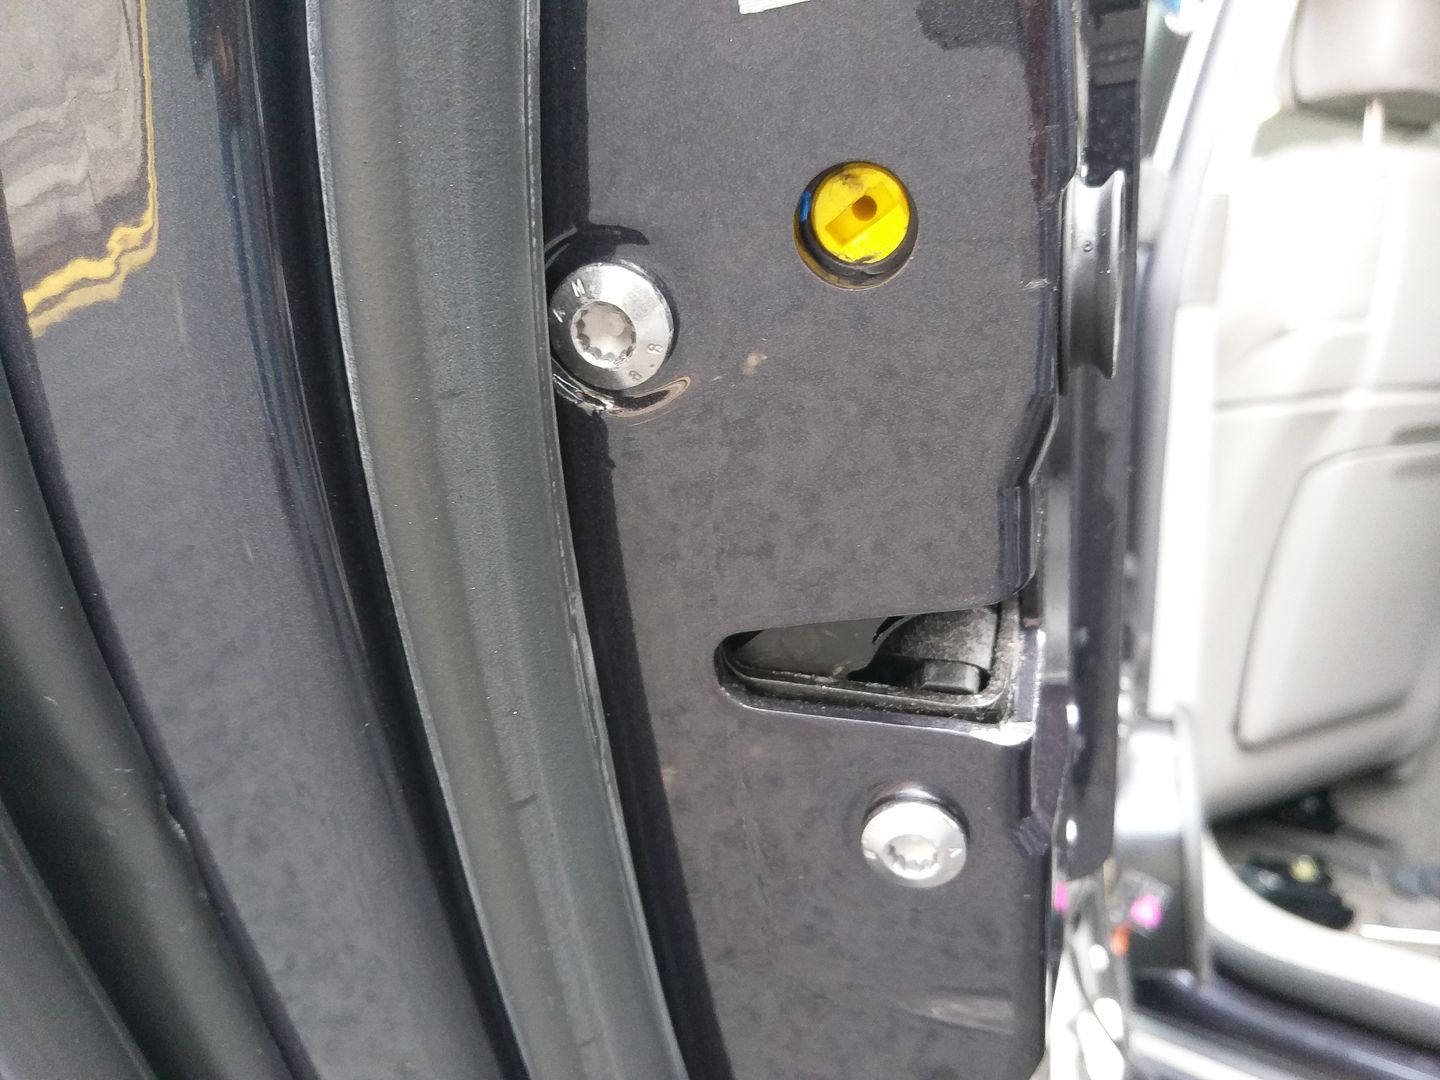 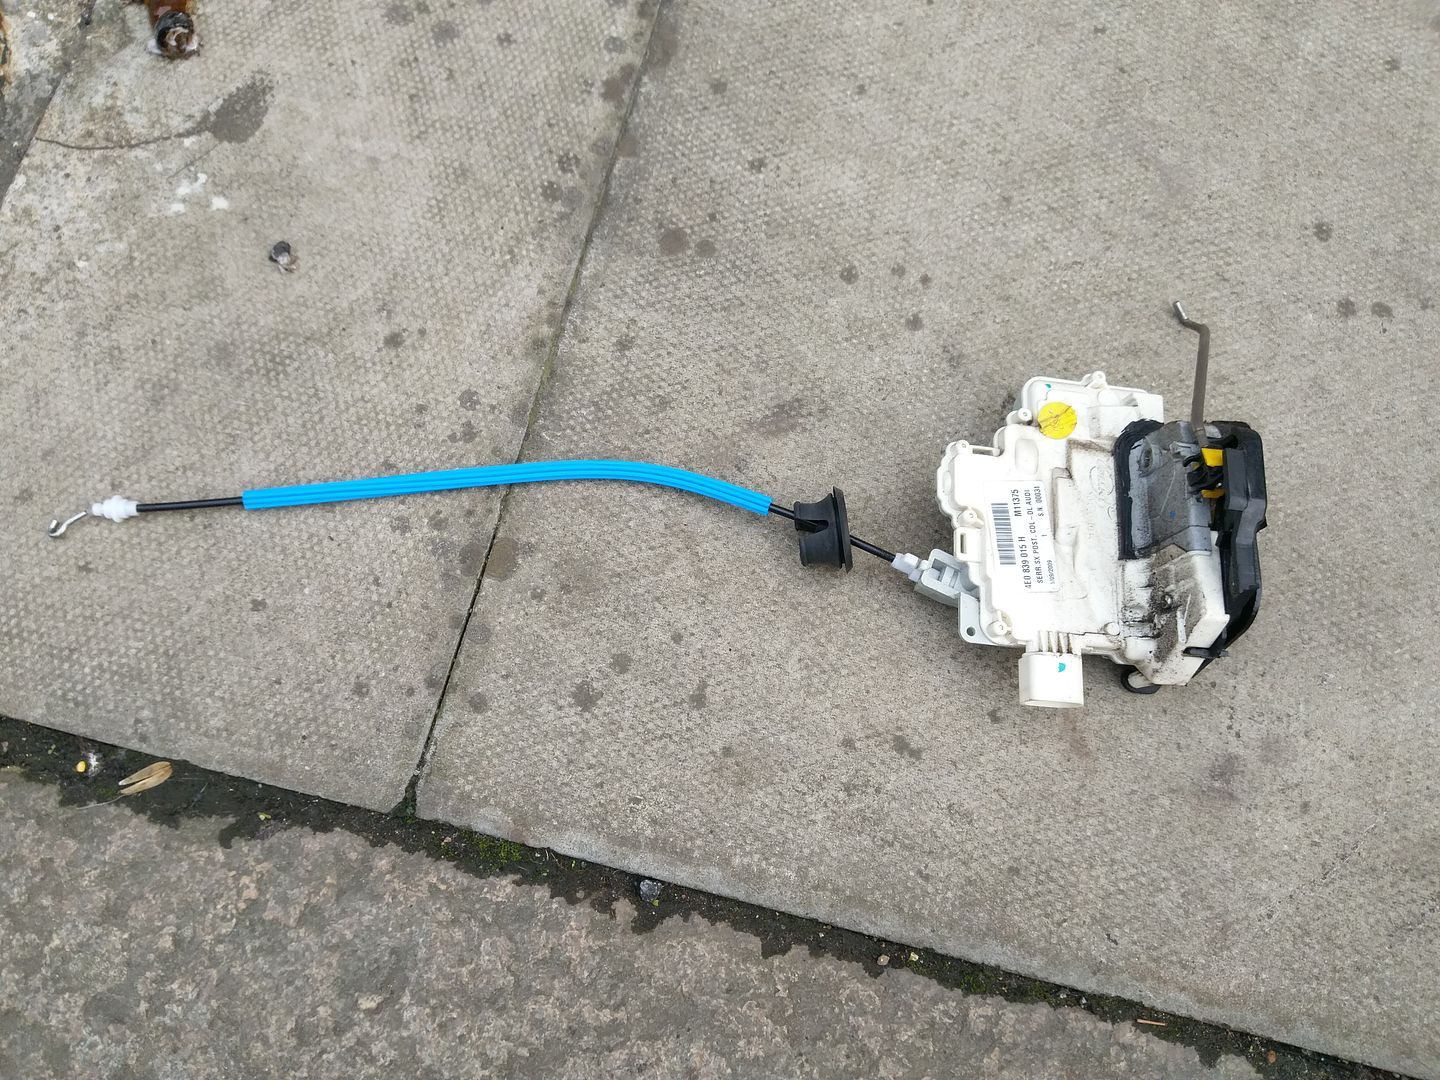 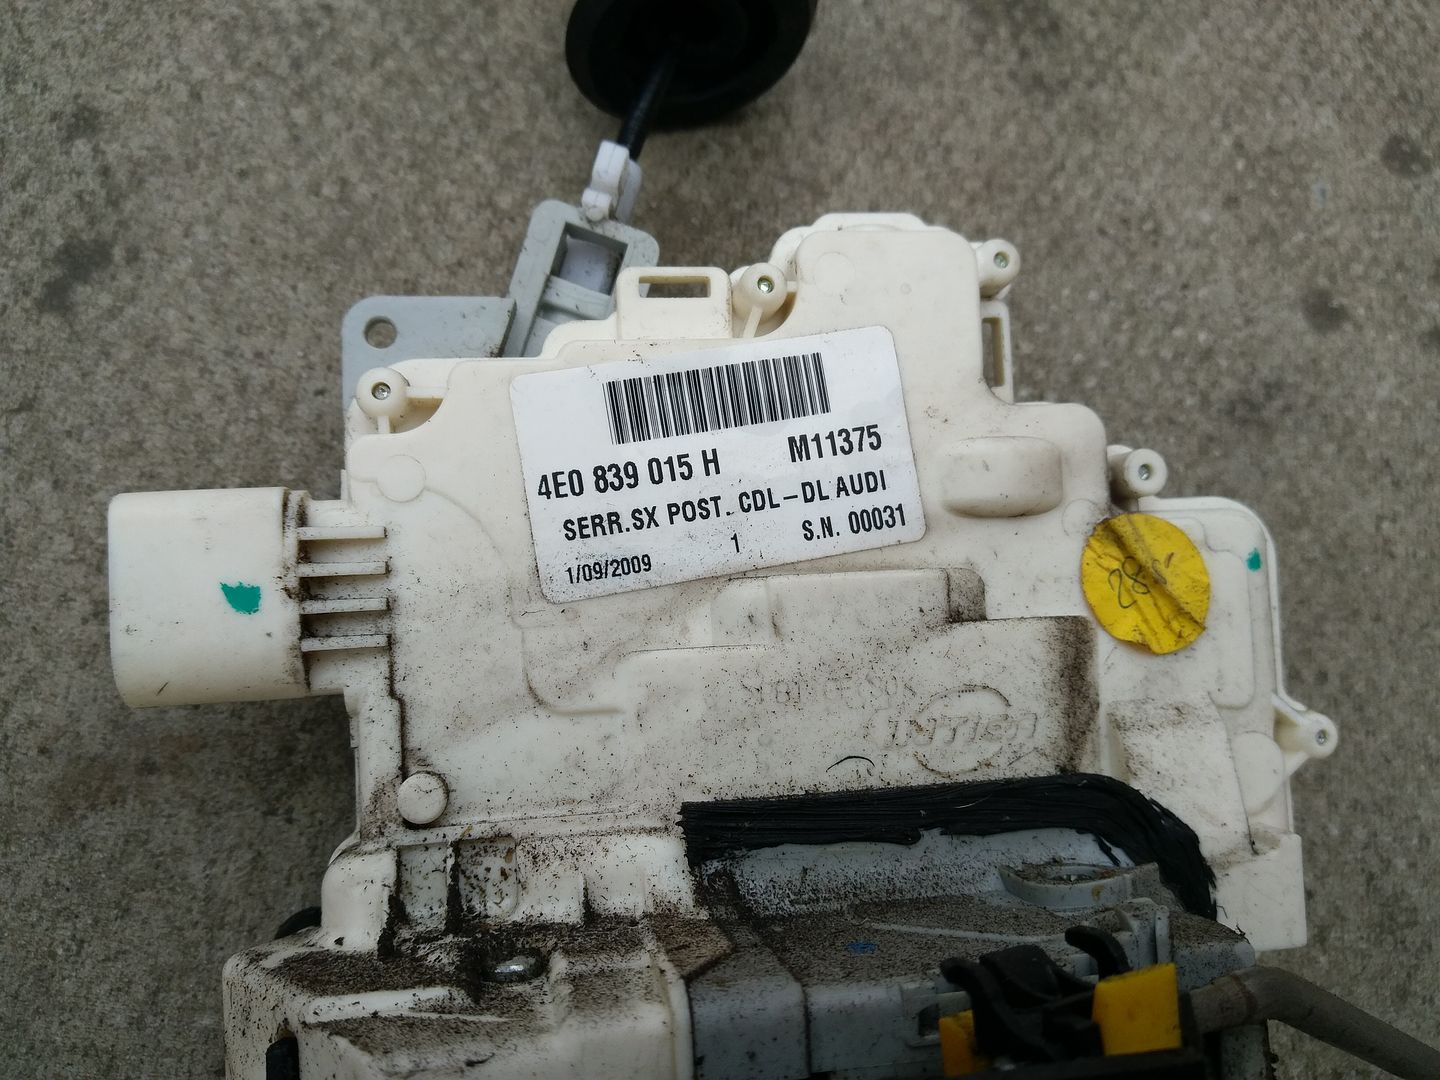 Replace the lock and install everything in reverse. Do check the gaps of the window frame so you angle it accordingly before fully tightening the bolts. Do clear all fault codes using VCDS as well. If i missed anything, please let me know and i will add the information on here. Thanks 
__________________
Previously: 2010 Audi A8 4E Quattro Sport TDI Oyster Grey  Currently: 2015 Audi A8 4H Sport Executive Quattro in Monsoon Grey 
|
|
#2
3rd December 2017, 02:02 AM
|
|||
|
|||
|
Bravo!
 definitely a sticky. I am dreading the the task as I have to do both my pass door handle led lights (puddle)! Do I have to take the glass frame to do that? definitely a sticky. I am dreading the the task as I have to do both my pass door handle led lights (puddle)! Do I have to take the glass frame to do that?Cheers neel for spot on pics.
__________________
A8L 3.0 TDI sport executive 2014. Audi A2 1.4 petrol 2002 SOLD. Audi A8L 4.2TDI Silver 2006 Seat Ibiza 1.4tdi Eco 2008 Silver (£0 Tax)sold NO VCDS rely on Neeldub Last edited by H-M3; 3rd December 2017 at 02:07 AM.
|
|
#3
3rd December 2017, 05:42 AM
|
||||
|
||||
|
Great write up and pictures - thanks so much! Added to the "Body and Exterior" Sticky at the top of the section. Personally I have just seen exactly the same symptoms appearing on my LWB Oyster Grey D3 so that's well spooky but the write up will help change it and I might take to opportunity to get the rear little triangle rubbed down and resprayed while it is off the car at the same time as it is exhibiting some rust under the paint - thanks again
__________________
Confidence is the feeling you have before you know better . . . .  Audi A8 D2 3.7 Quattro Sport 1999 FL - Melange 2nd Place Winner - A8-Freunde Annual German Meet 2012 at Edersee 20" x 9" Bentley GTC Wheels with 385mm W12 Front Discs & Bentley Caliper Covers, Front Lowered on Coilovers, Xenons, Combined DRLs and LED Foglights to modified OEM front fog lamp position, Alcantara/Leather, Full Black Alcantara headlining + pillars and blind shelf, Bespoke Flat Bottomed Sports Steering Wheel, Dark Myrtle Wood, Autodim Mirrors, Bose, Blinds, Digital TV, Ski Hatch, Modified rear exhaust section for extra V8 Burble  Audi S8 D2 Final Edition 2002, Avus Silver with Red Leather Interior Tiptronic with Sport mode button, Sony rear entertainment package, Bose sound system, Audi Navigation Plus, 20 inch Final Edition alloys, Full Cat Back Stainless Milltek exhaust, giving a great V8 burble Audi A8L D2 4.2 Petrol with LPG - Ebony Black Audi A8L D4 FL 4.0T Petrol twin turbo - Havana Black Audi A2 1.6 FSi Sport - Dolphin Grey with Votex body kit and Red Leather Interior and some other A8's A8L's and Mercs
|
|
#4
3rd December 2017, 08:17 AM
|
|||
|
|||
|
Quote:
No the window frame doesn't need to come off for the removal of the door handle. Though it can get a little tricky to remove the handle bracket..just need to loosen all wiring and fiddle around with it.
__________________
Previously: 2010 Audi A8 4E Quattro Sport TDI Oyster Grey Currently: 2015 Audi A8 4H Sport Executive Quattro in Monsoon Grey
|
|
#5
3rd December 2017, 10:02 PM
|
|||
|
|||
|
A great write up, especially given you performed the whole process whilst parked out on the street in LDN! I dread to think how many times you had to shut the door because of passing vehicles!
Well done you!
__________________
 '09 D3 S8 - Most of the bells and whistles (B&O, Audi Exclusive brown interior and exterior paint, soft close, ACC etc) de-flapped manifold!
|
|
#6
3rd December 2017, 11:45 PM
|
|||
|
|||
|
Quote:
As for traffic, my road is quiet on the weekends so it wasn't so bad at all considering it's just off the main road. I hardly had to close the door lol.
__________________
Previously: 2010 Audi A8 4E Quattro Sport TDI Oyster Grey Currently: 2015 Audi A8 4H Sport Executive Quattro in Monsoon Grey
|
|
#9
4th December 2017, 10:51 AM
|
|||
|
|||
|
Quote:
__________________
Previously: 2010 Audi A8 4E Quattro Sport TDI Oyster Grey Currently: 2015 Audi A8 4H Sport Executive Quattro in Monsoon Grey
|
|
| Tags |
| door lock, motor, window |
|
|


 Linear Mode

