
|
|
|||||||
| D3 - Lights Headlights, xenons, foglights. Everything outside the car that glows |
|
|
Thread Tools | Display Modes |
|
#1
 4th July 2016, 11:59 PM
|
|||
|
|||
|
Hey guys, for some reason I have always been intrigued with the amber marker lights on USA cars. So I decided to retrofit to my A8. The task involves removing the bumper, replace the front bumper mouldings, add the marker lights then run the wiring to the inside of the car. According to the wiring diagrams, it’s a simple wiring connection to a grey/yellow wire which runs from the on-board computer to the 8 pin connector of the glovebox.
Parts Needed: 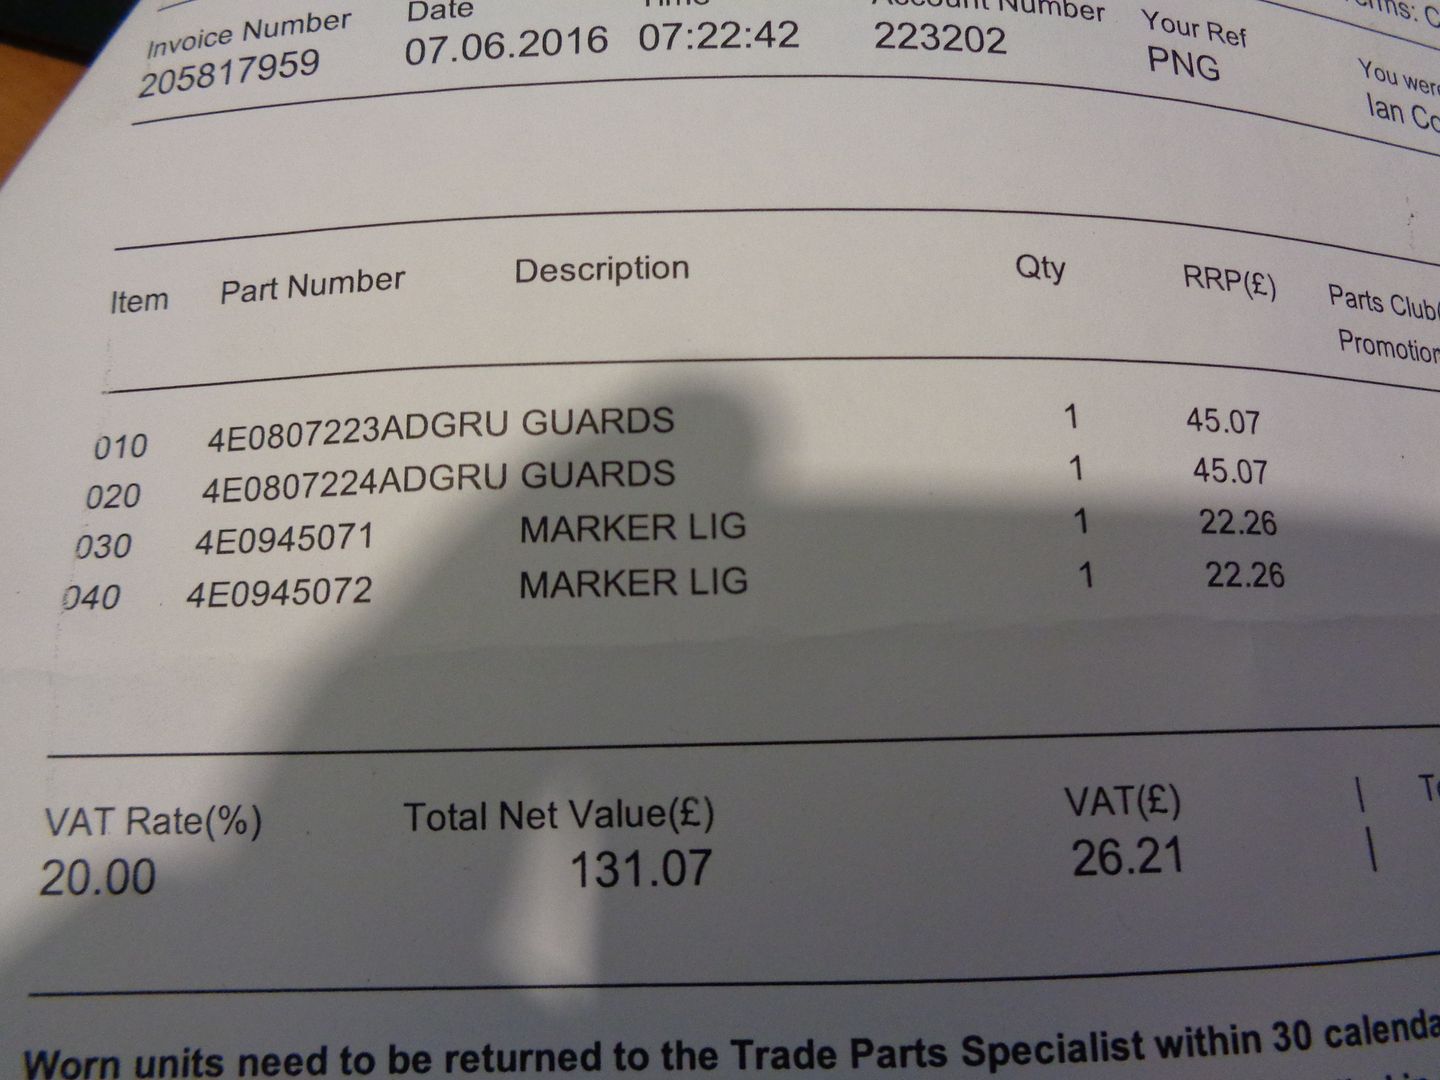 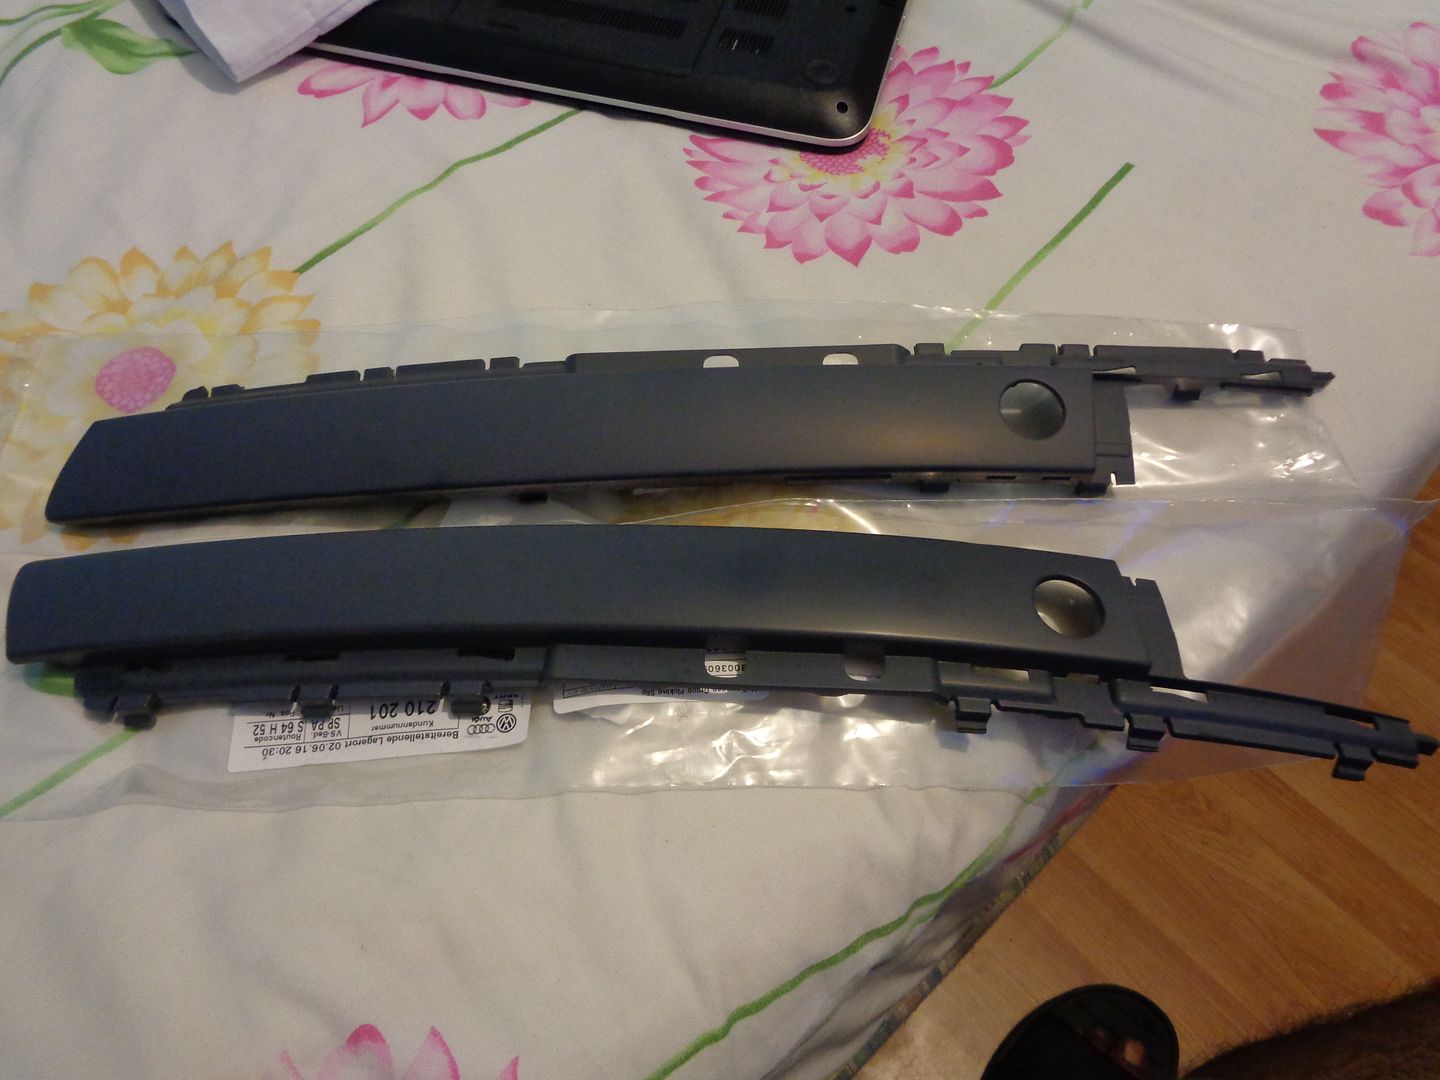 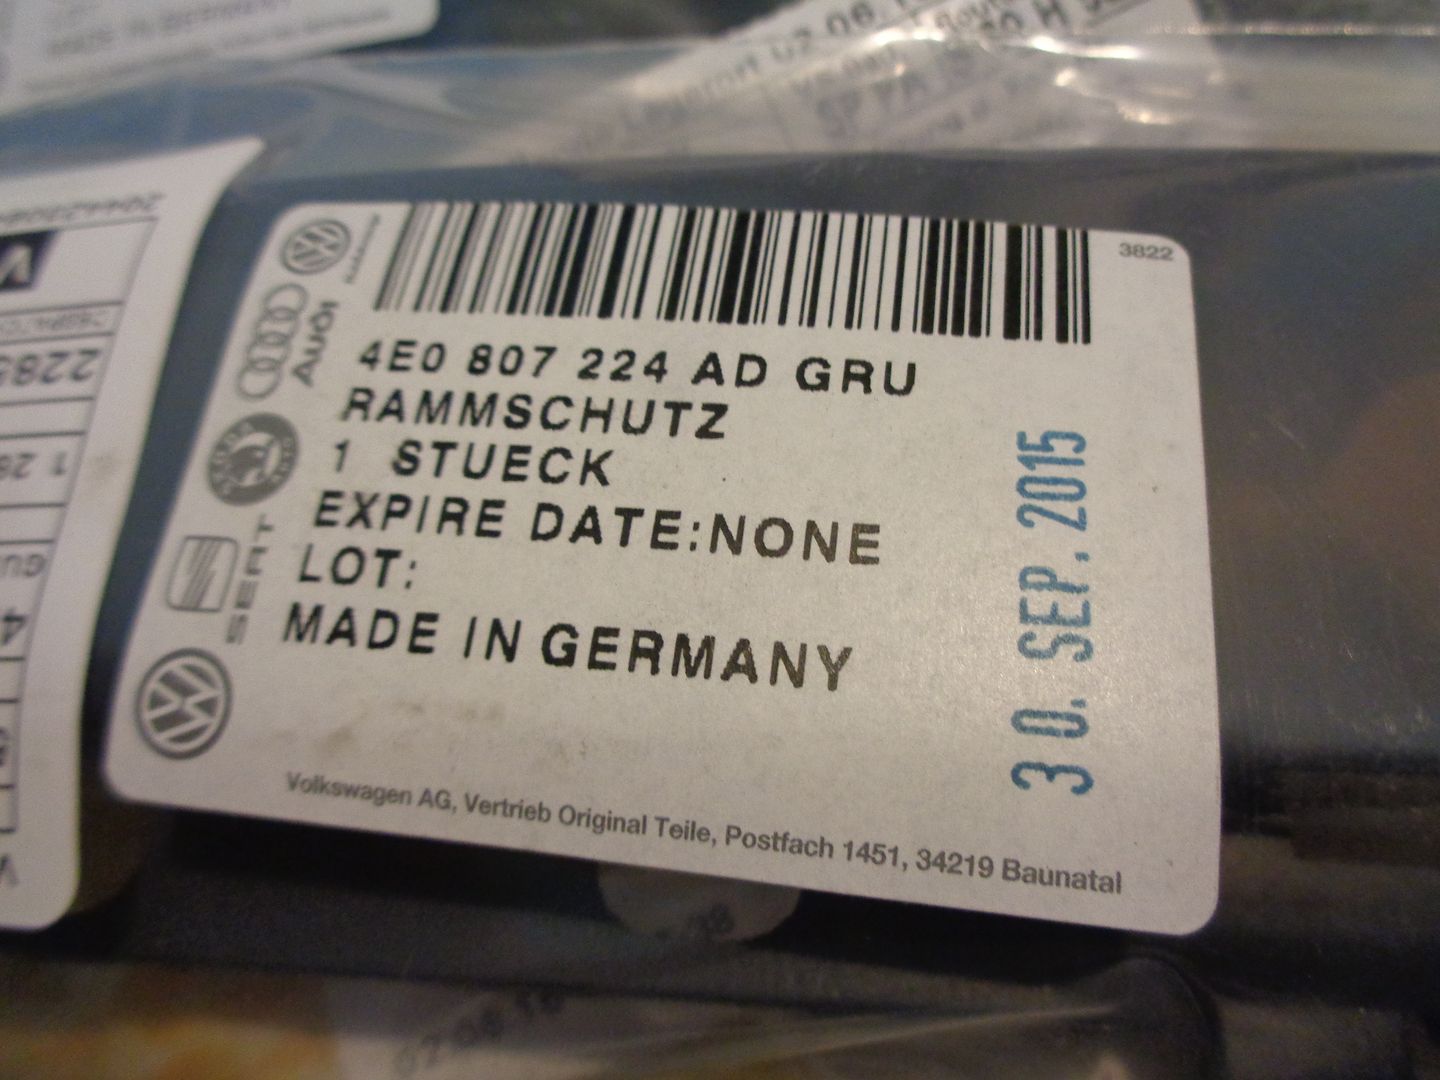 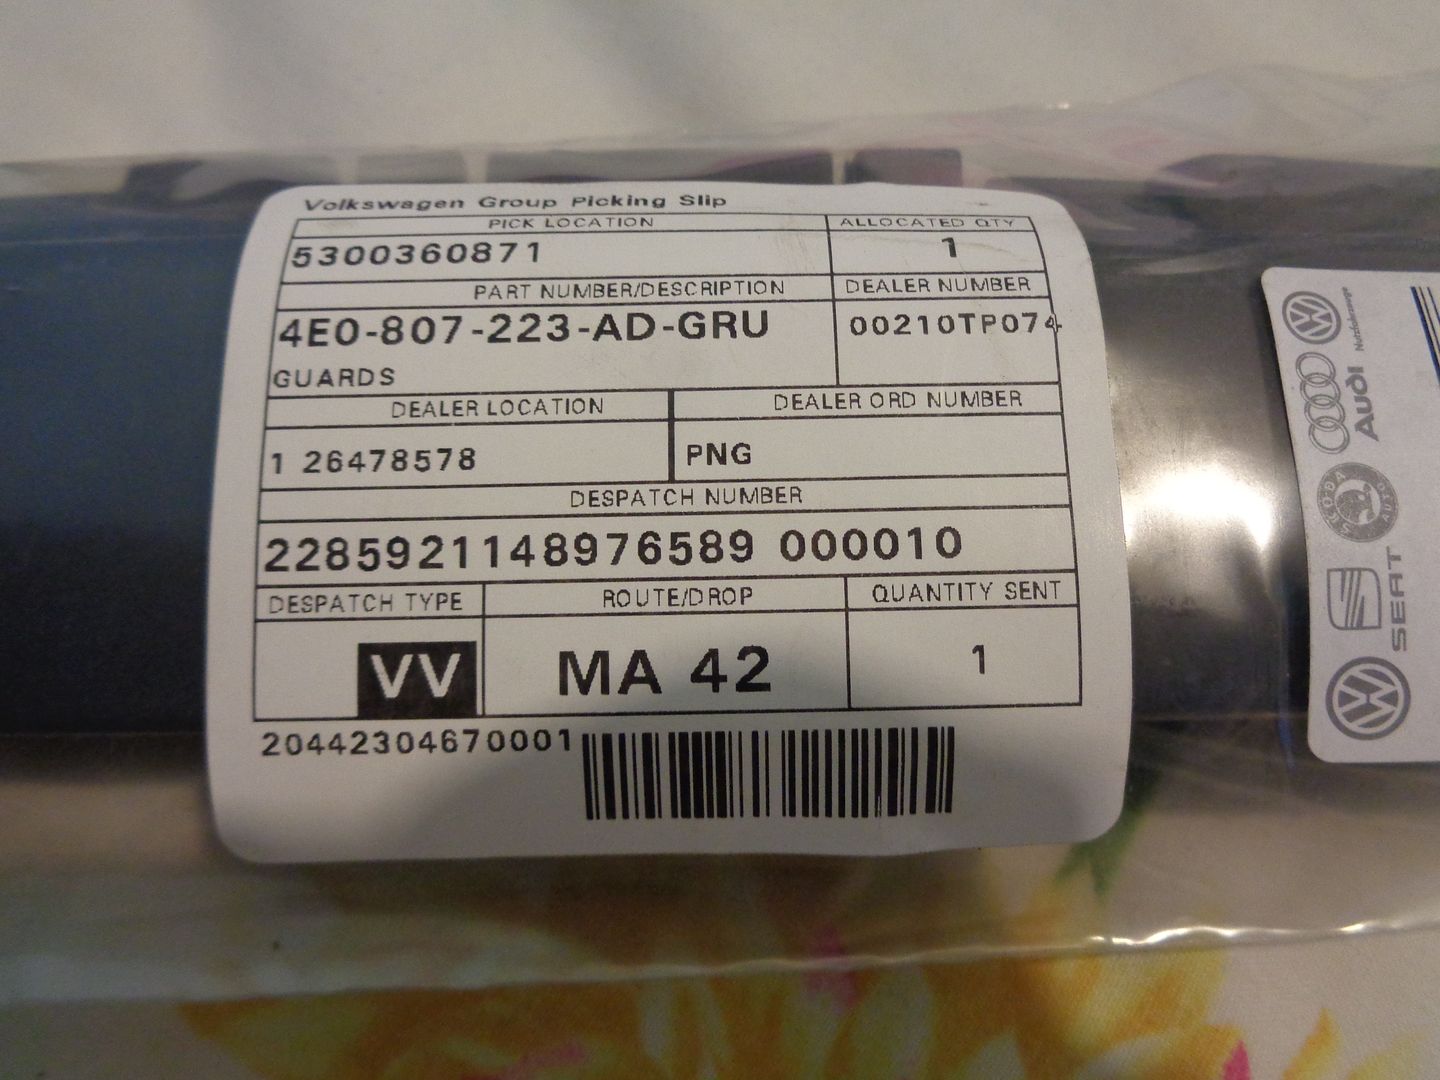 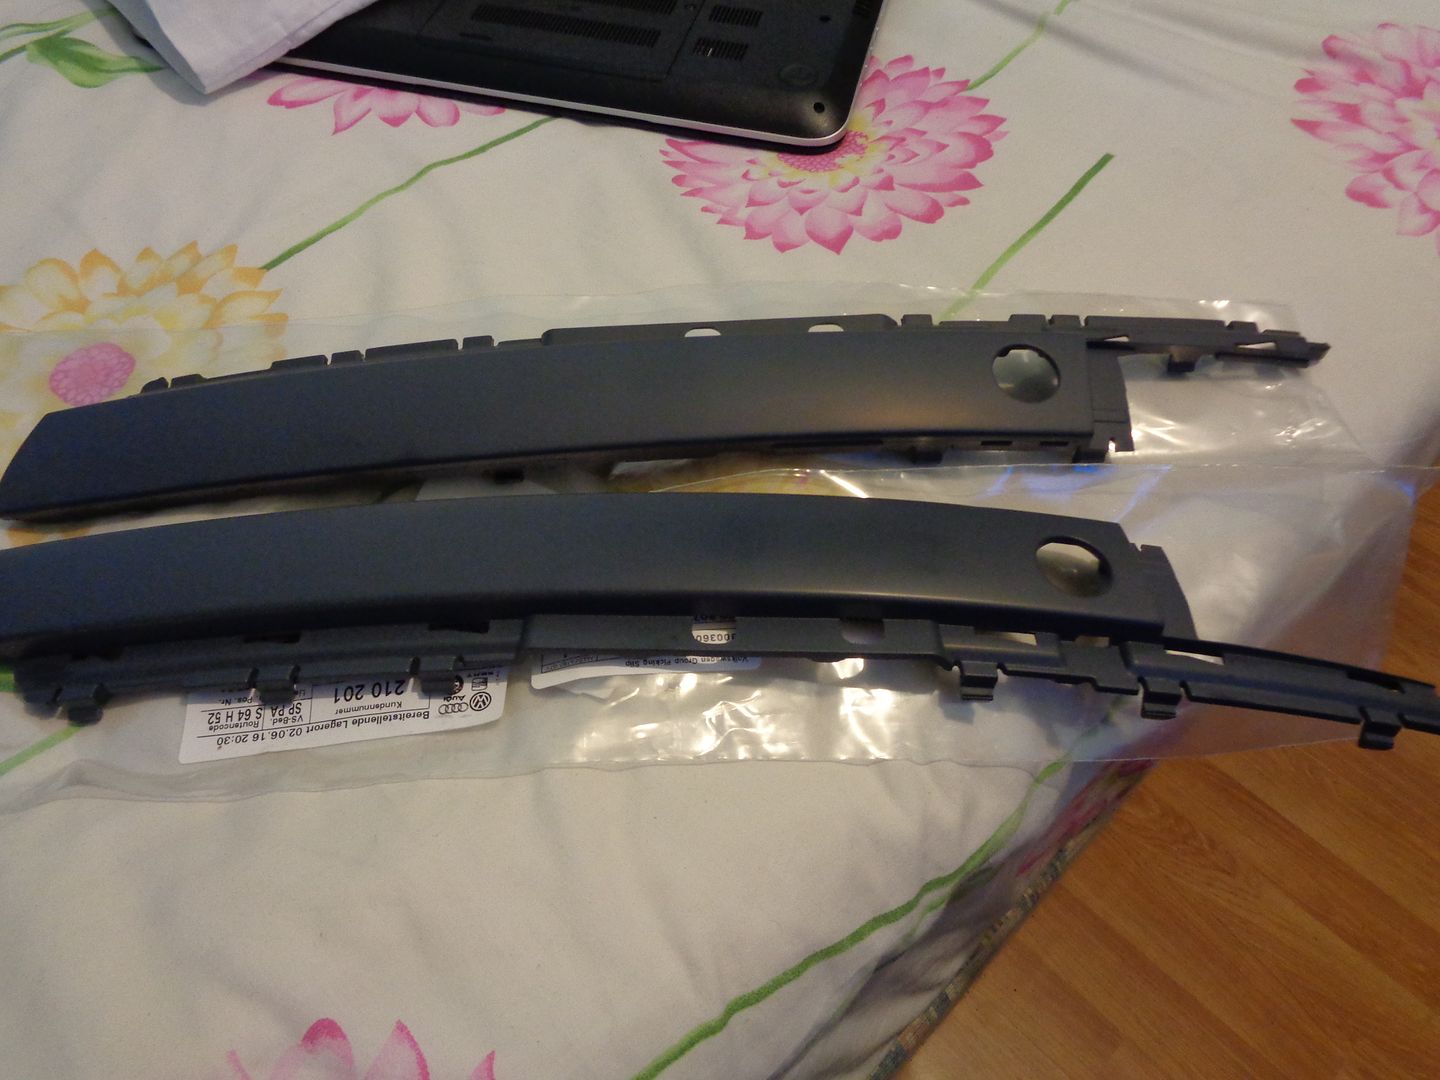 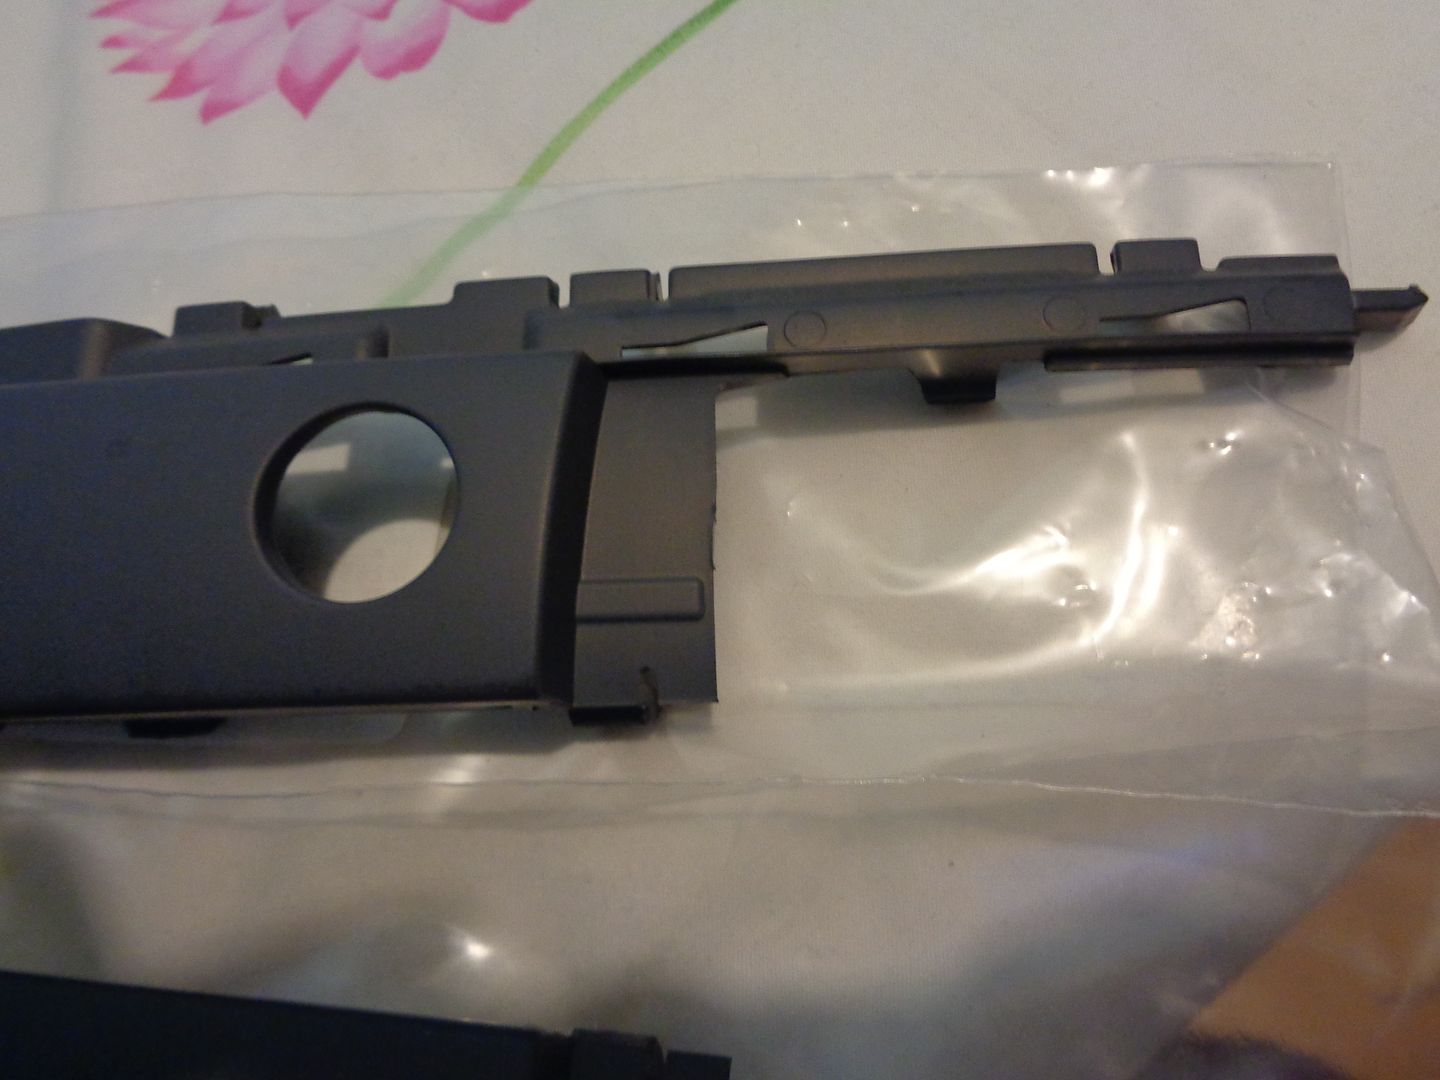 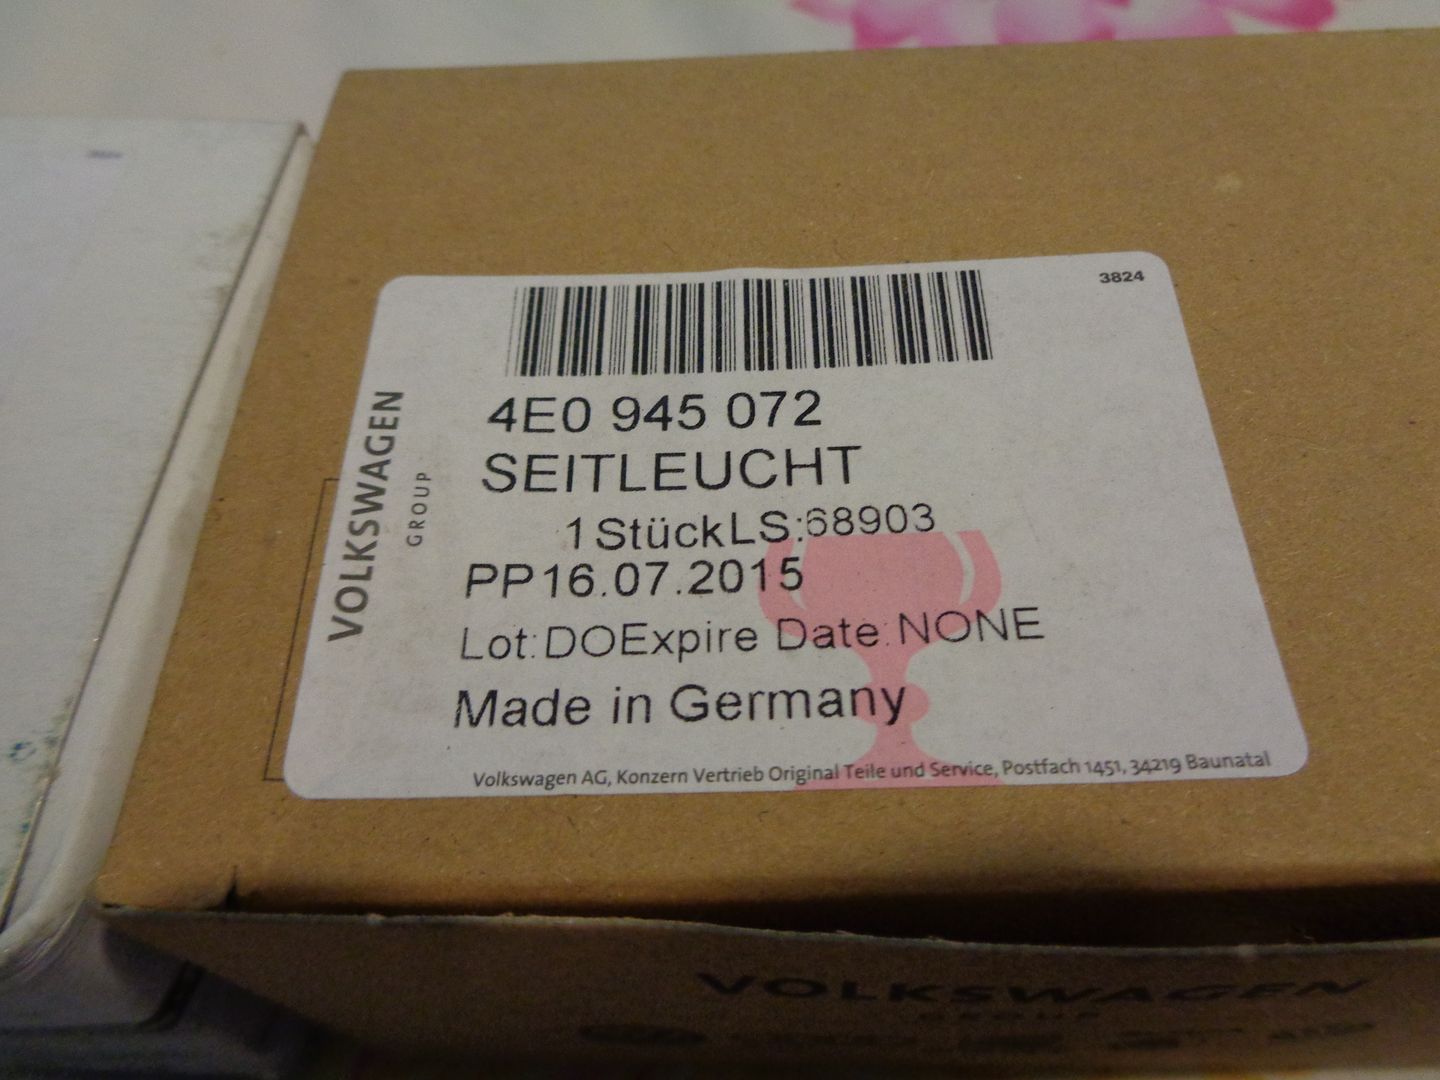 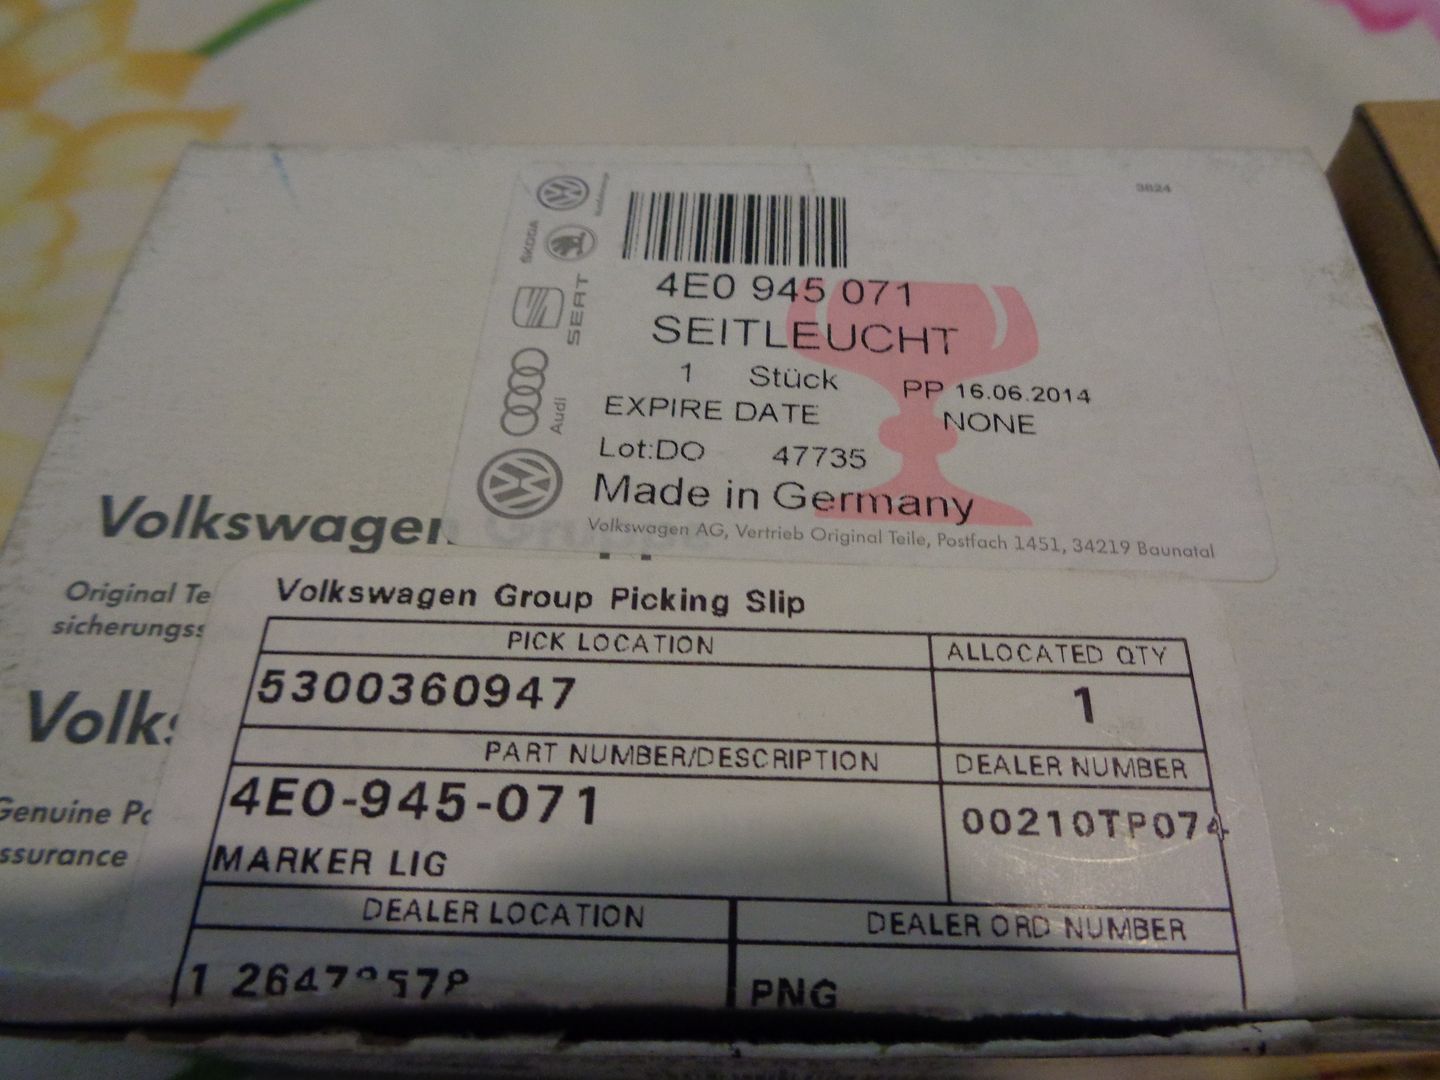 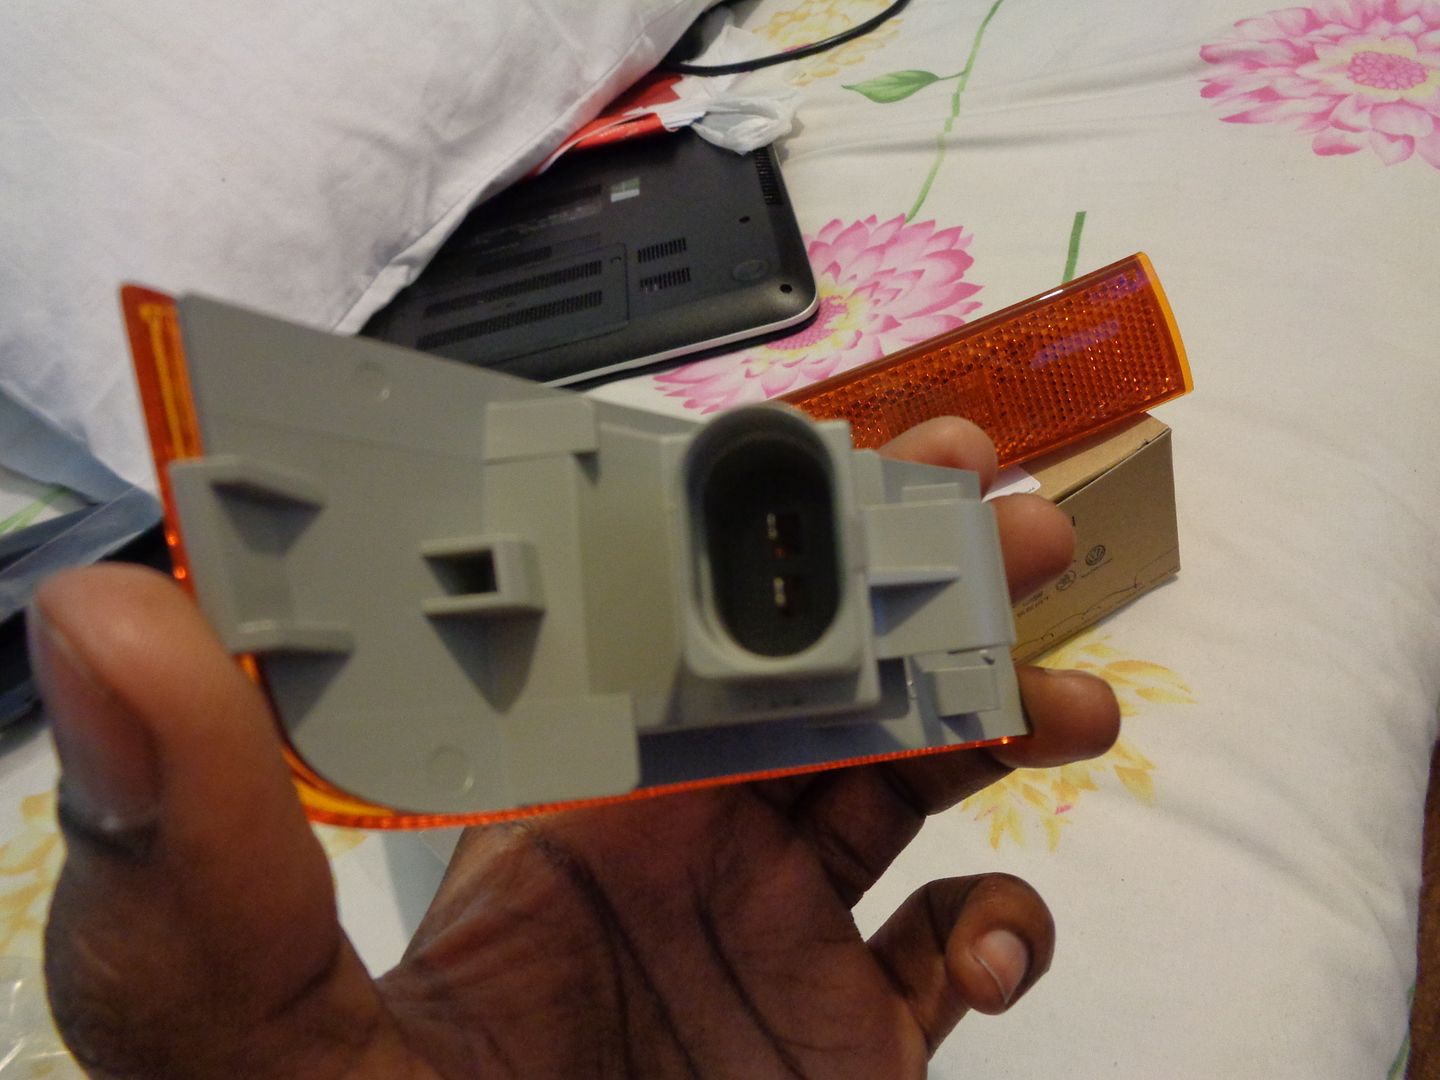  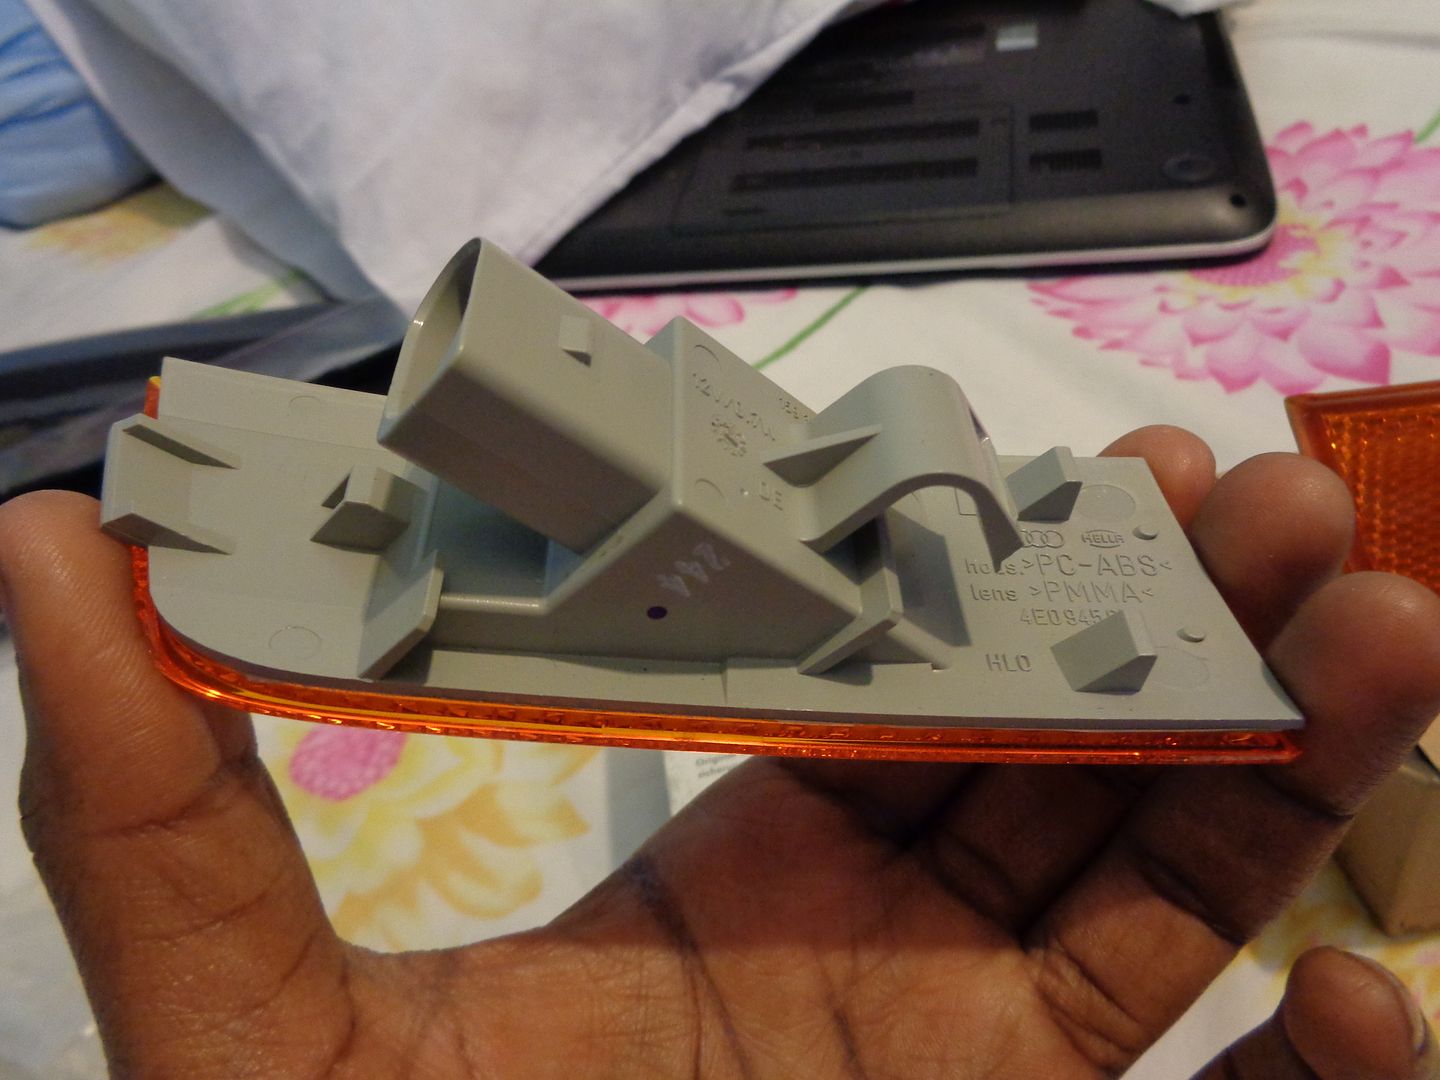 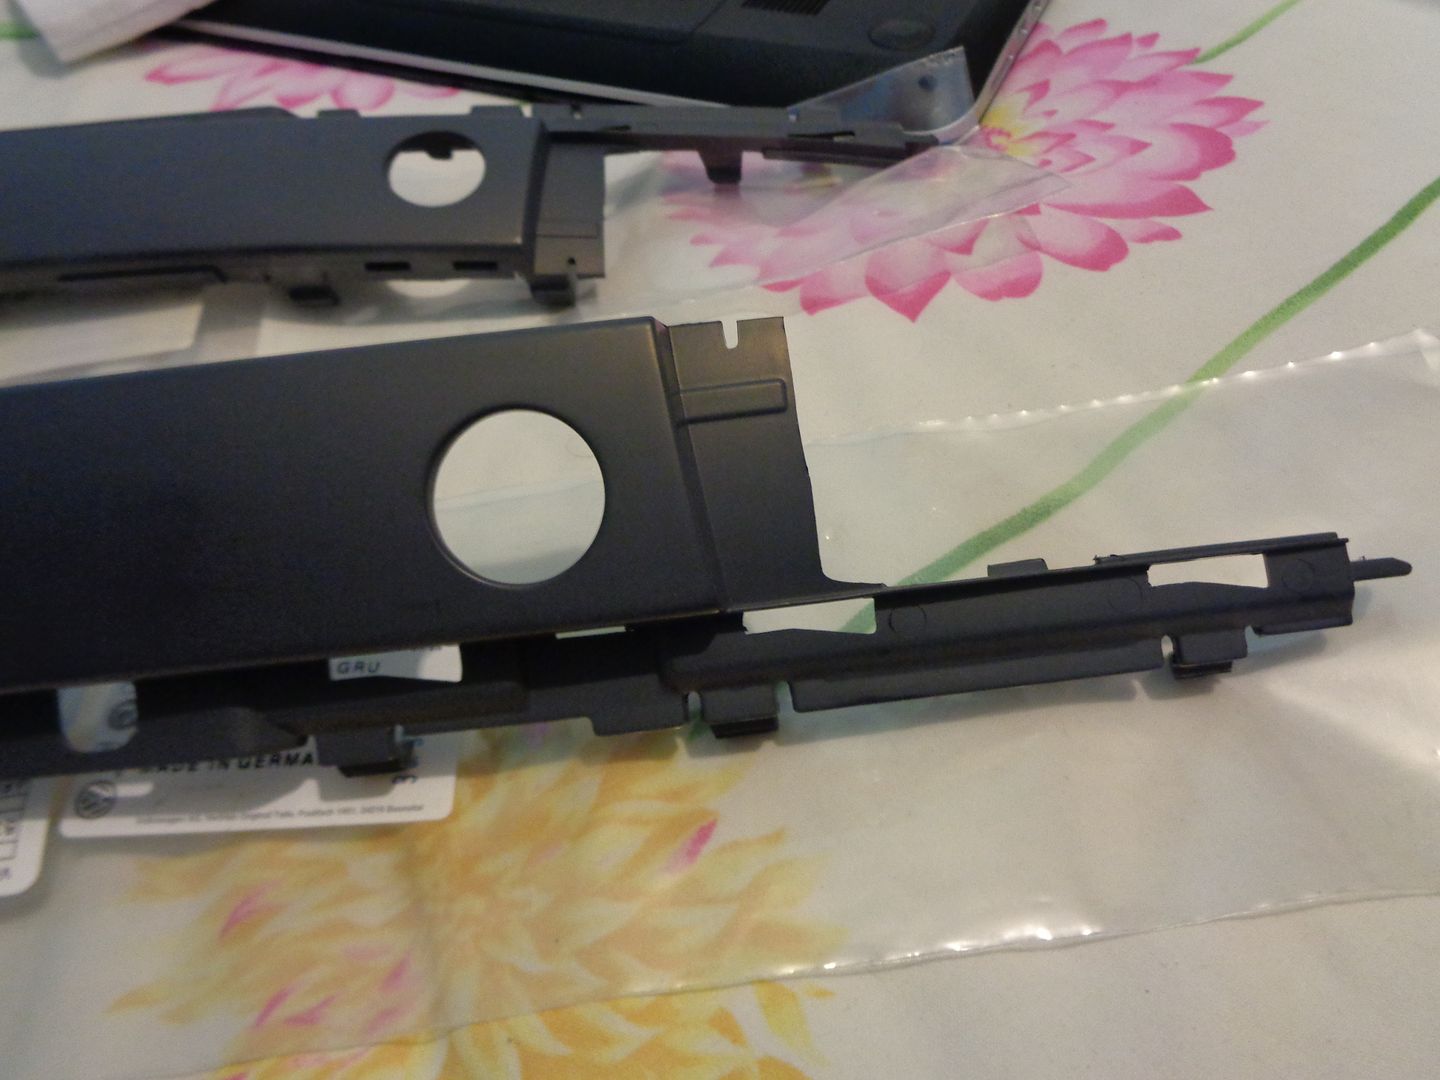 Mouldings after painting 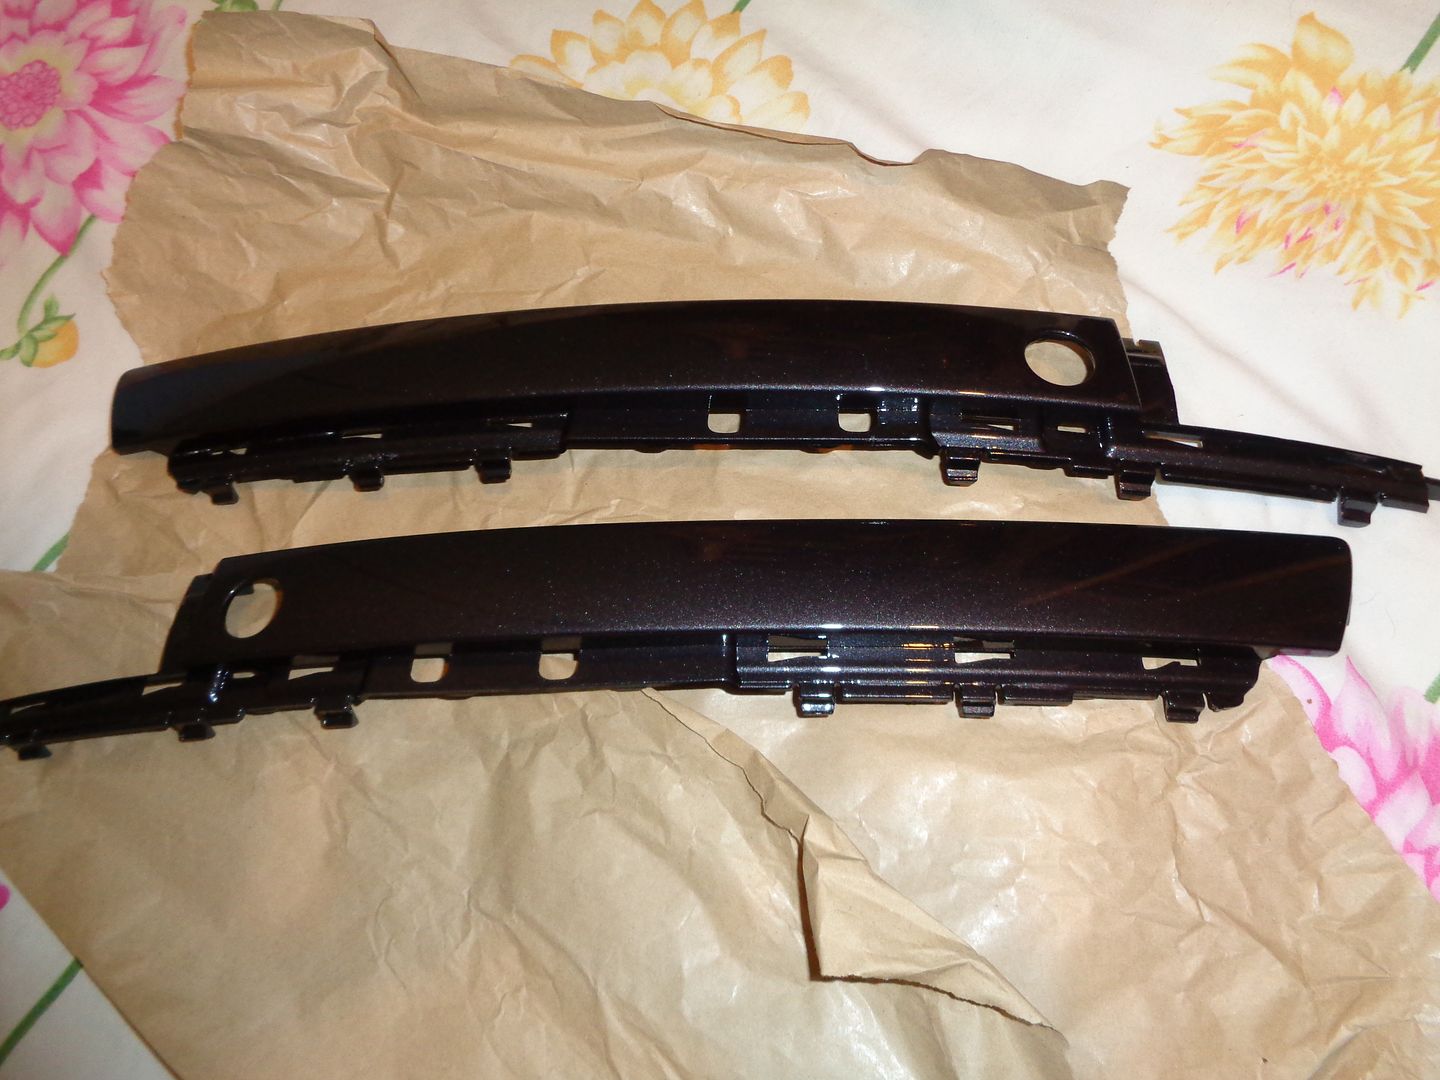 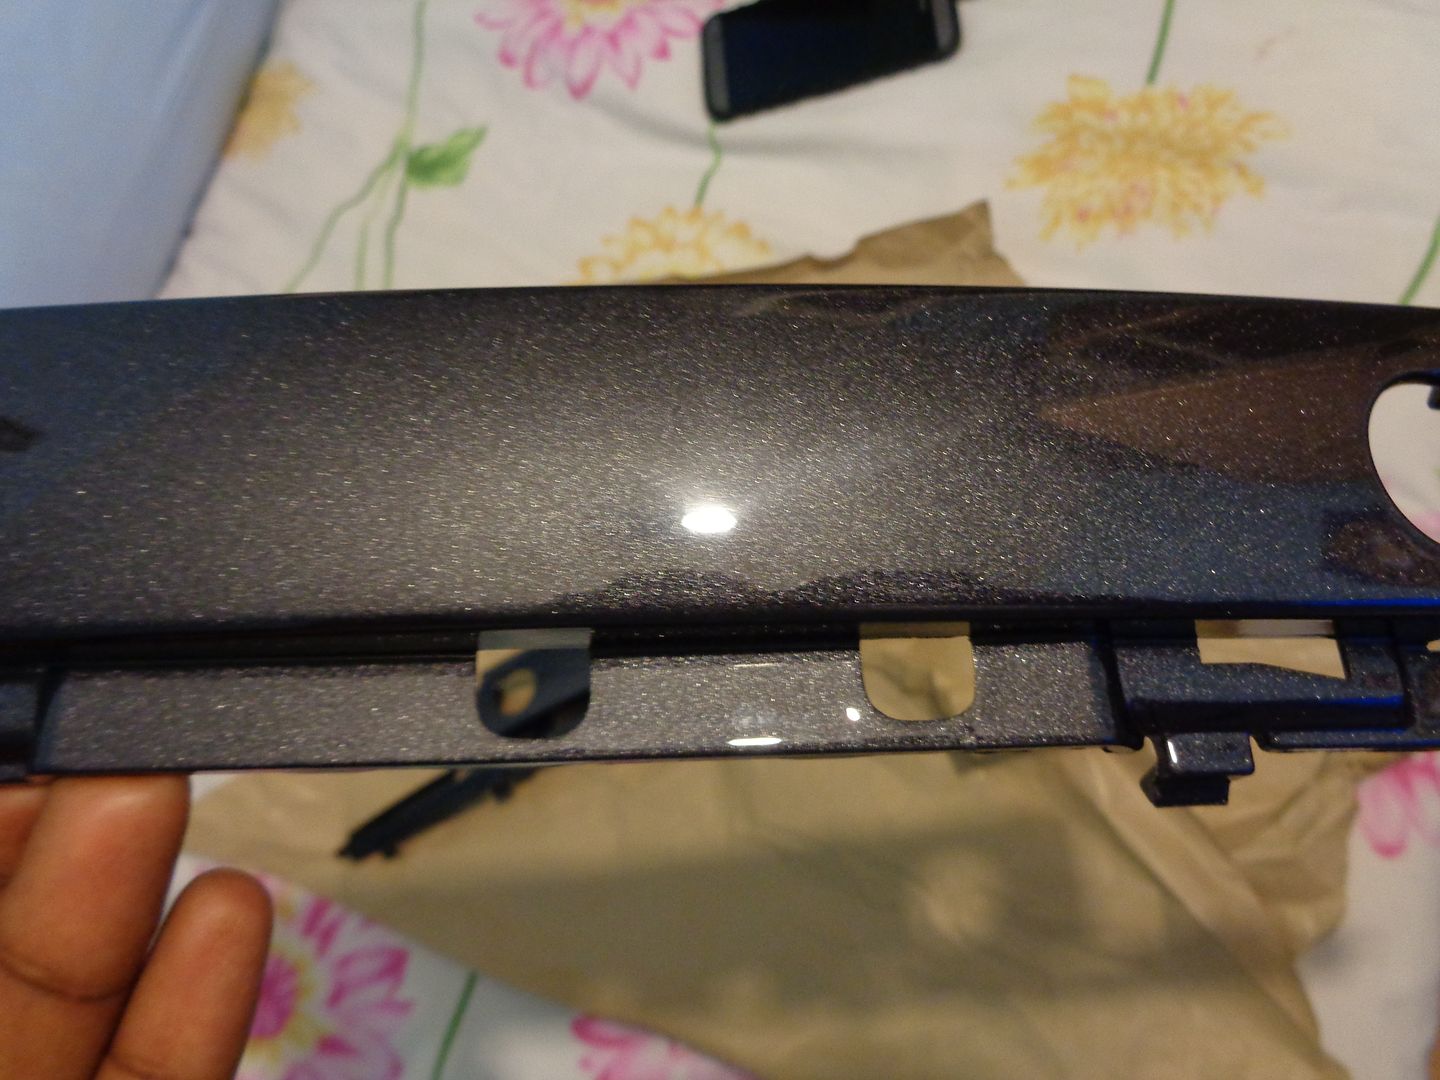 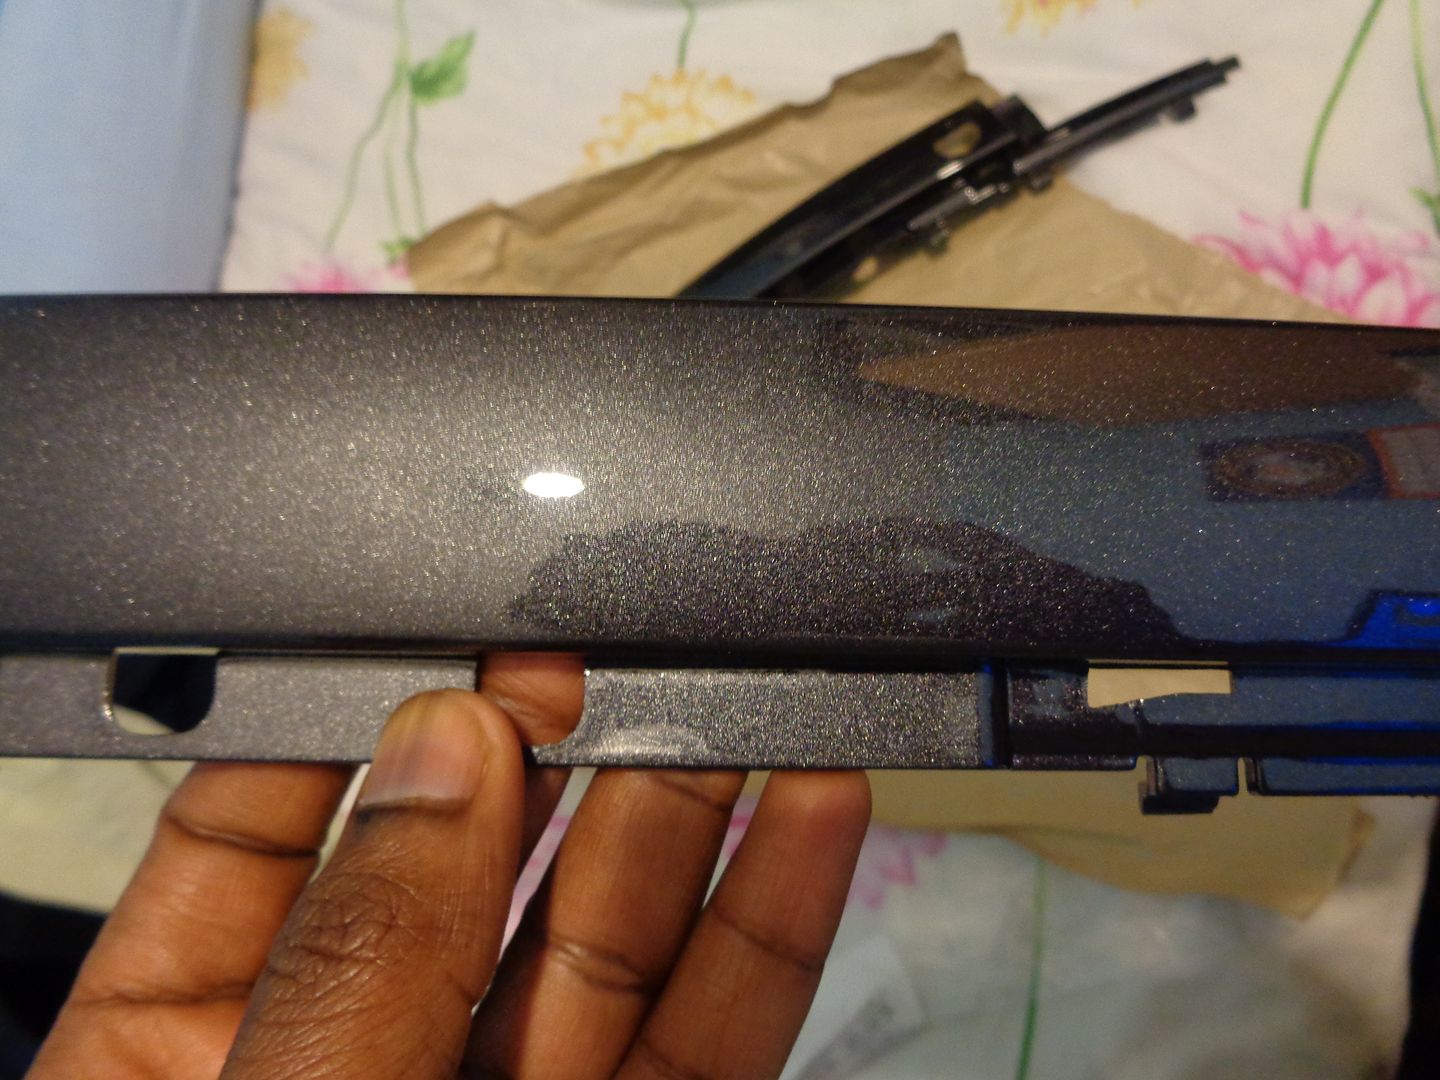 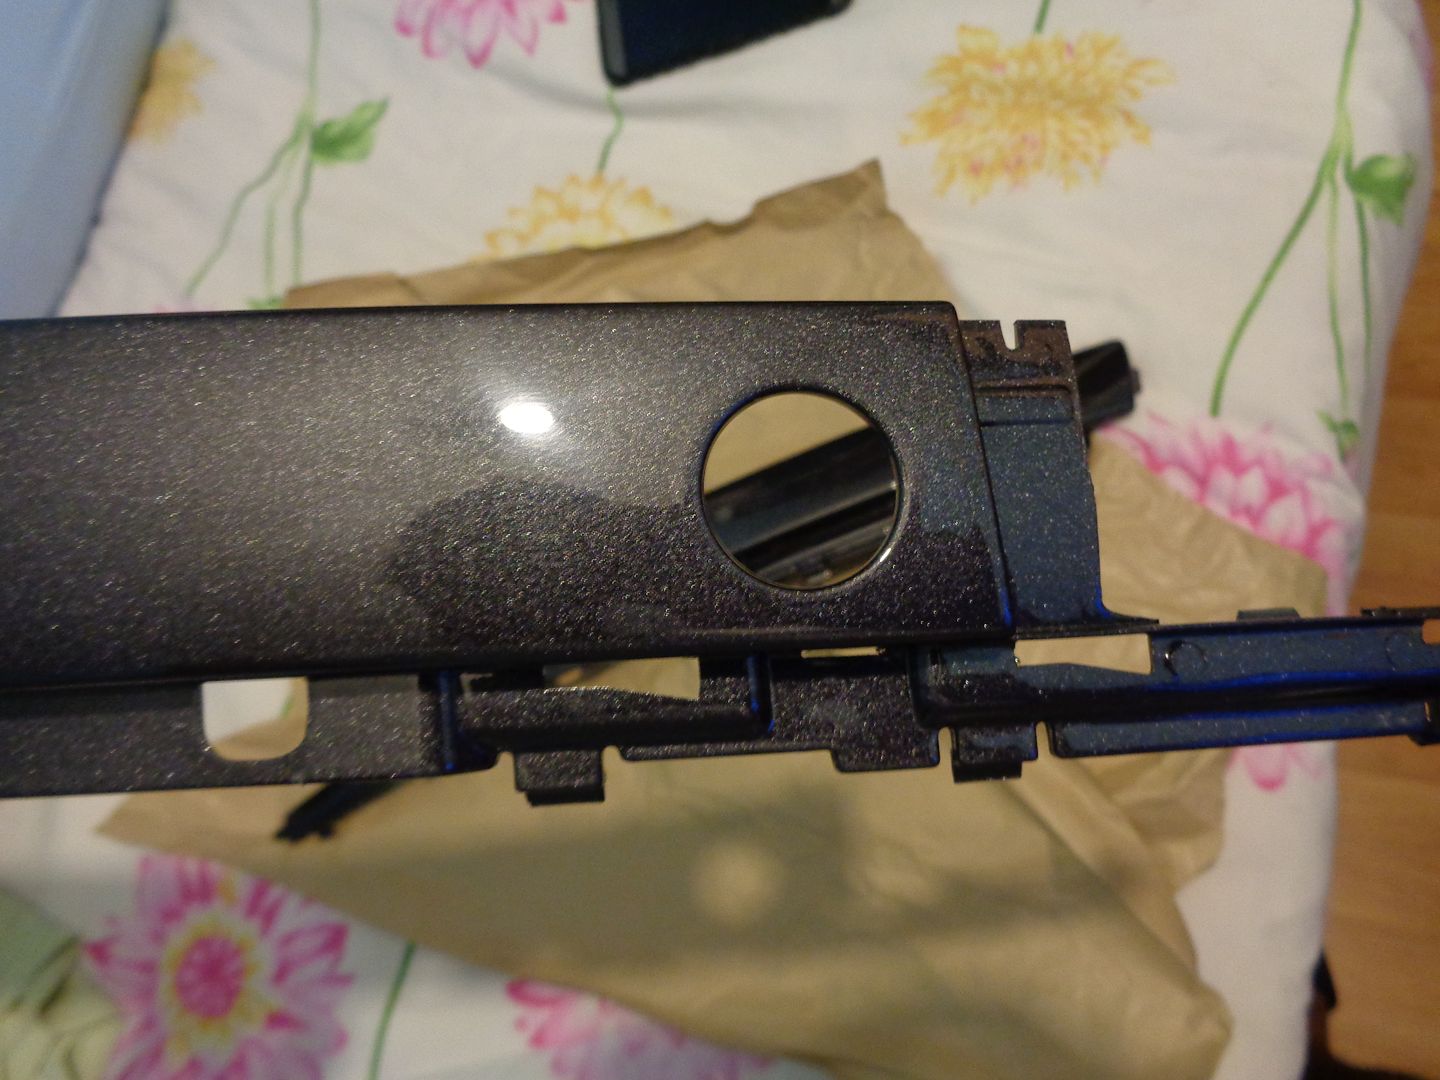 Connectors for marker lights and pins 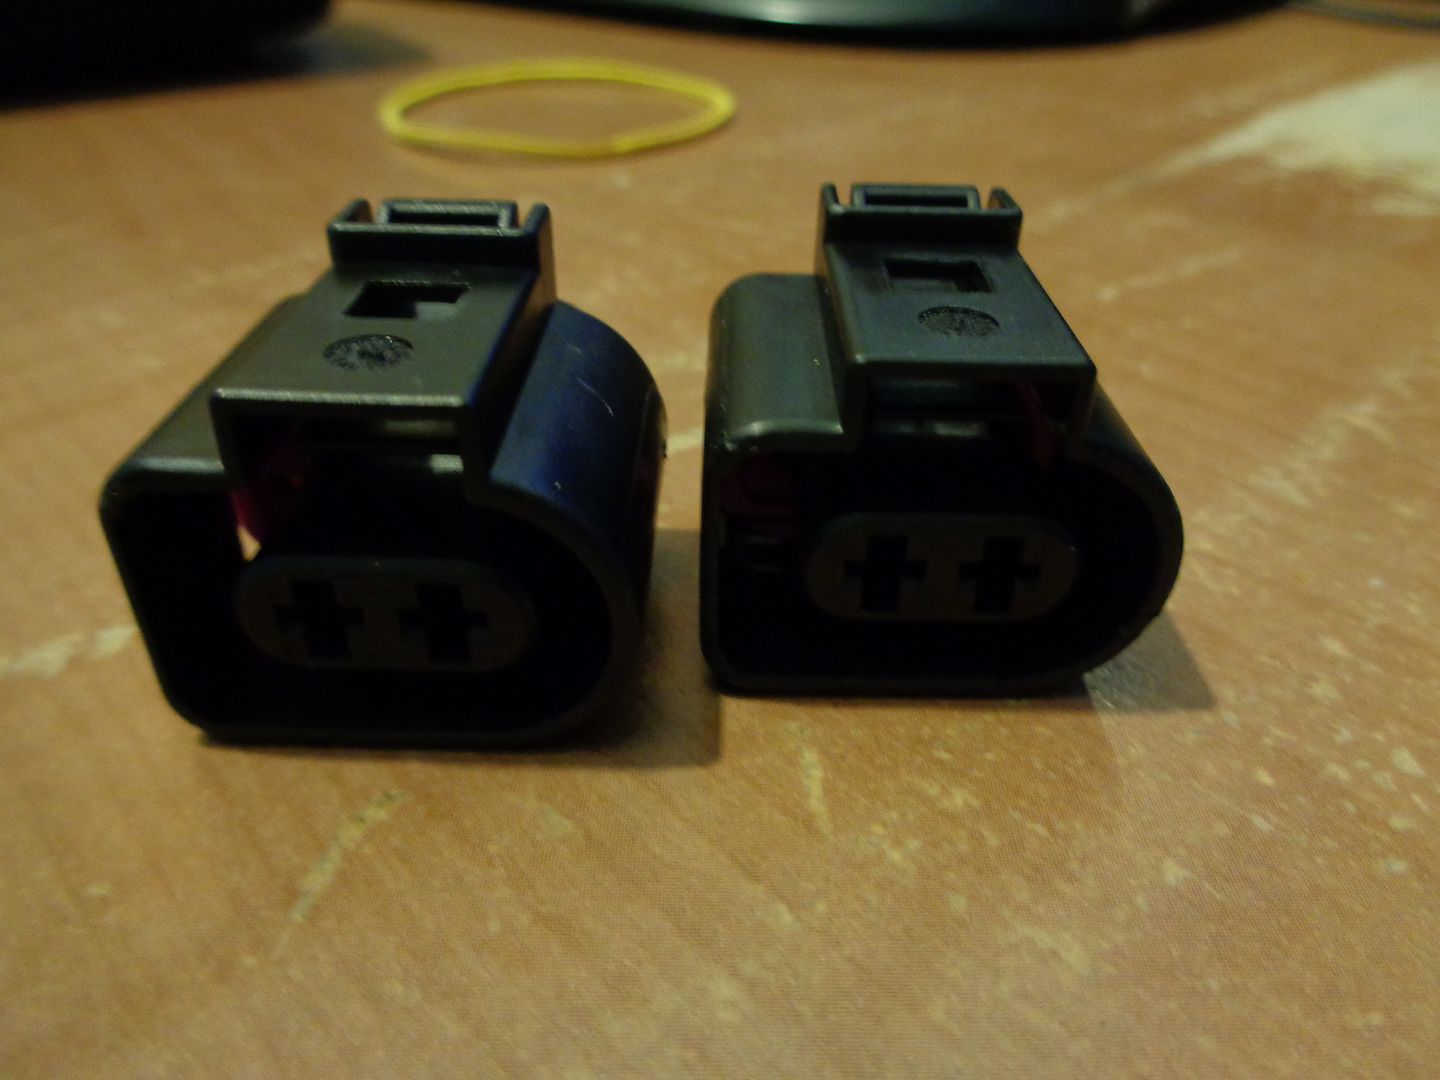 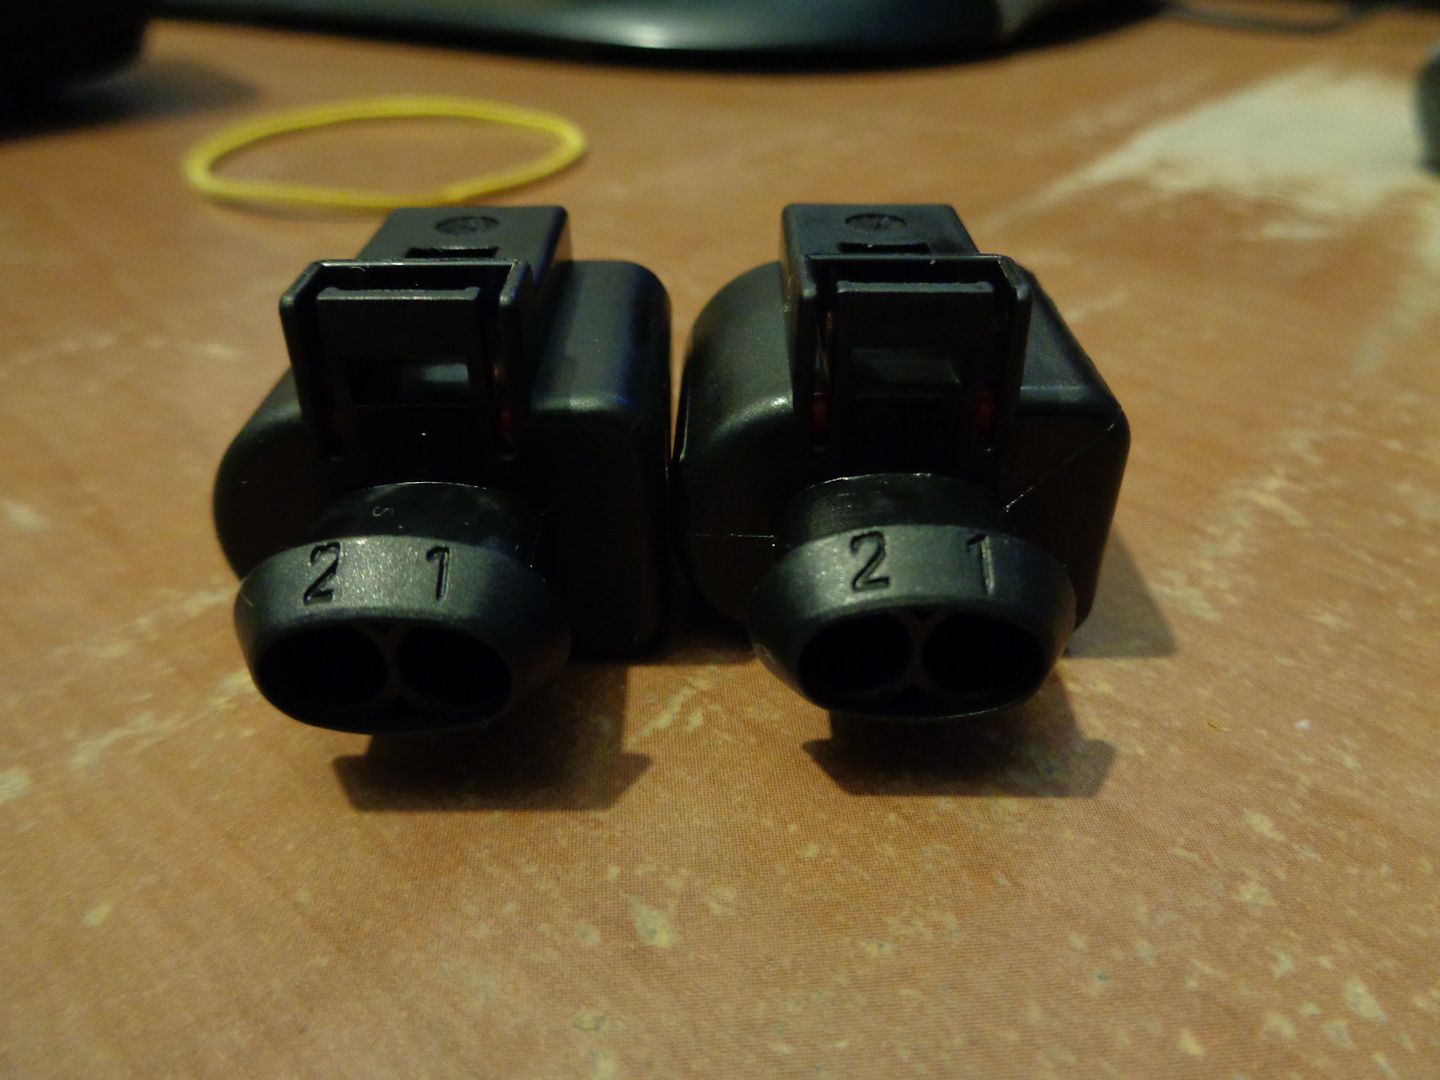 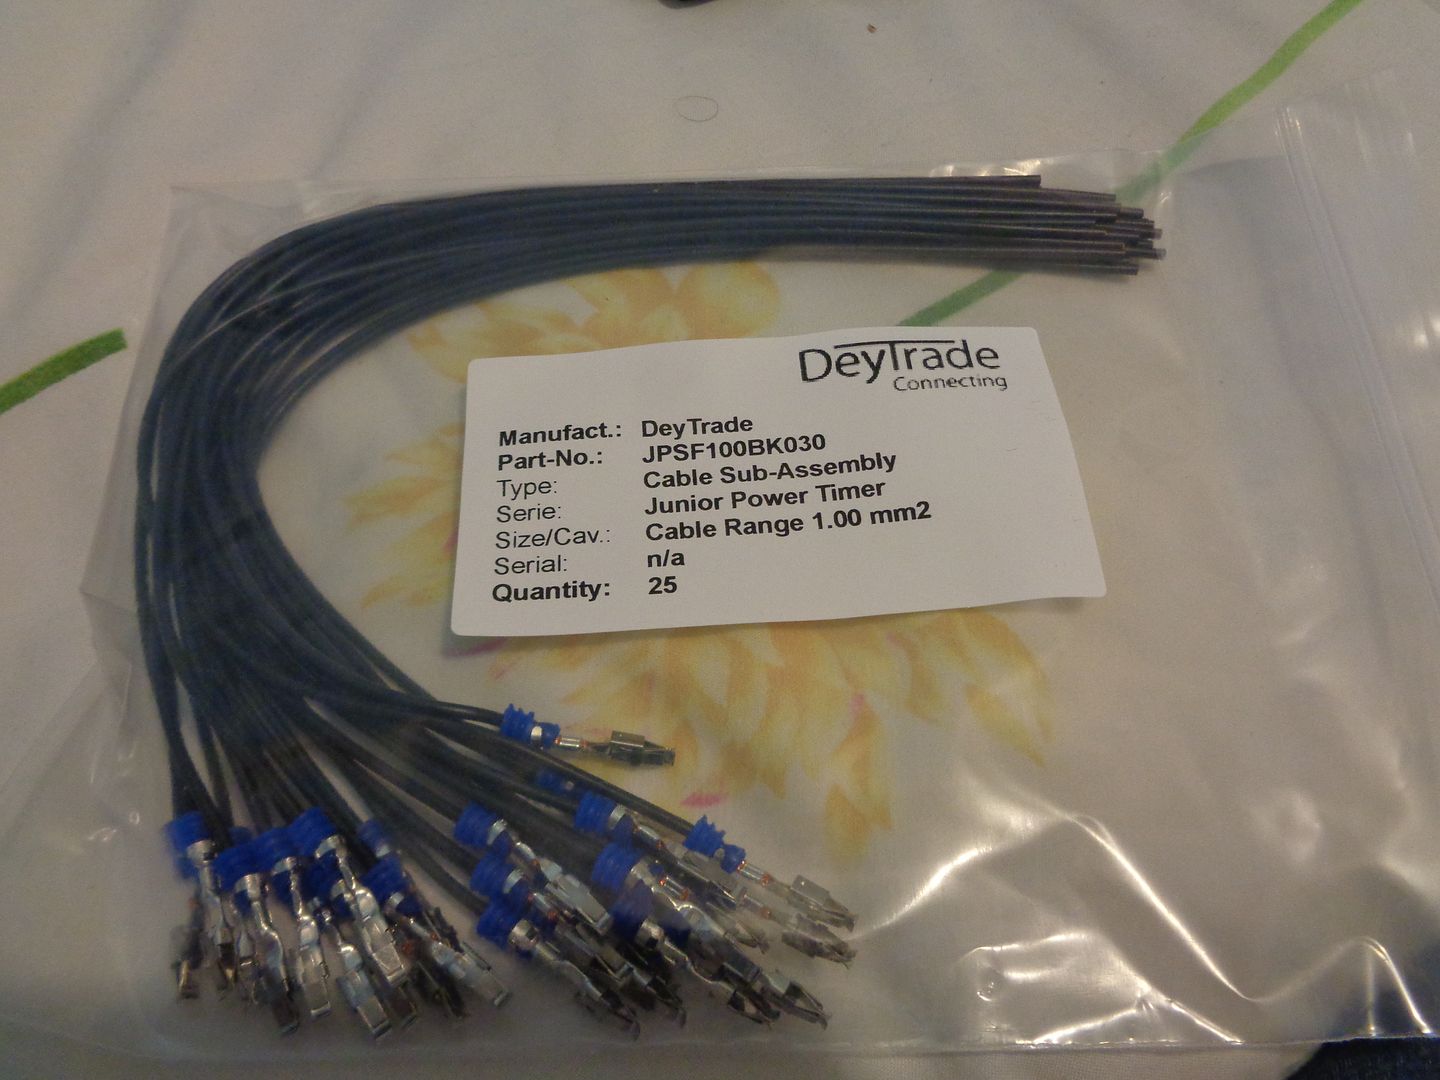 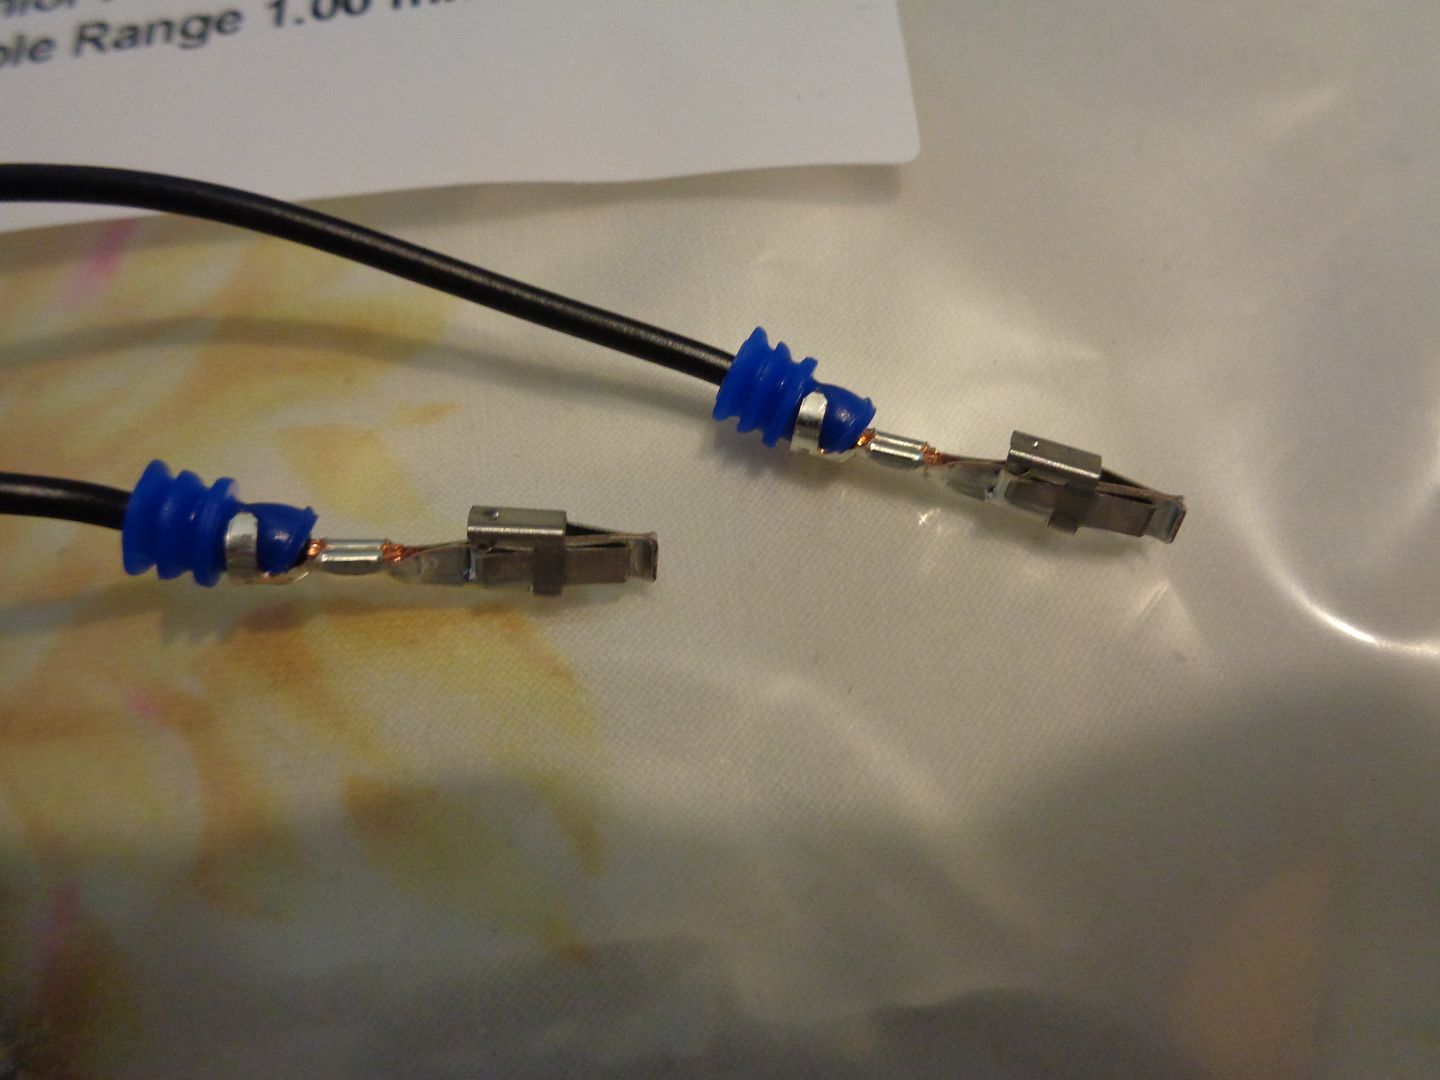 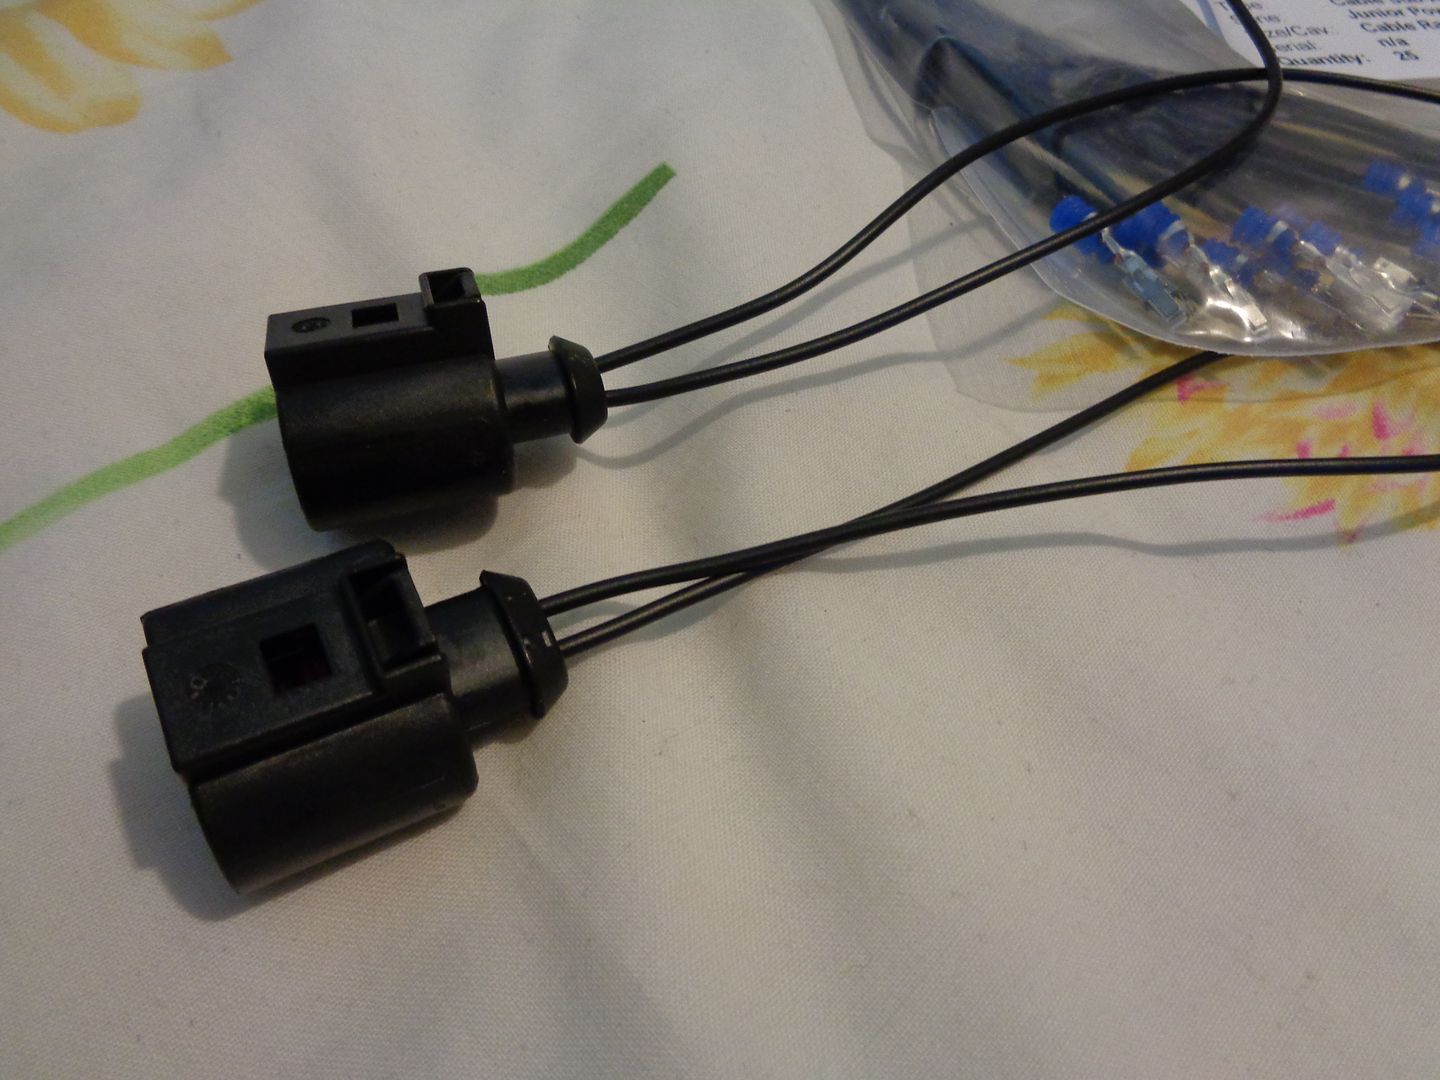 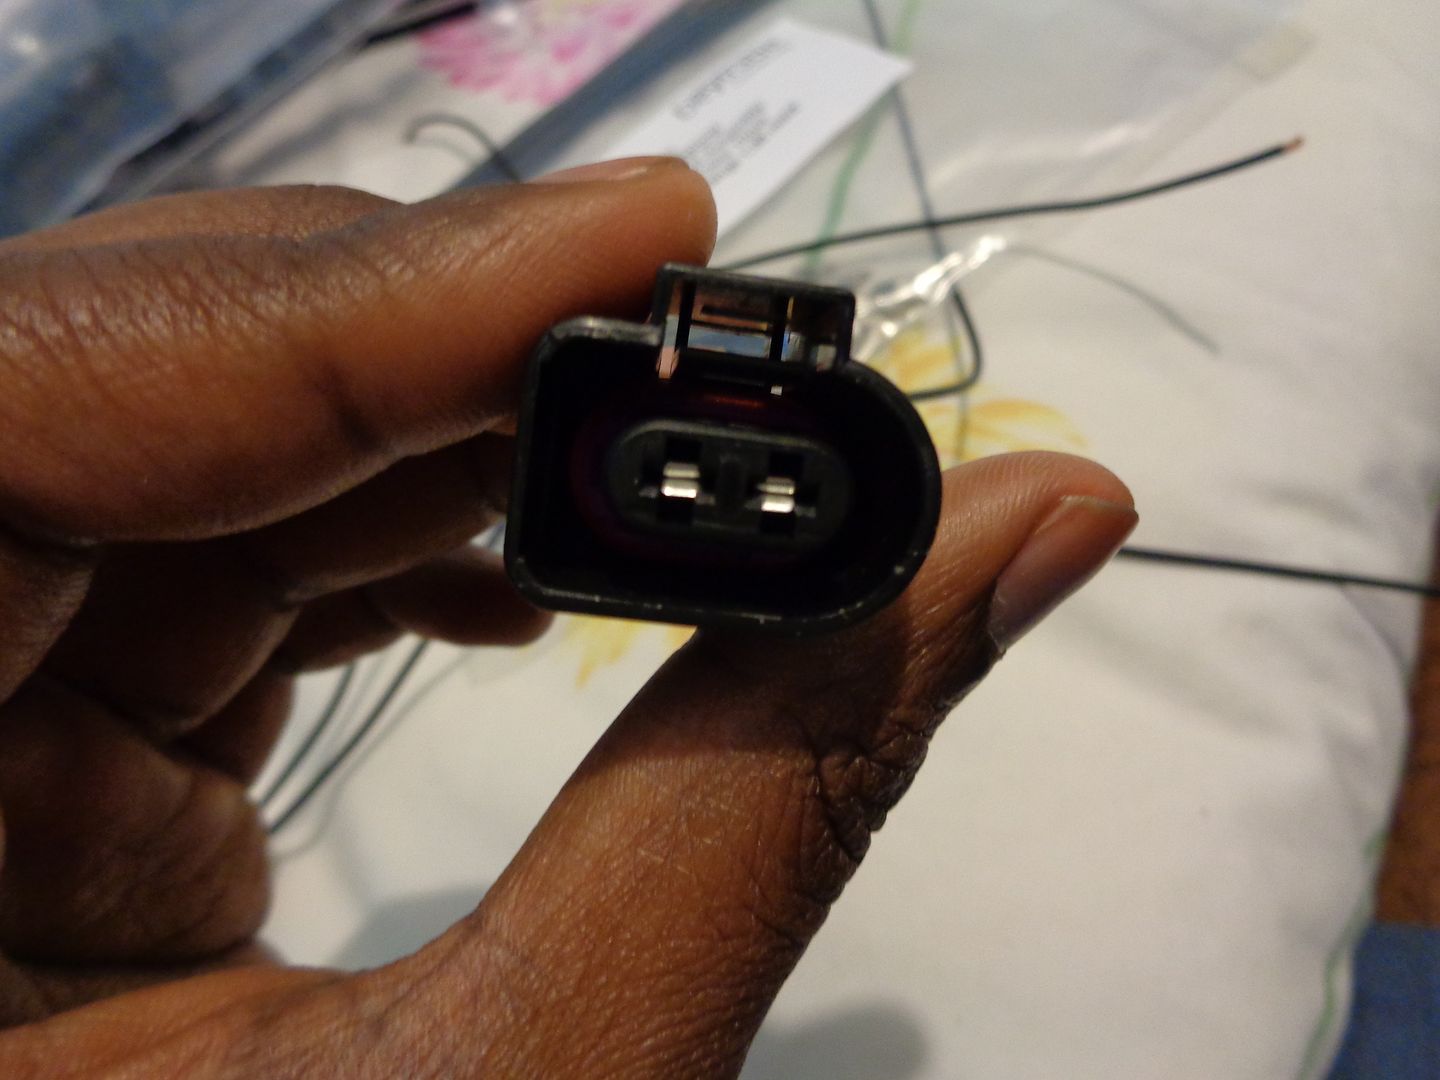 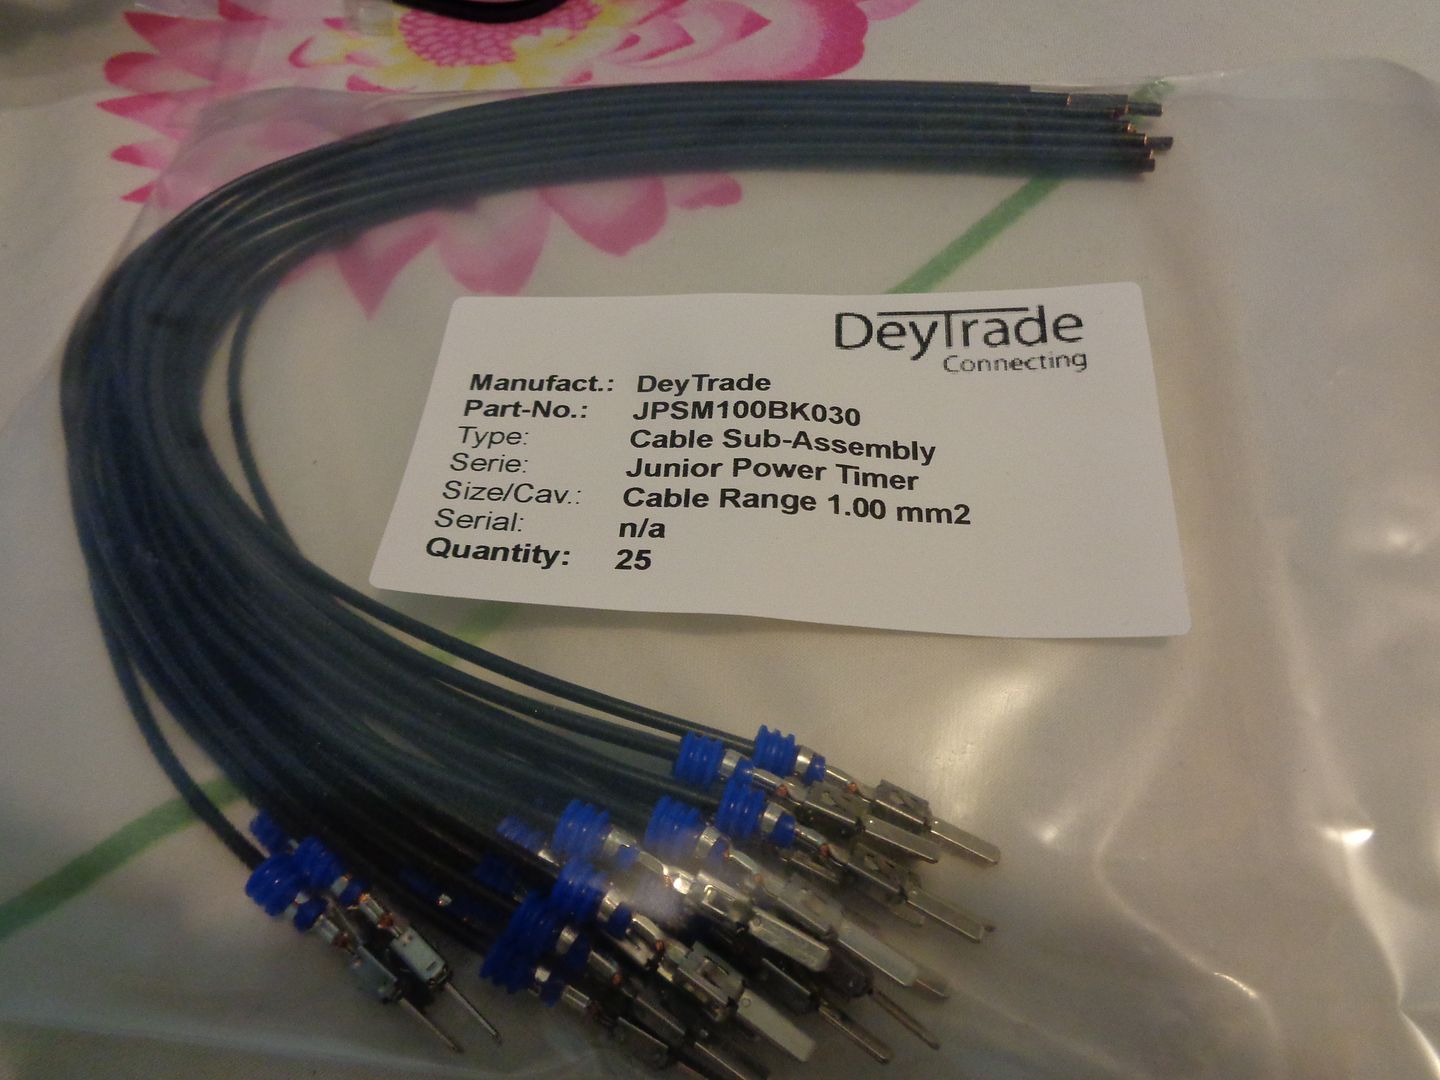  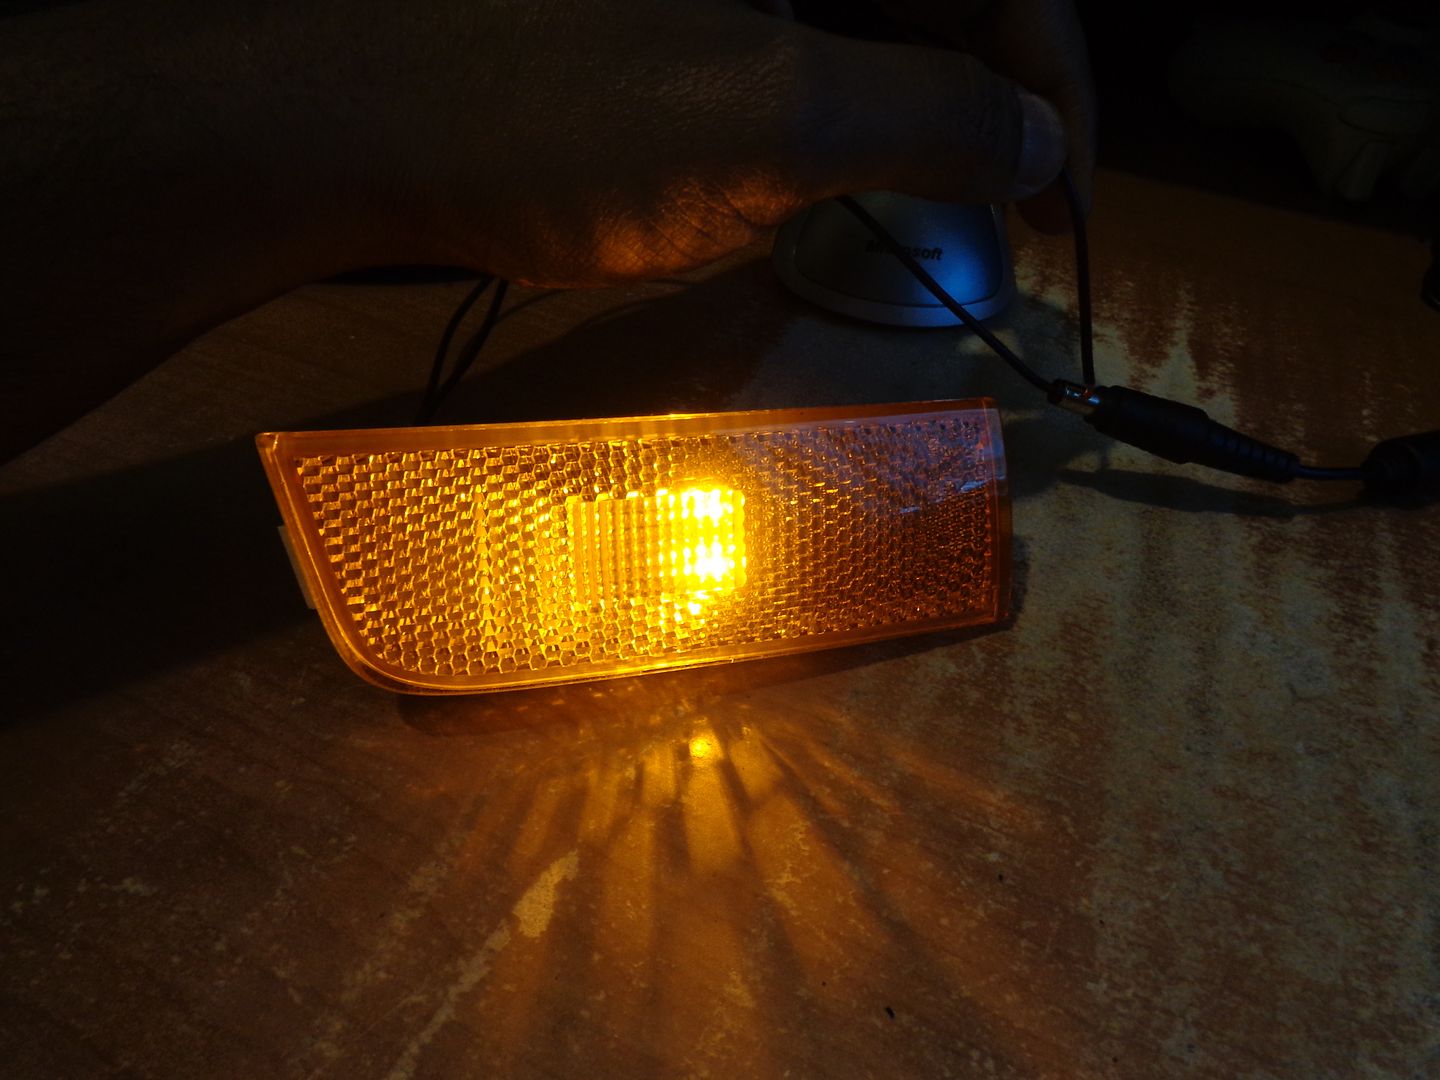 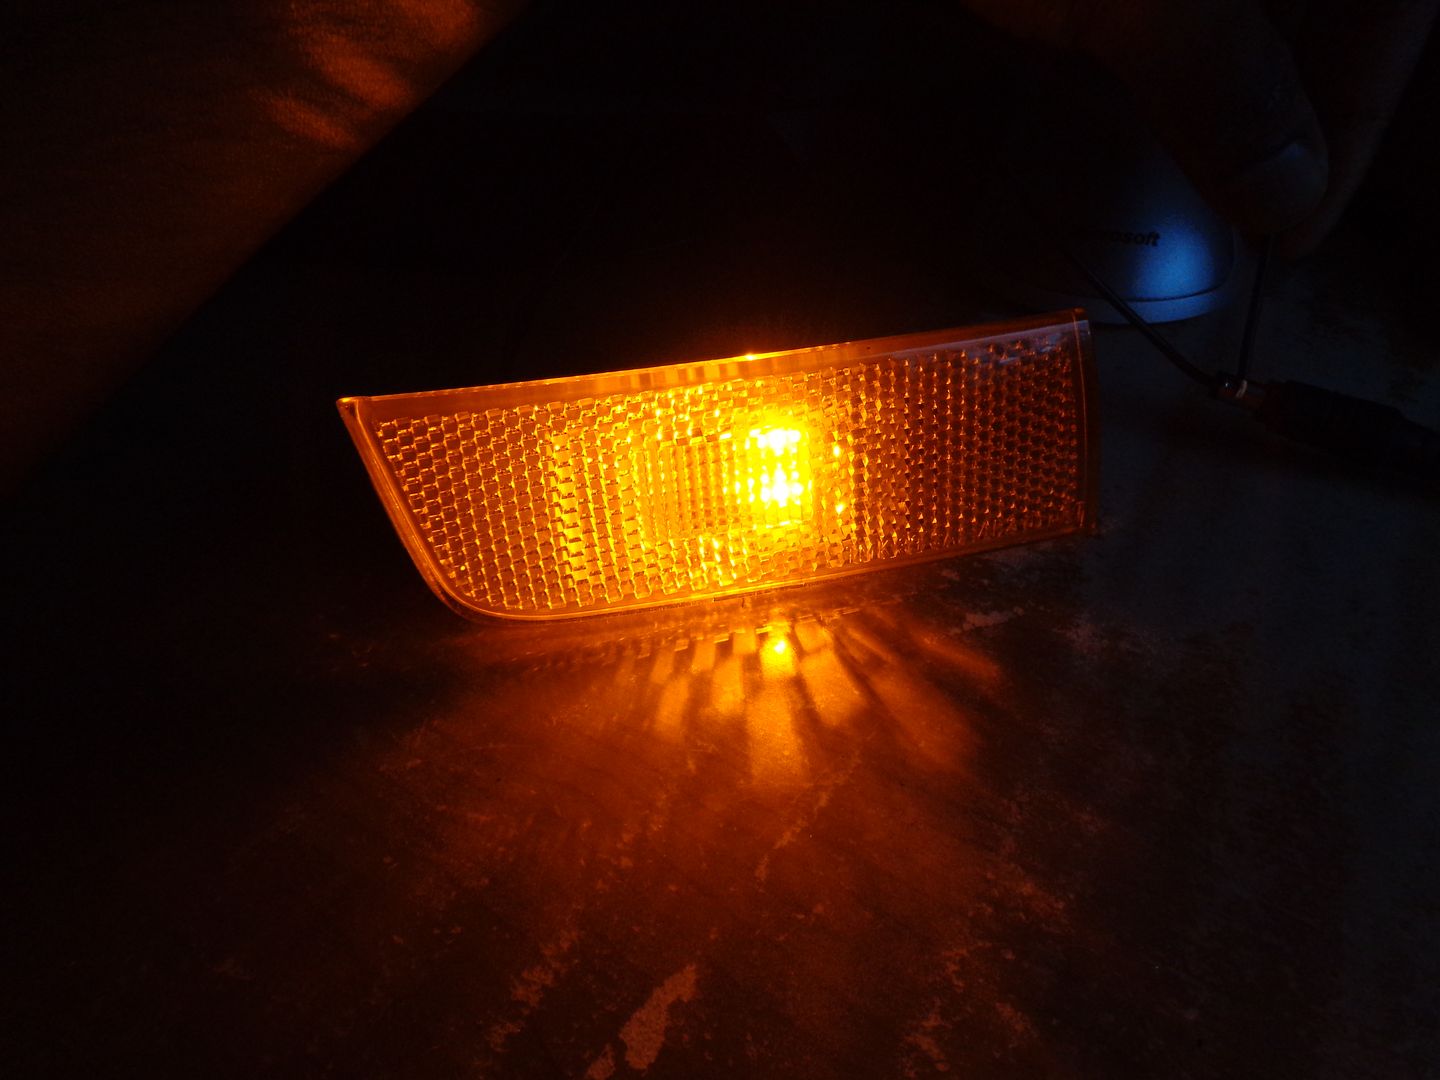 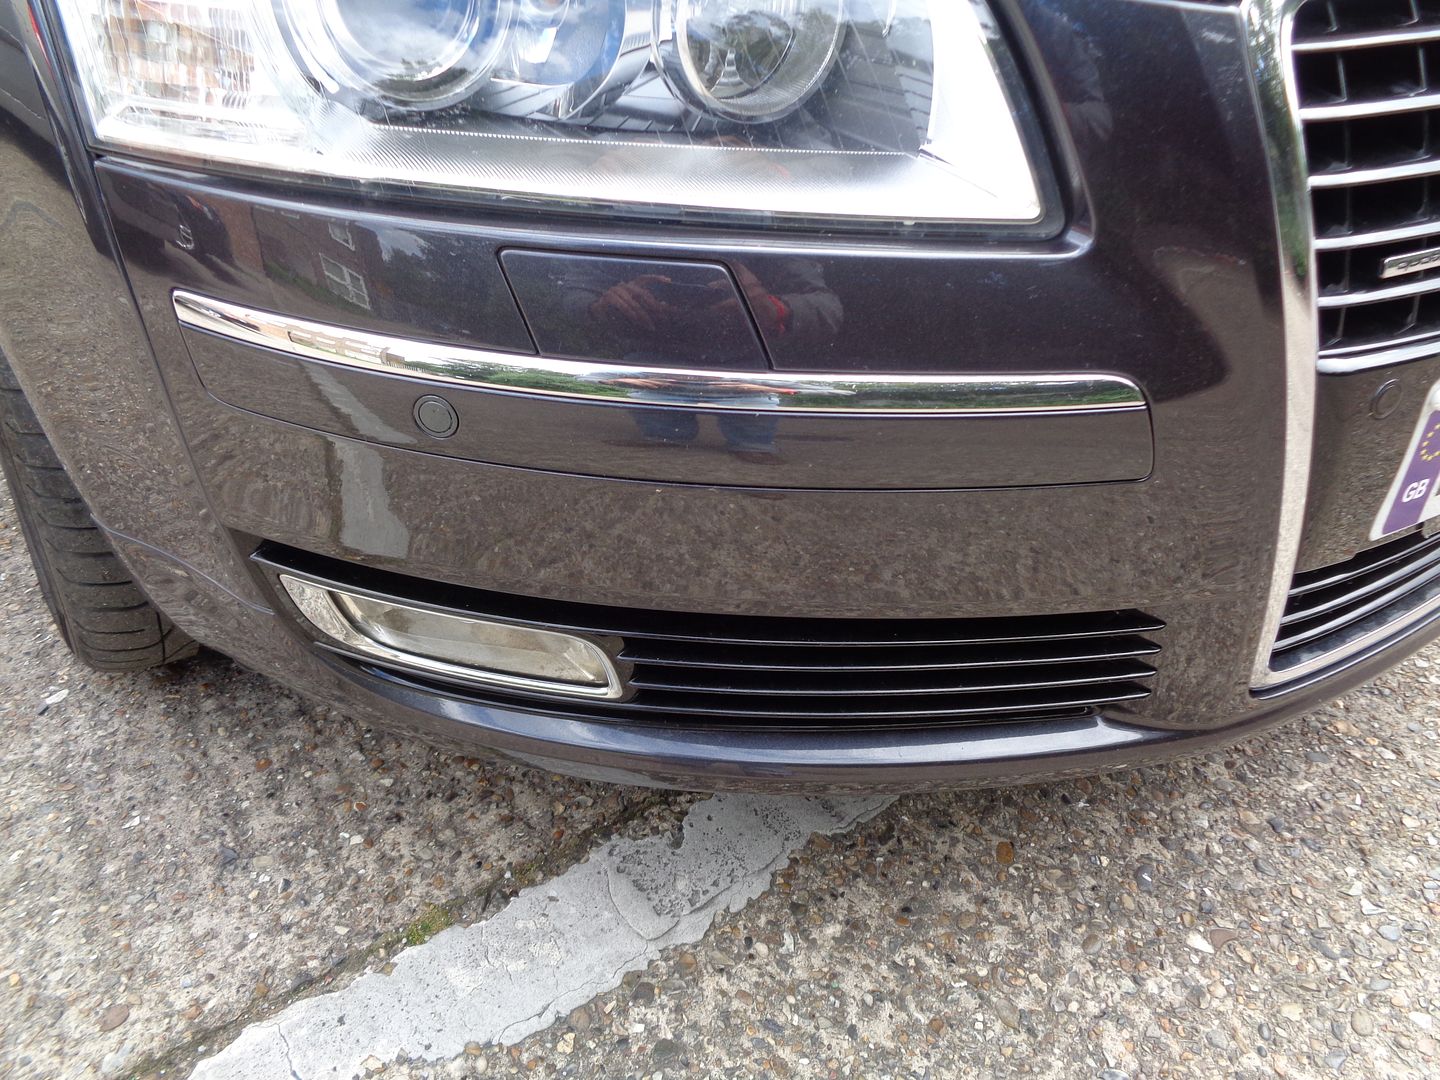 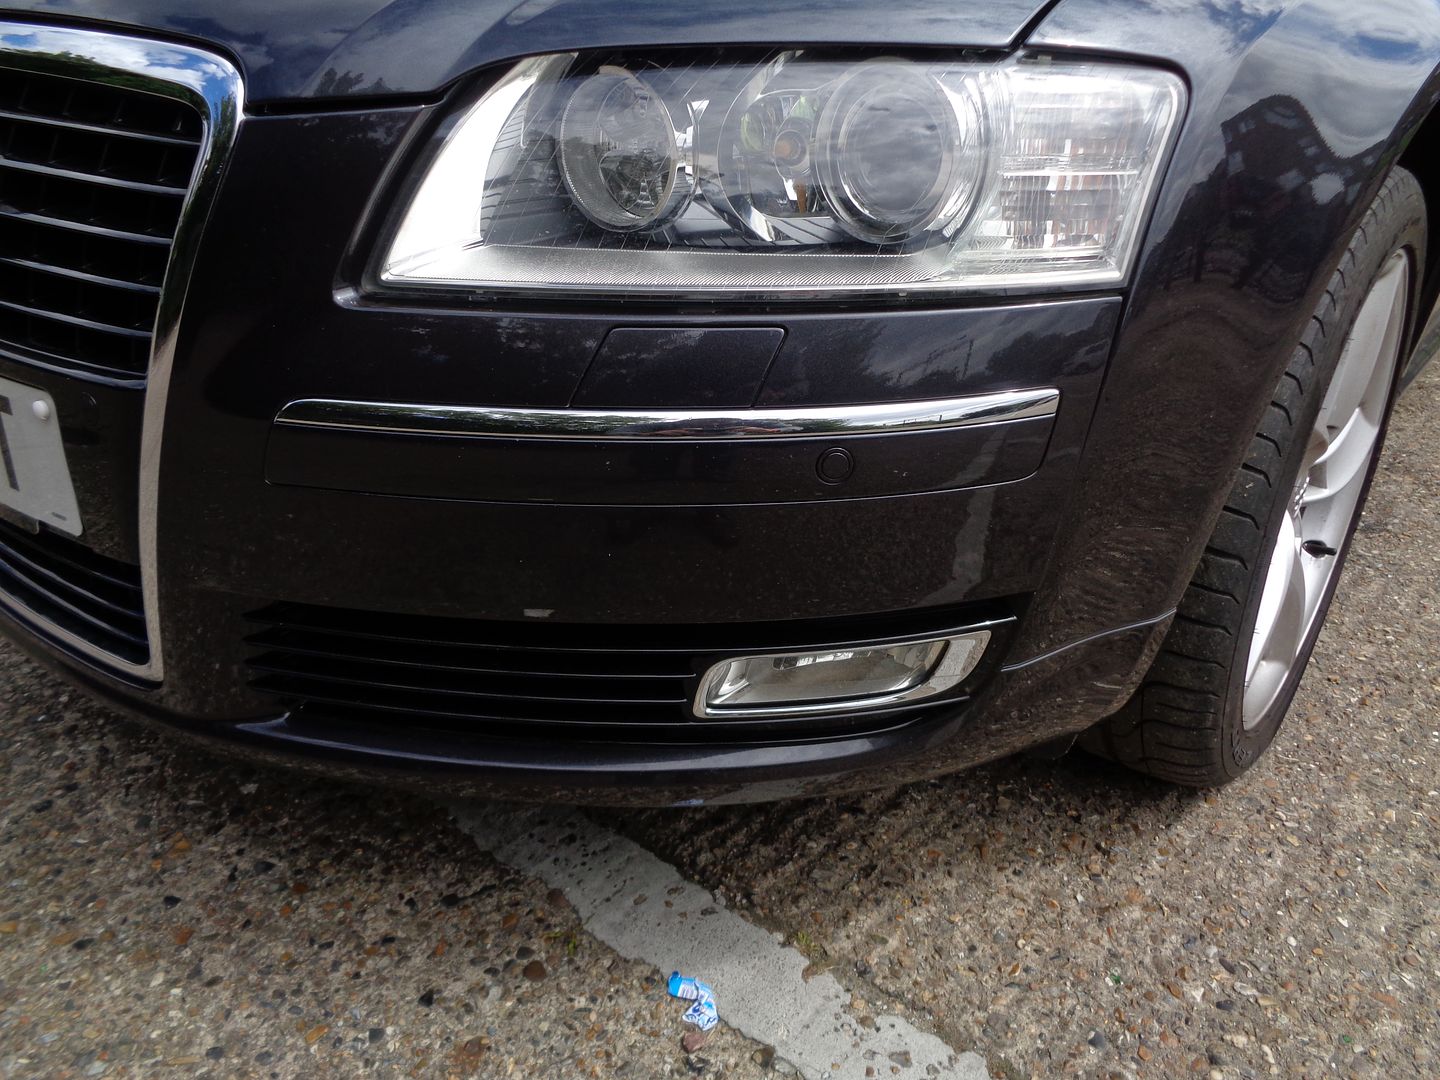 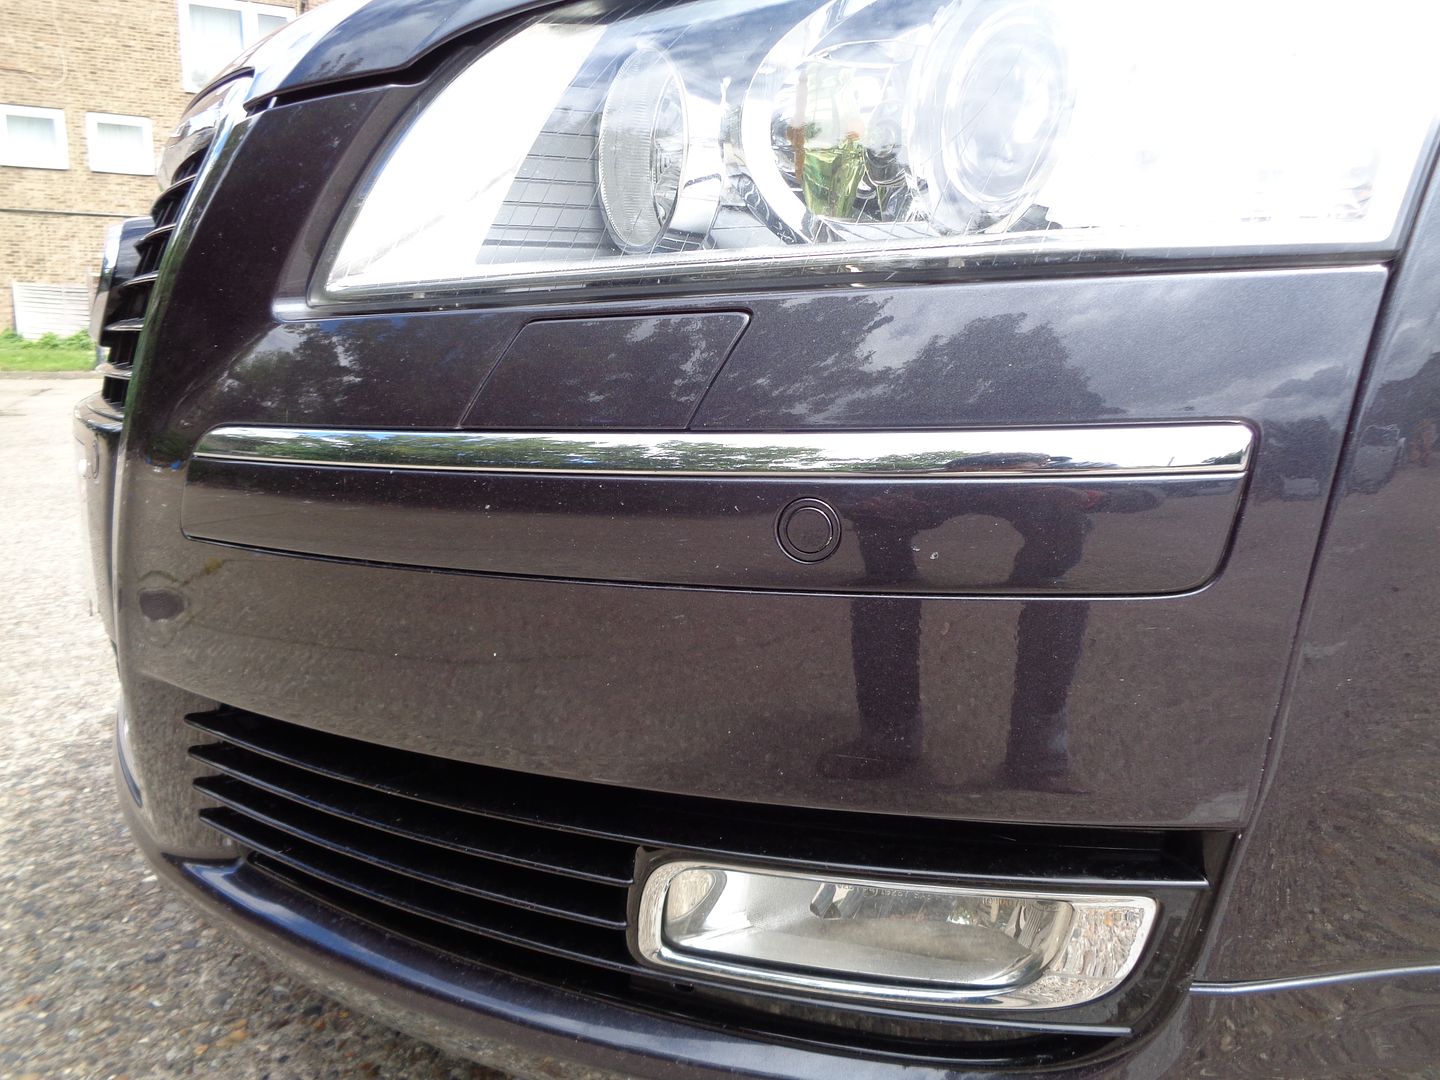  Fitting Process... we start off by taking off the front bumper and both sections of the passenger side wheel liners. We need to run the wiring from the front of the bumper to inside the car on the passenger side. There is a grommet which we can poke thru to get access to the interior, getting to this was not easy so please make sure you have the equipments and tools so do this task. I wanted to do clean setup so it all looks to OEM standard, so i decided to make use of the redundant pins on the 10 pin connector for the front bumper. Replacing the mouldings....this is quite easy. Once you have the bumper off, take off the parking sensors on the relevant sides and using a trim tool, pop out the tabs holding the moulding in place. In order to swap the chrome trims, there is a small tab in the middle which you need to push out using a screwdriver and slowly slide it off. Installation is in reverse. Don’t forget to remove the retainers for the parking sensors. 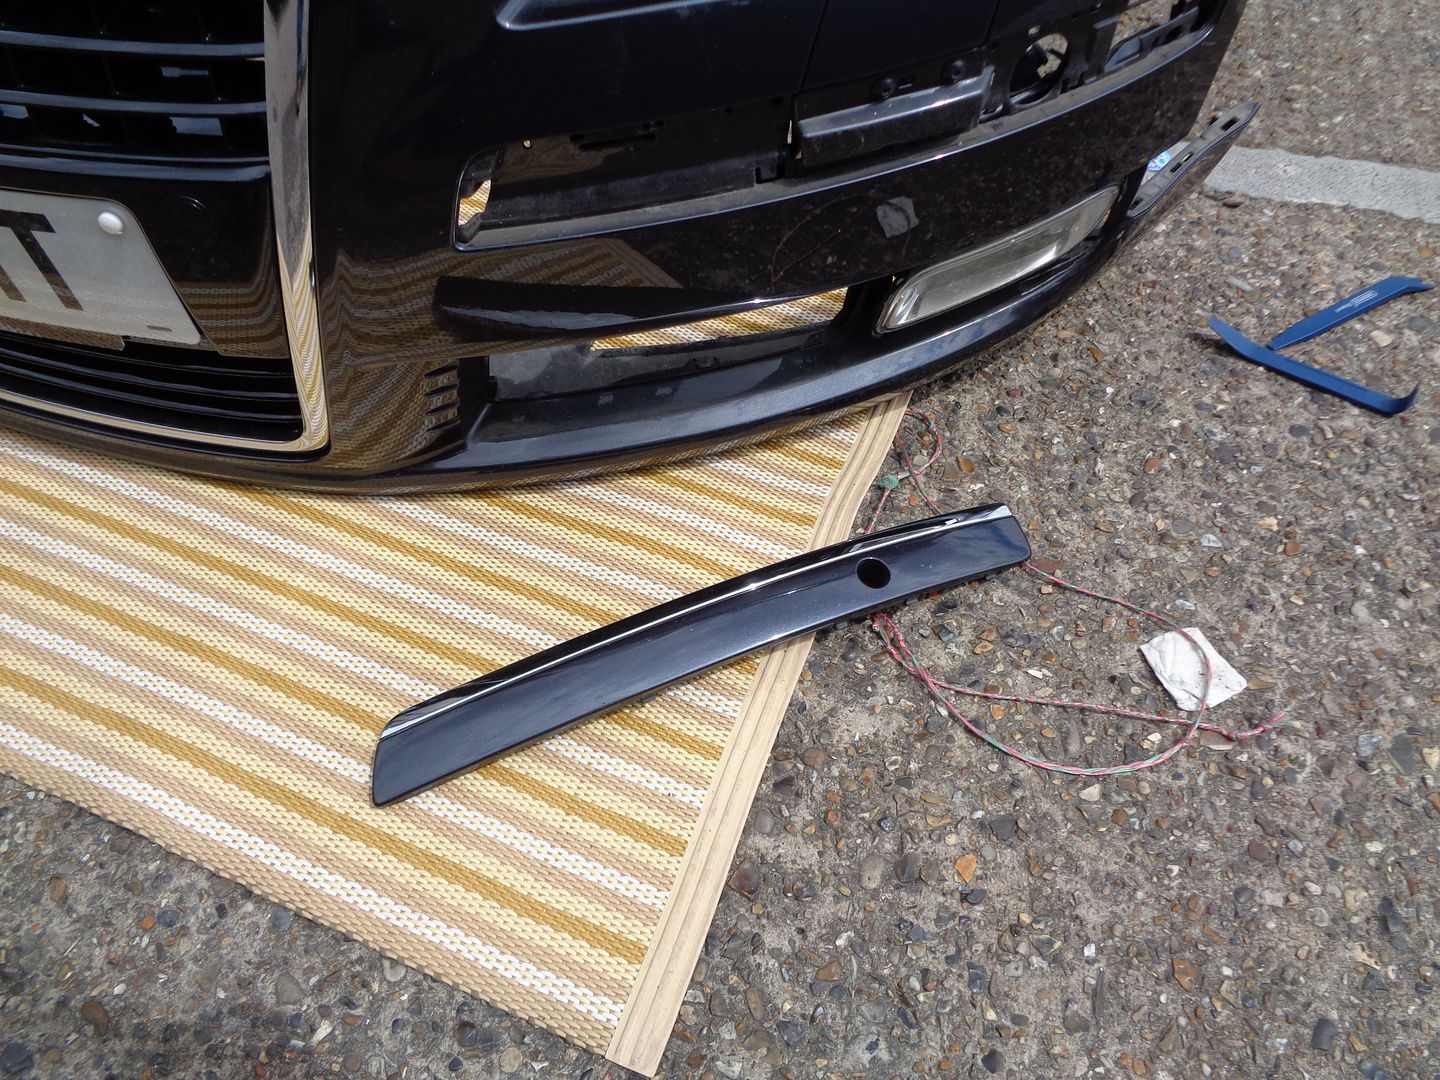 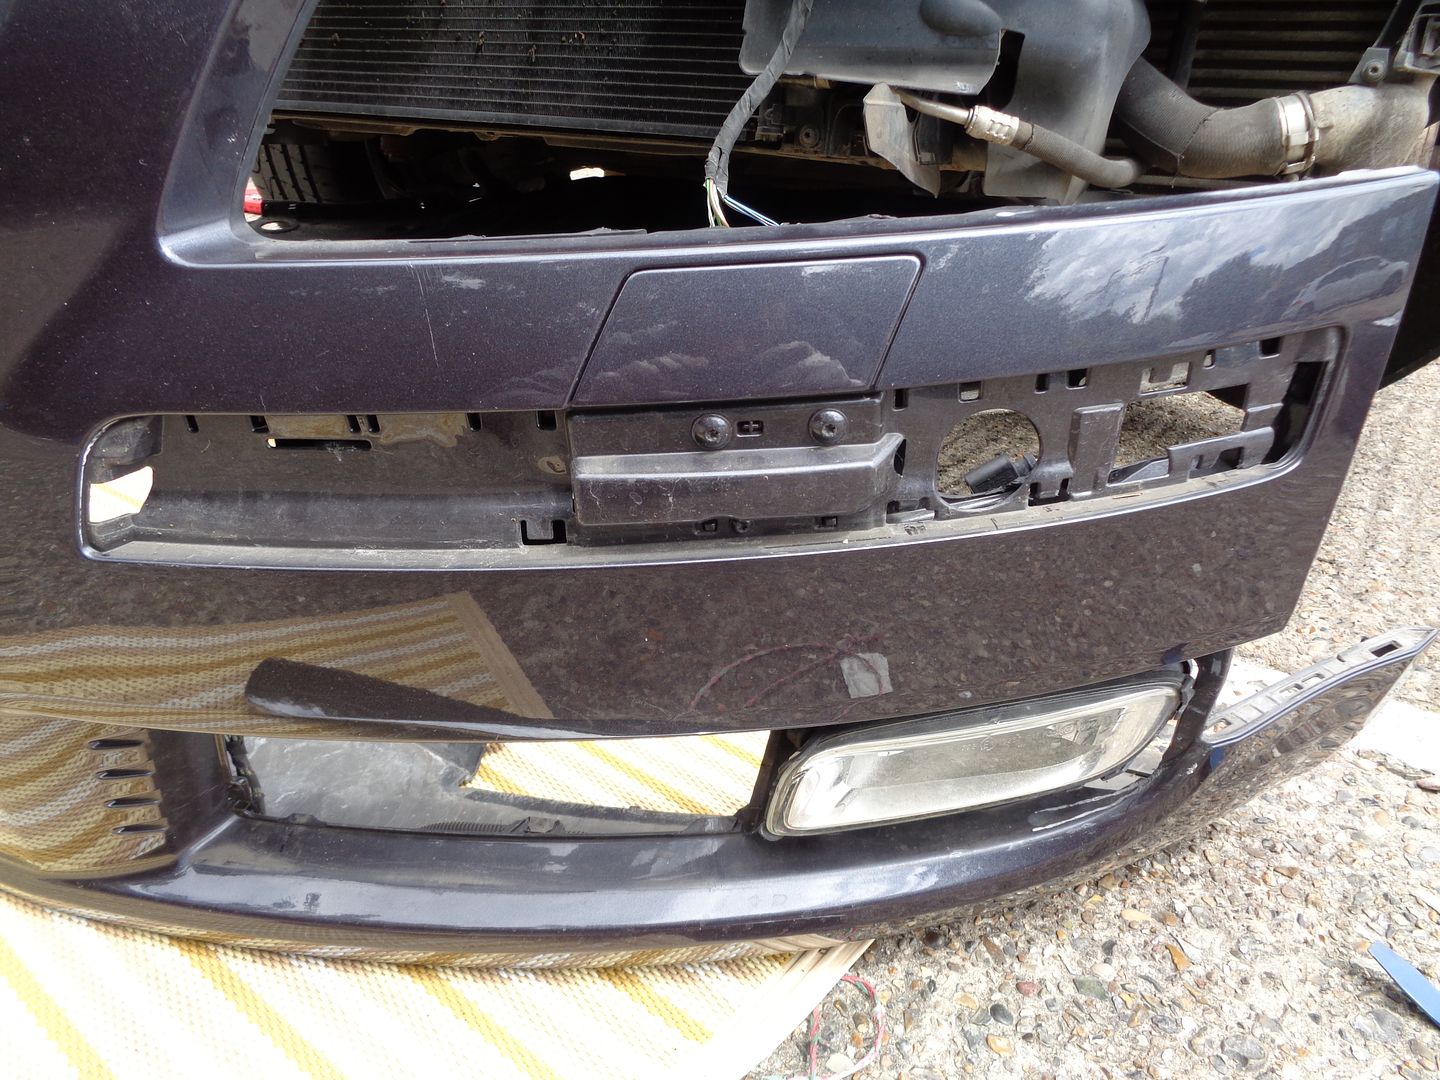 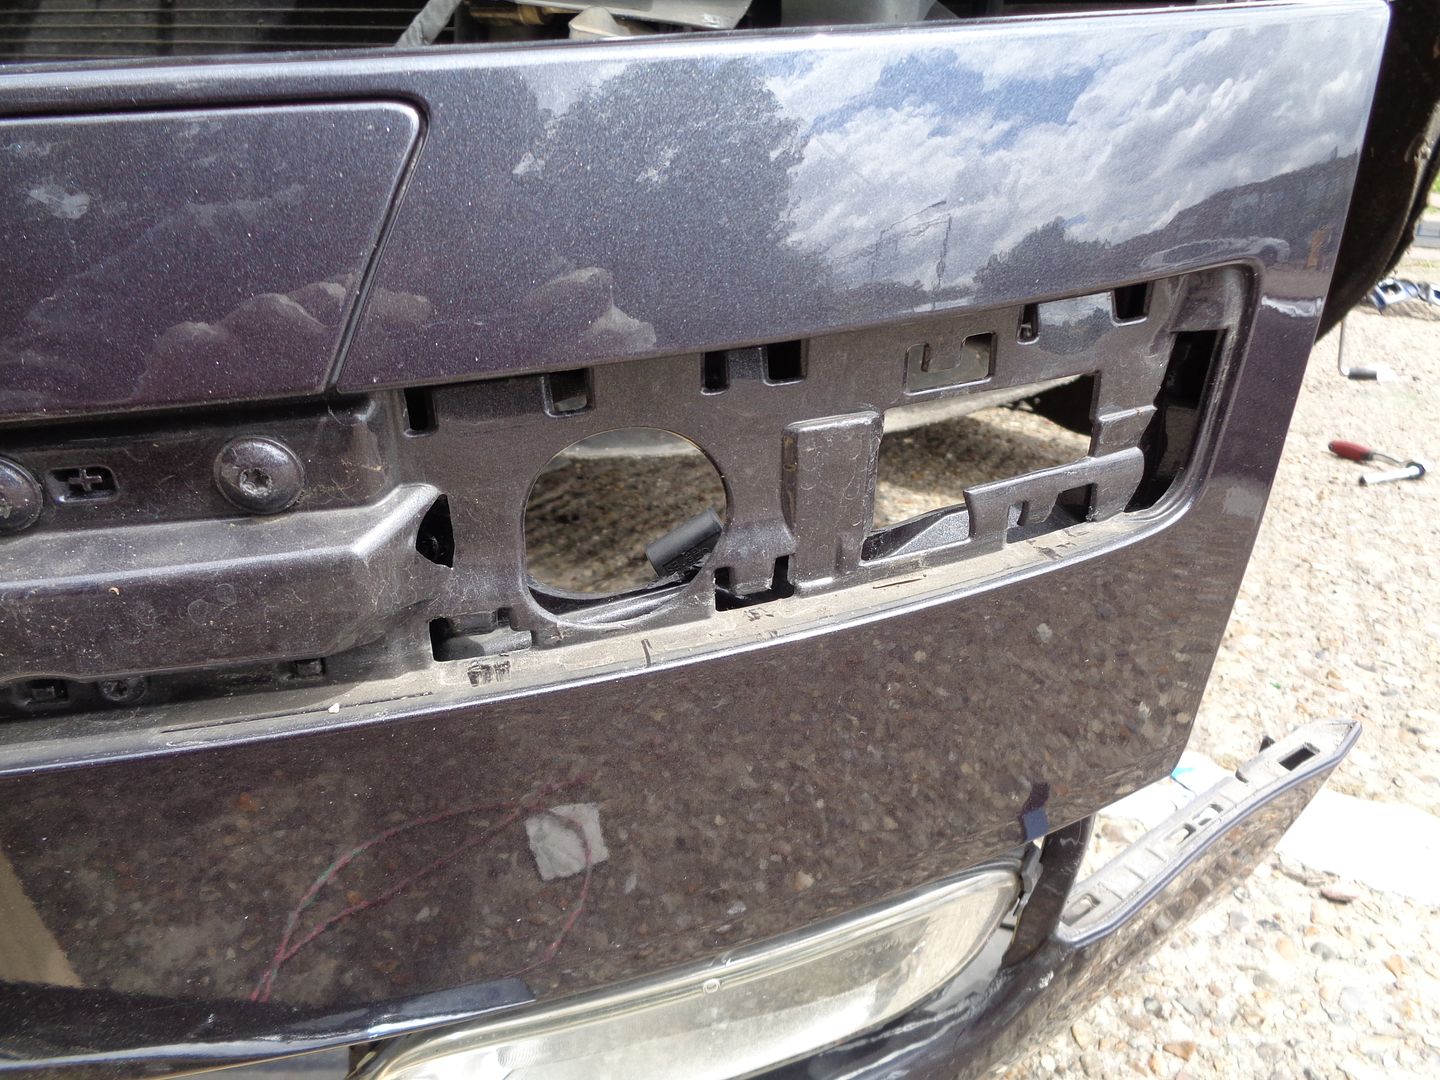 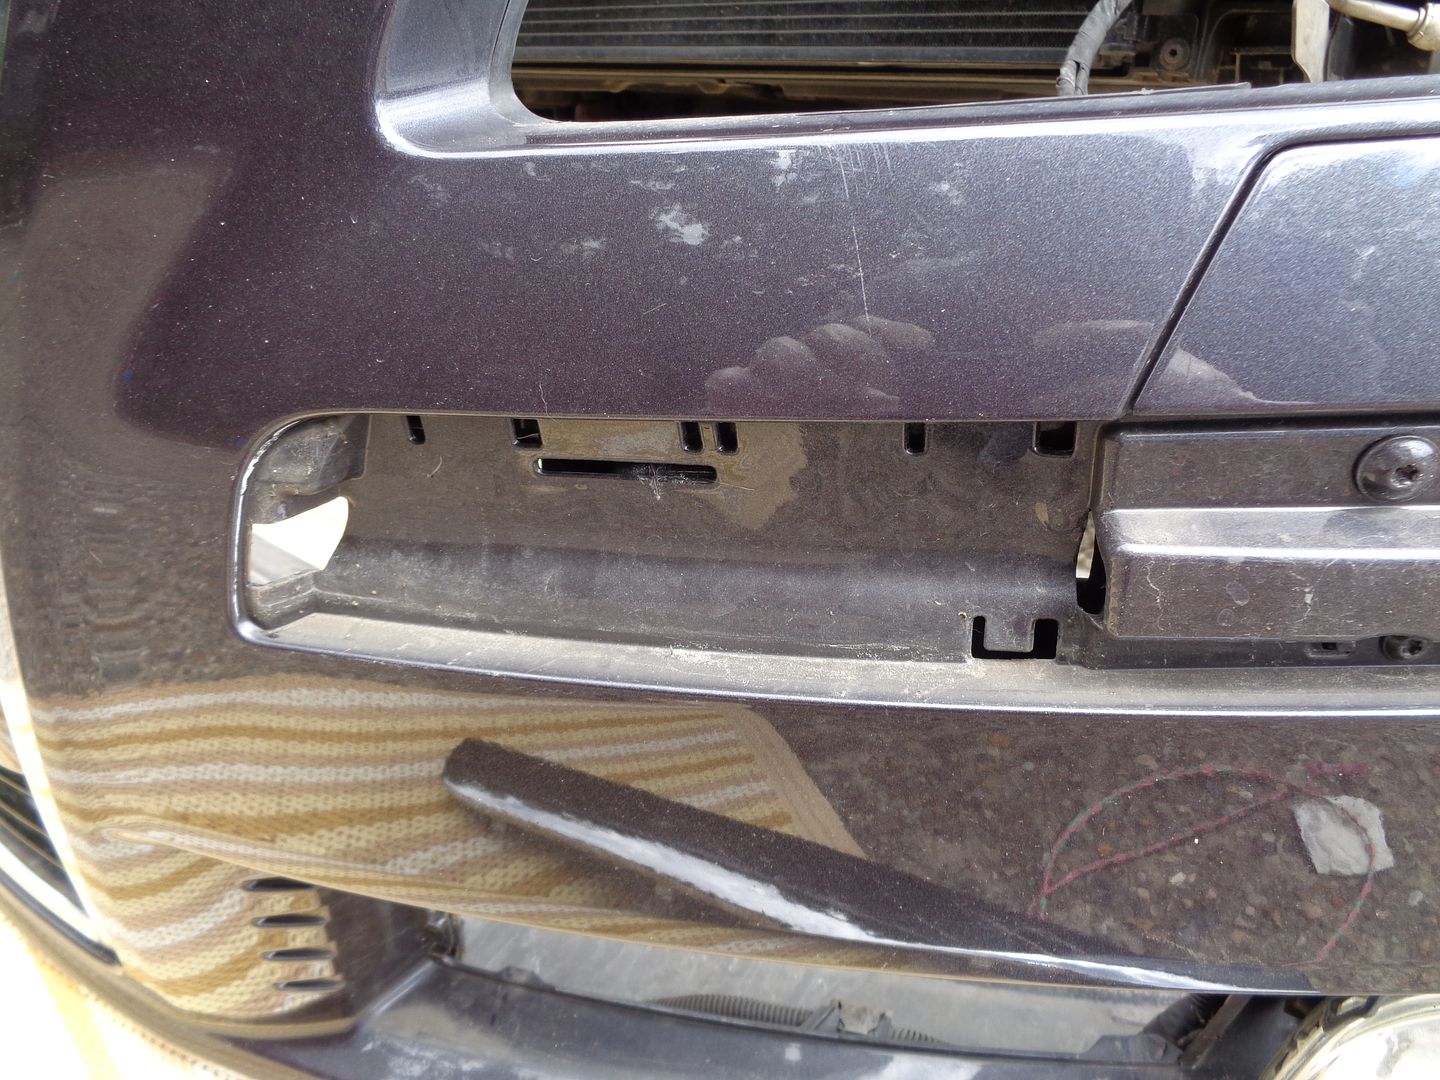 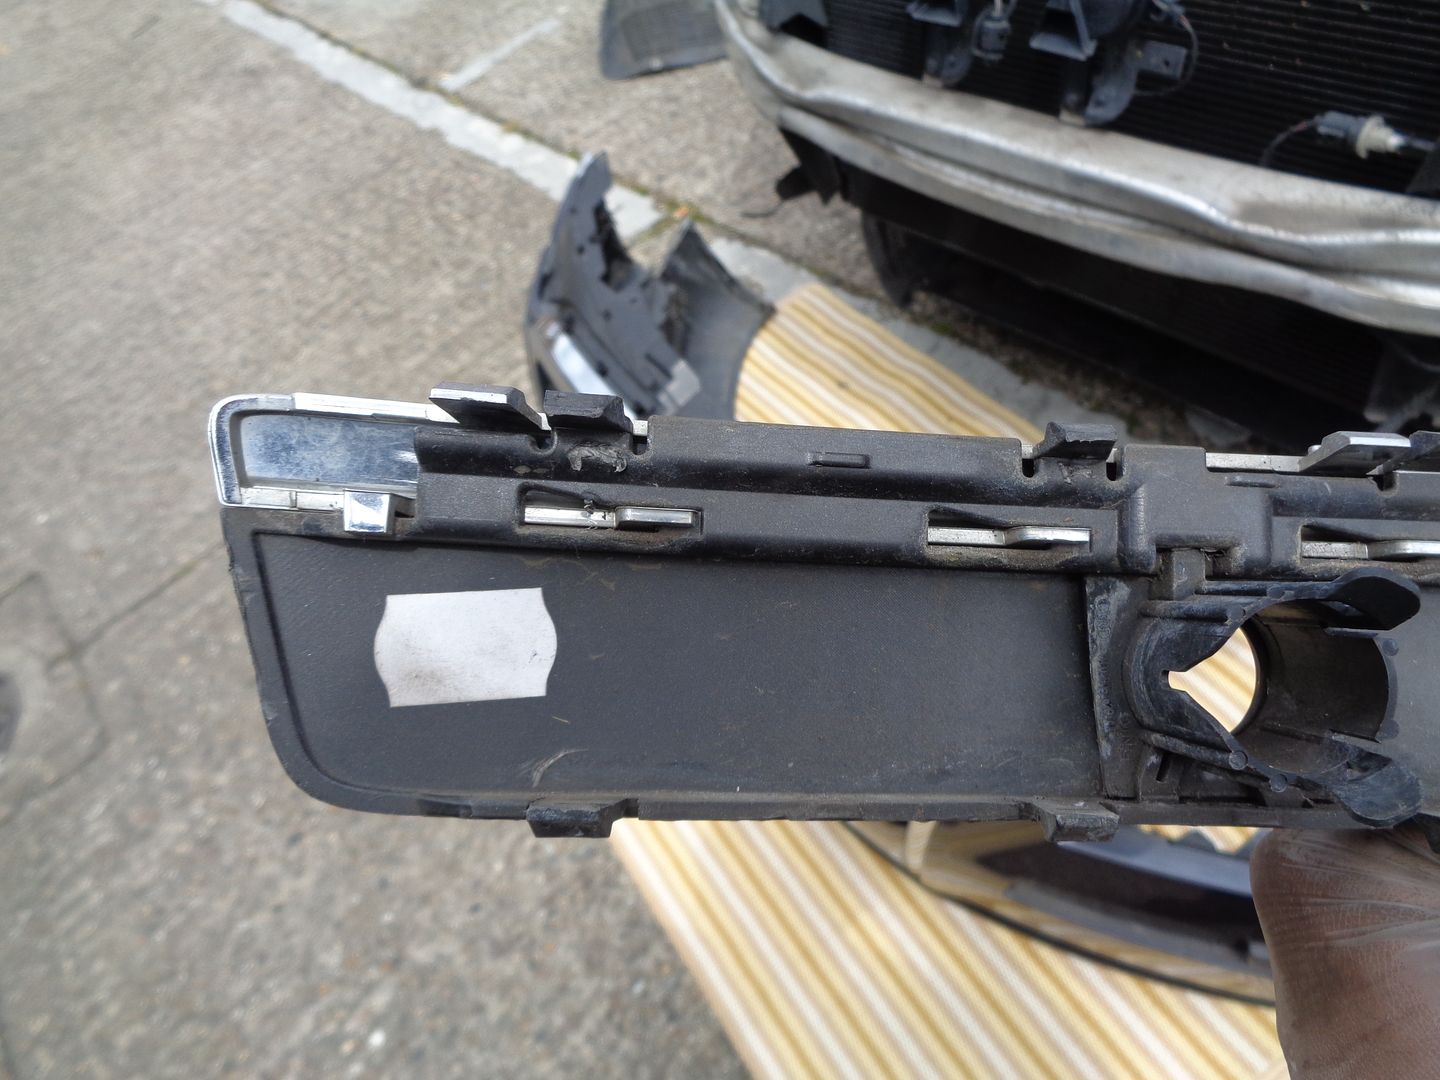 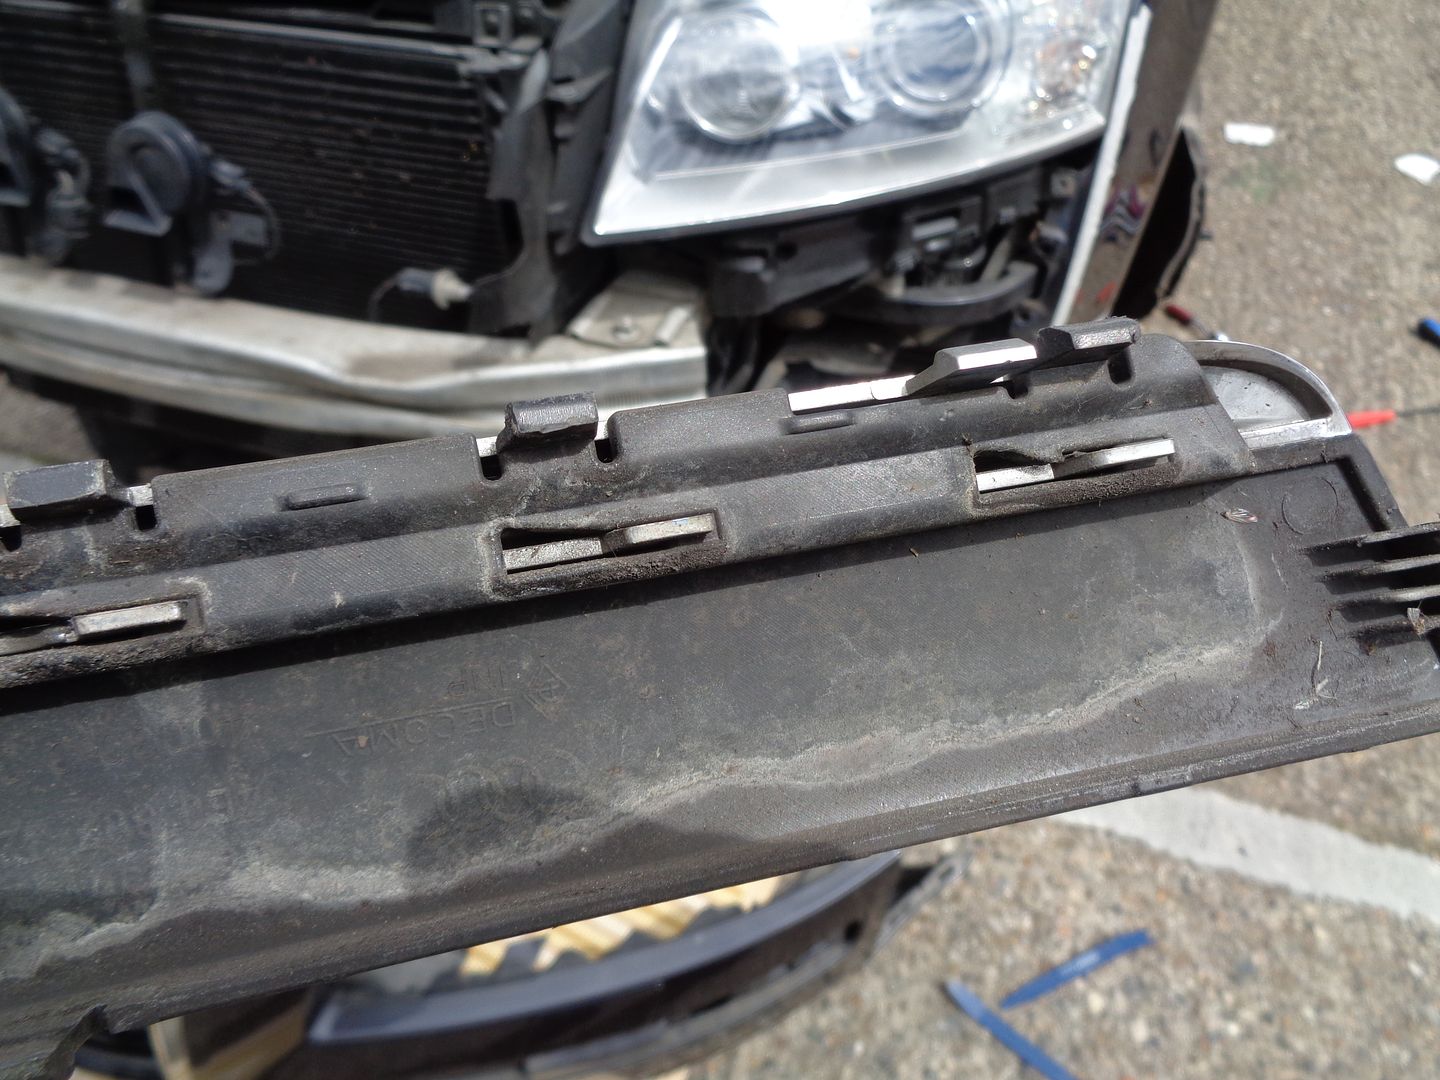 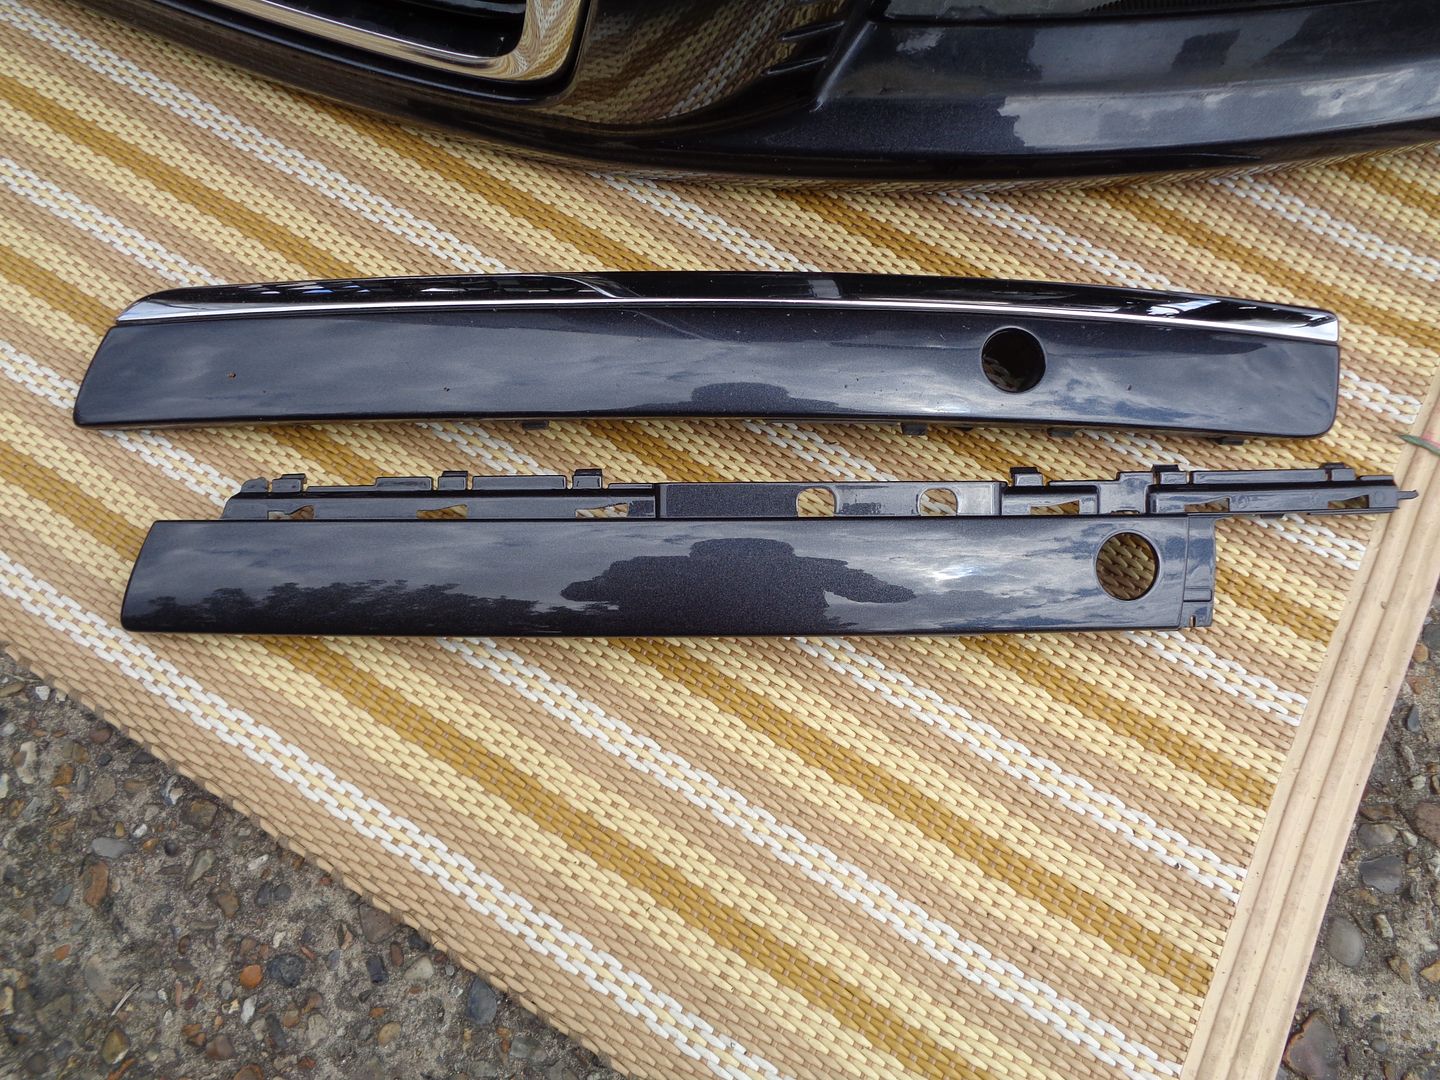   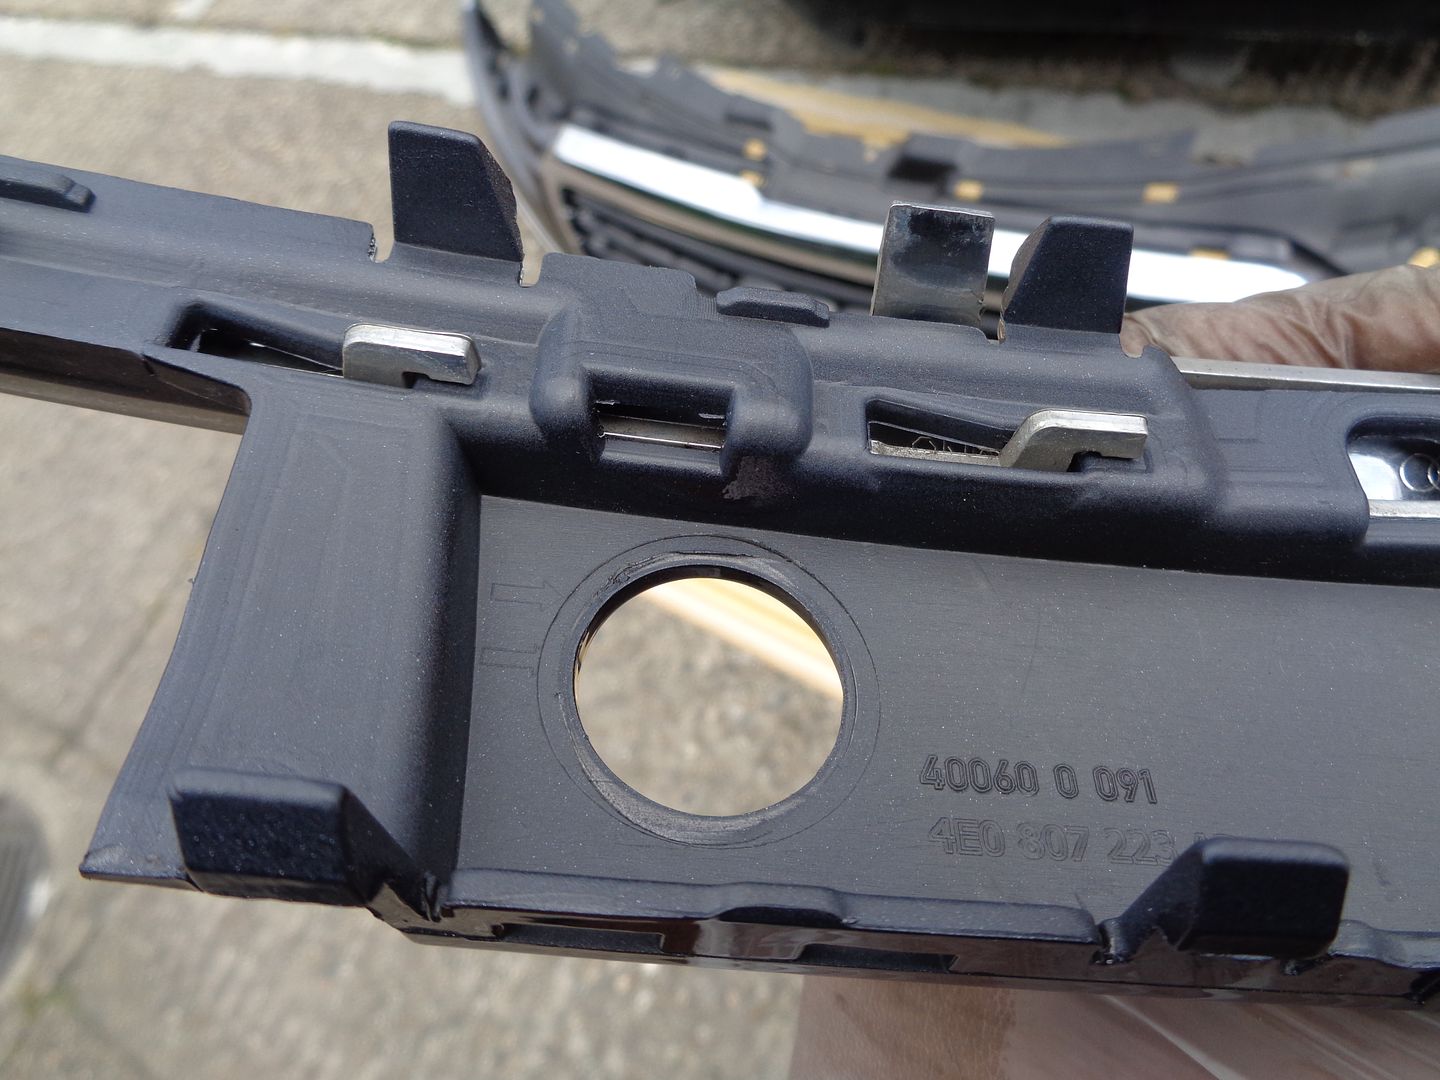 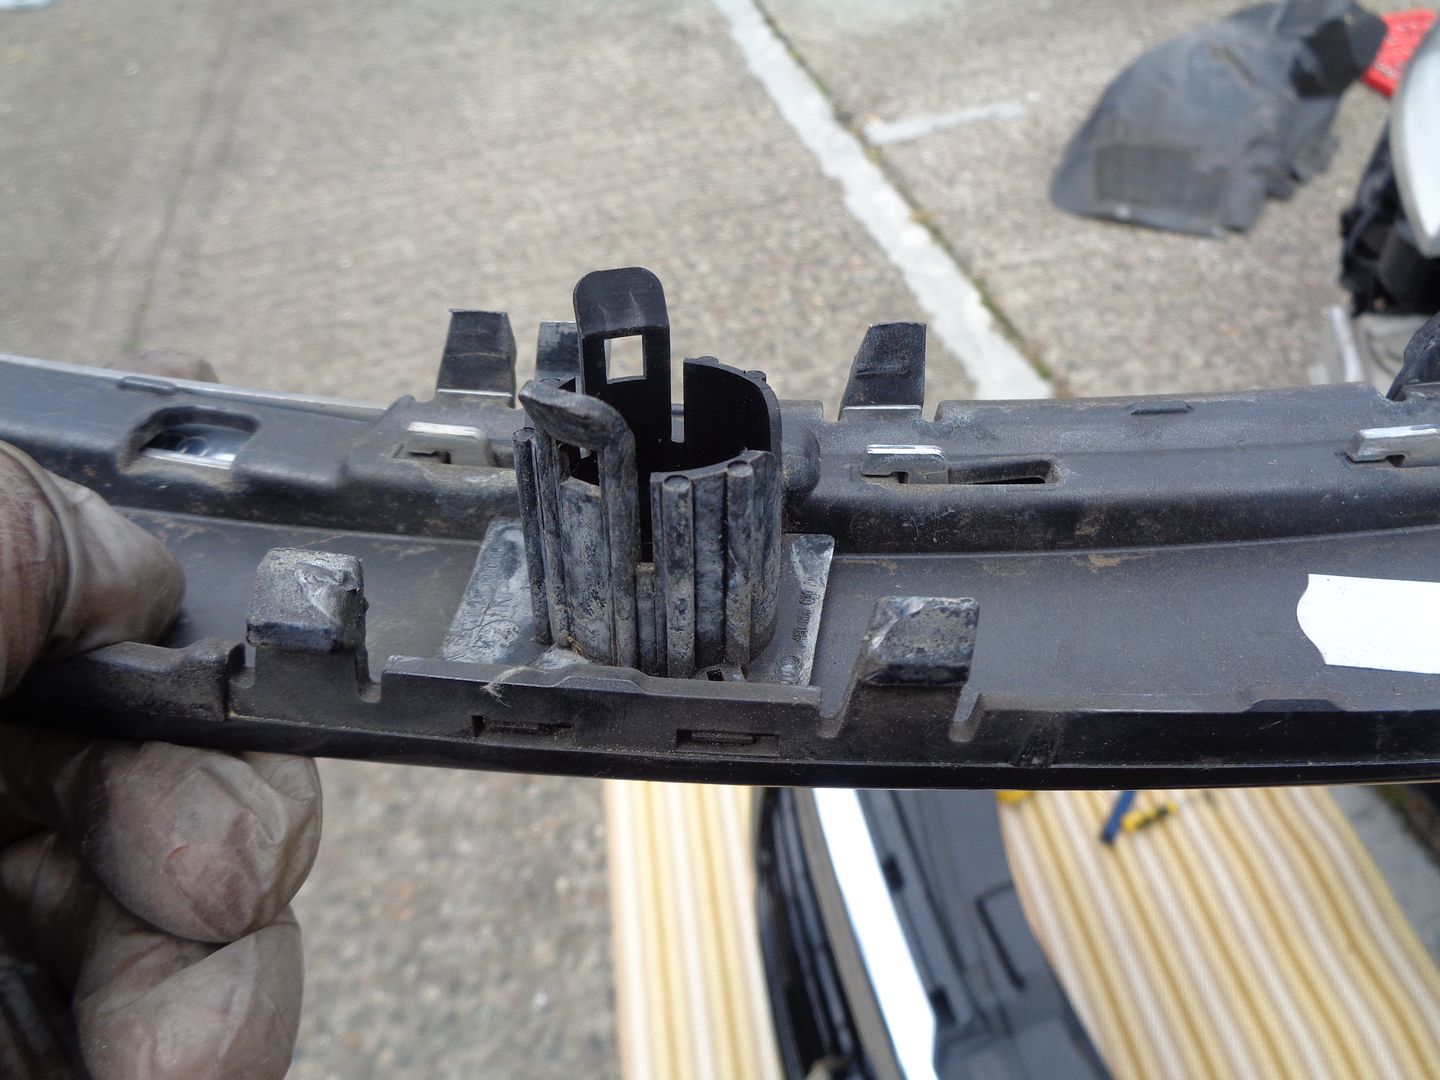 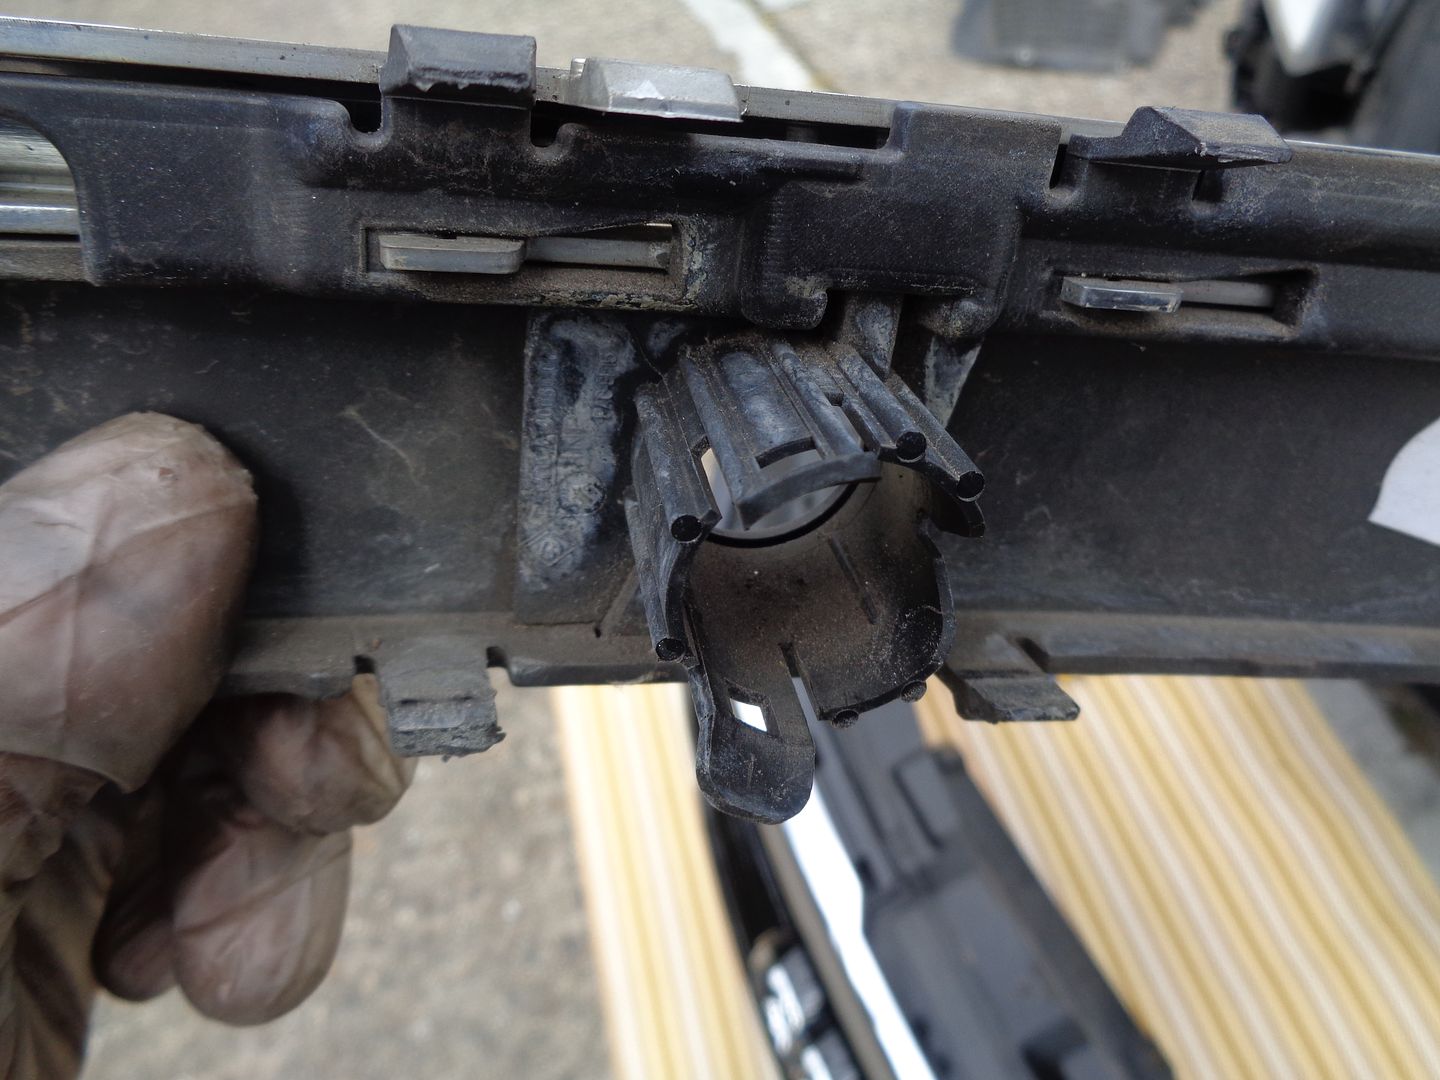 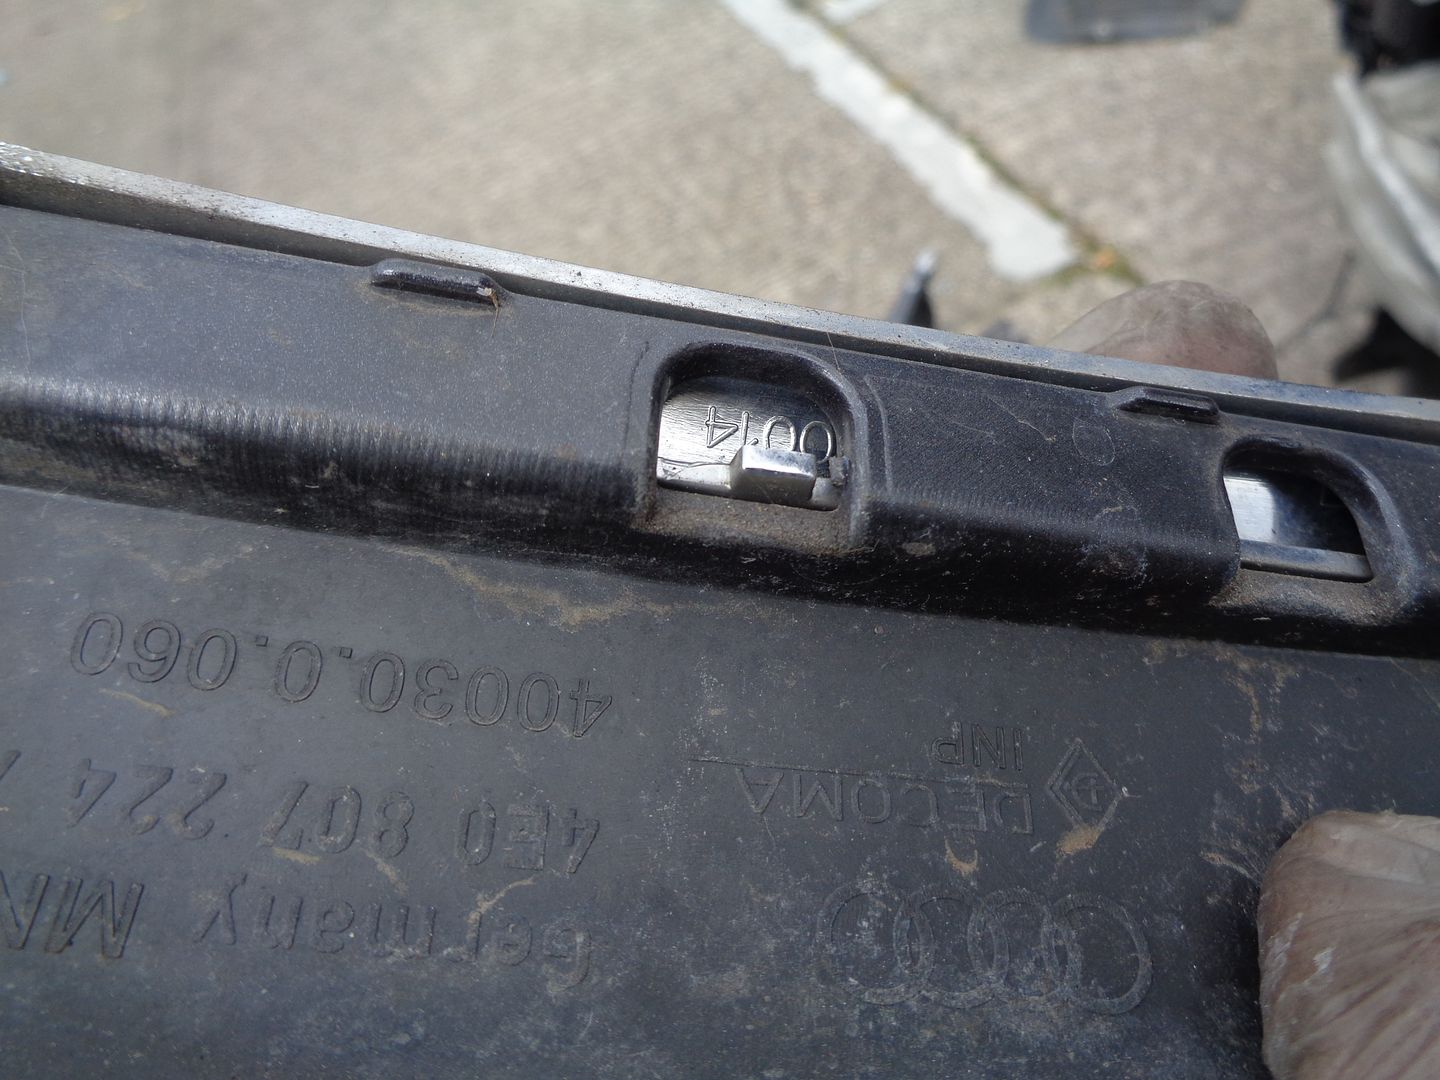 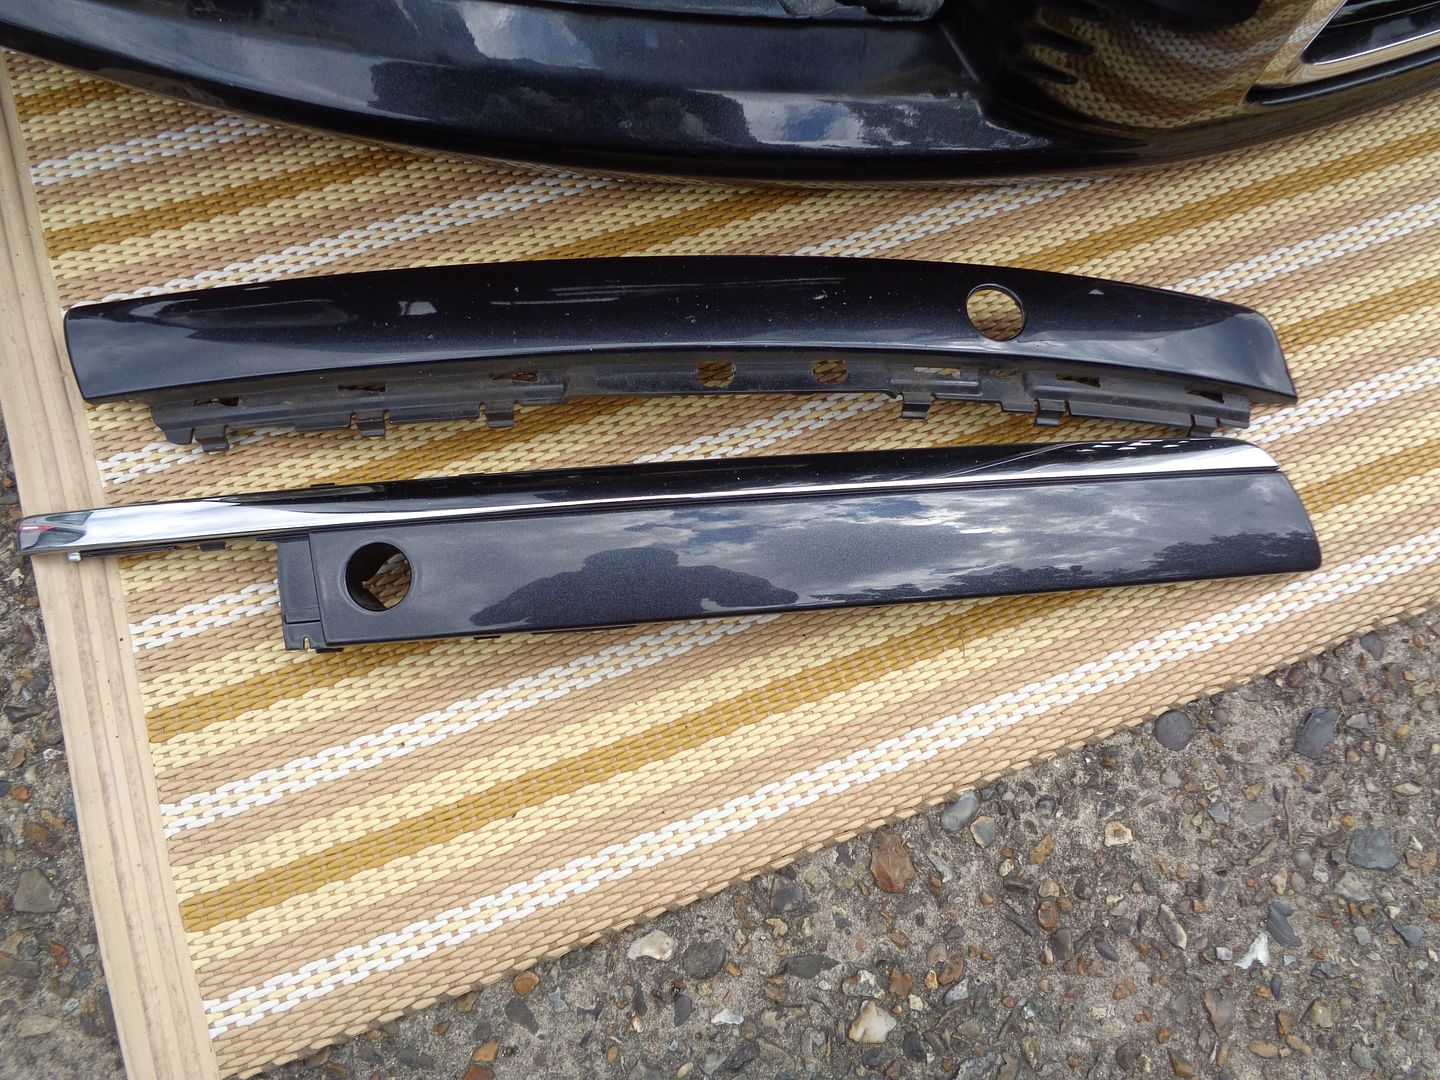 A small part of the bumper needs to be cut off in order to make room for the marker light.. nothing too bad. Even if you replace with the original moulding it should hold in place just fine. 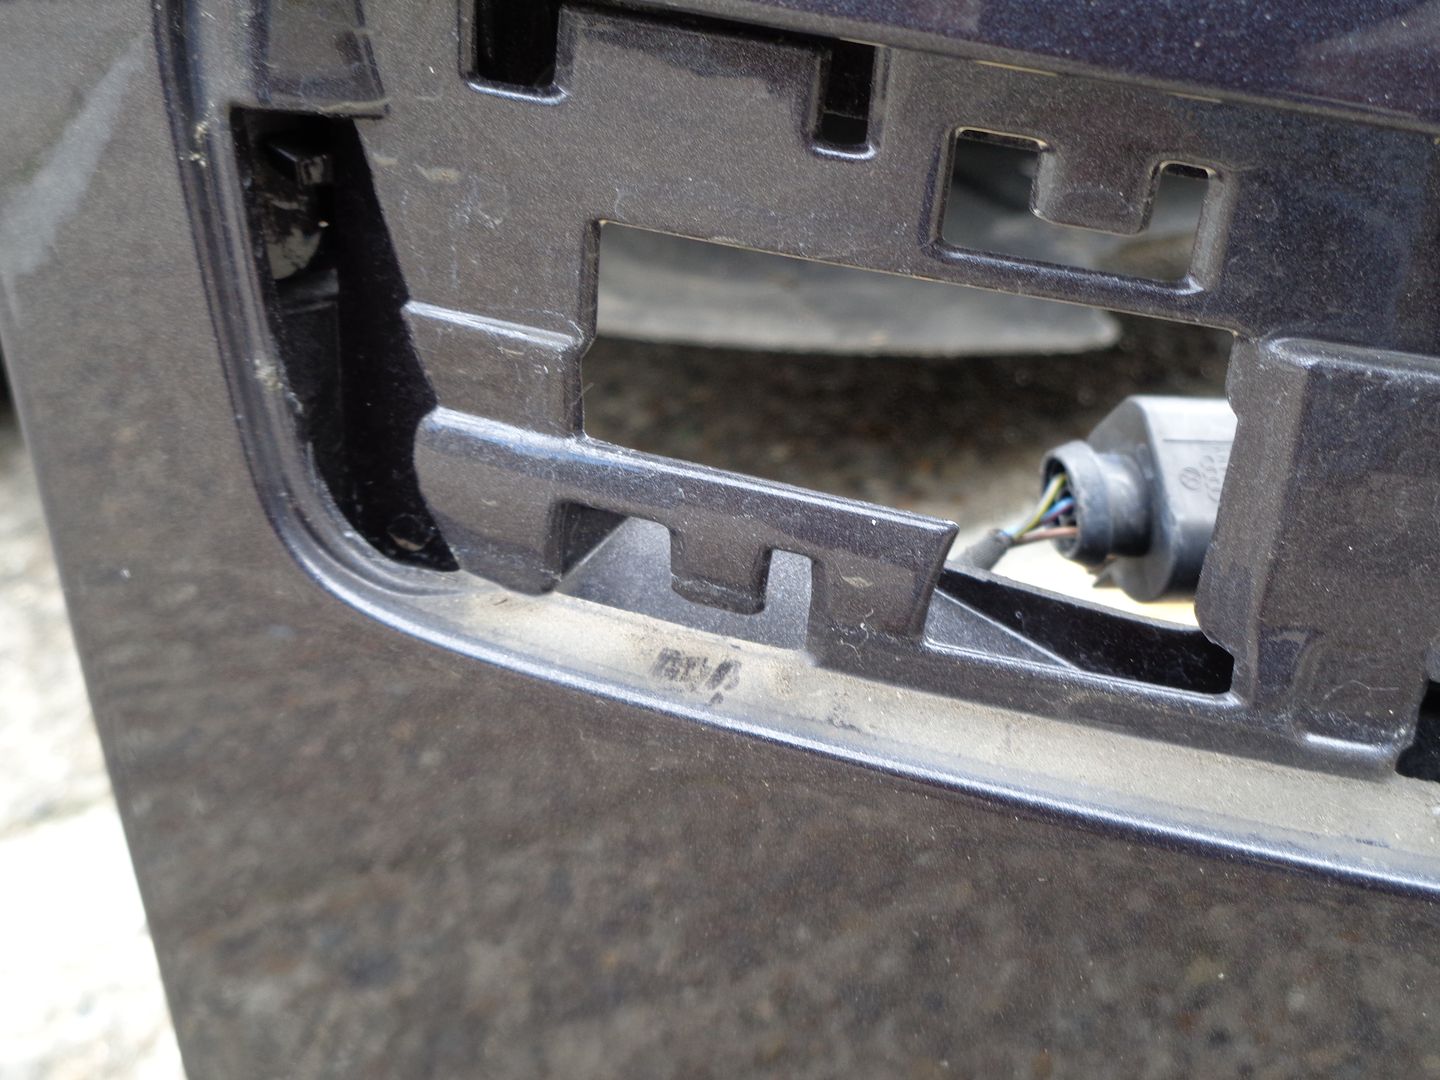 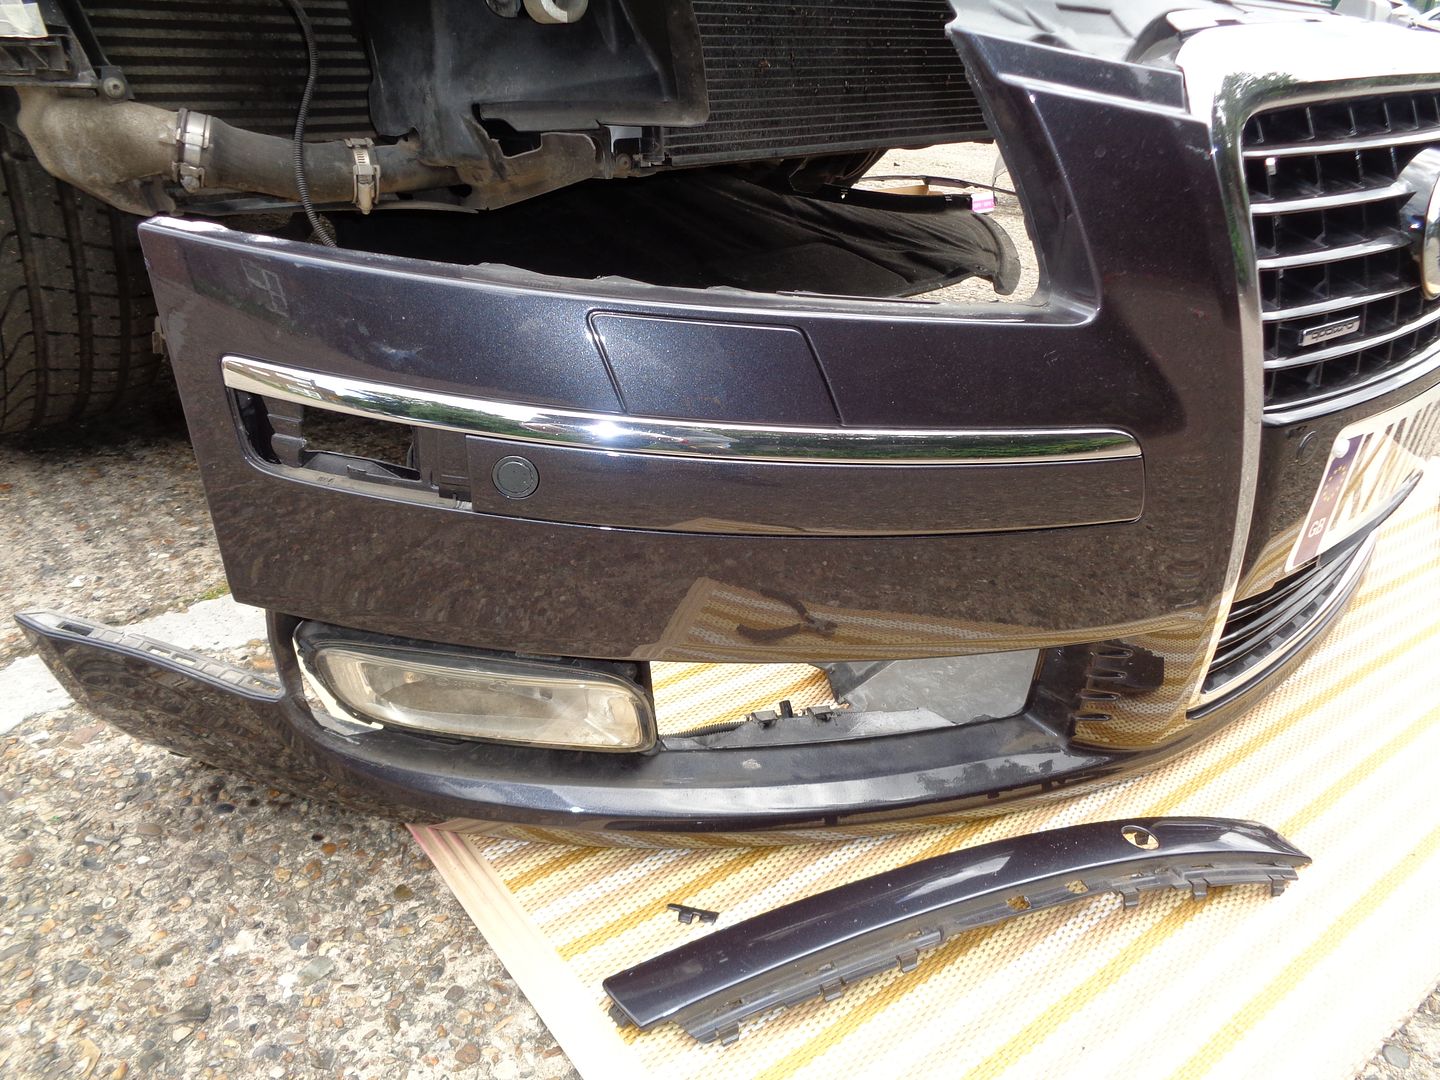  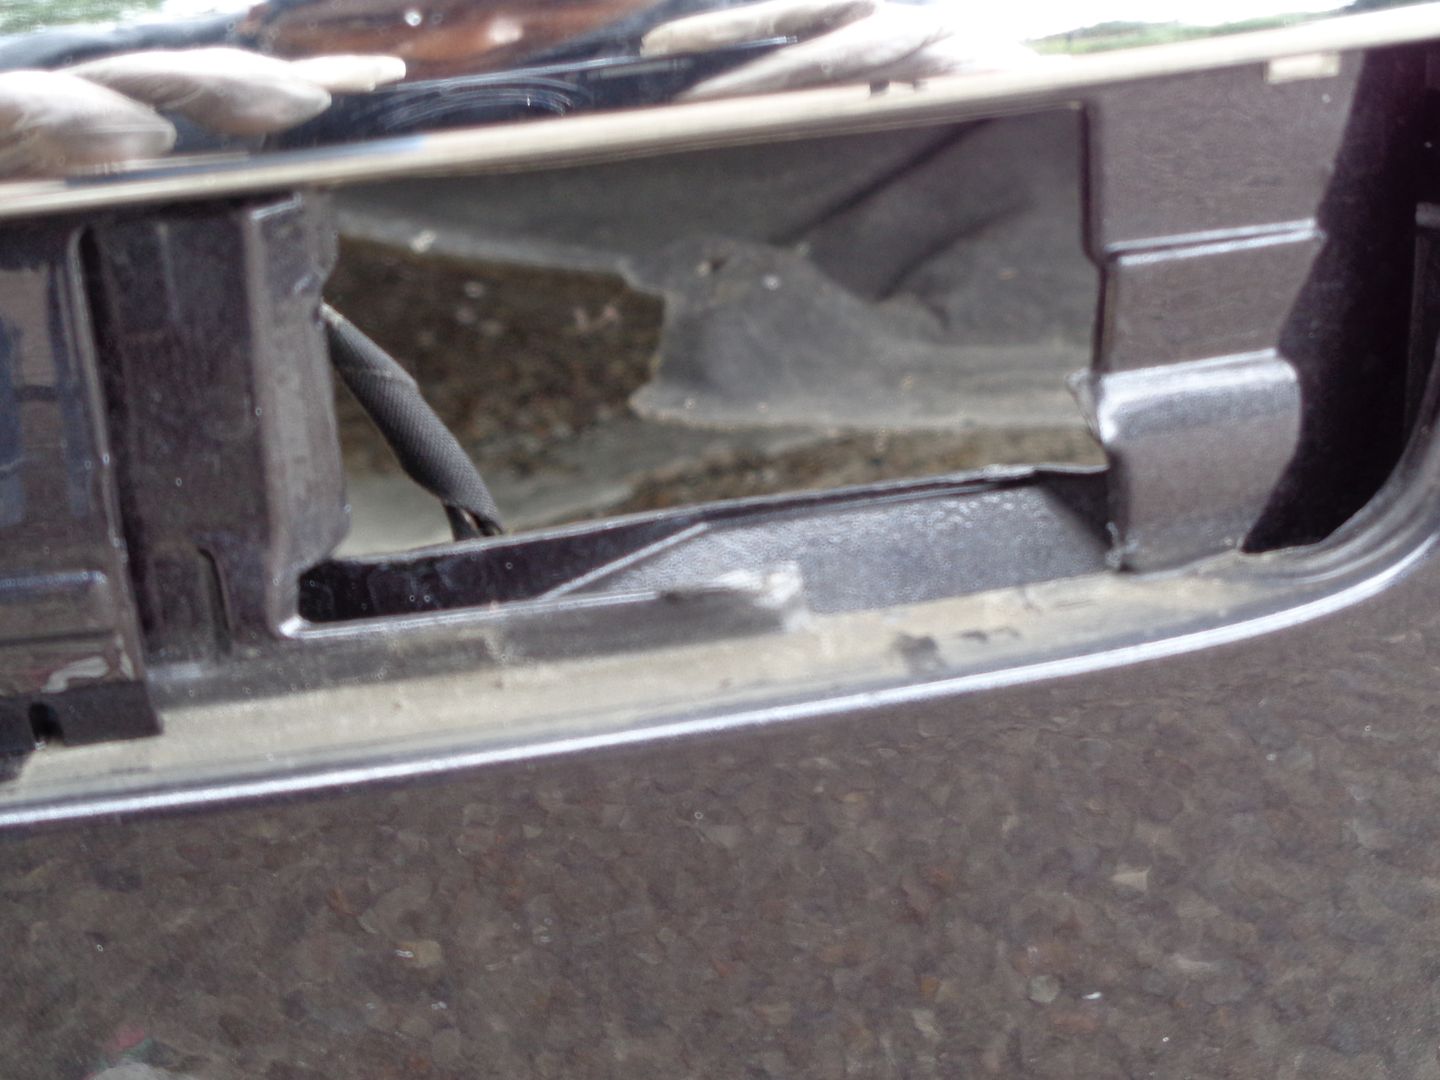 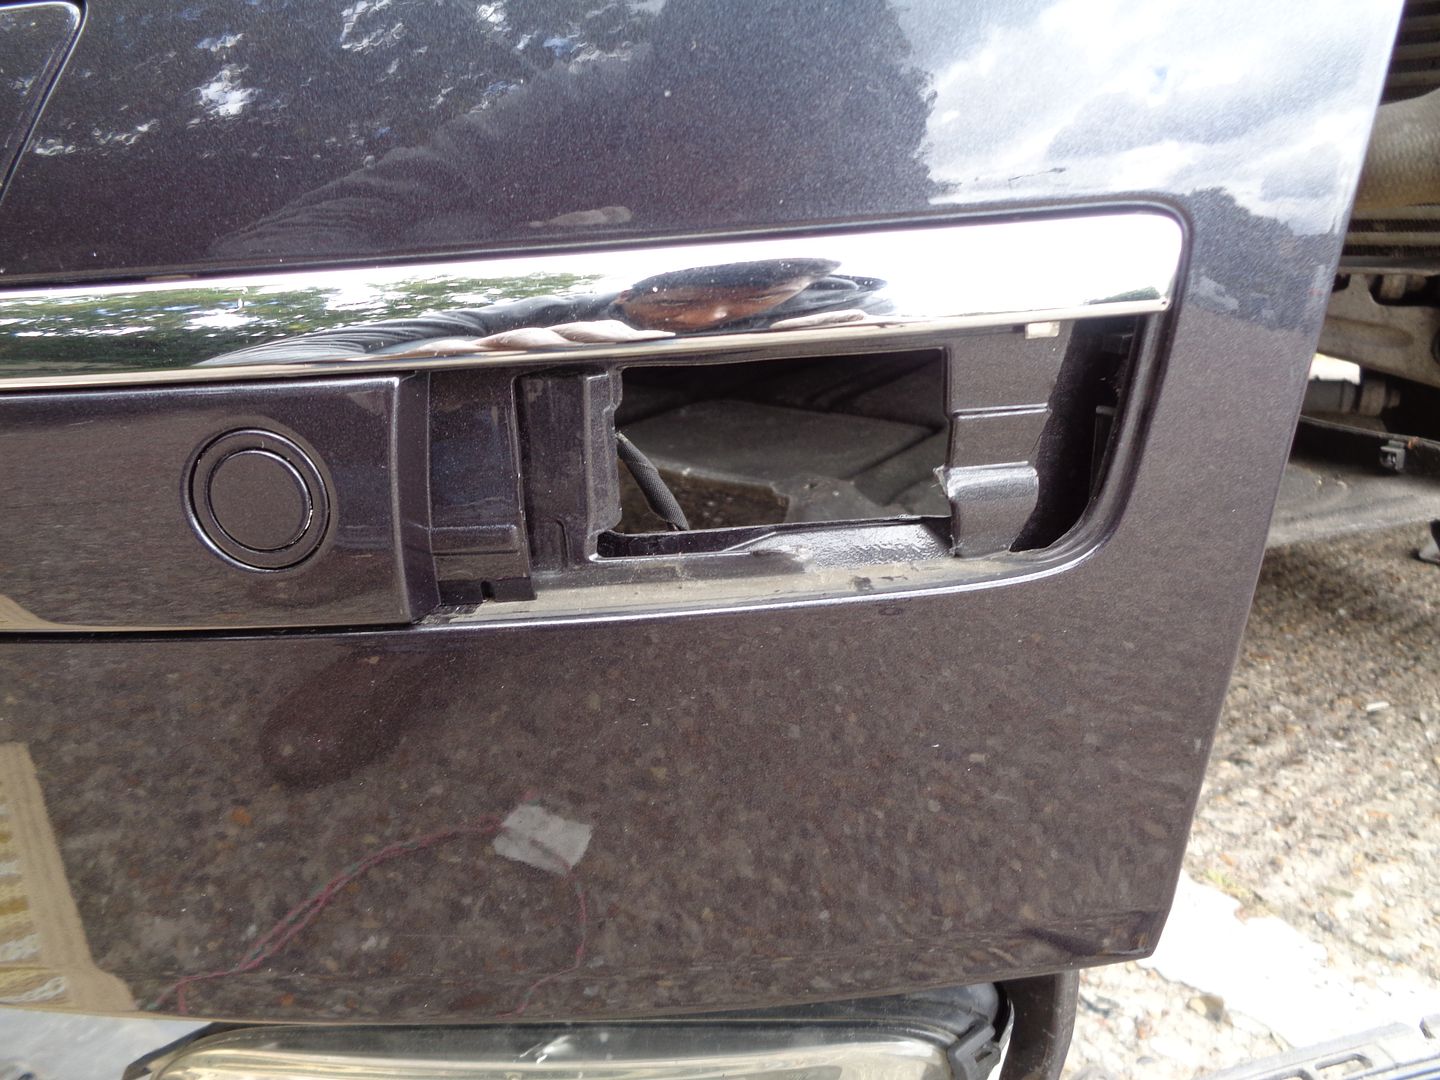 This is how it looks.. 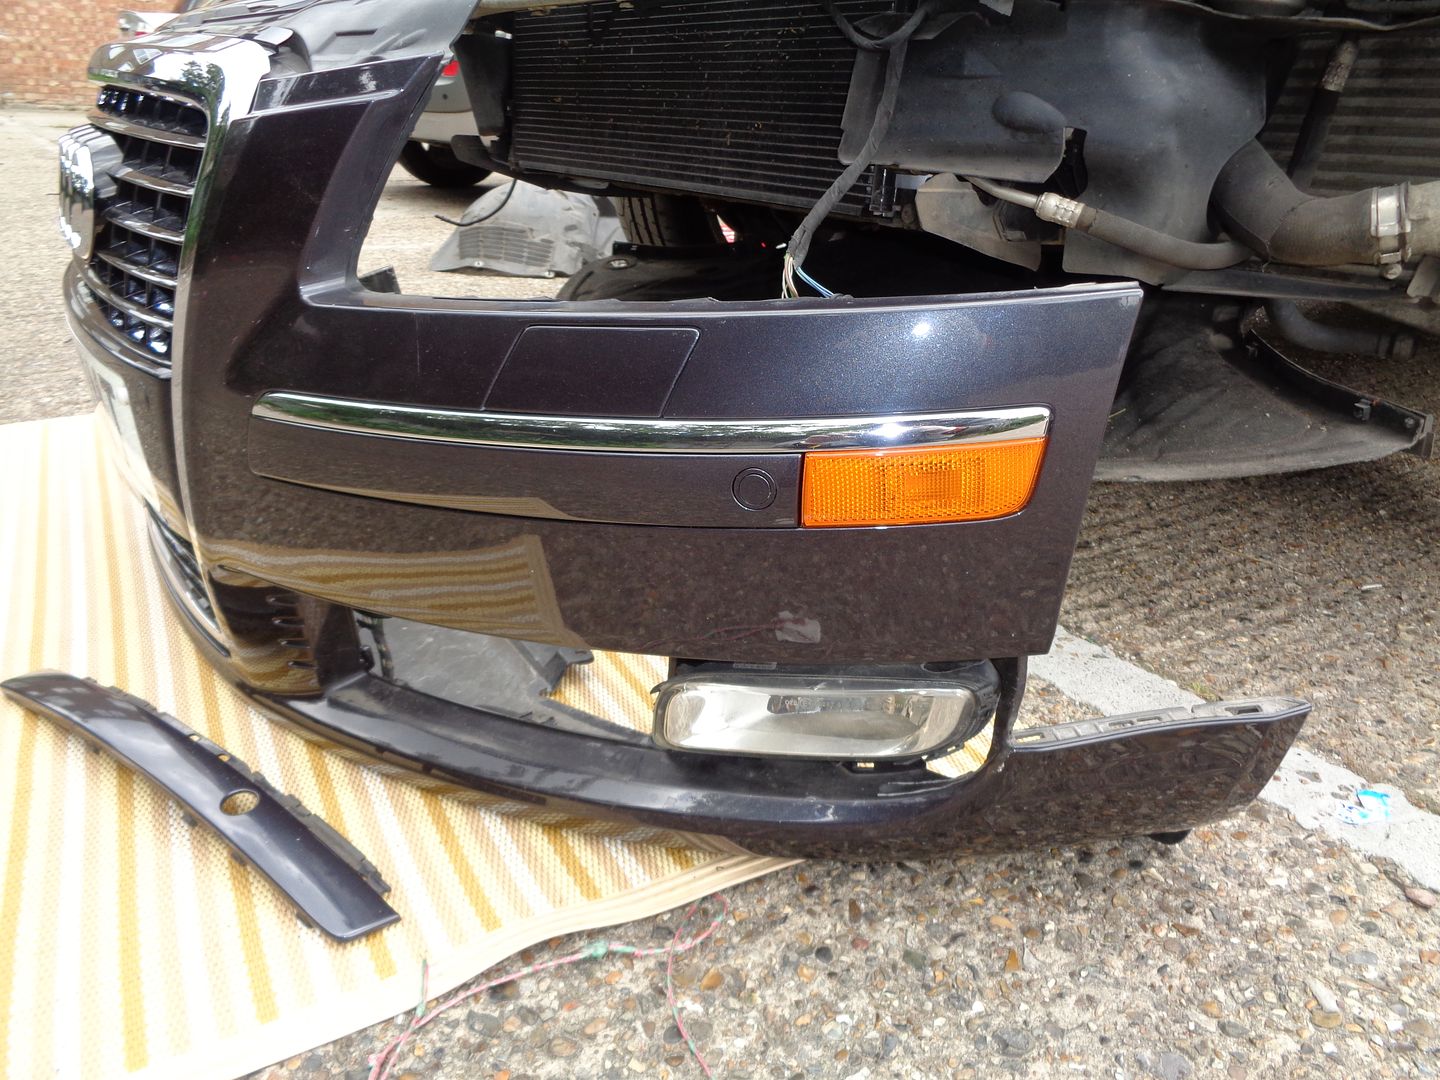  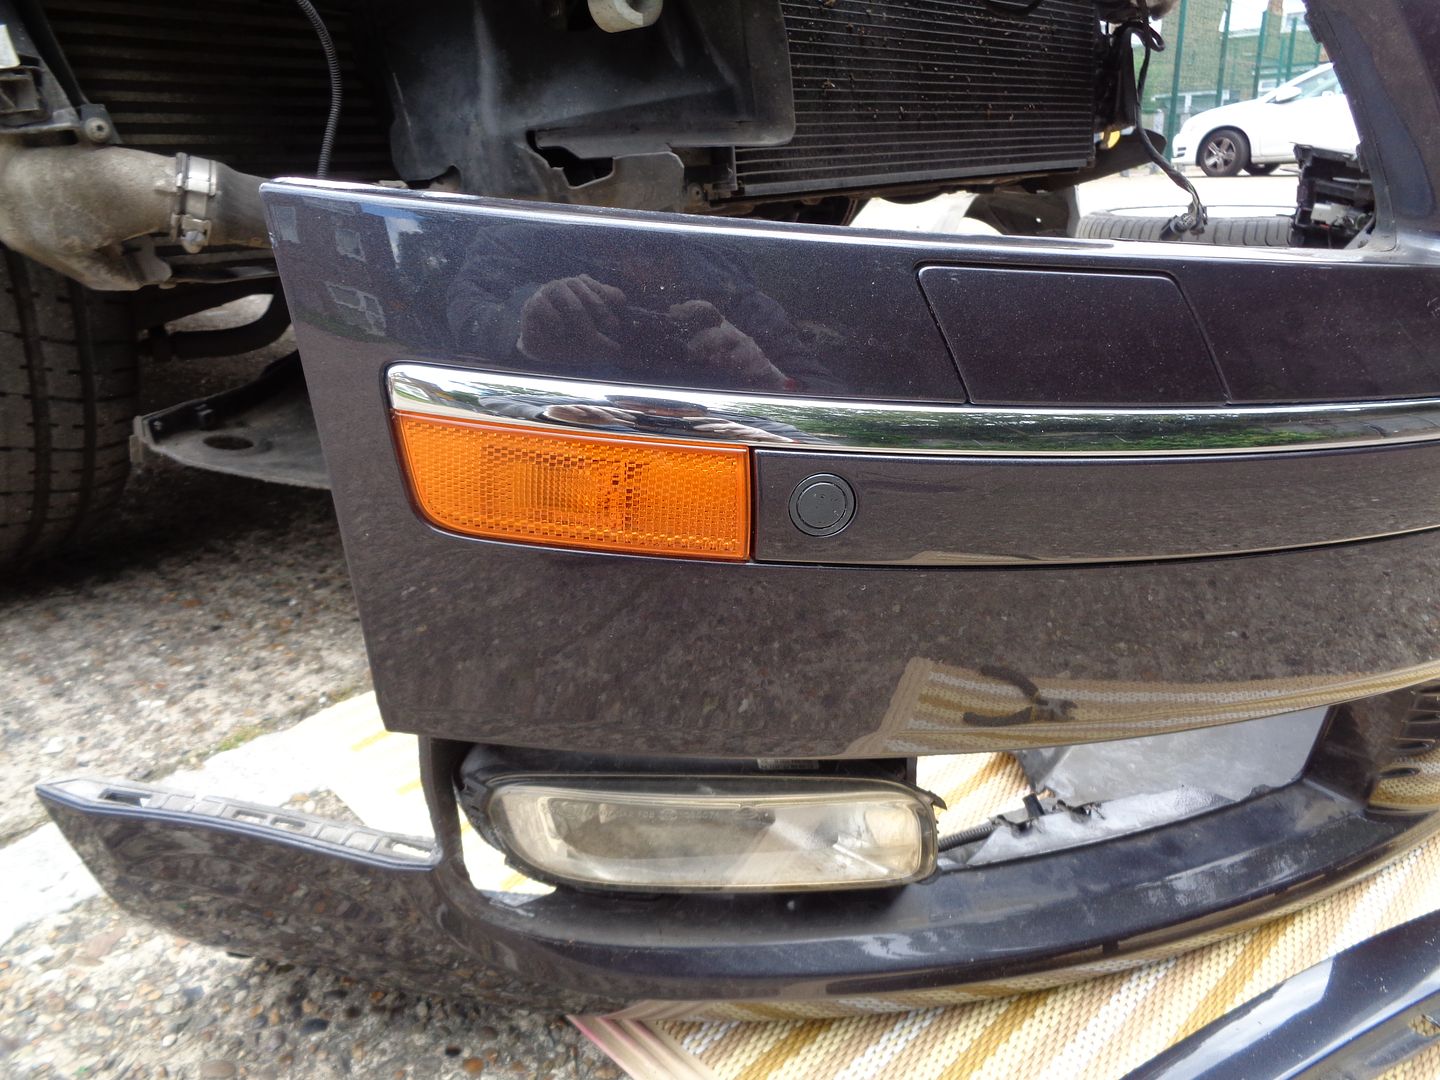 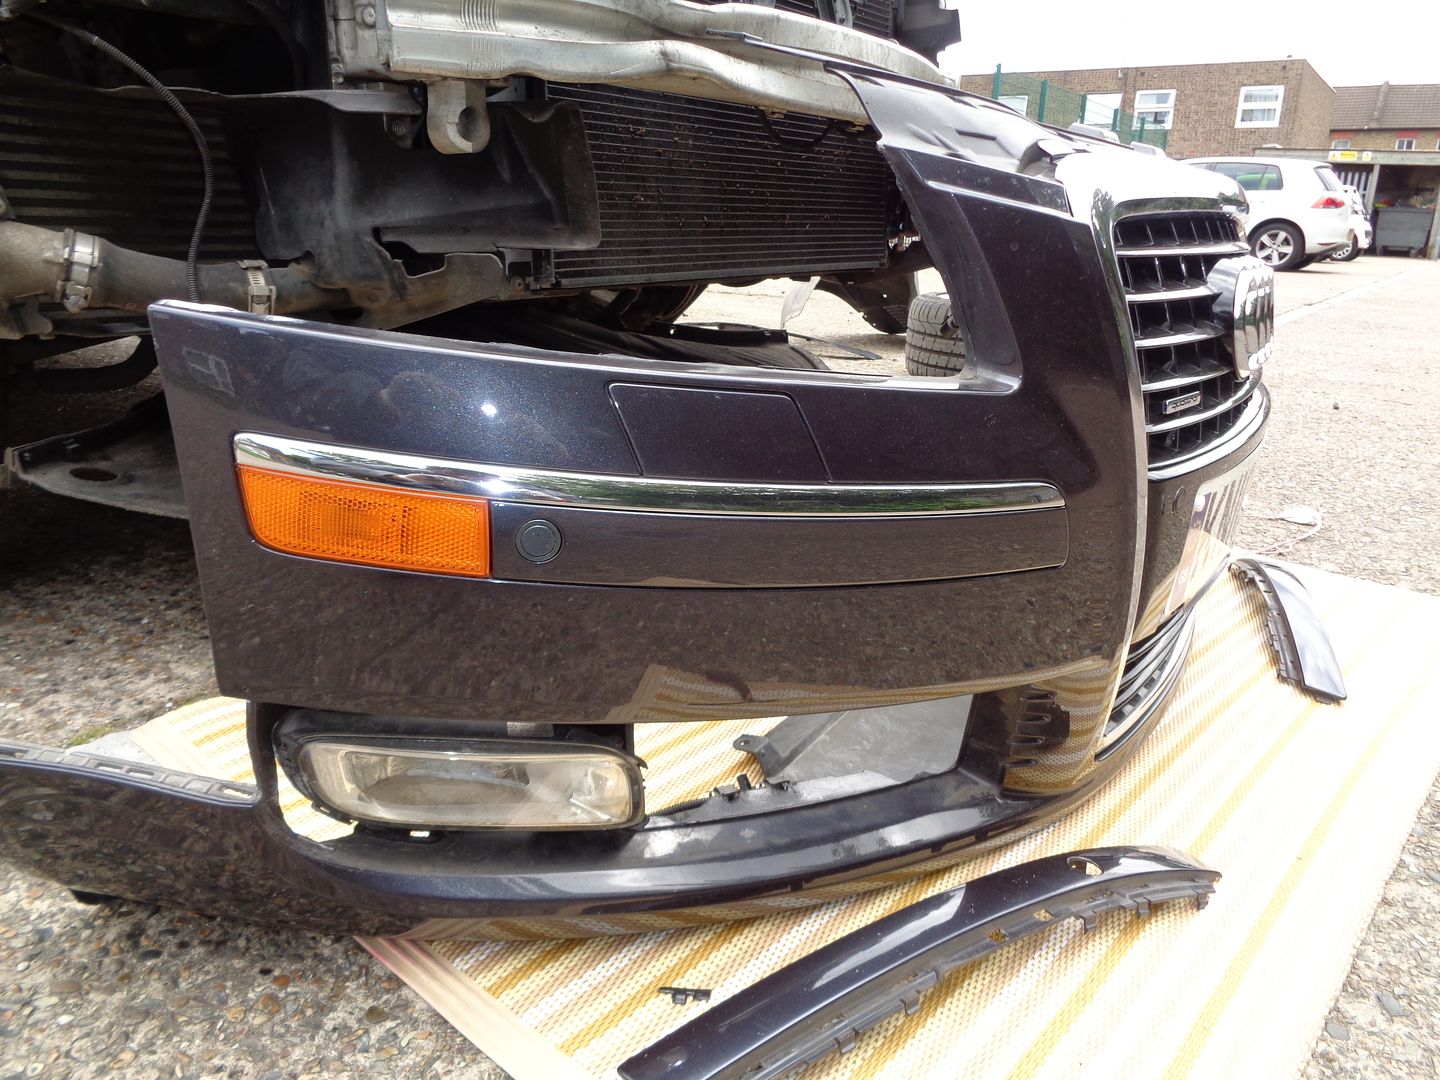 Running the wiring in place and setting up the connections in the 10 pin housing then routing the wiring to the grommet 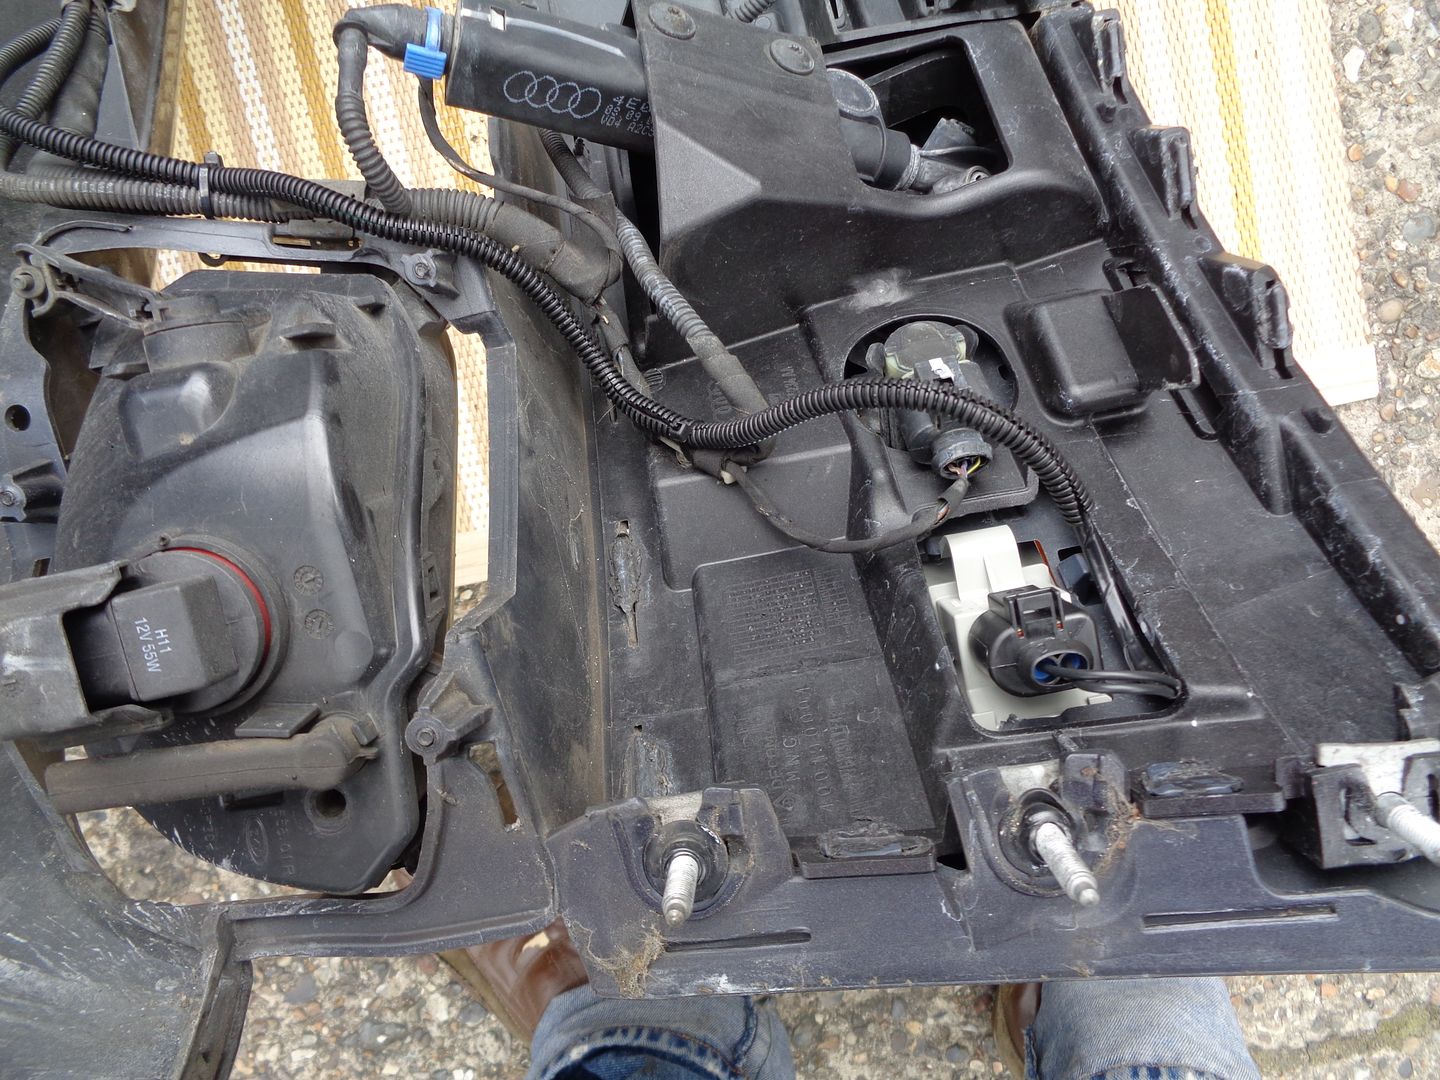 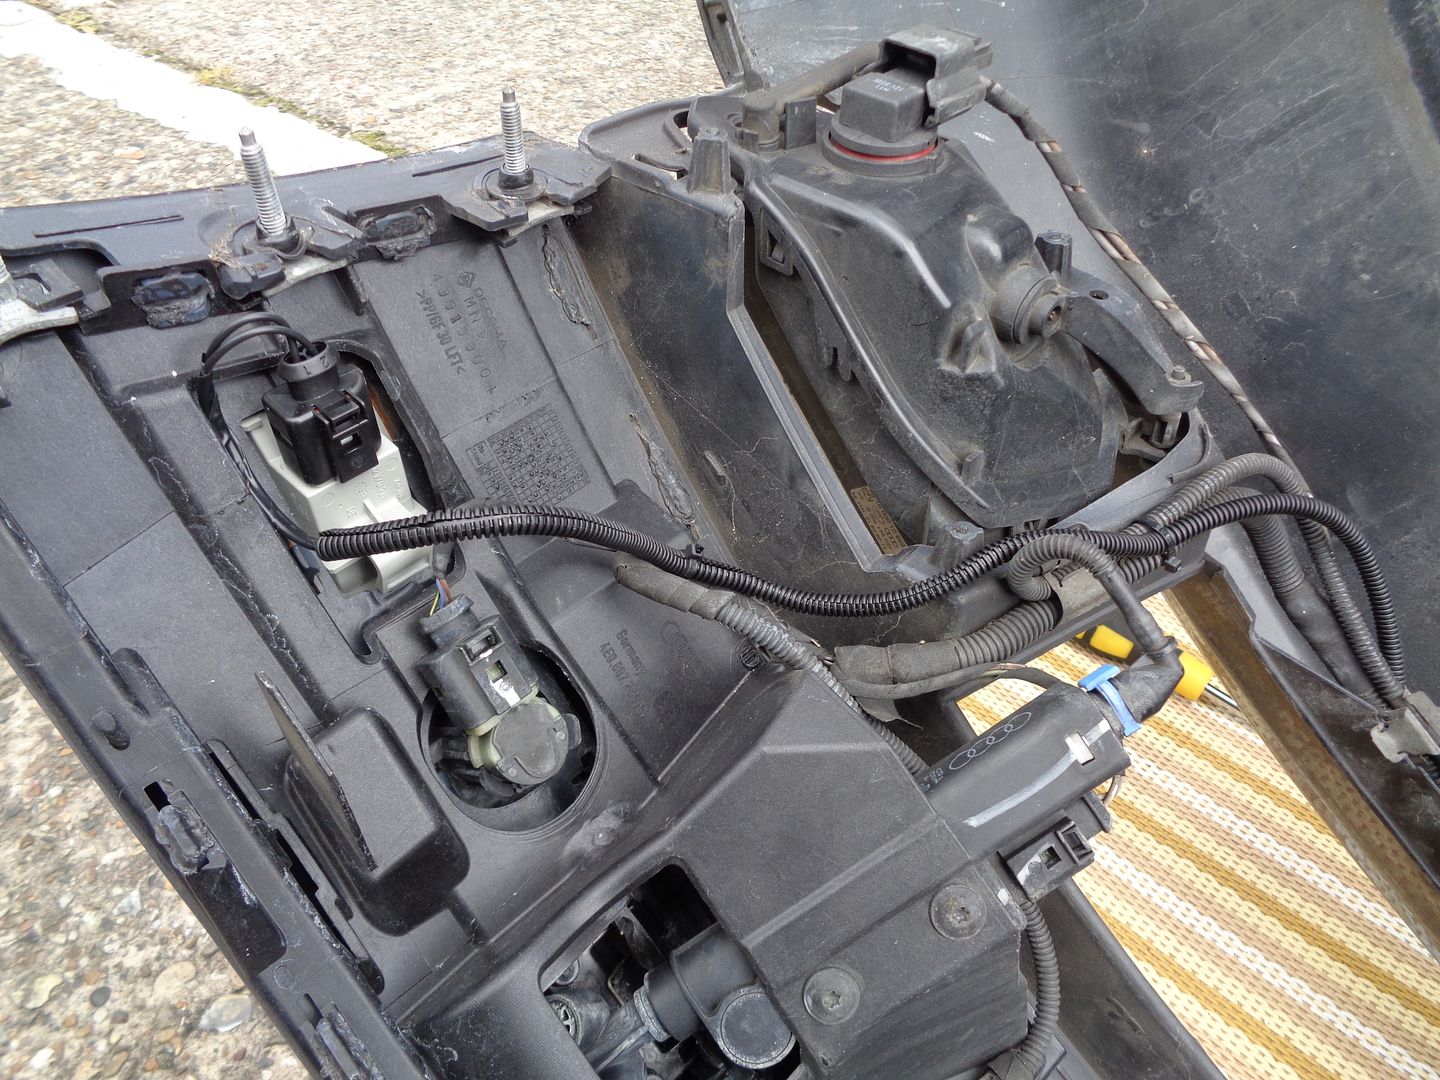 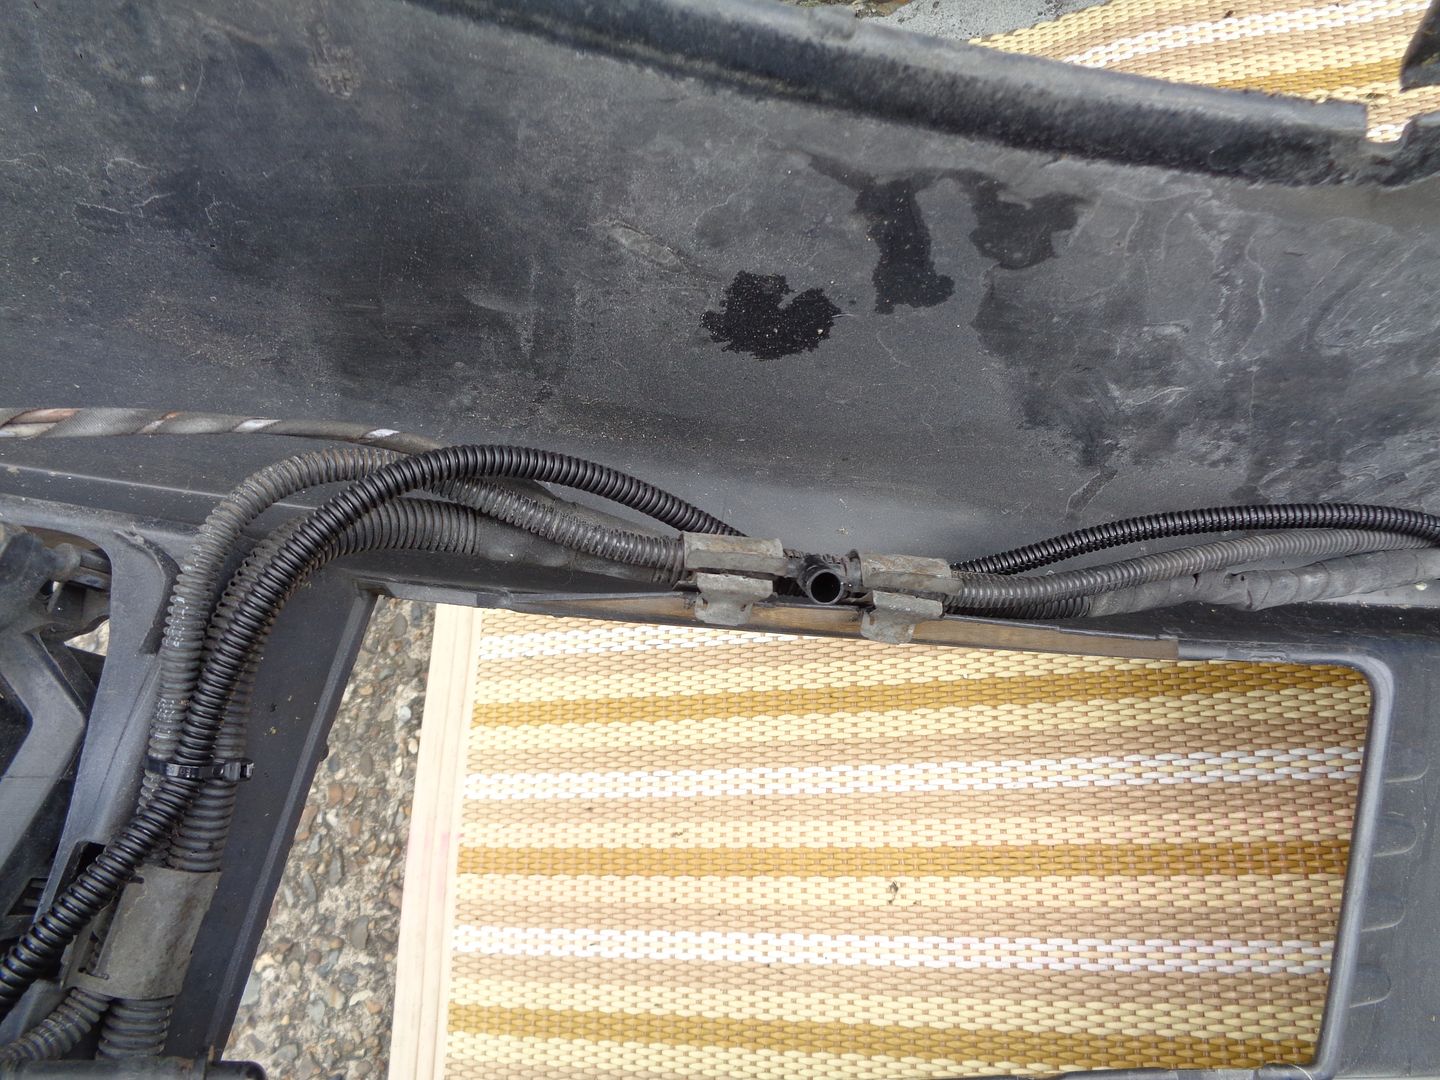 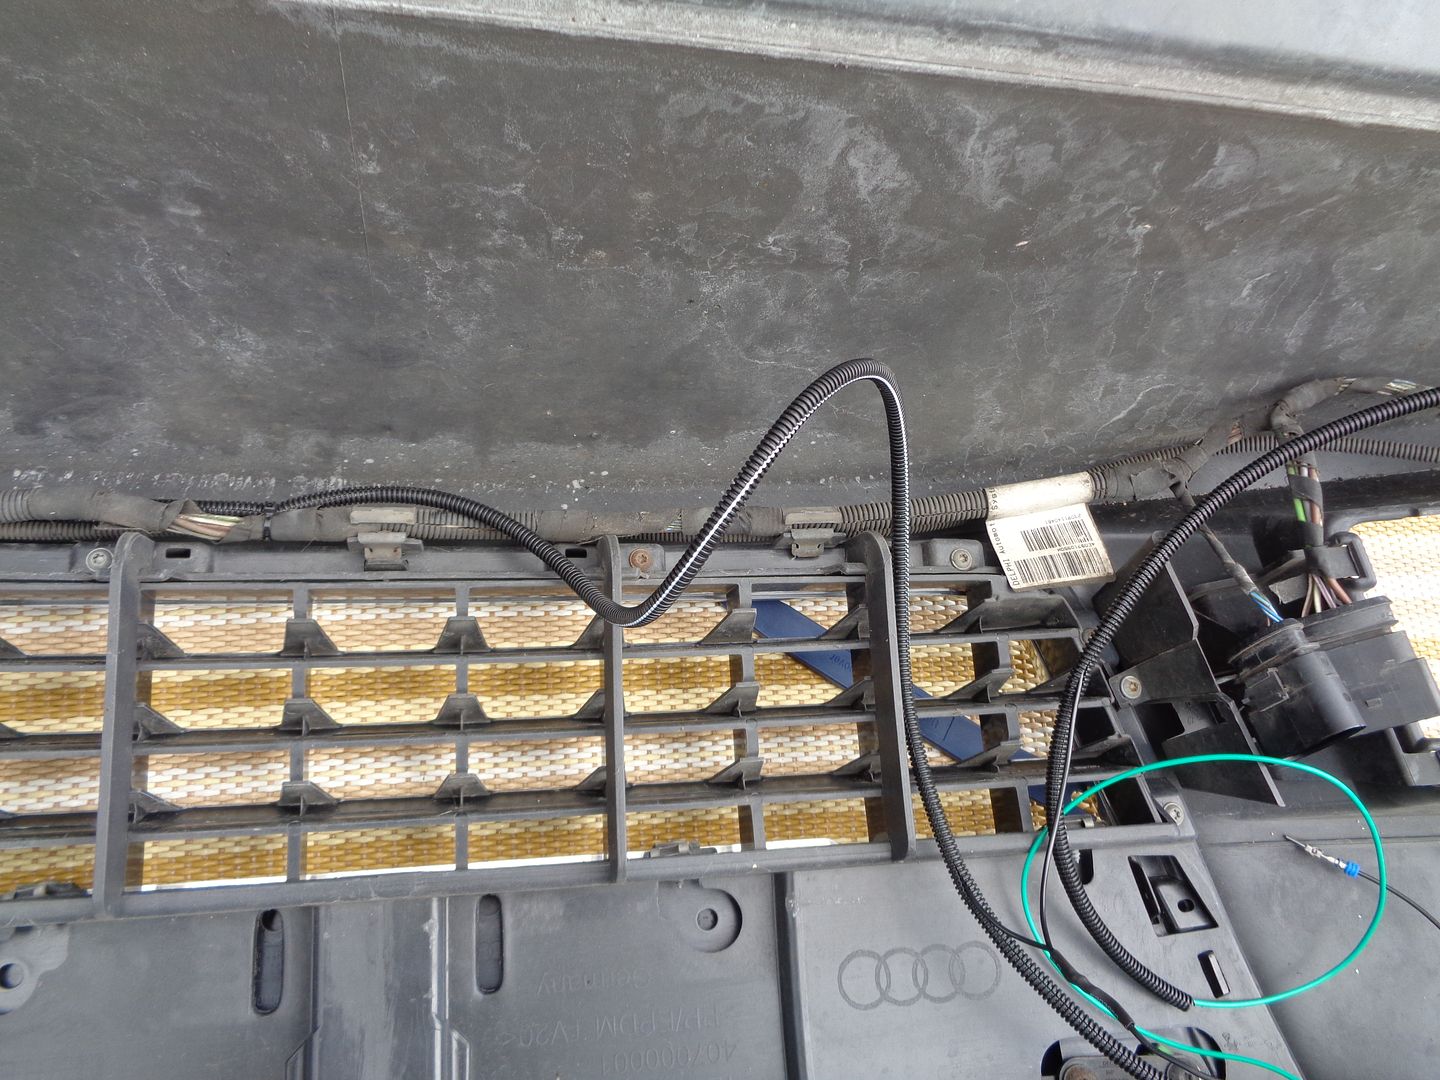 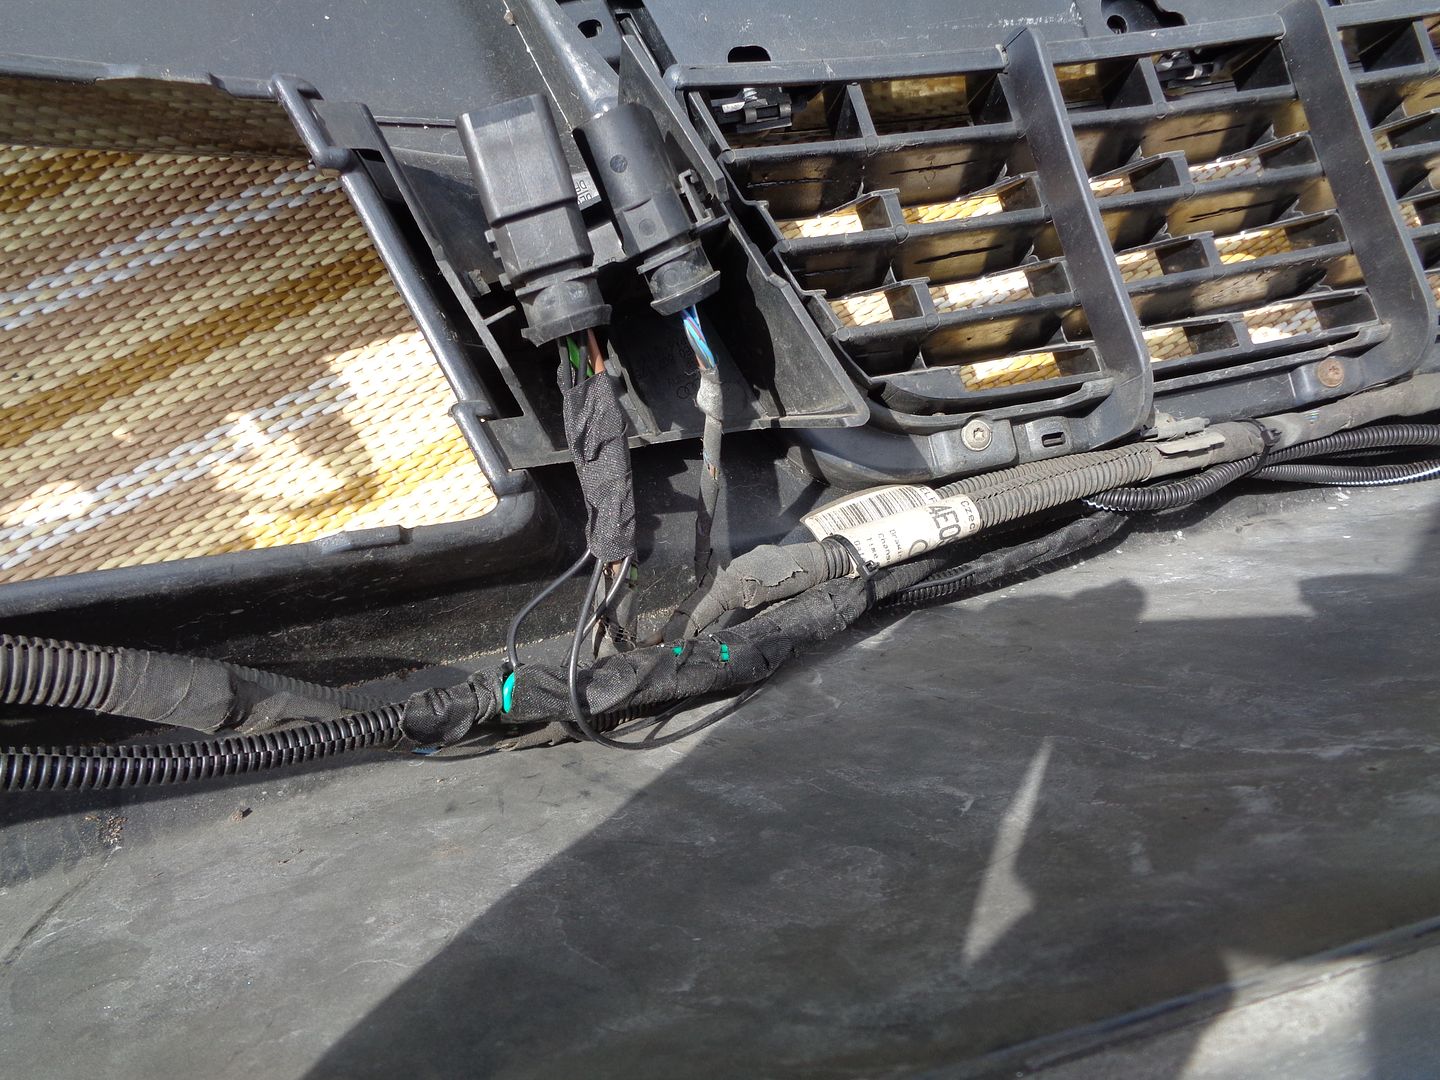 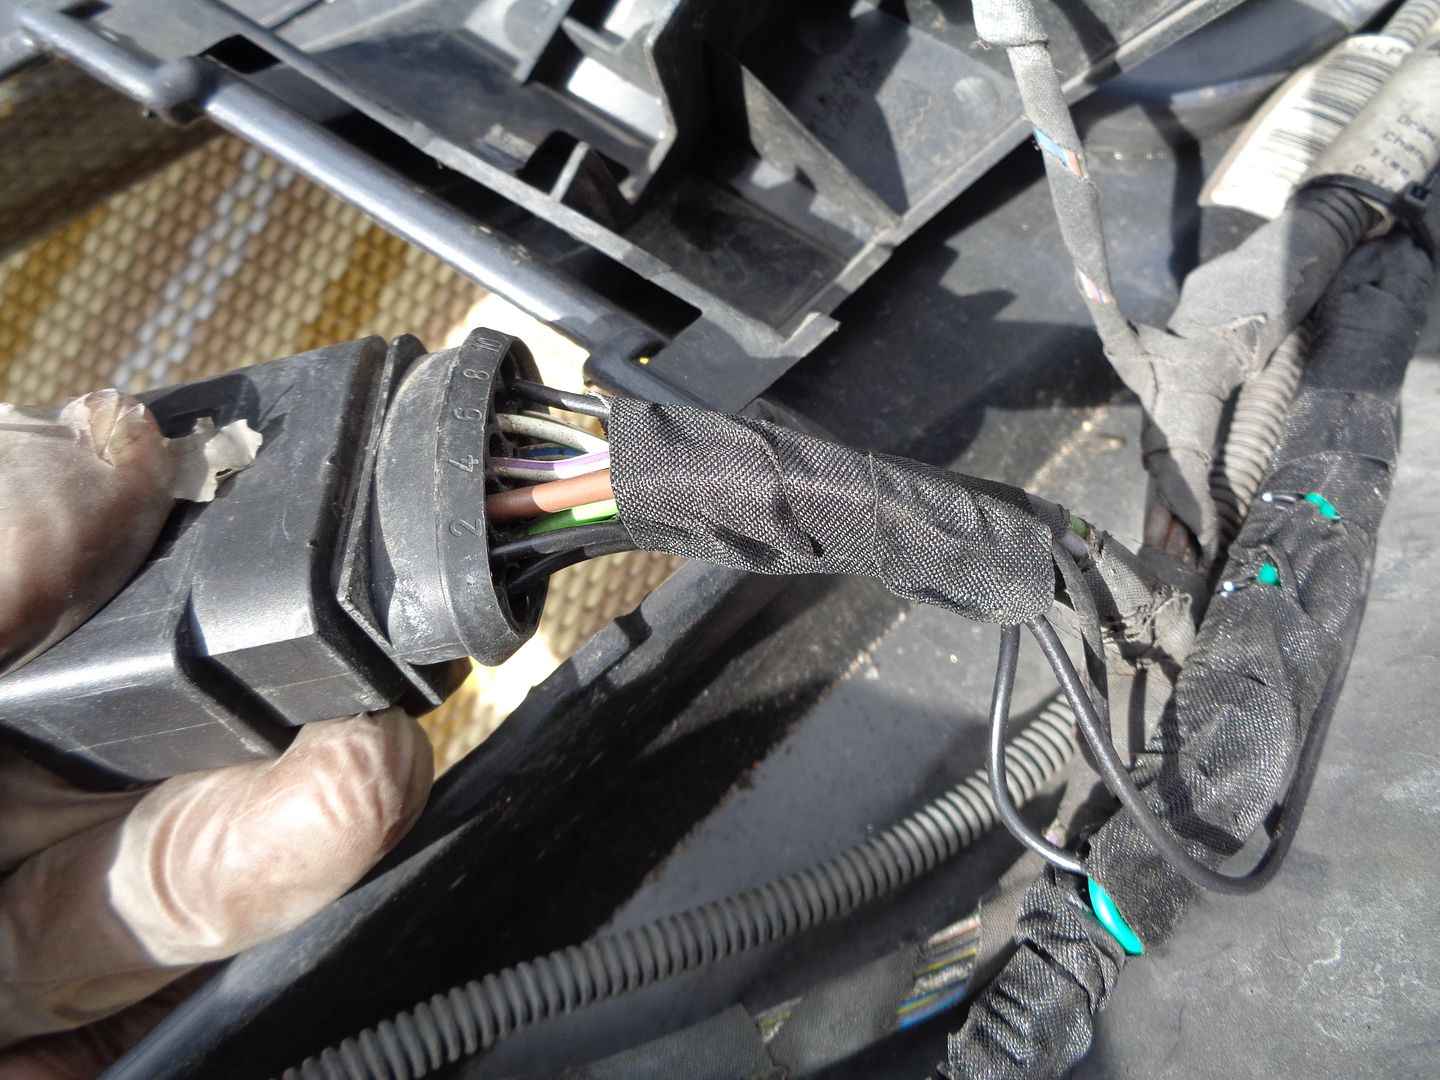 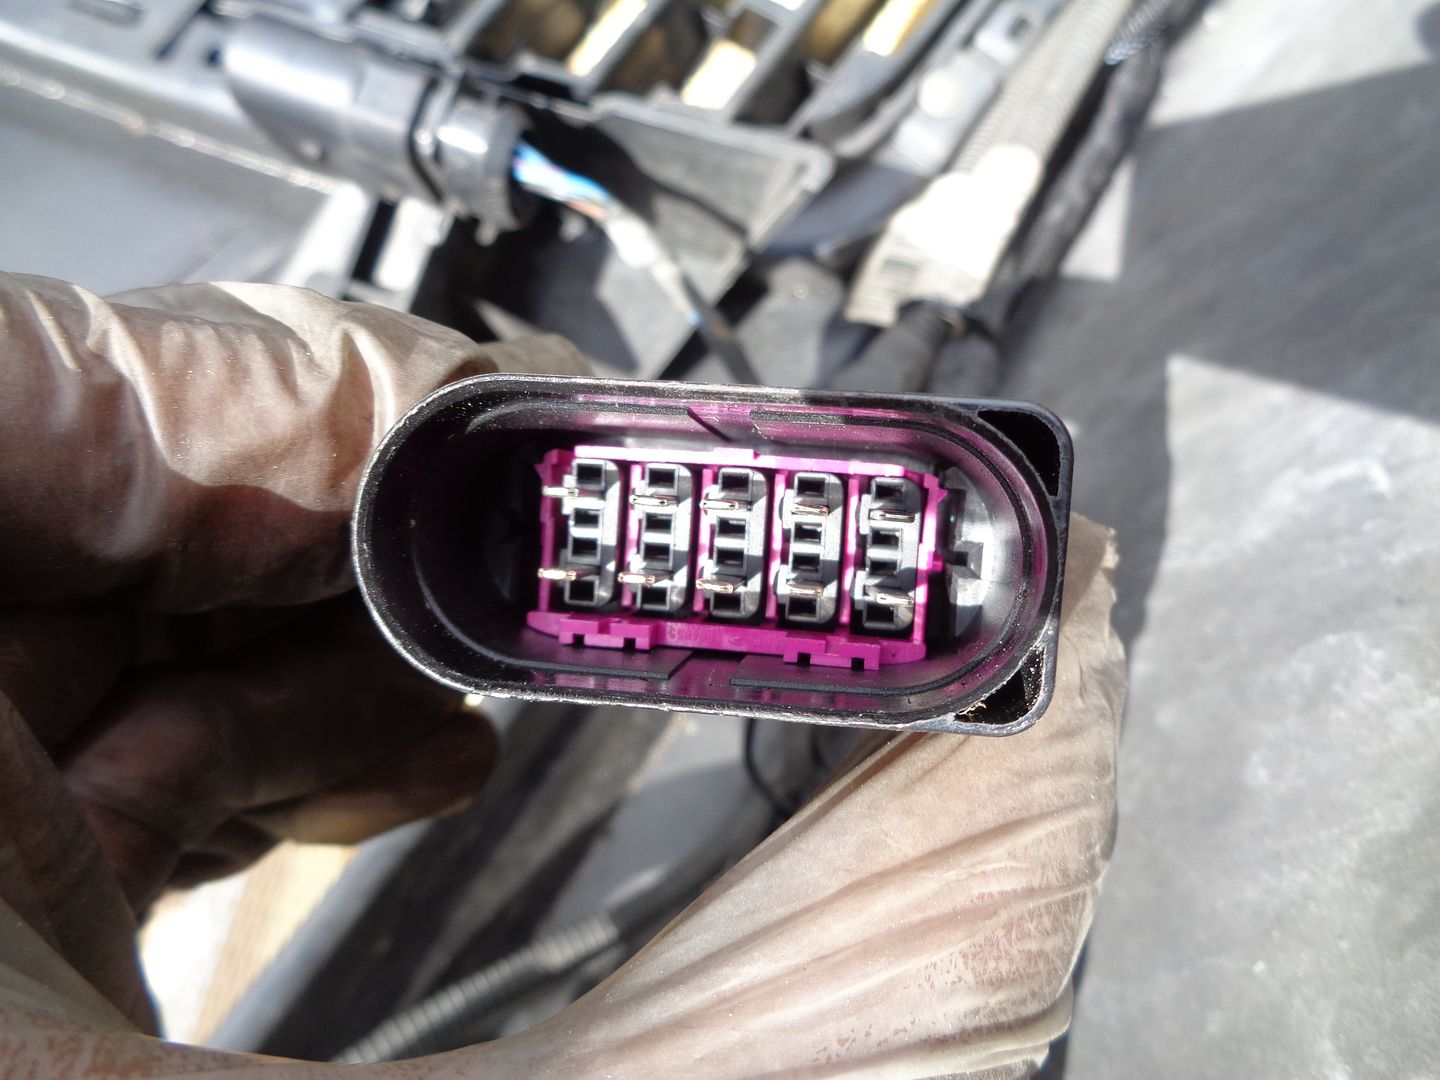  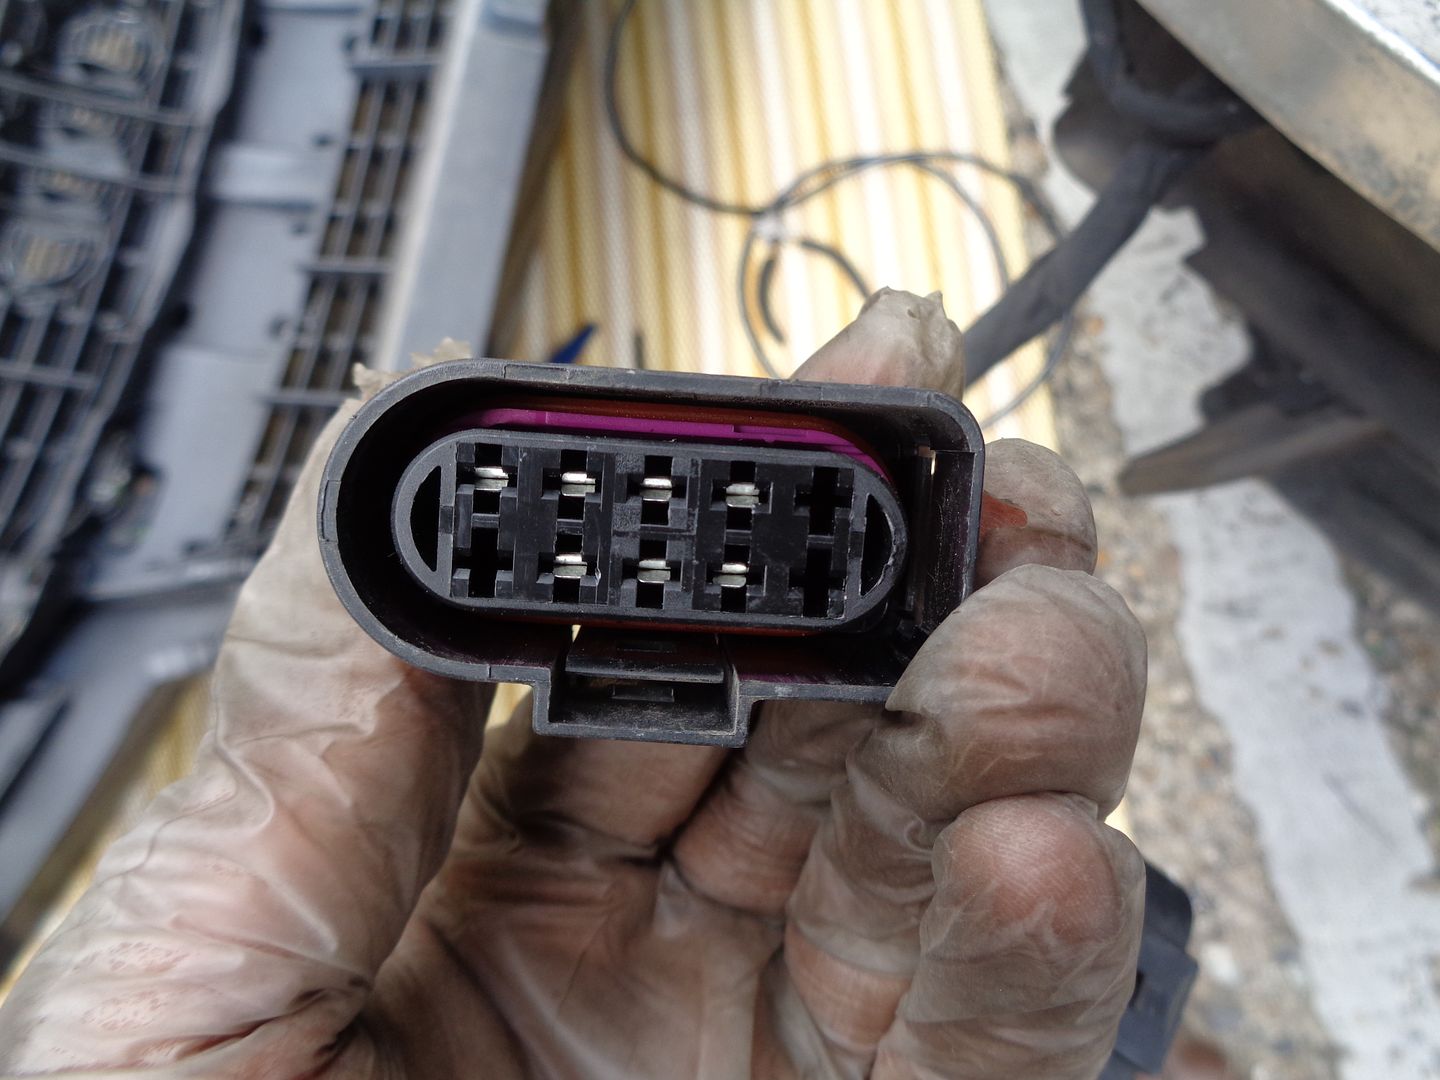 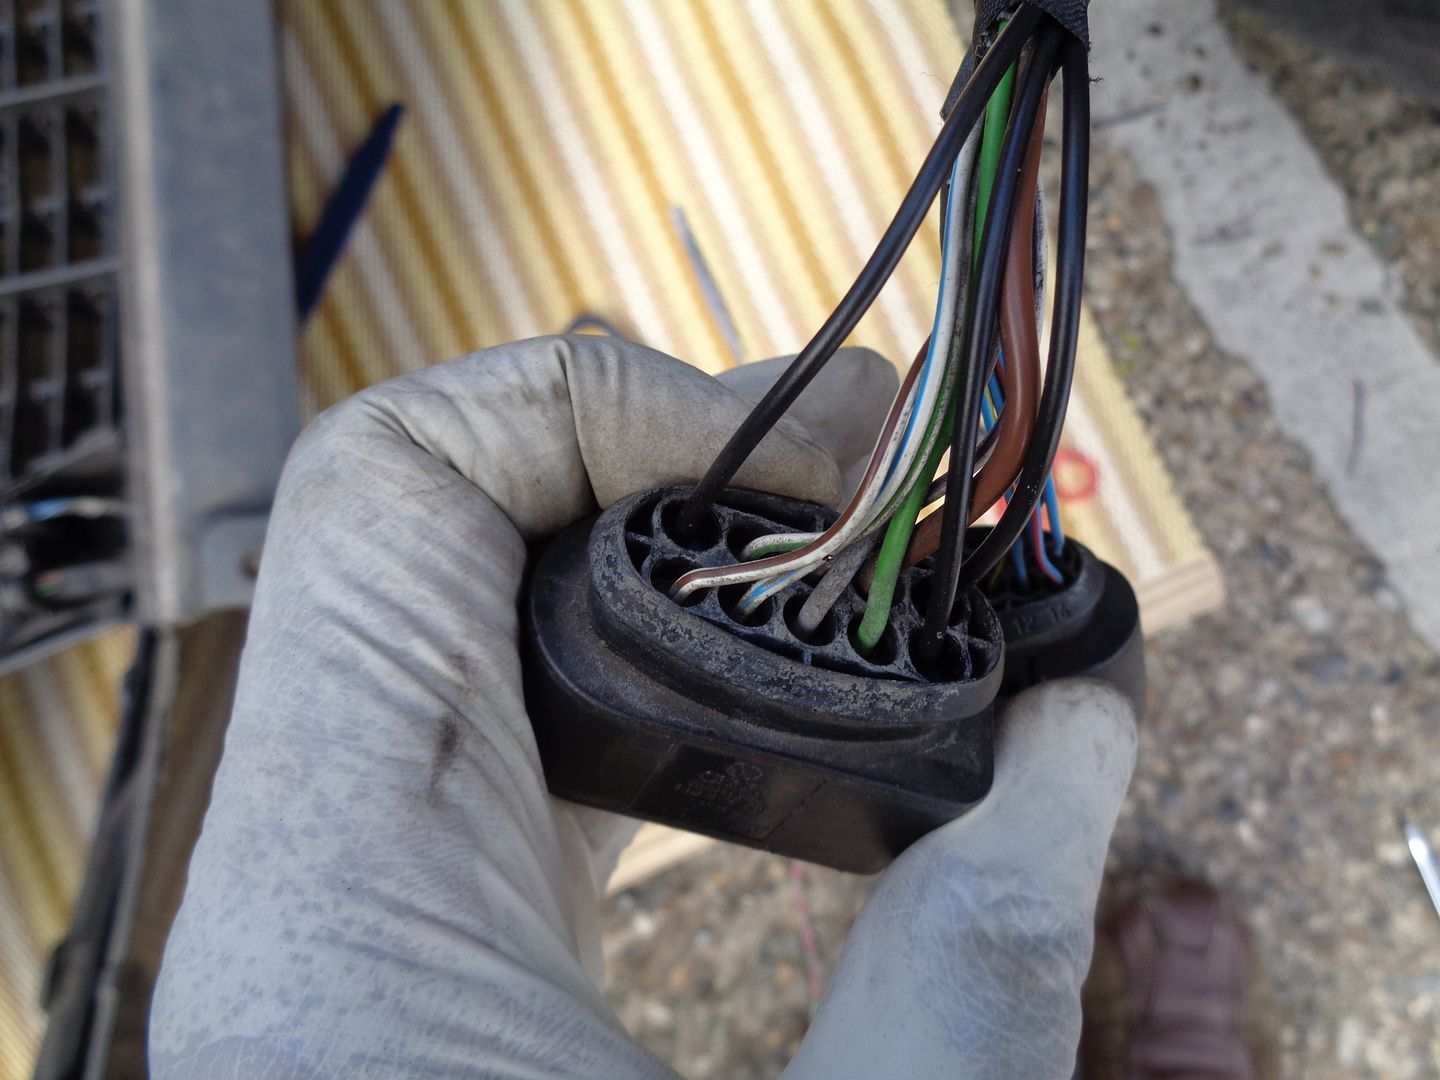 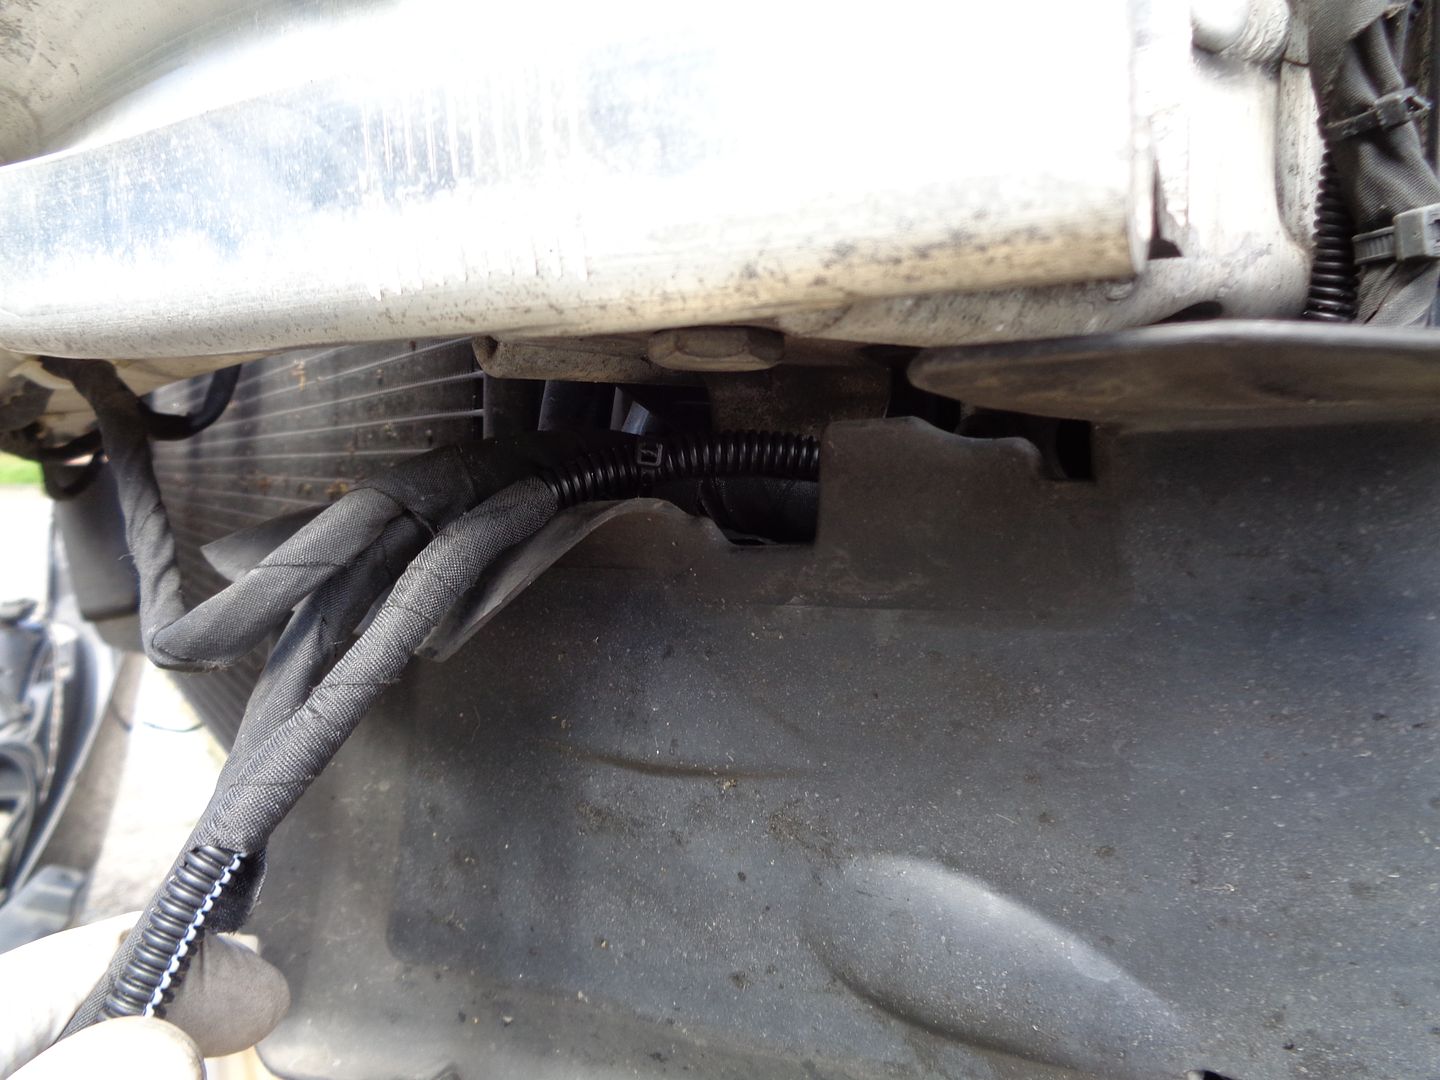 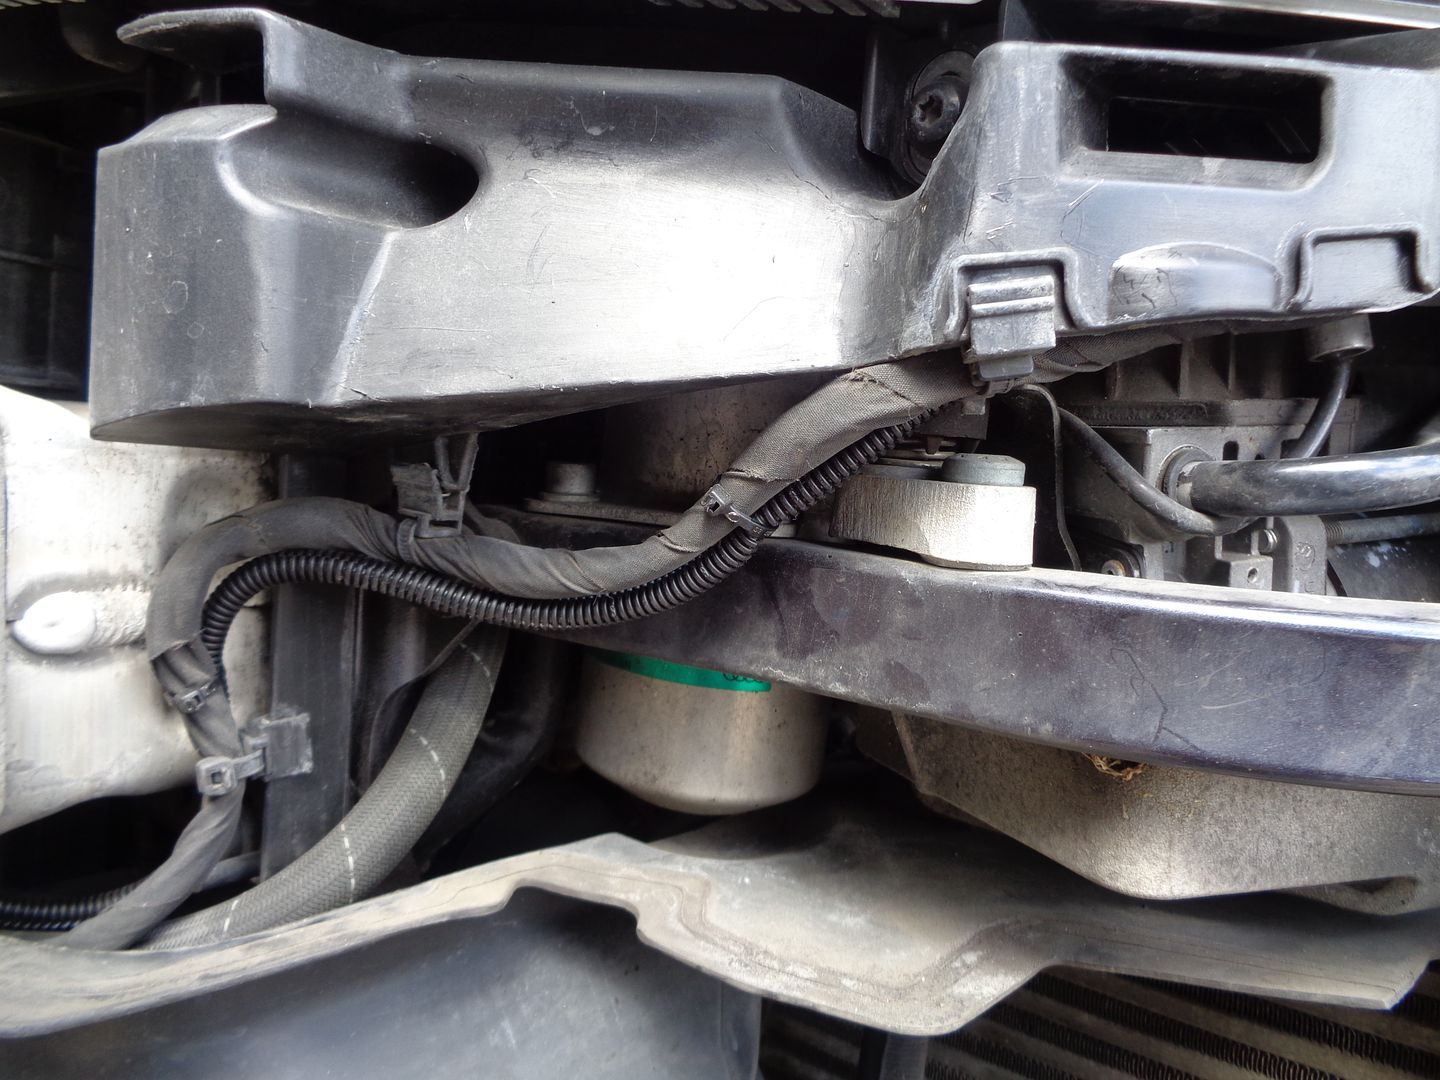 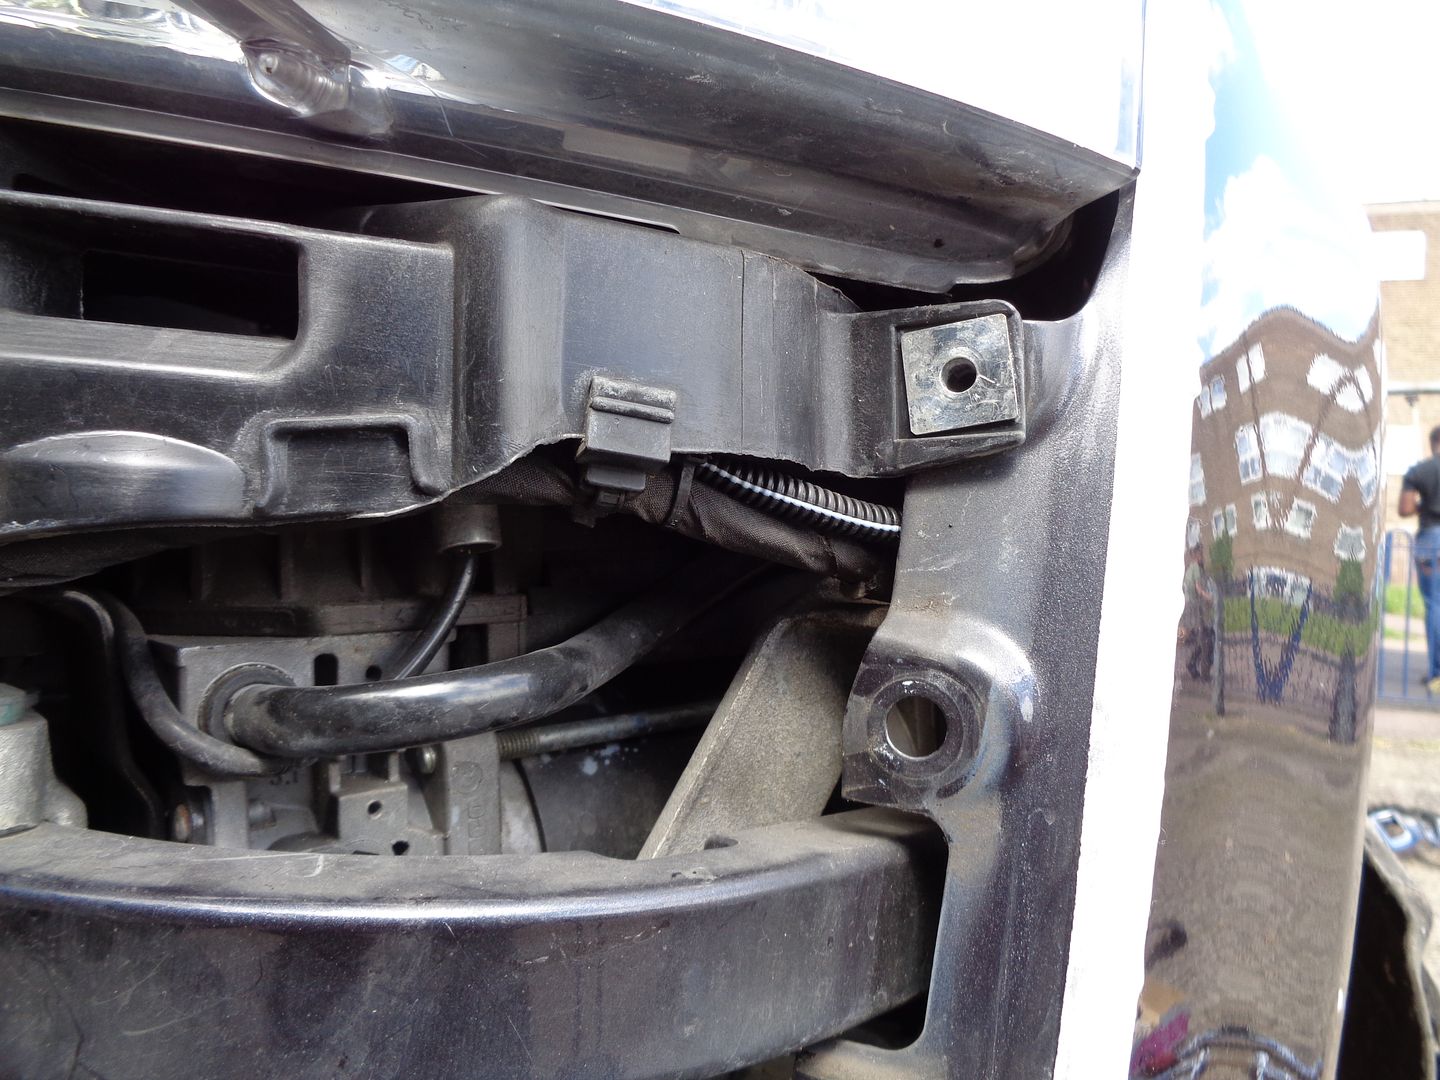 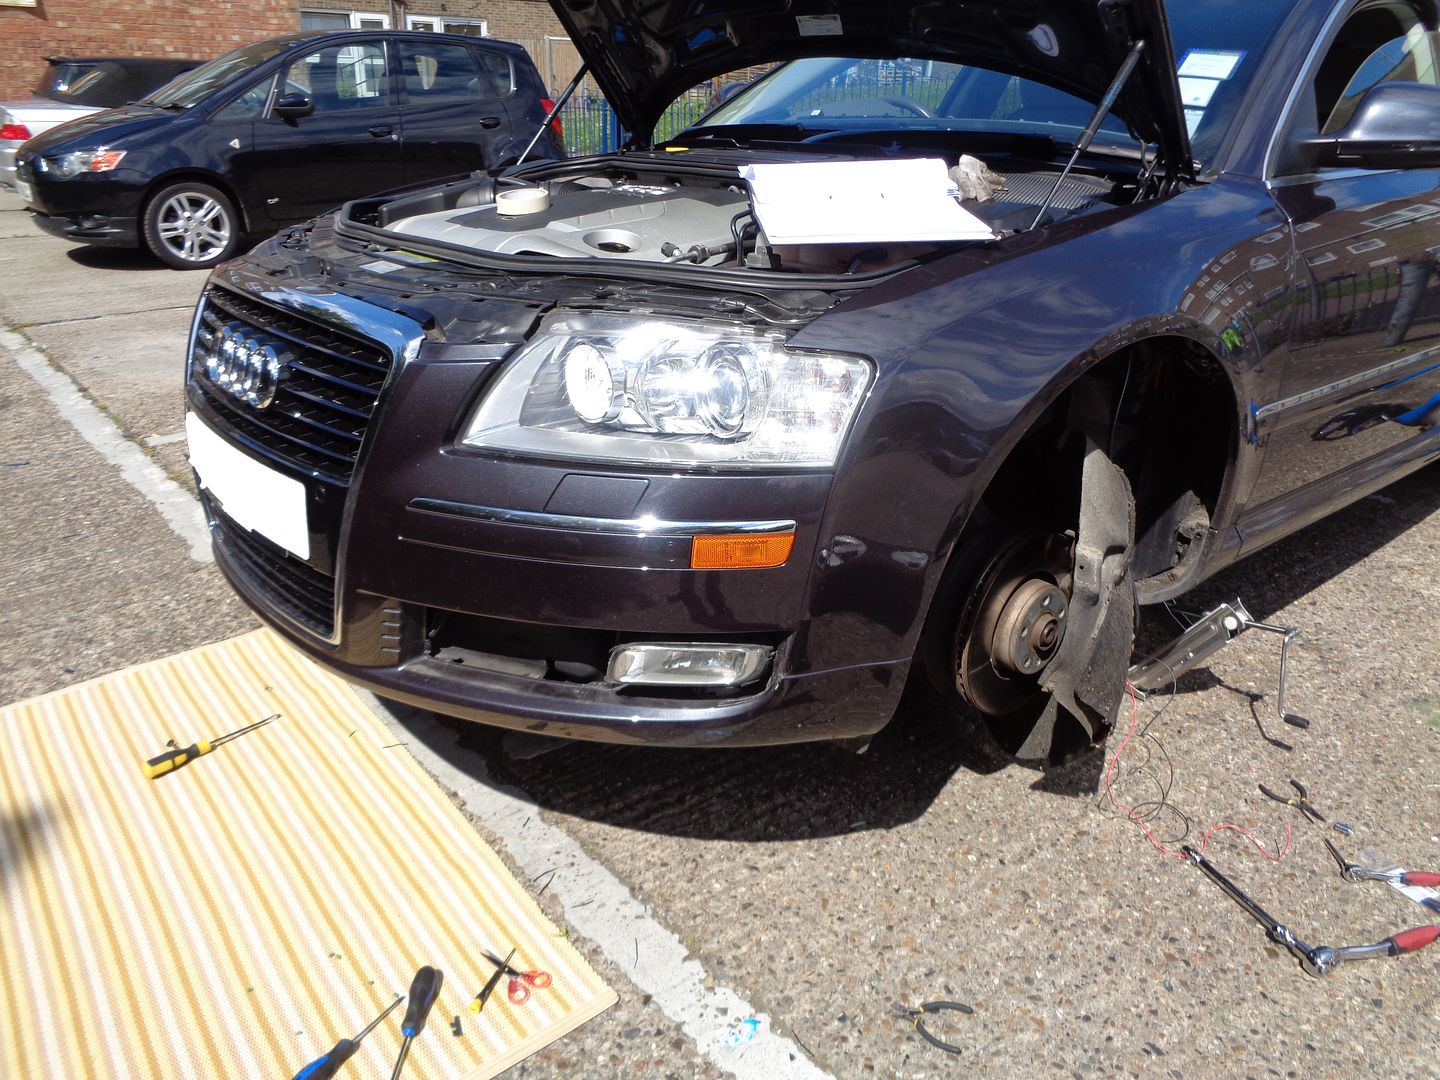 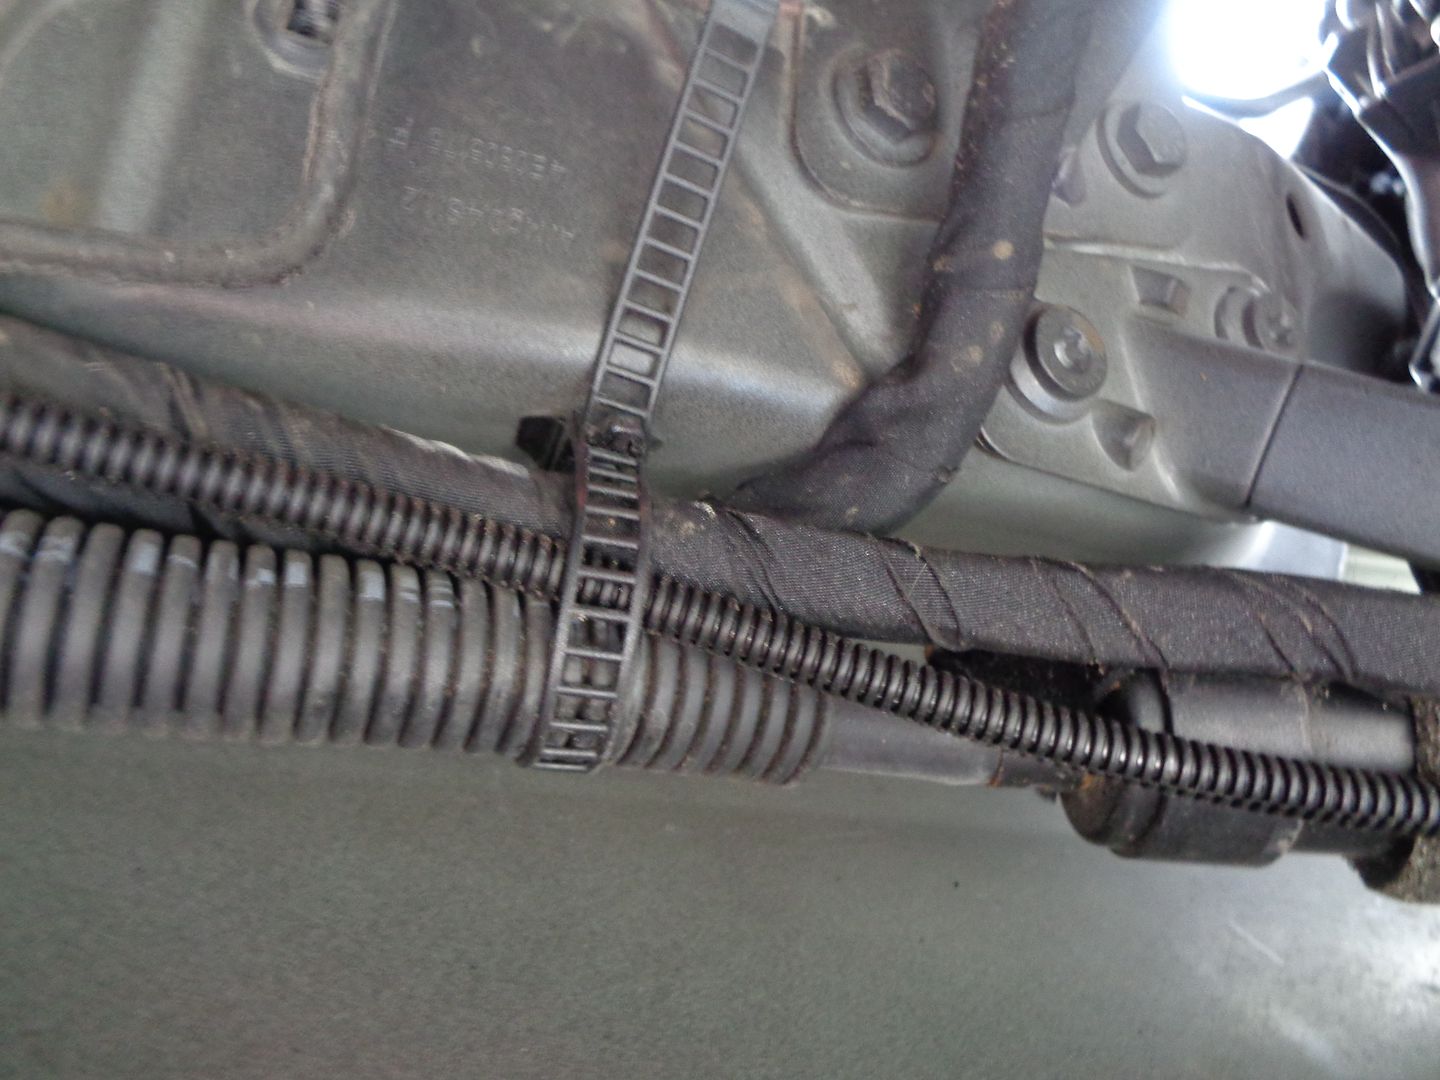 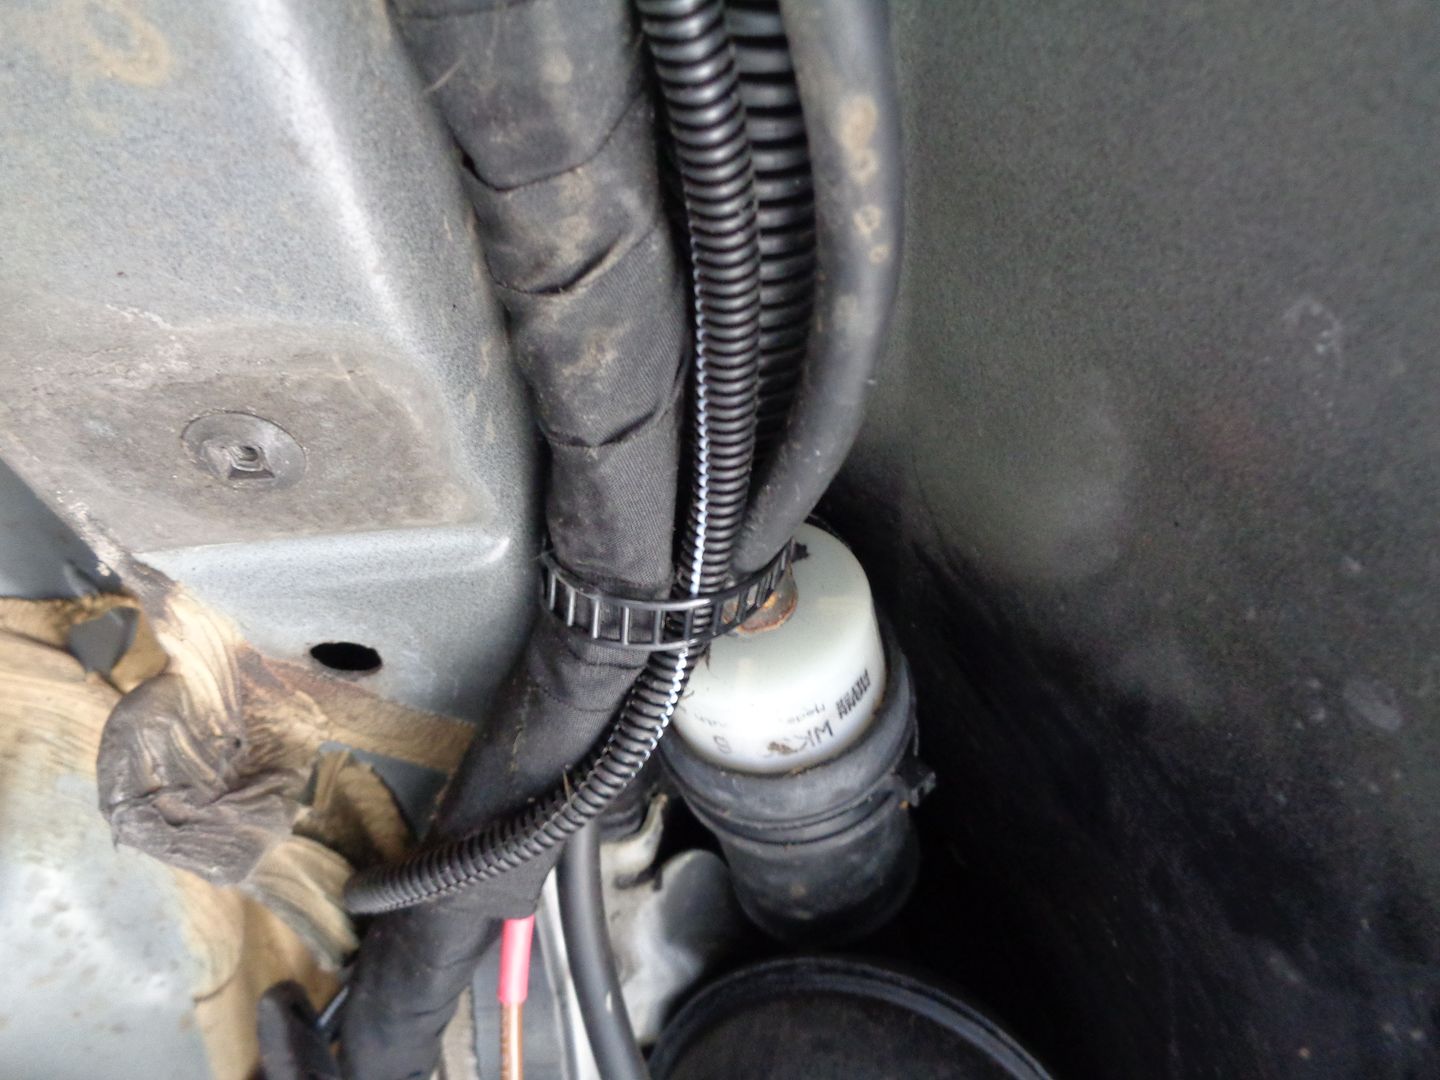 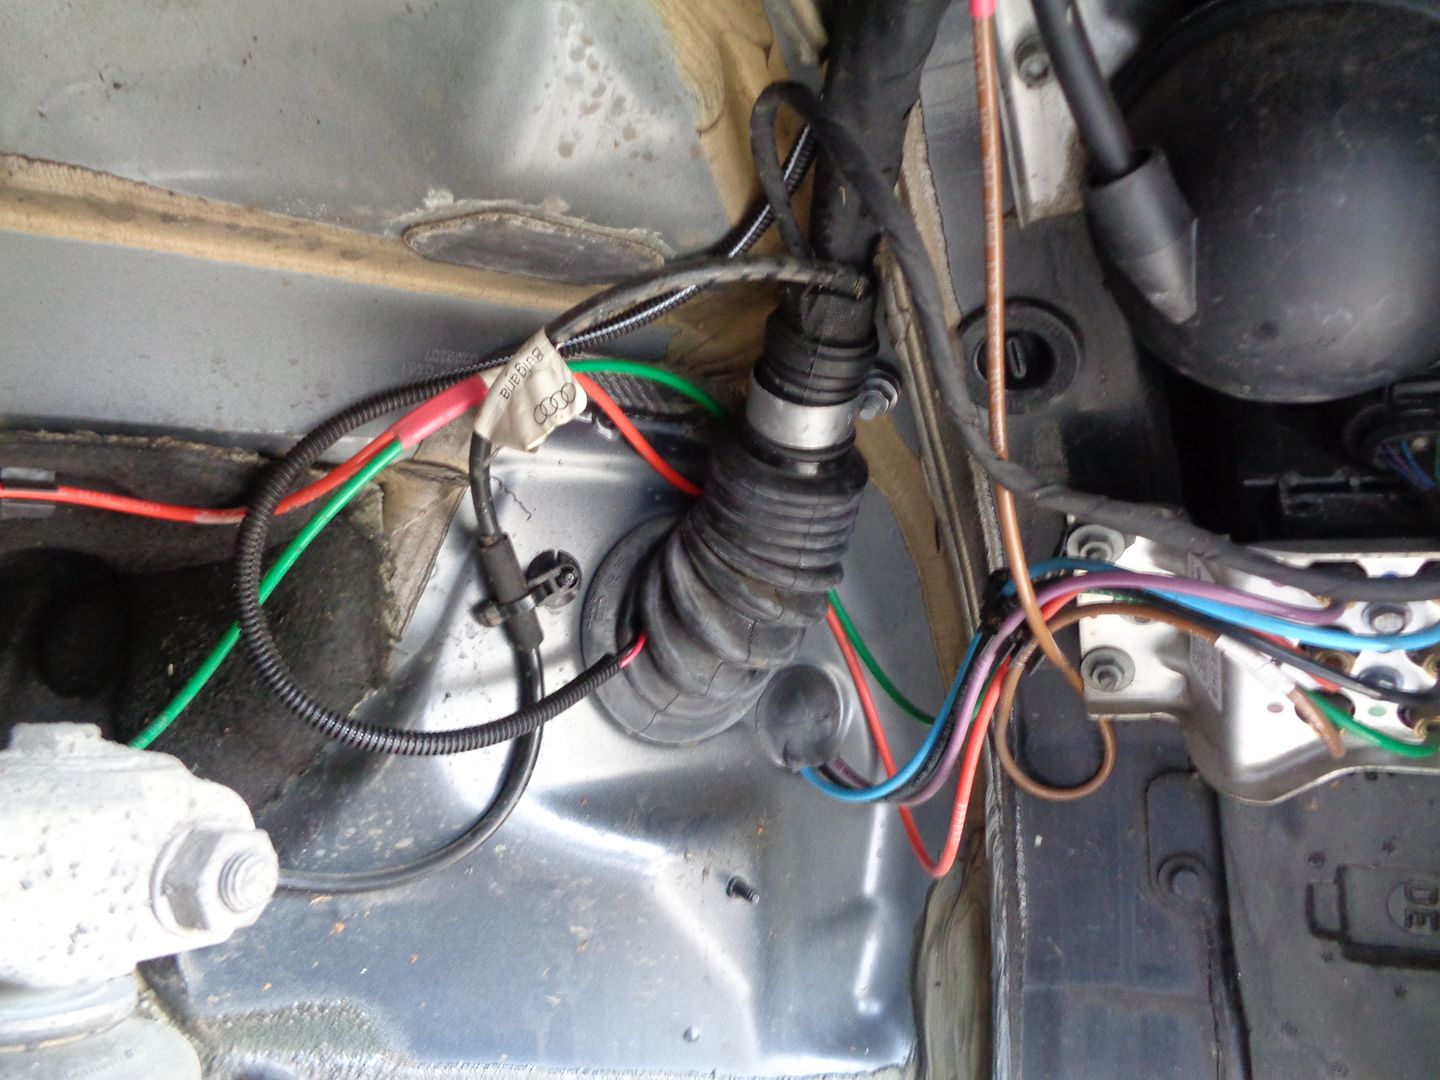 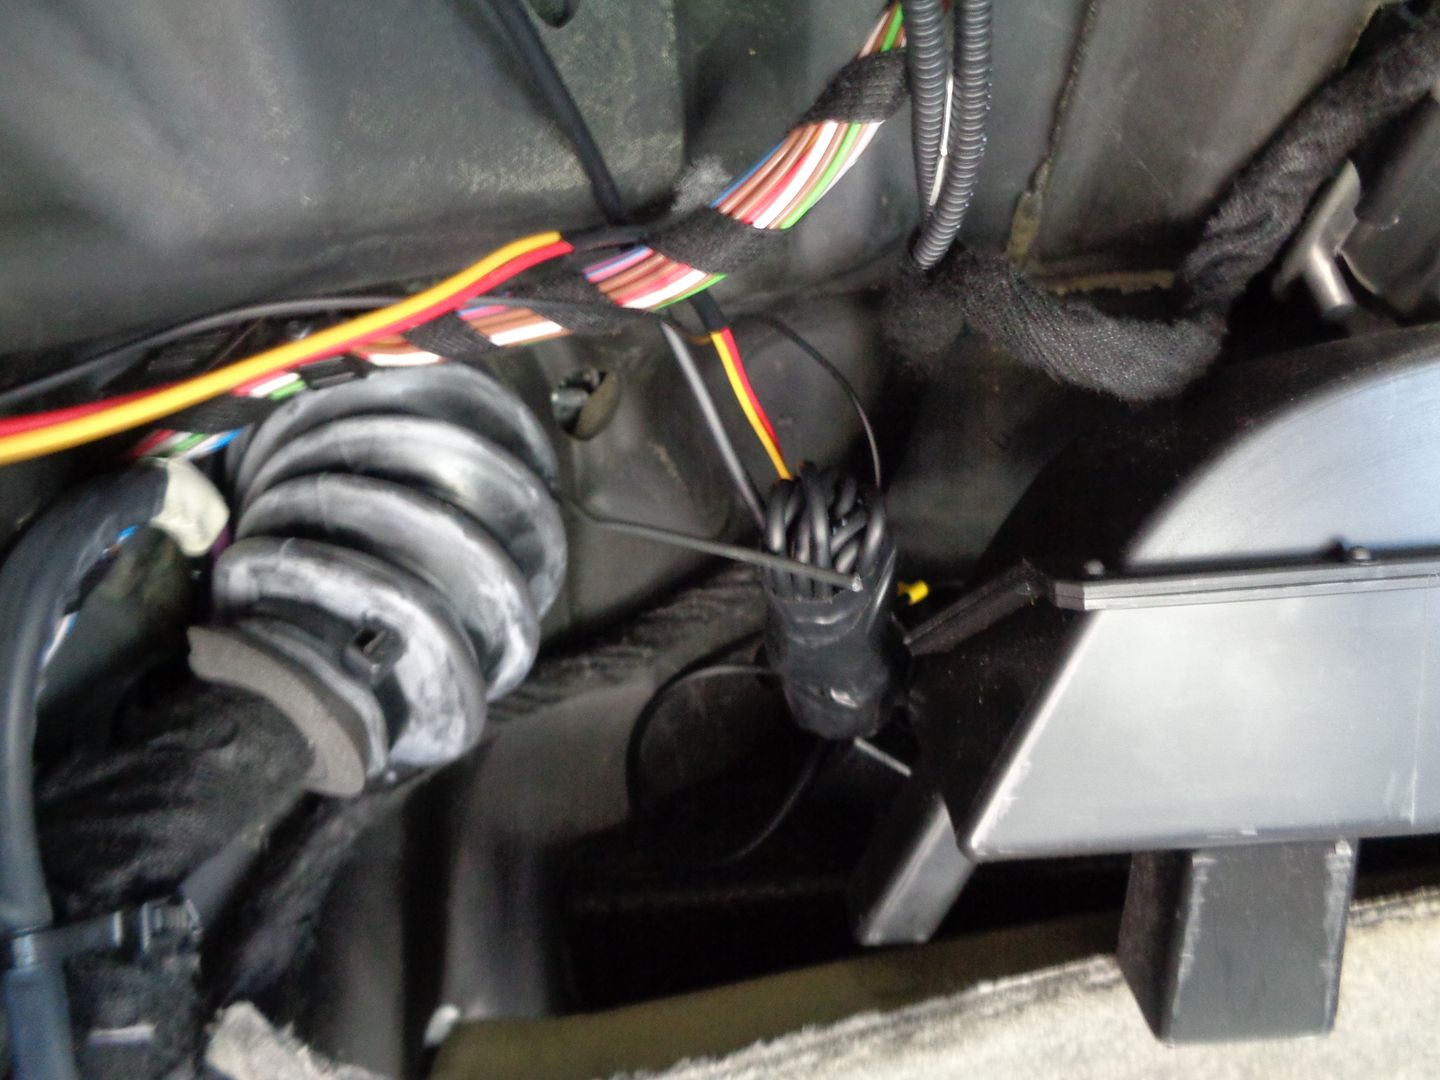 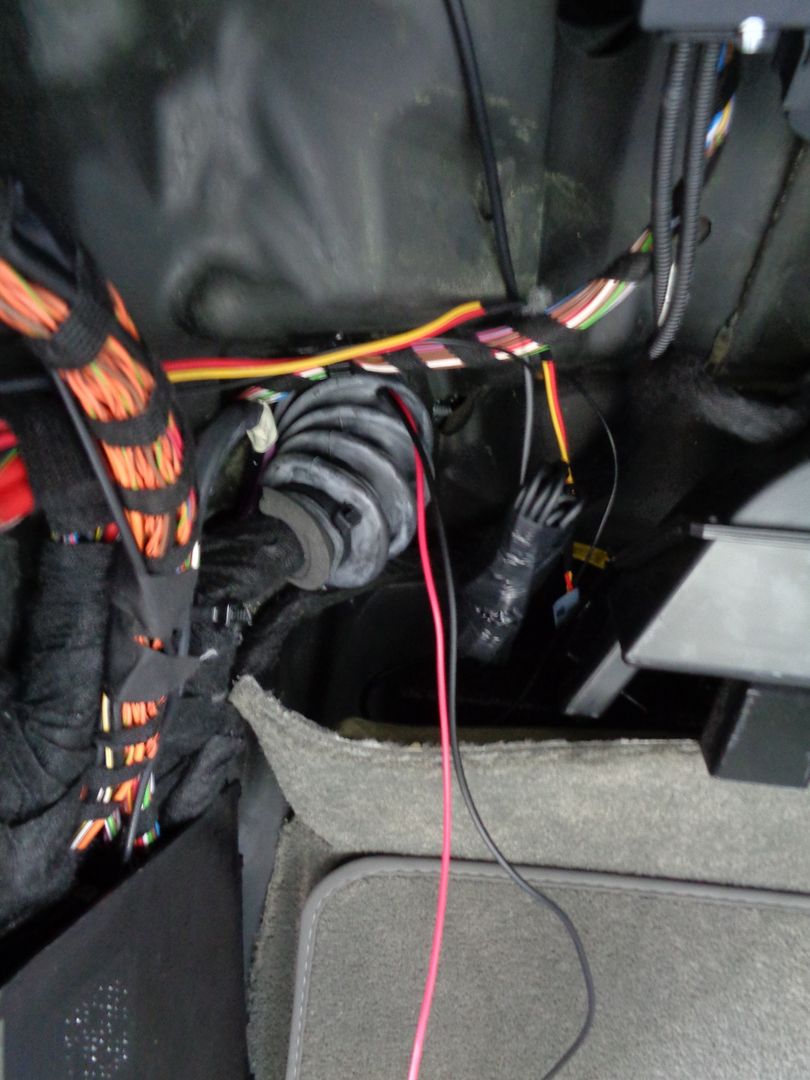 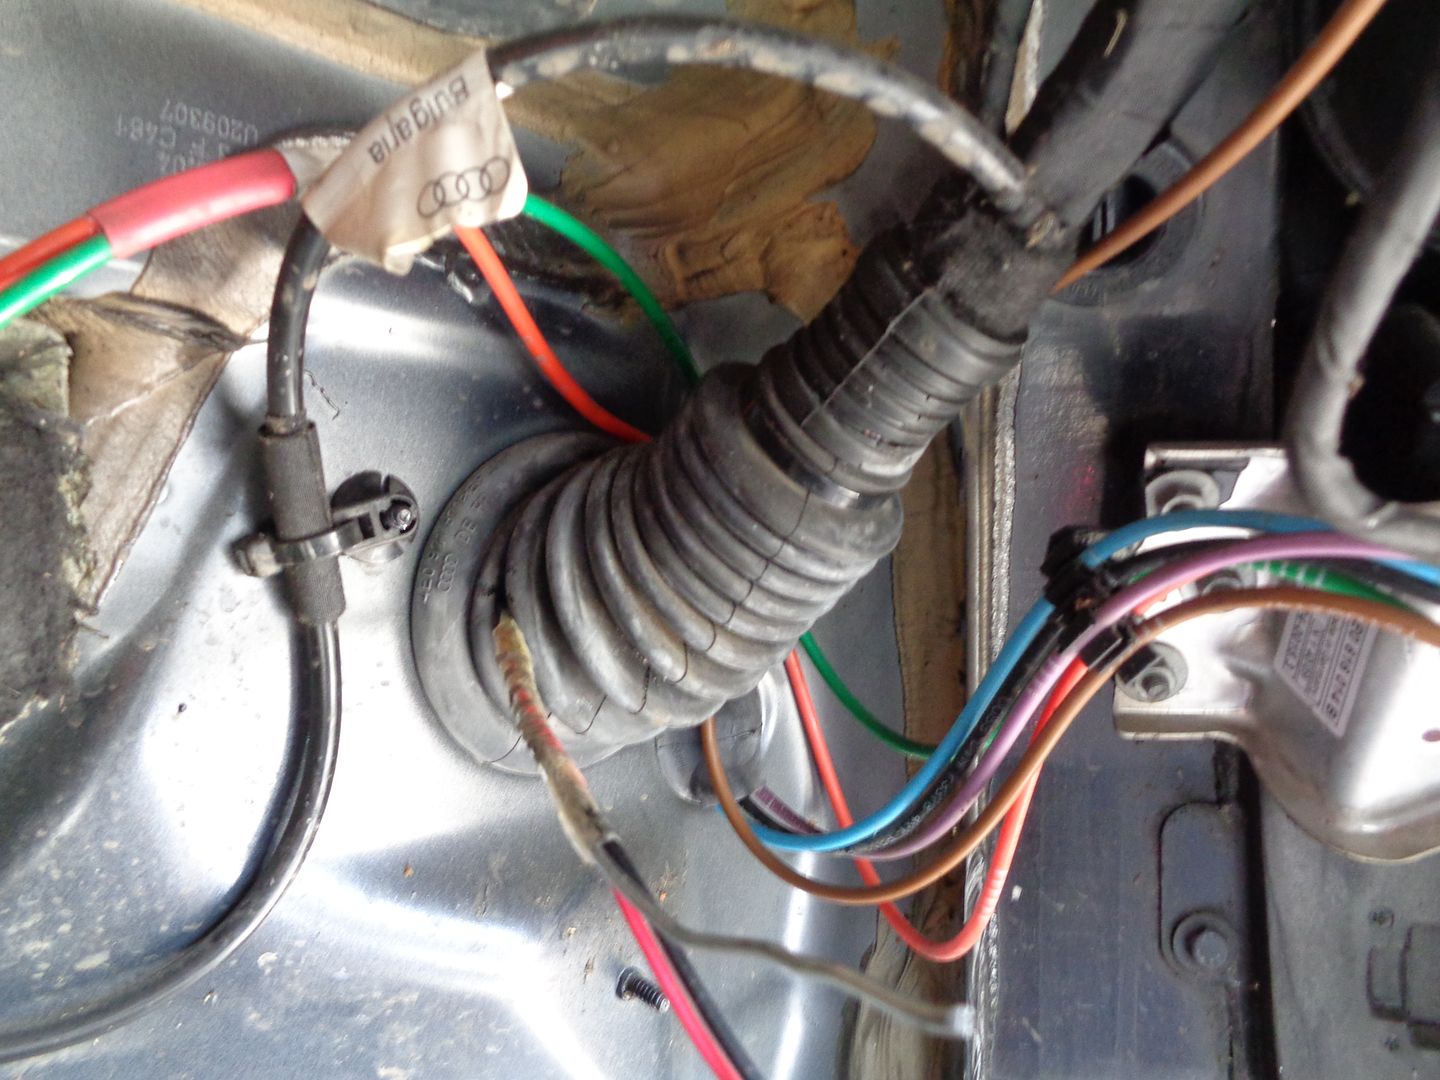 We are now left to put the front of the car back together. Now we sort out the wiring...you can use the grounding point as pictured and it is up to you how to power the lights. You can either power them directly from the fuse box or you can tap into the Grey/Yellow wire from the 8 pin connector for the glove box. 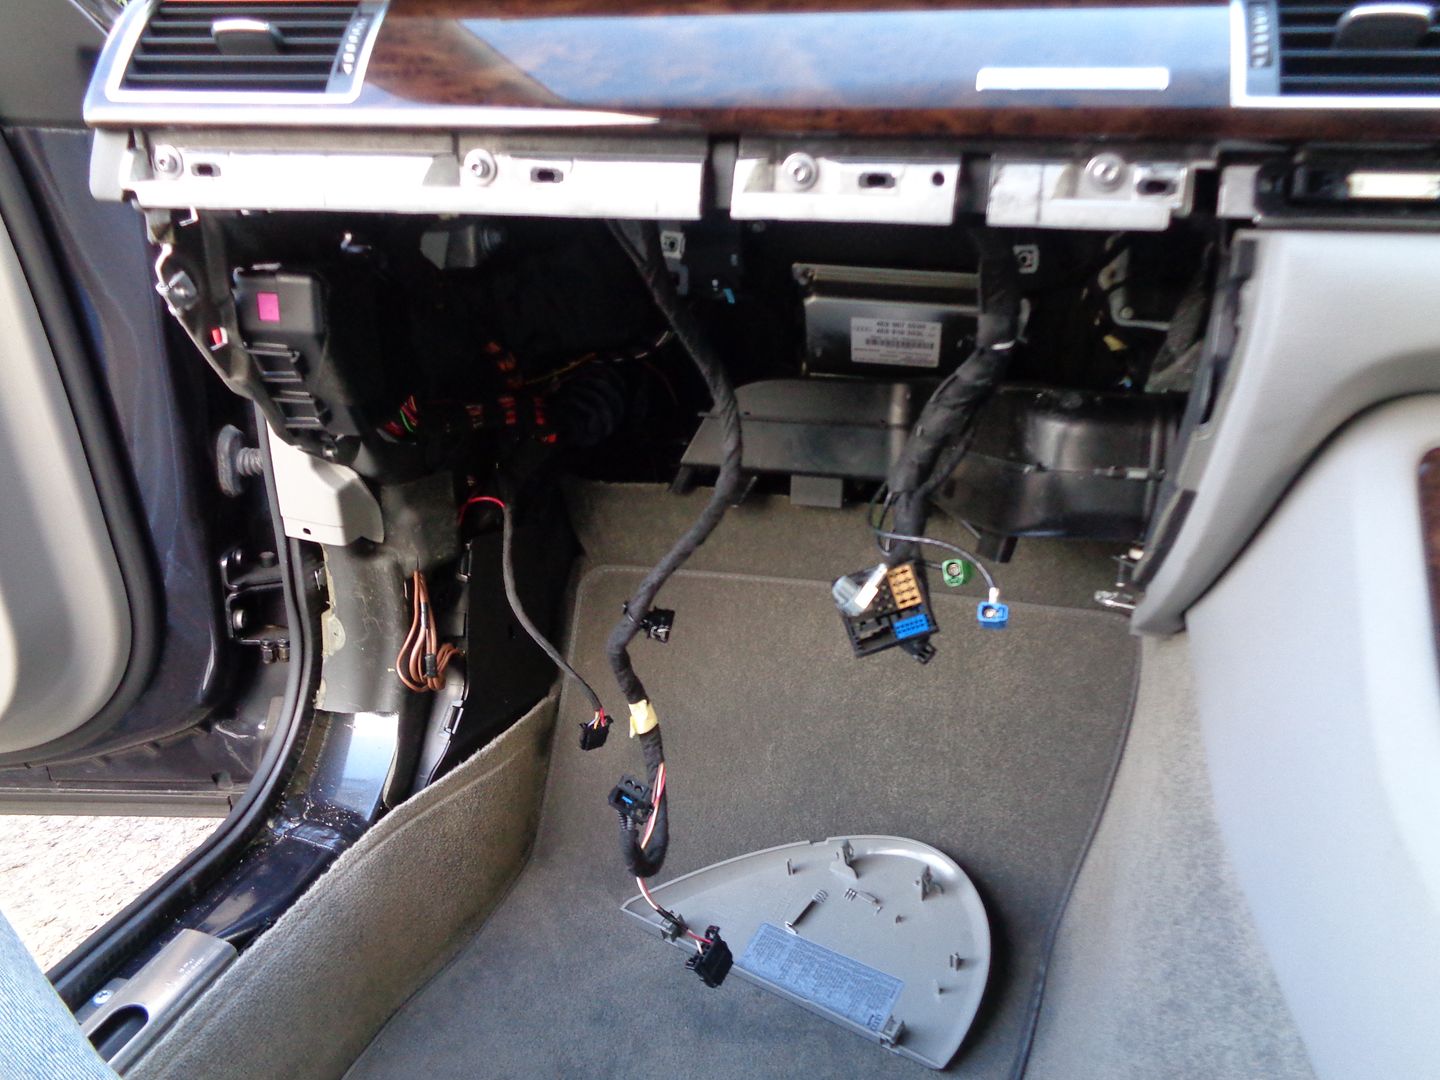 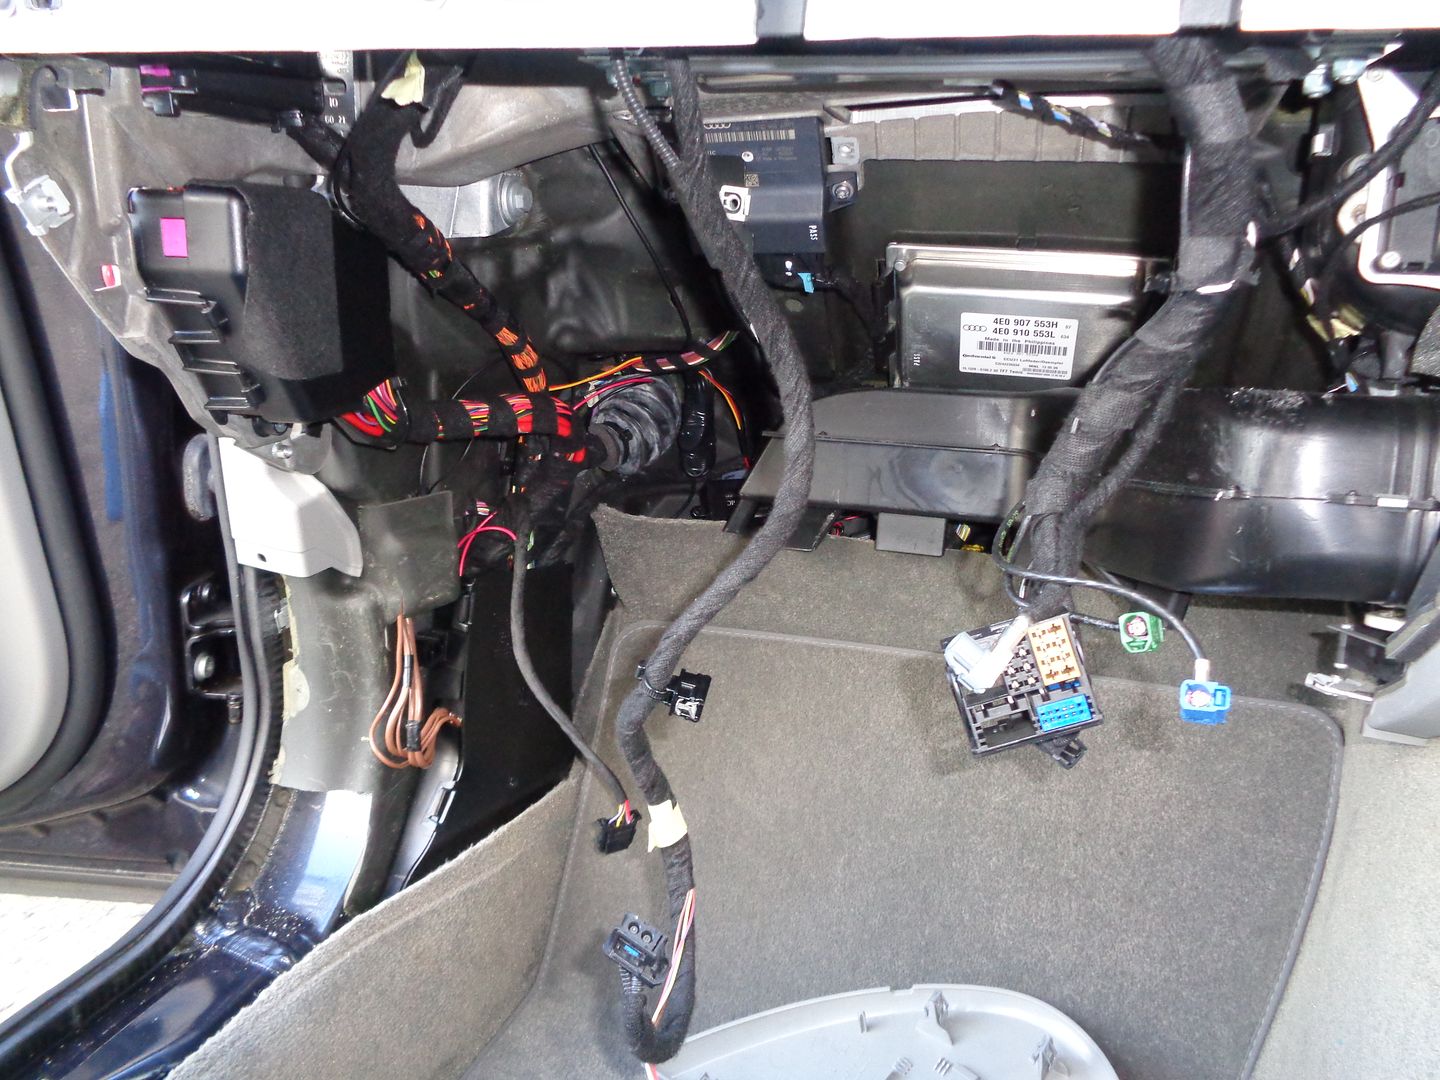 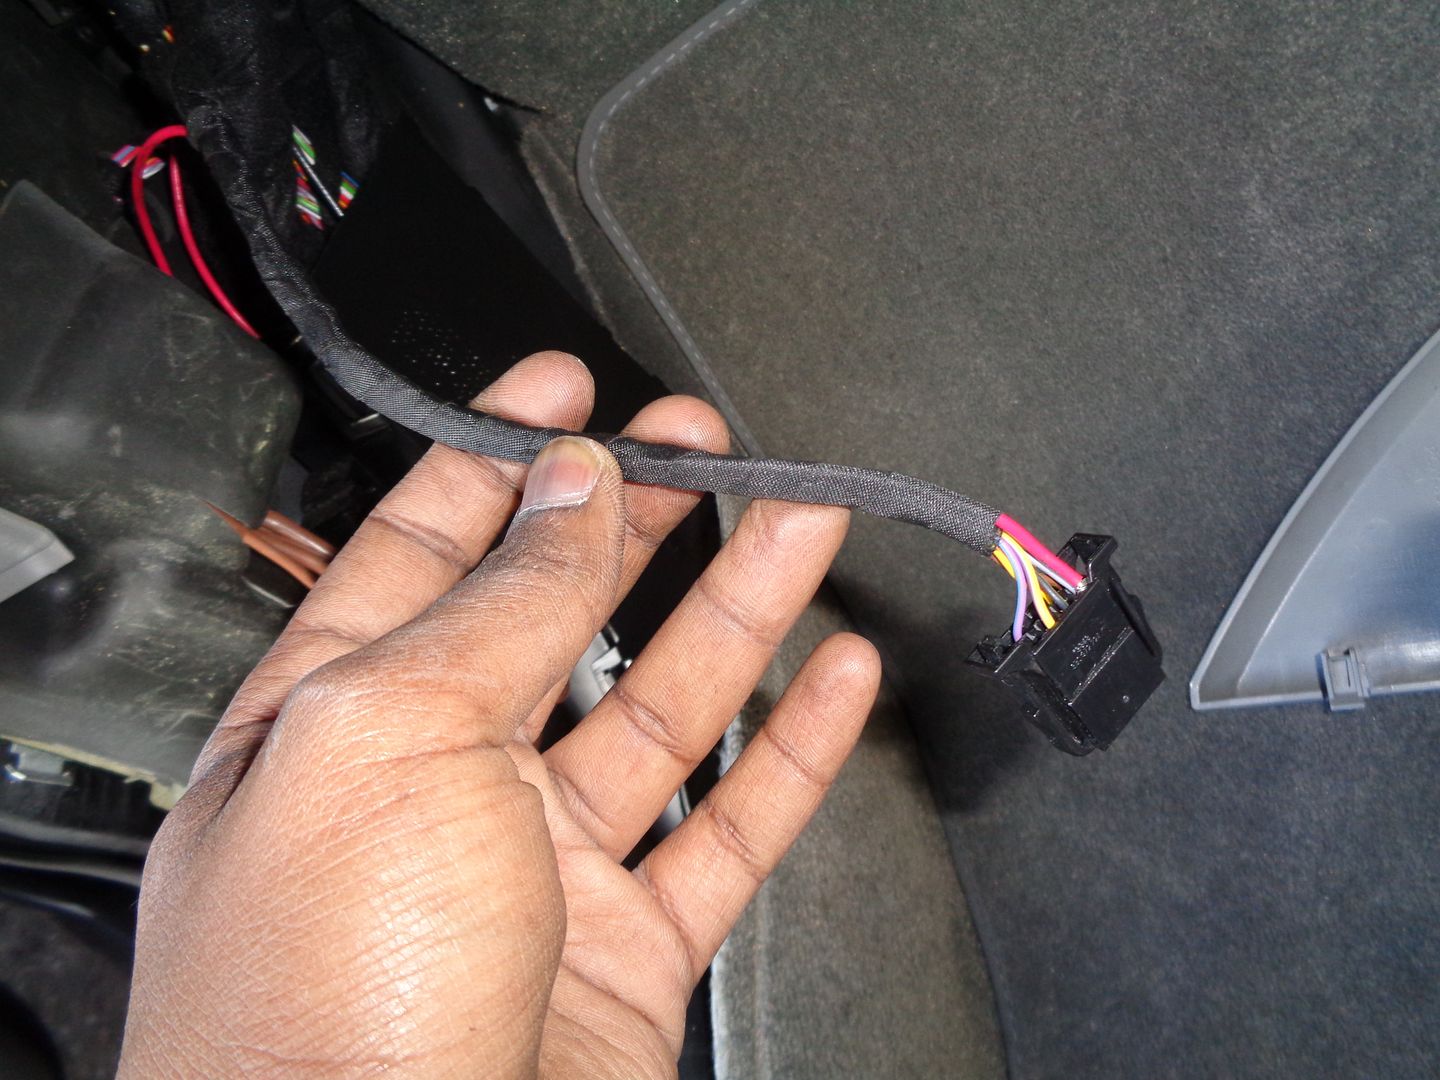 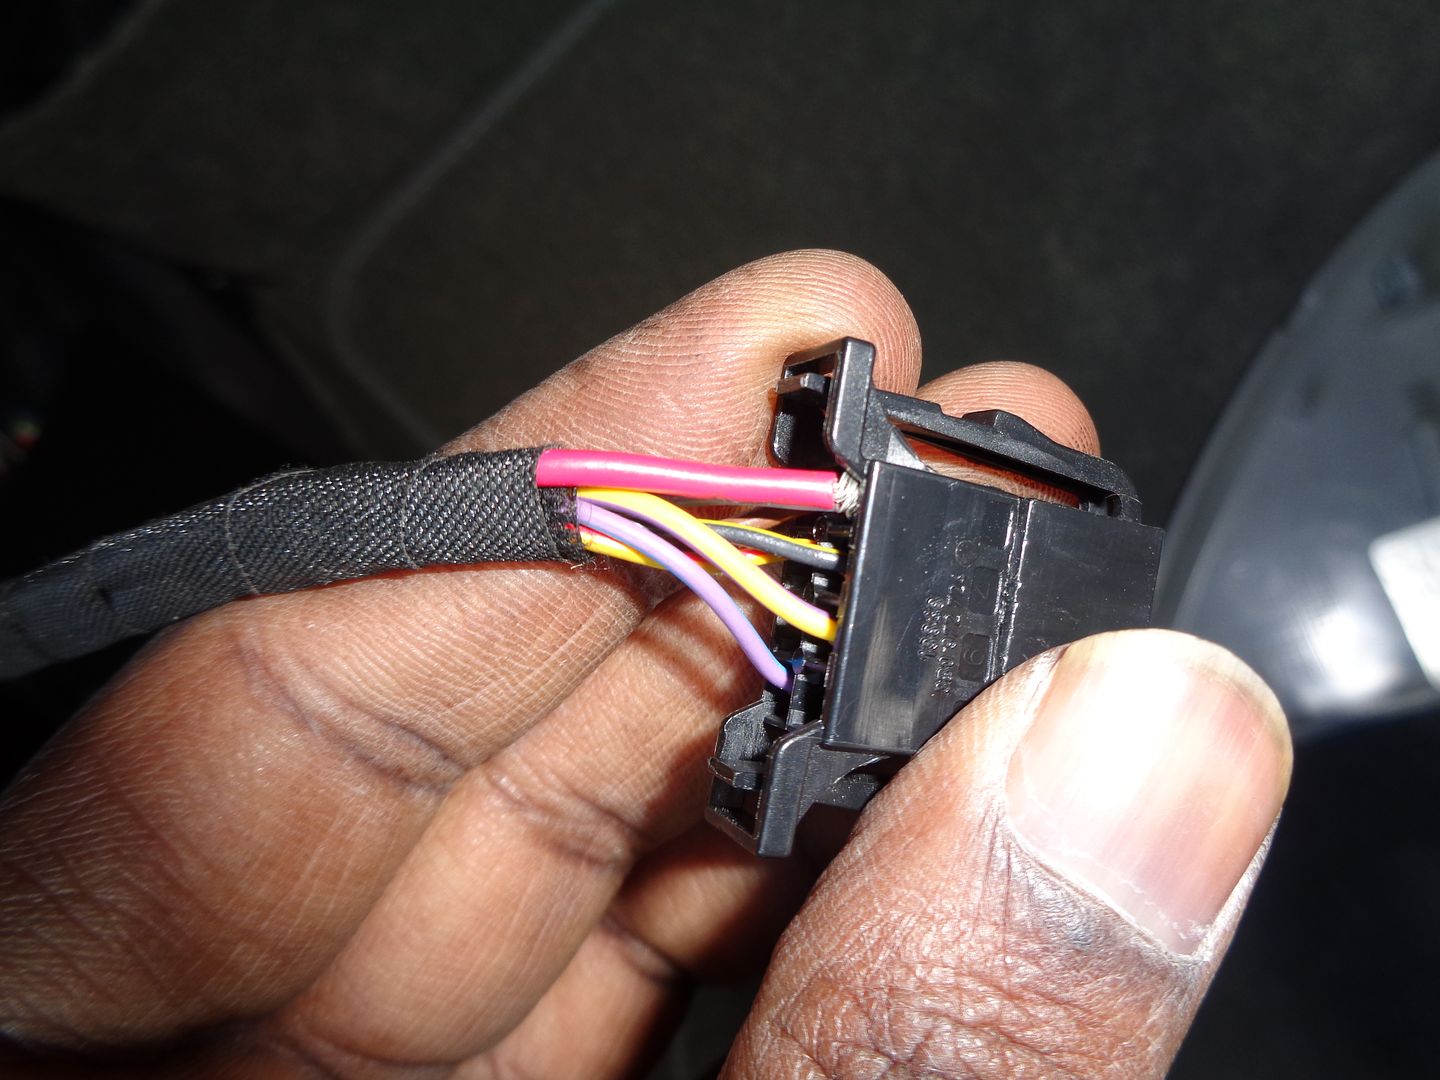 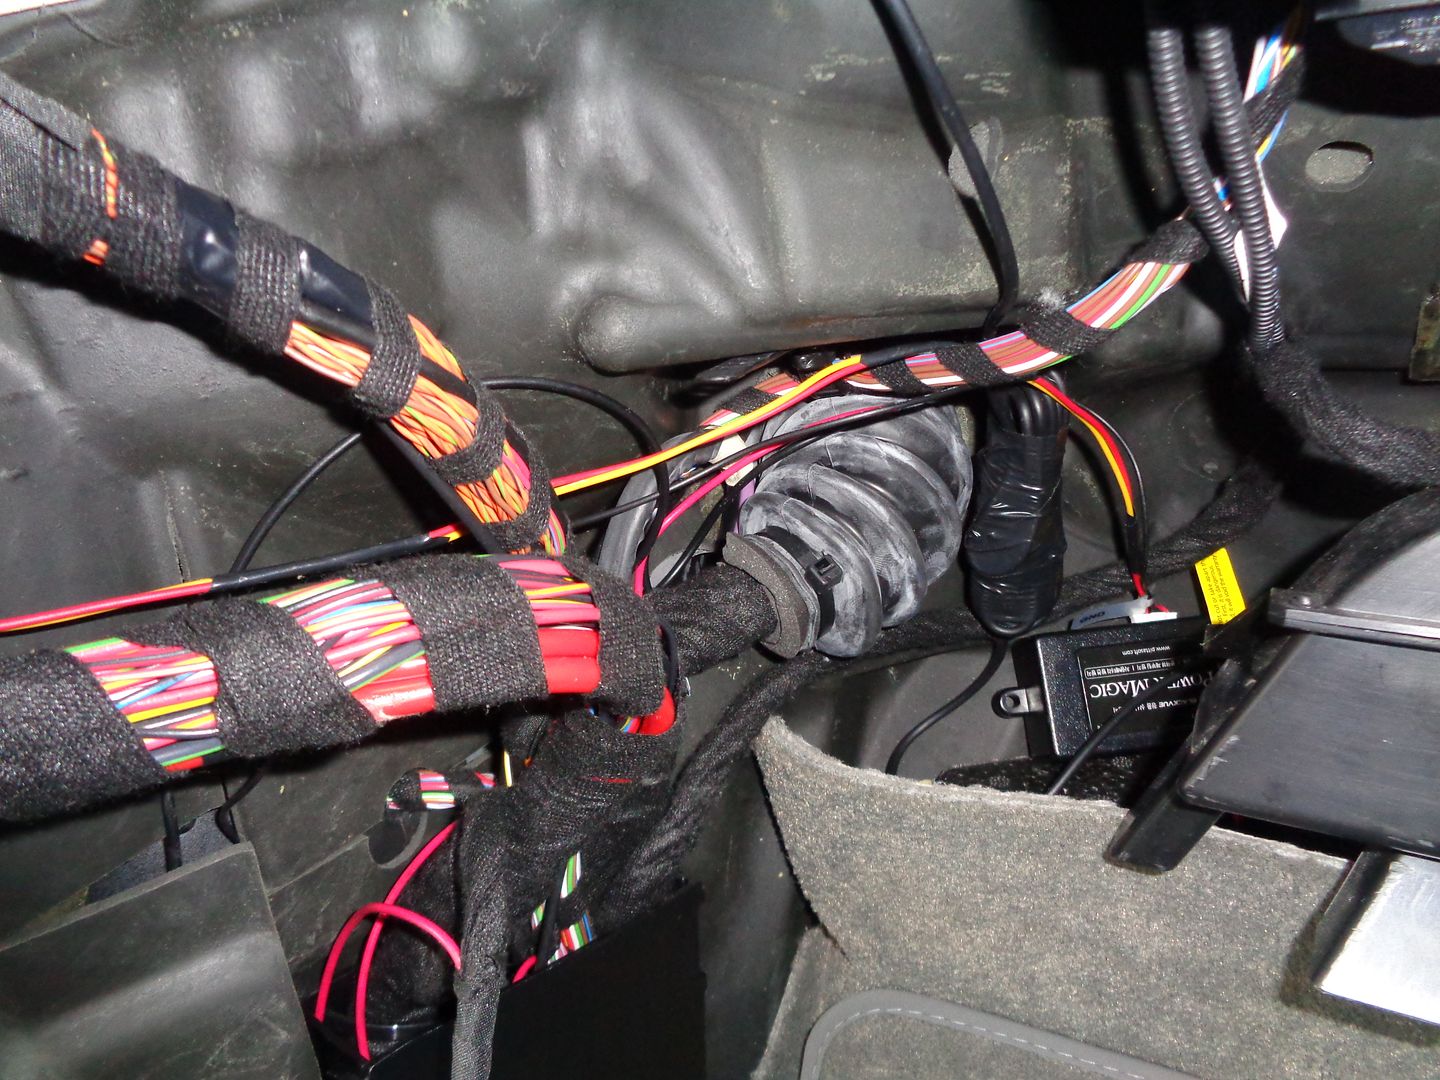 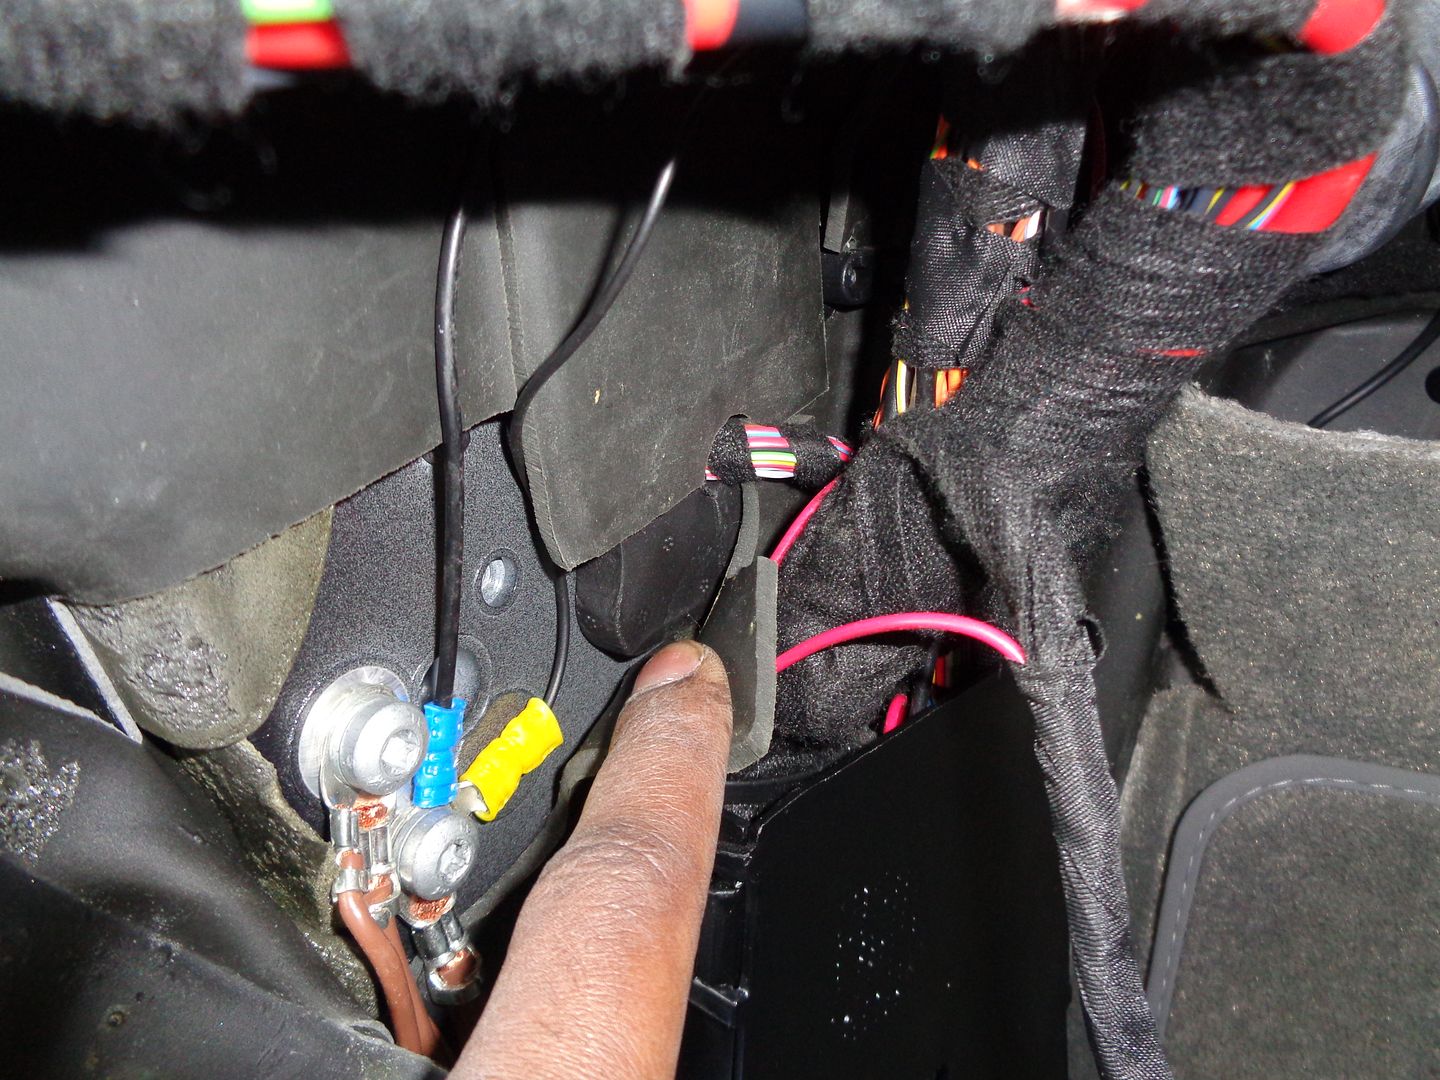 And this is what we end up with... 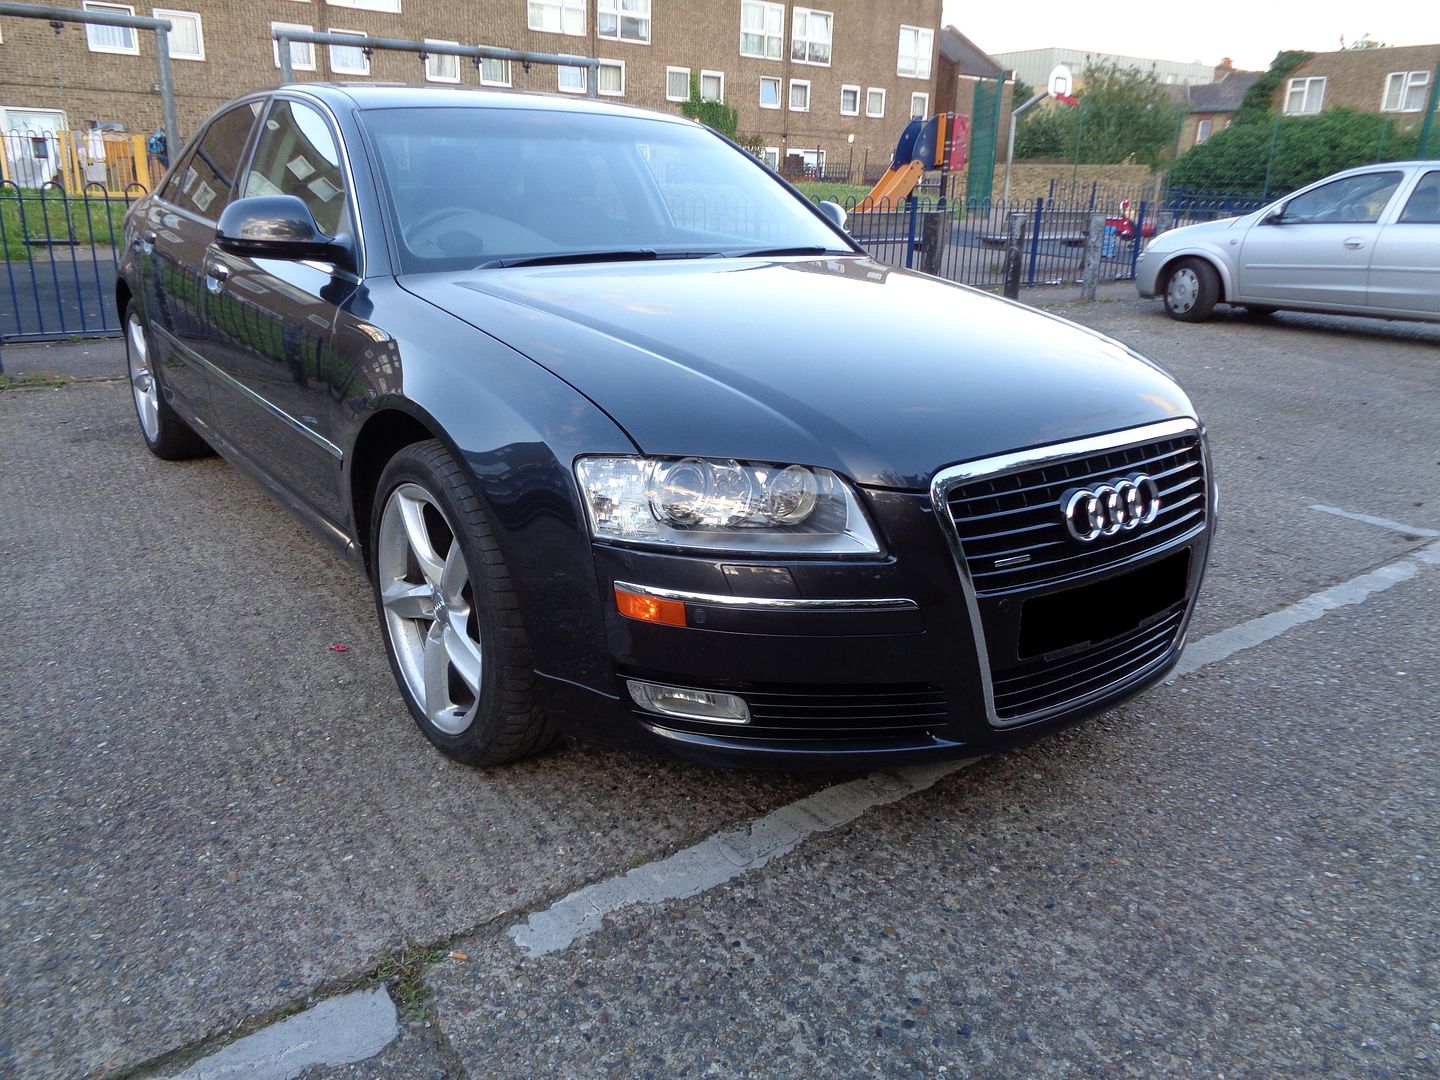 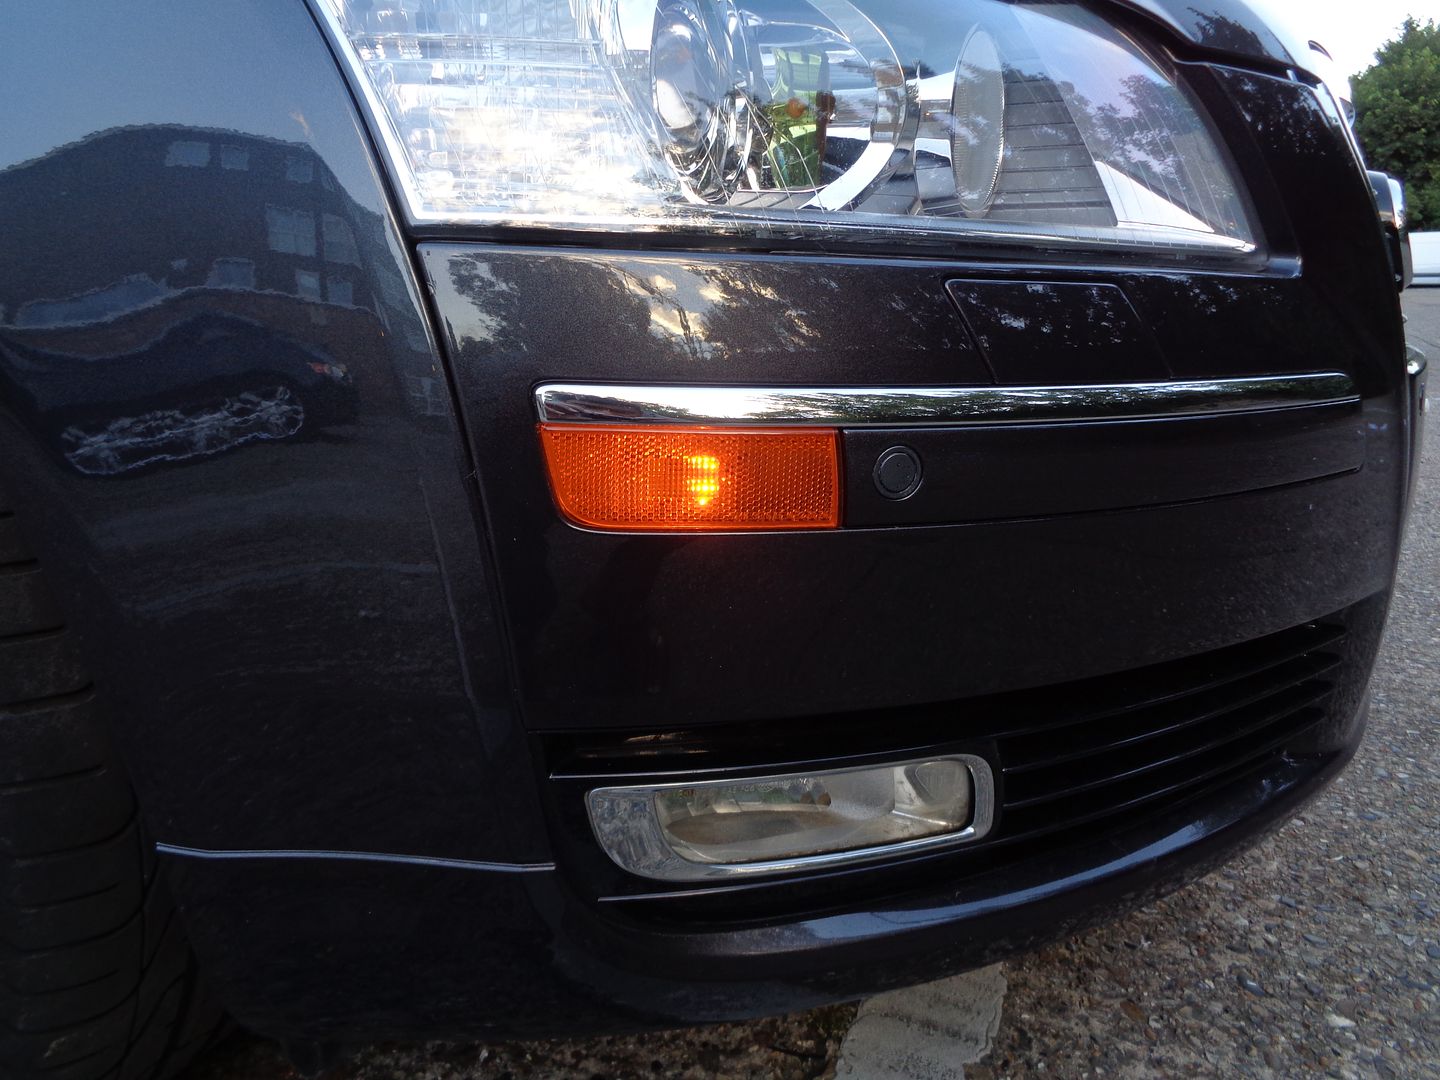 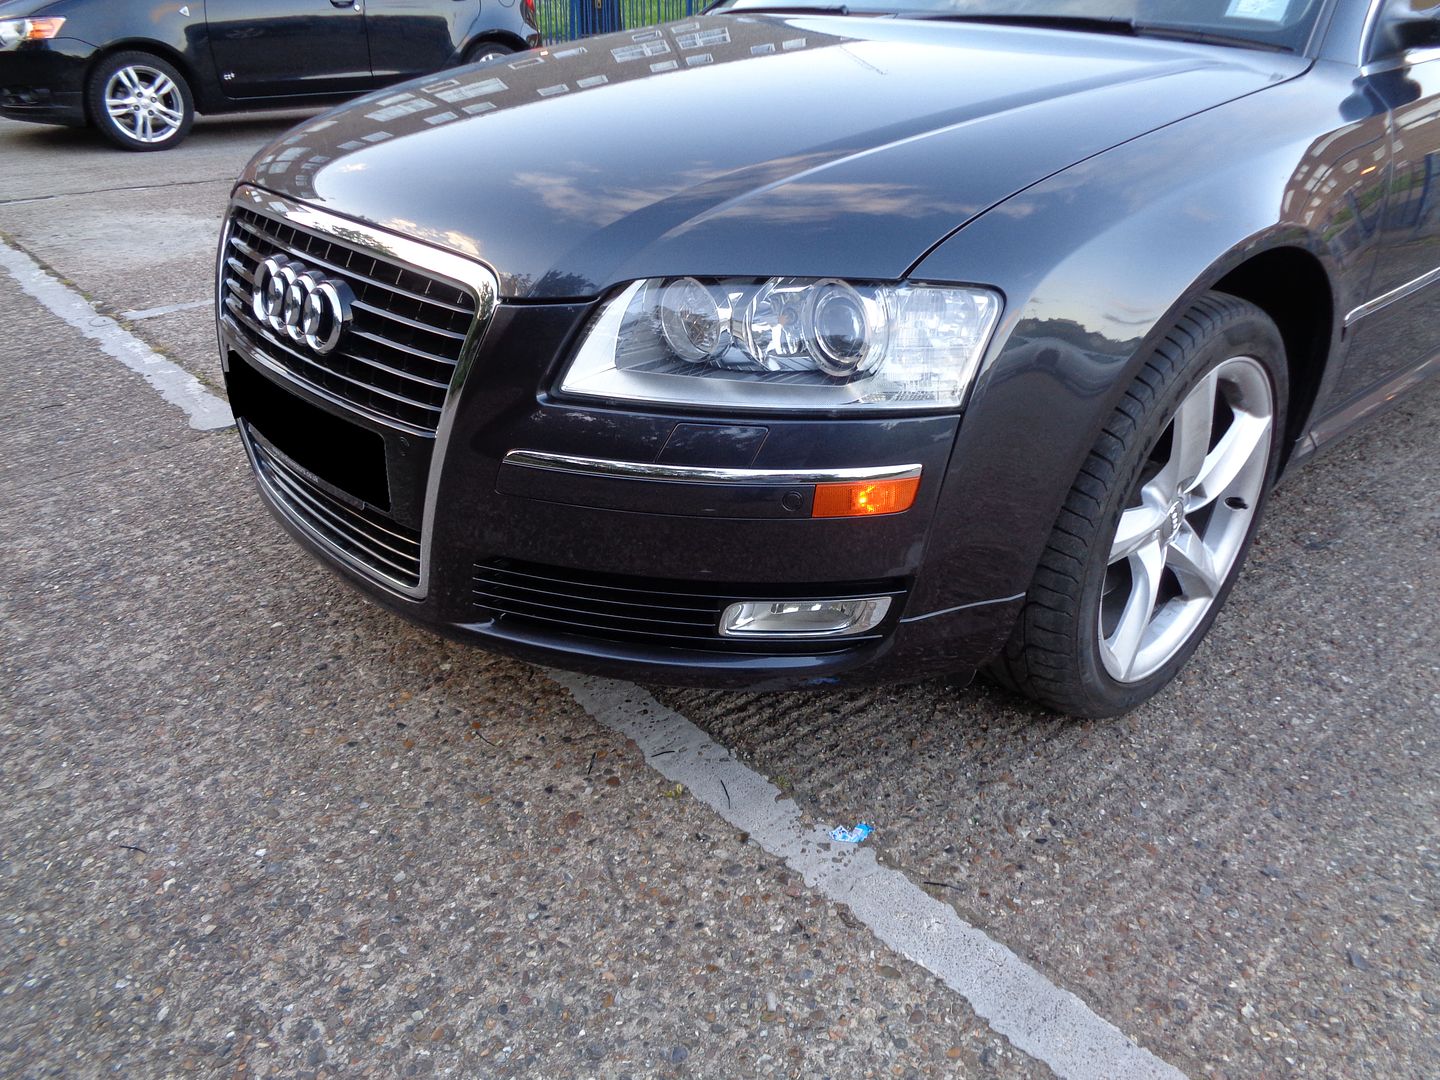  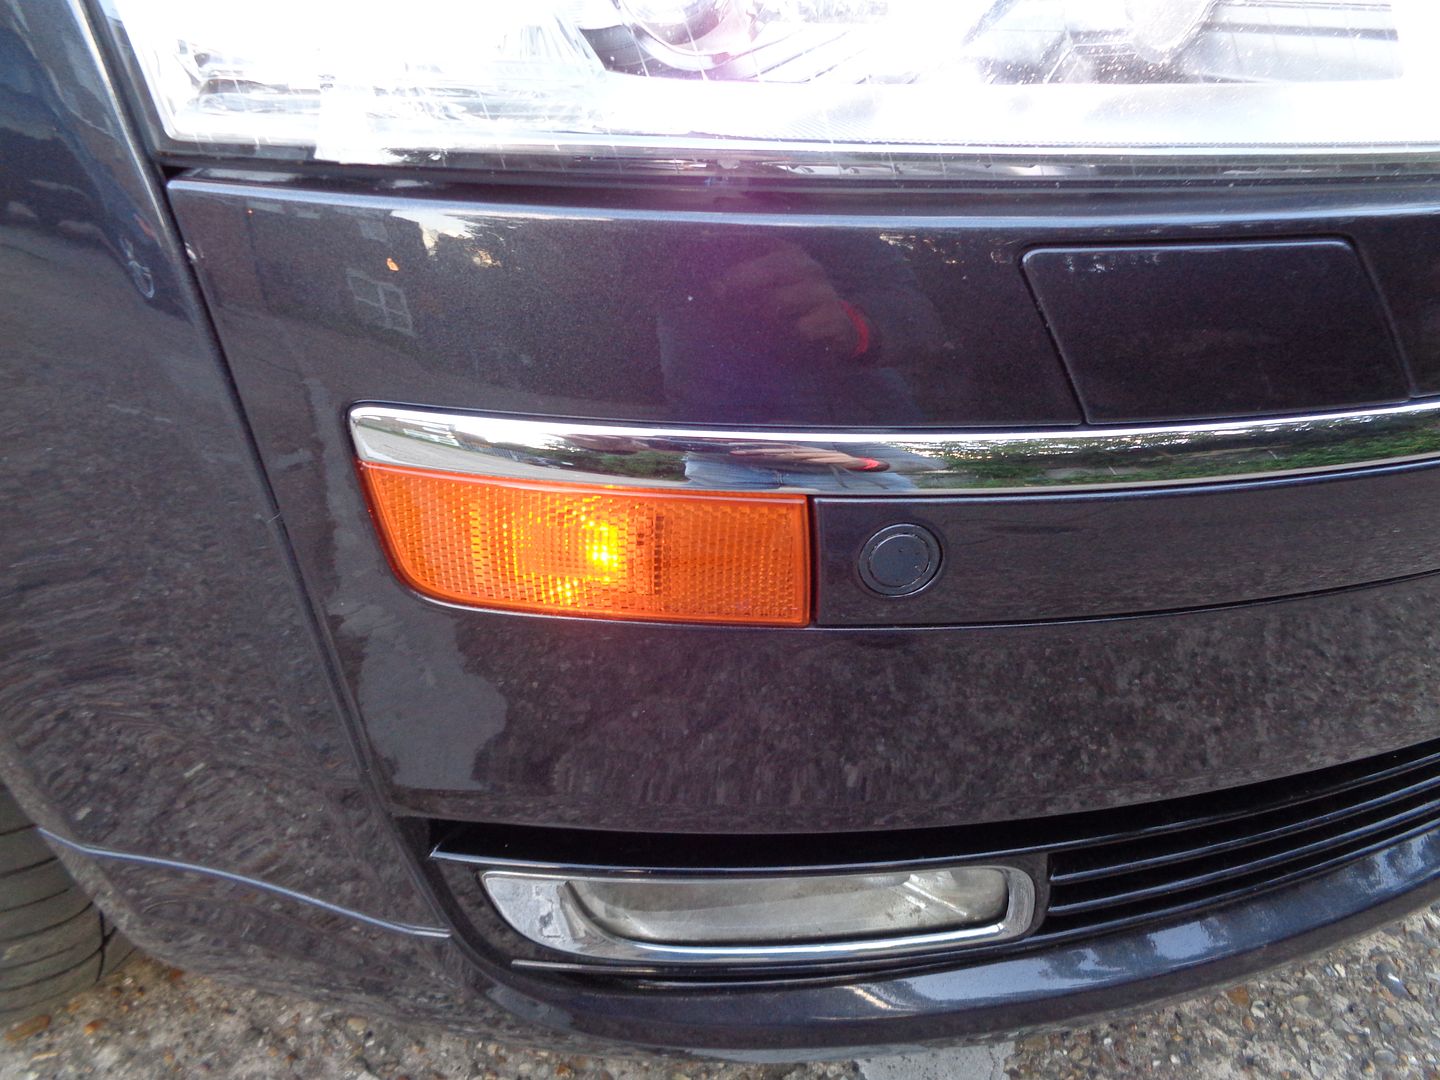 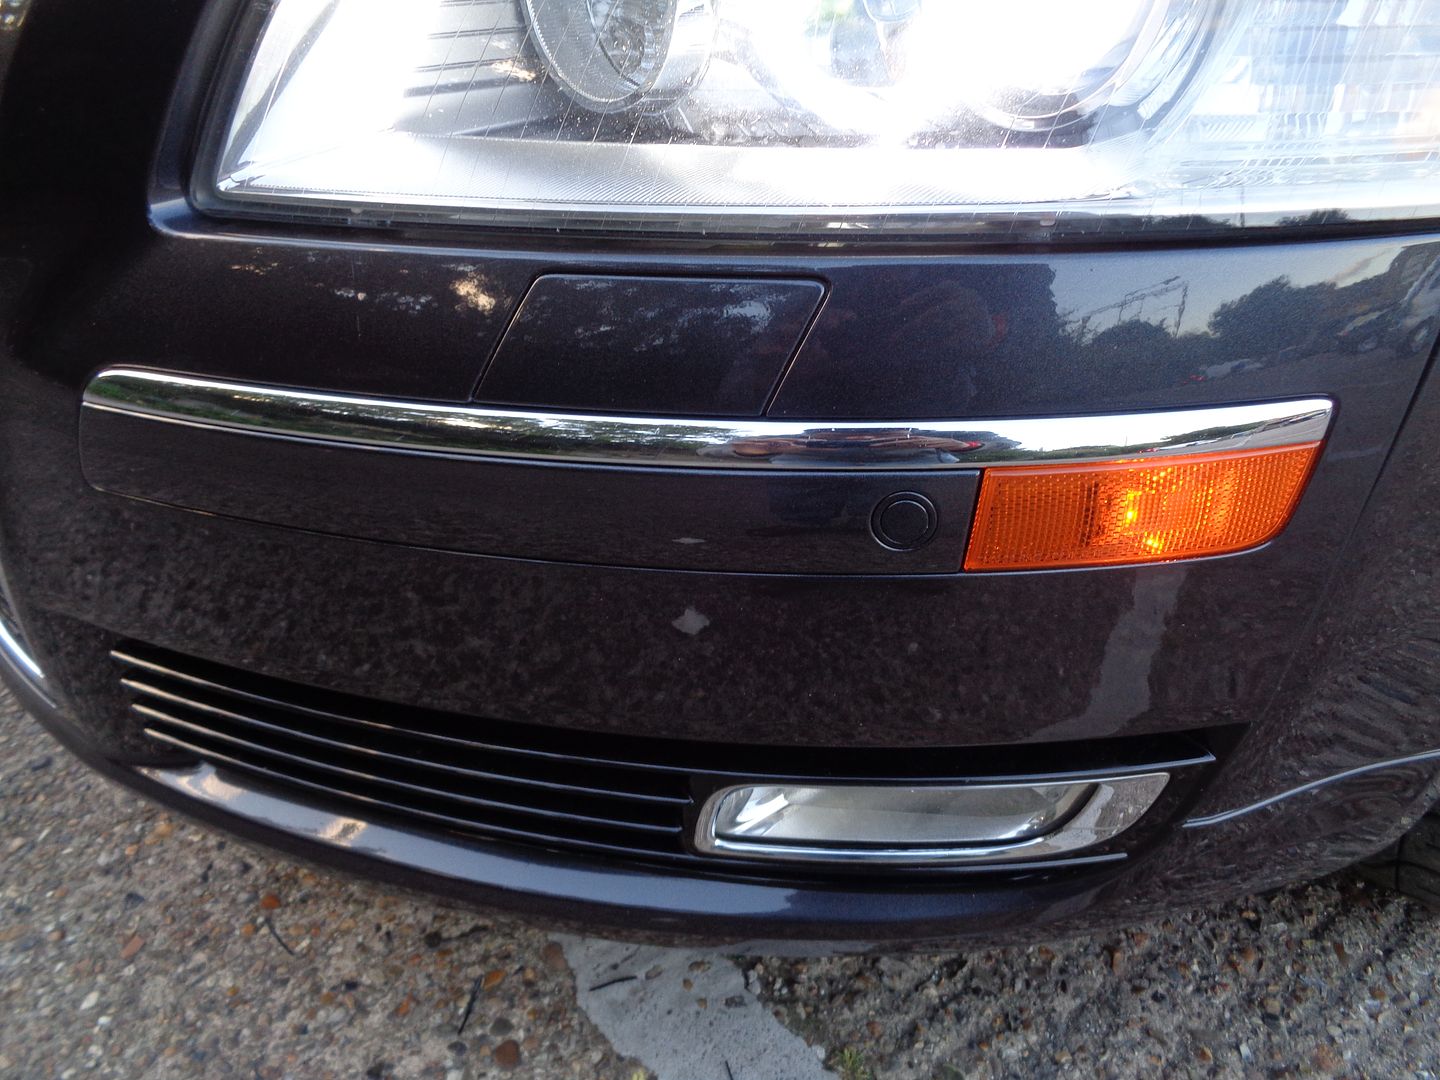 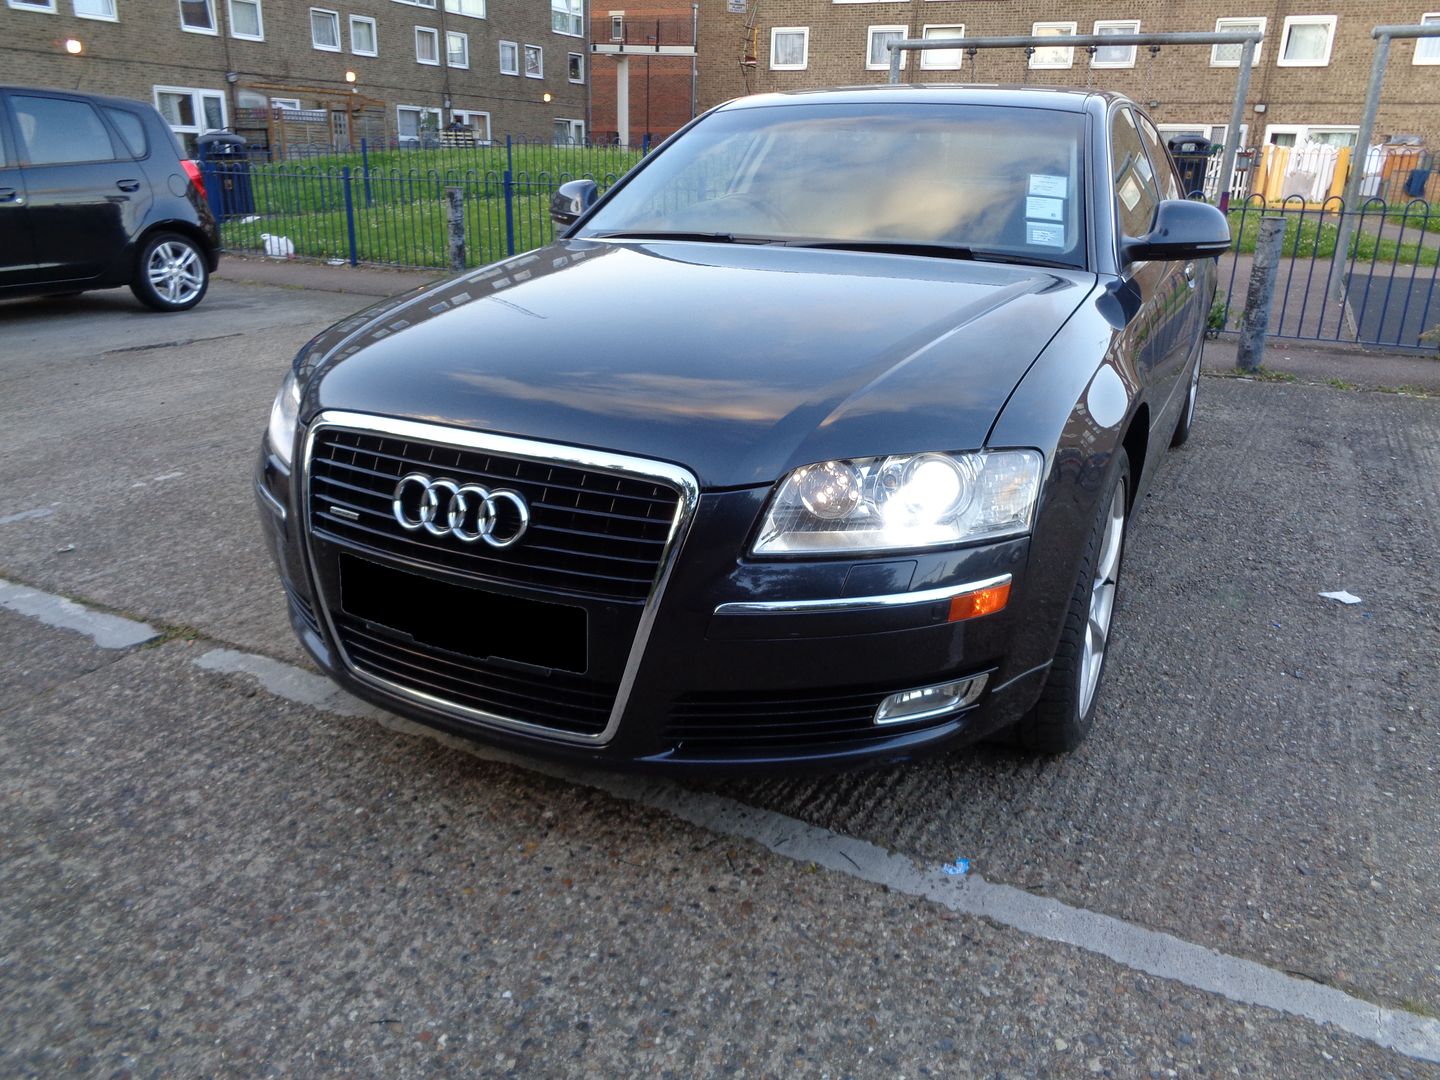 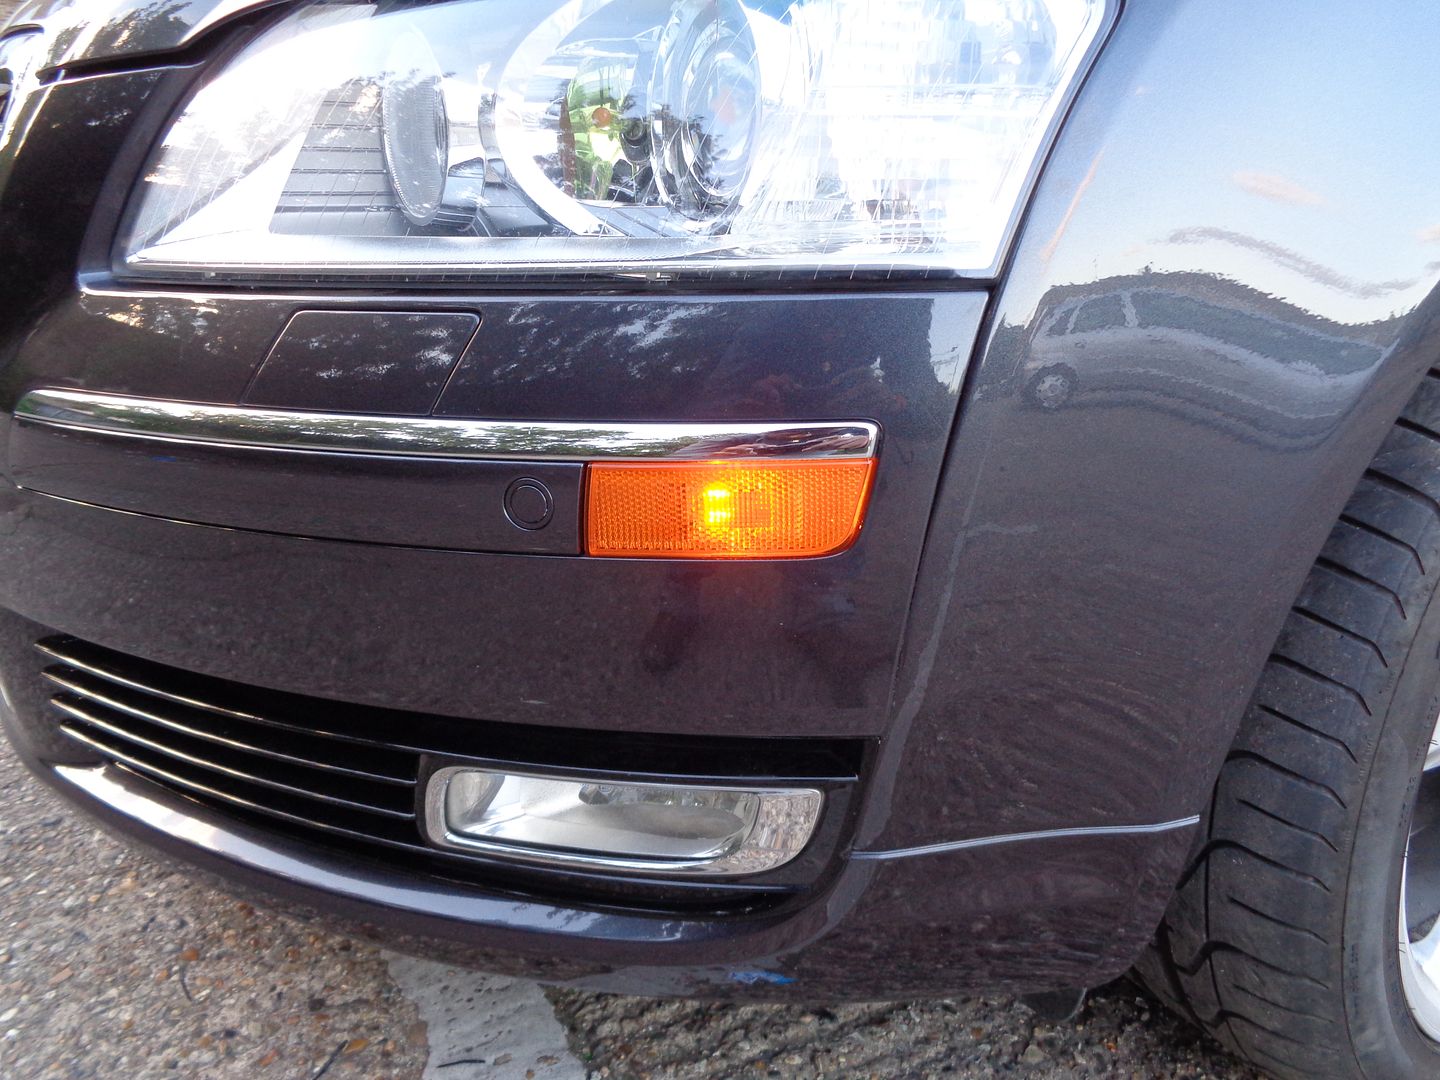  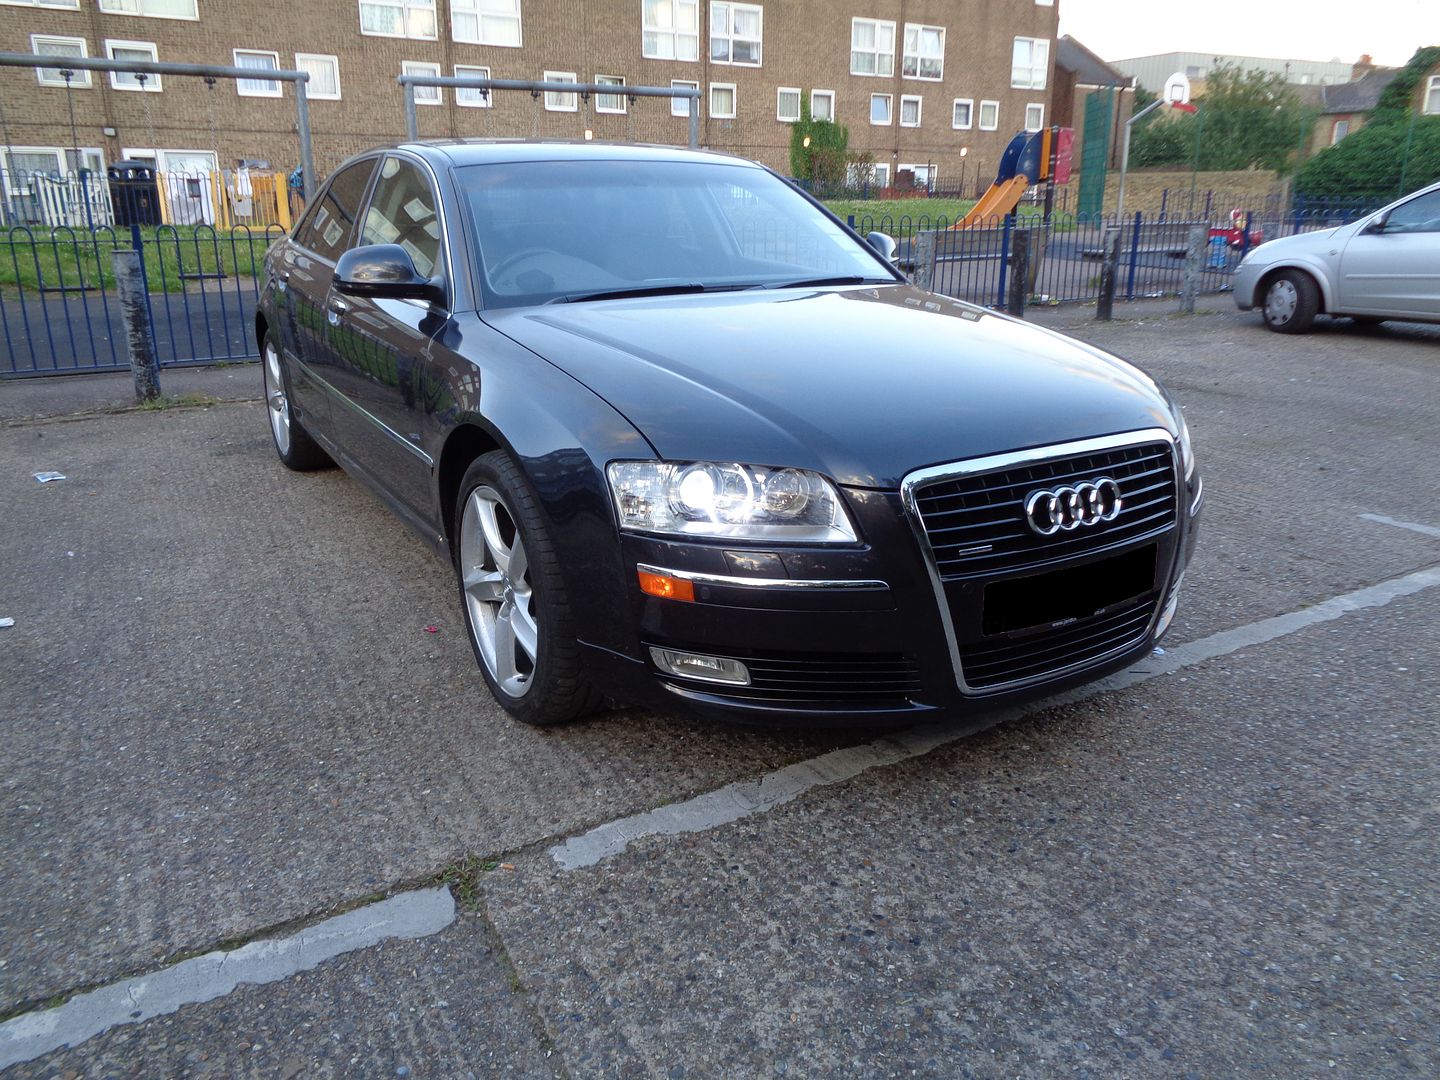
__________________
Previously: 2010 Audi A8 4E Quattro Sport TDI Oyster Grey  Currently: 2015 Audi A8 4H Sport Executive Quattro in Monsoon Grey Last edited by neeldub; 11th July 2016 at 12:03 AM. 
|
|
|


 Threaded Mode