
|
|
|||||||
| D3 - Body and Exterior Bumpers, bonnets, glass, trims - Everything outside |
|
|
Thread Tools | Display Modes |
|
#1
 8th May 2016, 11:30 PM
|
|||
|
|||
|
Hey guys, I decided to write up a guide on how to remove the front bumper. I had to take mine off in order to replace a faulty parking sensor. For some reason the front right sensor kept causing a malfunction in the PDC system. VCDS brought up the following error code:
 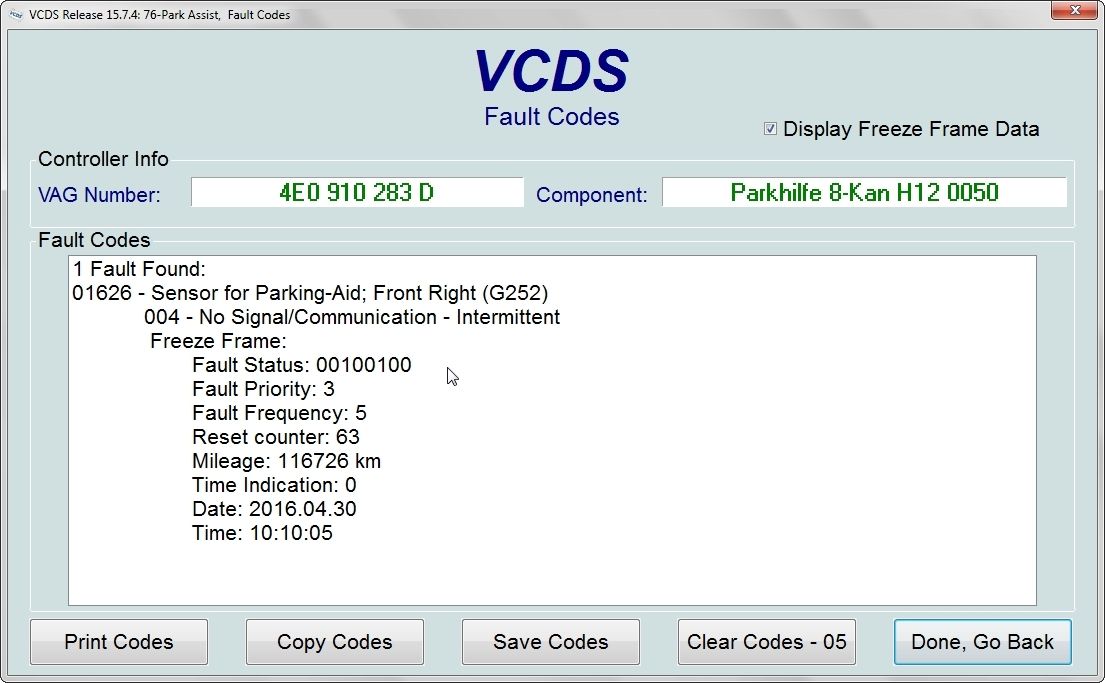 Then I had a quick look at the measuring blocks and noticed that the sensor was performing below specifications compared to the others… 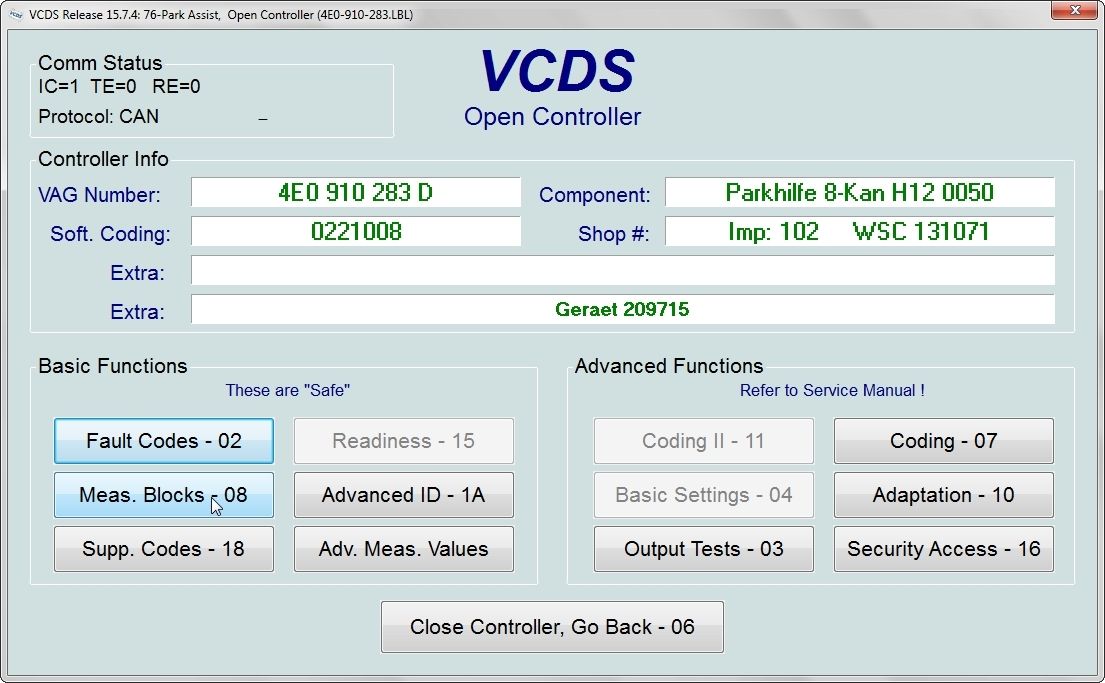 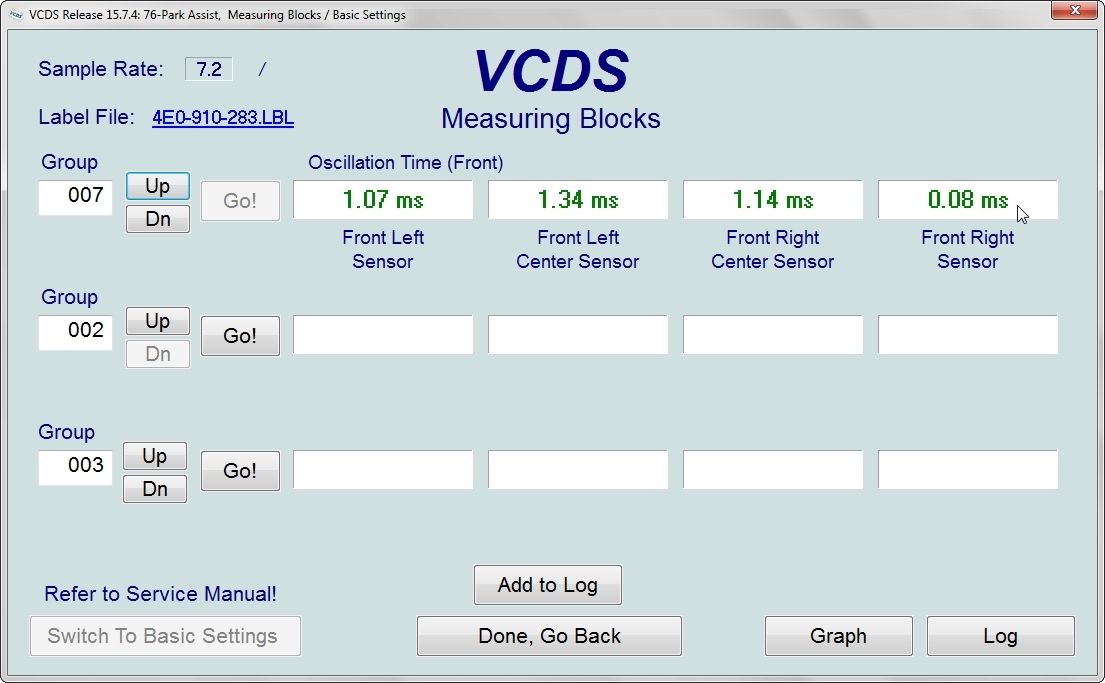 So I figured the best bet is to replace the sensor completely. I acquired a genuine one from ebay brand new primed (Part Number 7H0 919 275 C). I colour coded it to Oyster Grey and finished it off with some 2k lacquer. I kept the spray coats thin so it doesn’t affect the operation of the sensor. Taking the bumper off on the D3 isn’t so difficult; however because Audi have over engineered this car, you have to remove quite a few items in order to get to the 3 bolts which attached the bumper to the wings on each side. You have to remove both front wheels, the front section of the wheel liners to have a good clear access to the bolts. I got myself a set of gel knee pads seeing as I will be on my knees for a long time…I strongly suggest a pair to greatly reduce any risks of injury and for your comfort too. 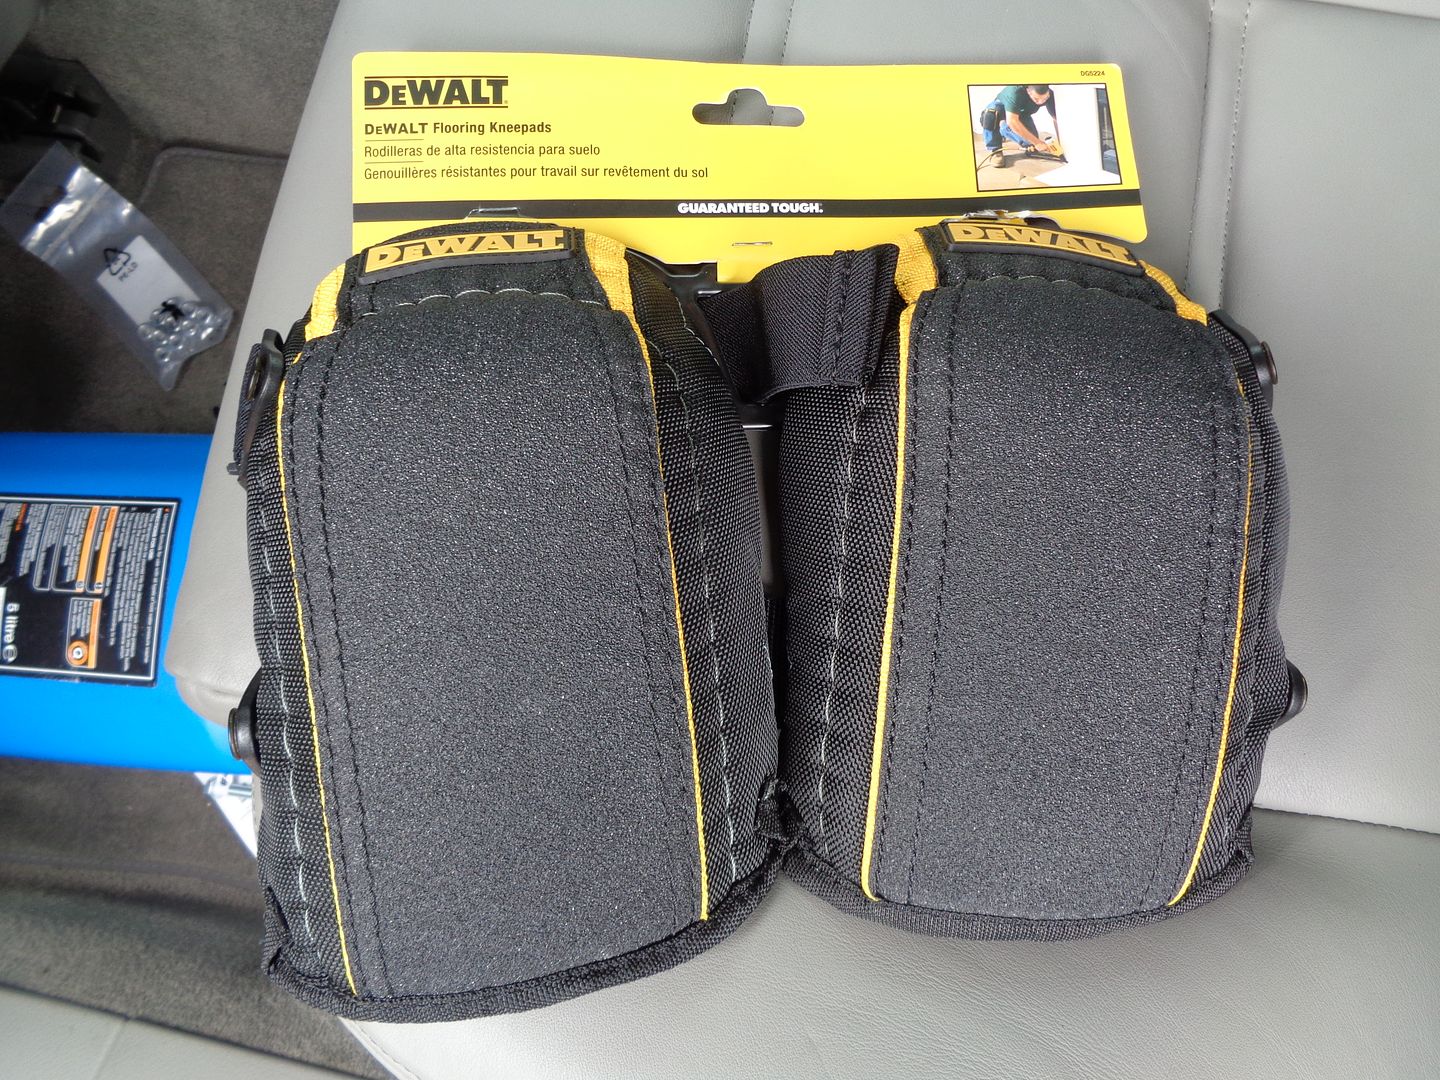 1st step is to drain out the window/headlight washer tank. Reason I suggest to do this 1st as in the past when I took out the bumper I accidentally damaged the hose to the headlight washers and they snapped in half. I had to repair it by using a 4mm straight connector after dipping both ends to repair in boiling water to soften them so I can easily join them with the connector. Make sure you have an empty 5L container to collect all the fluid. Start by removing the driver side fog light bracket. 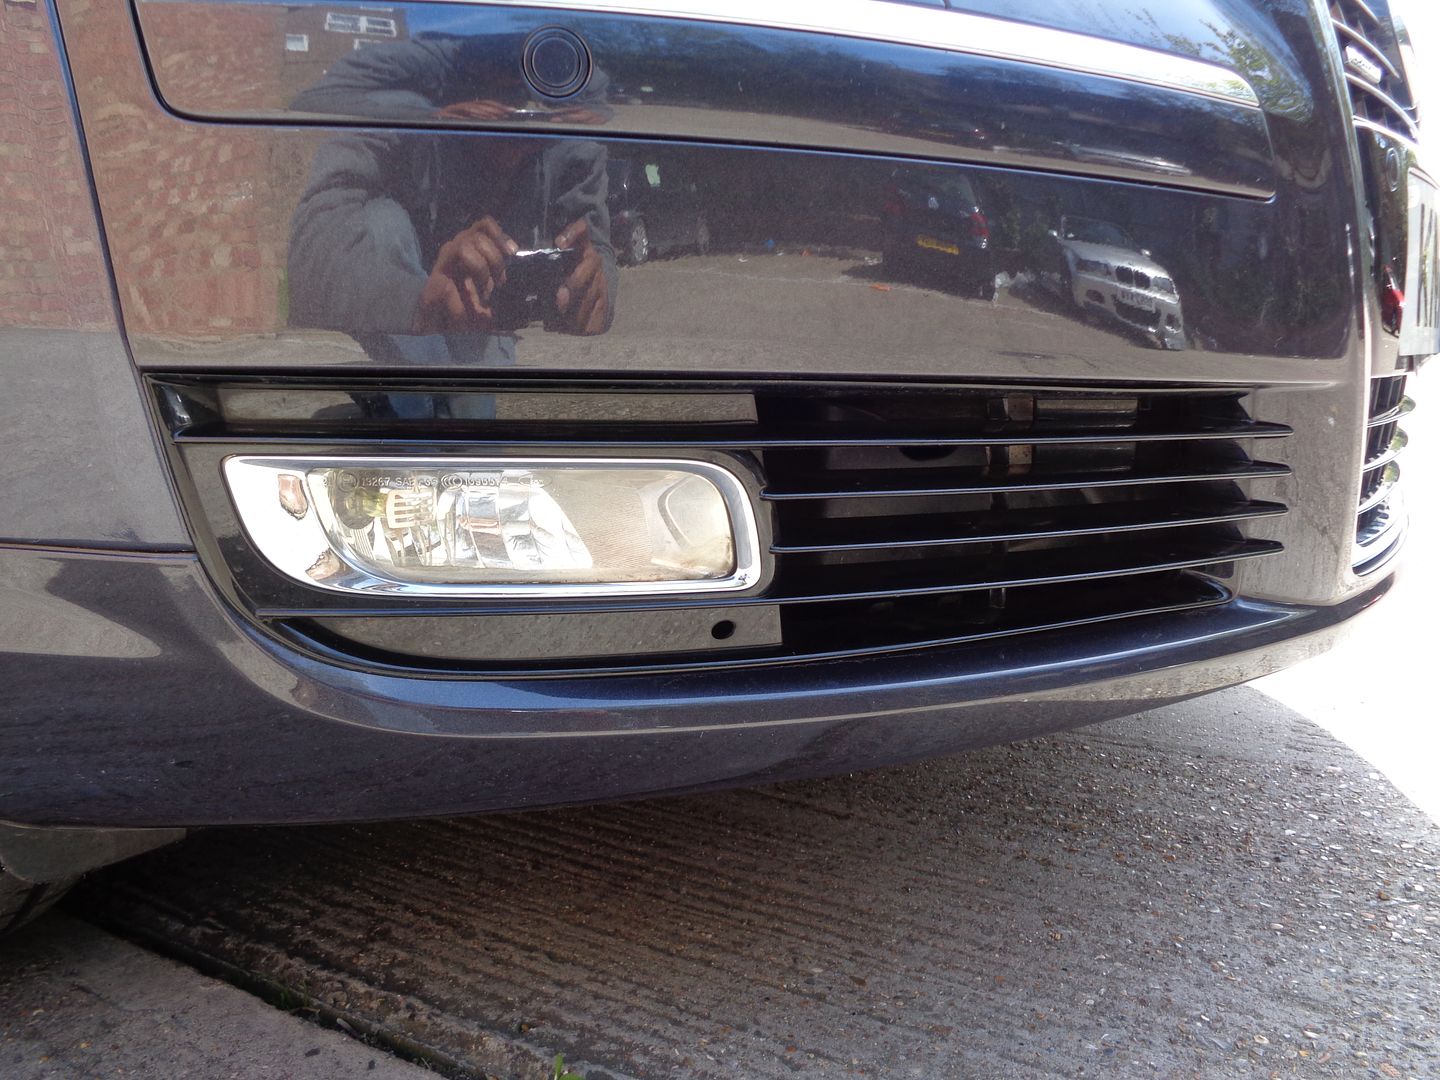 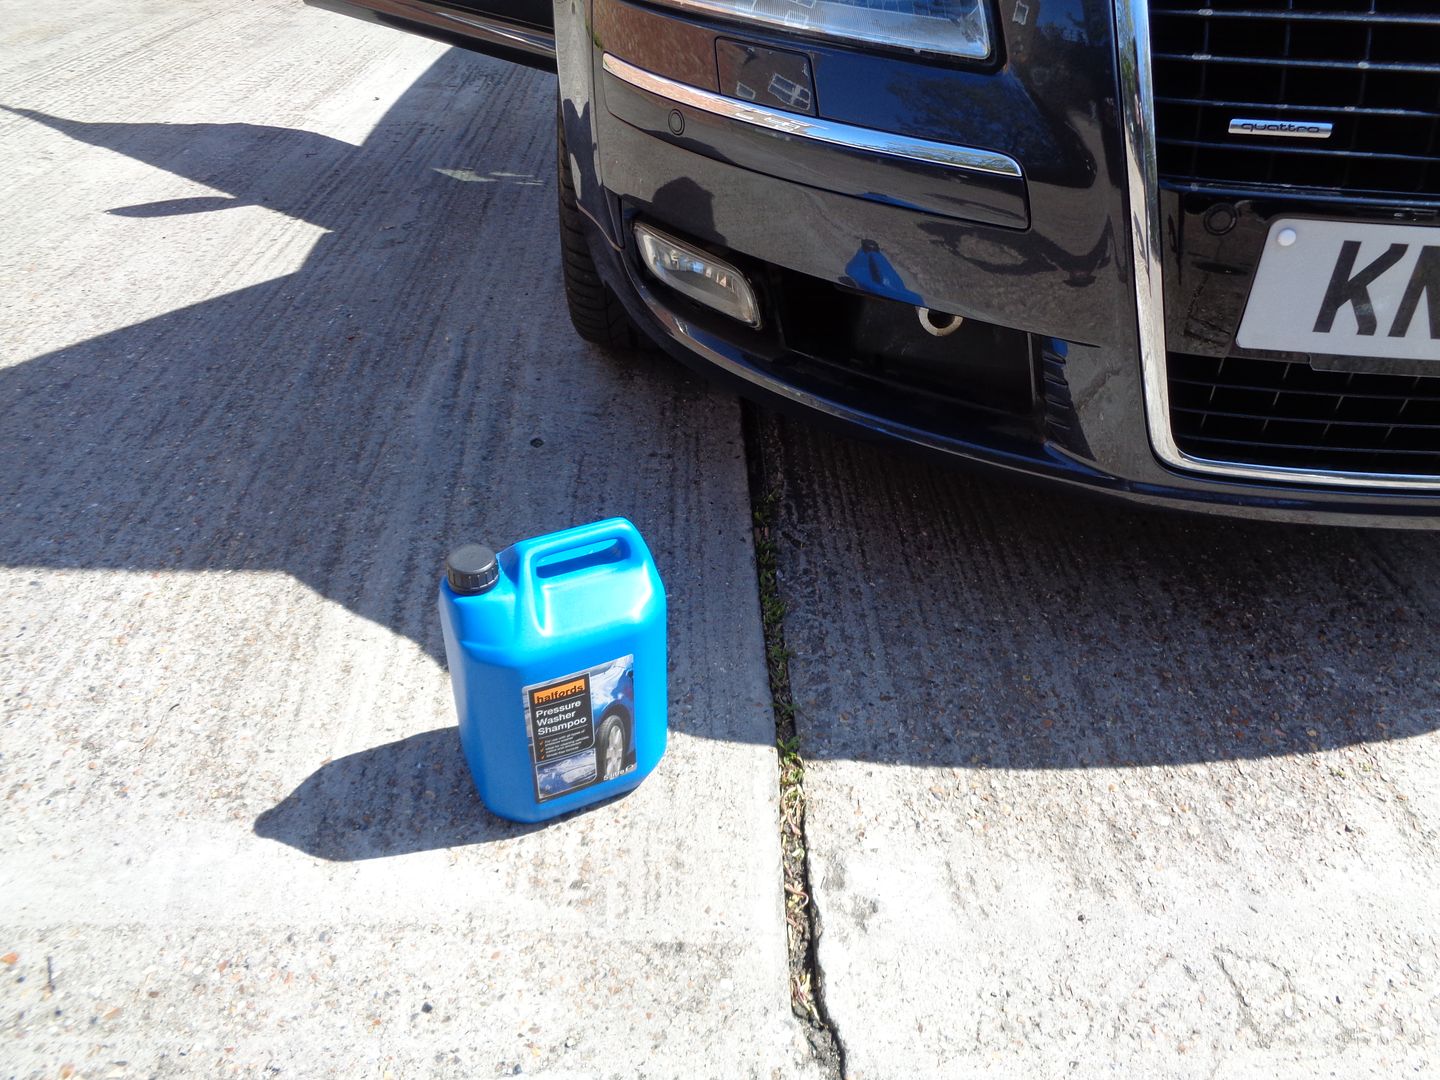 These two clips retain the bumper harness and washer hose together. Push it out then you’ll be able to pull it out while lifting that part of the bumper upwards. 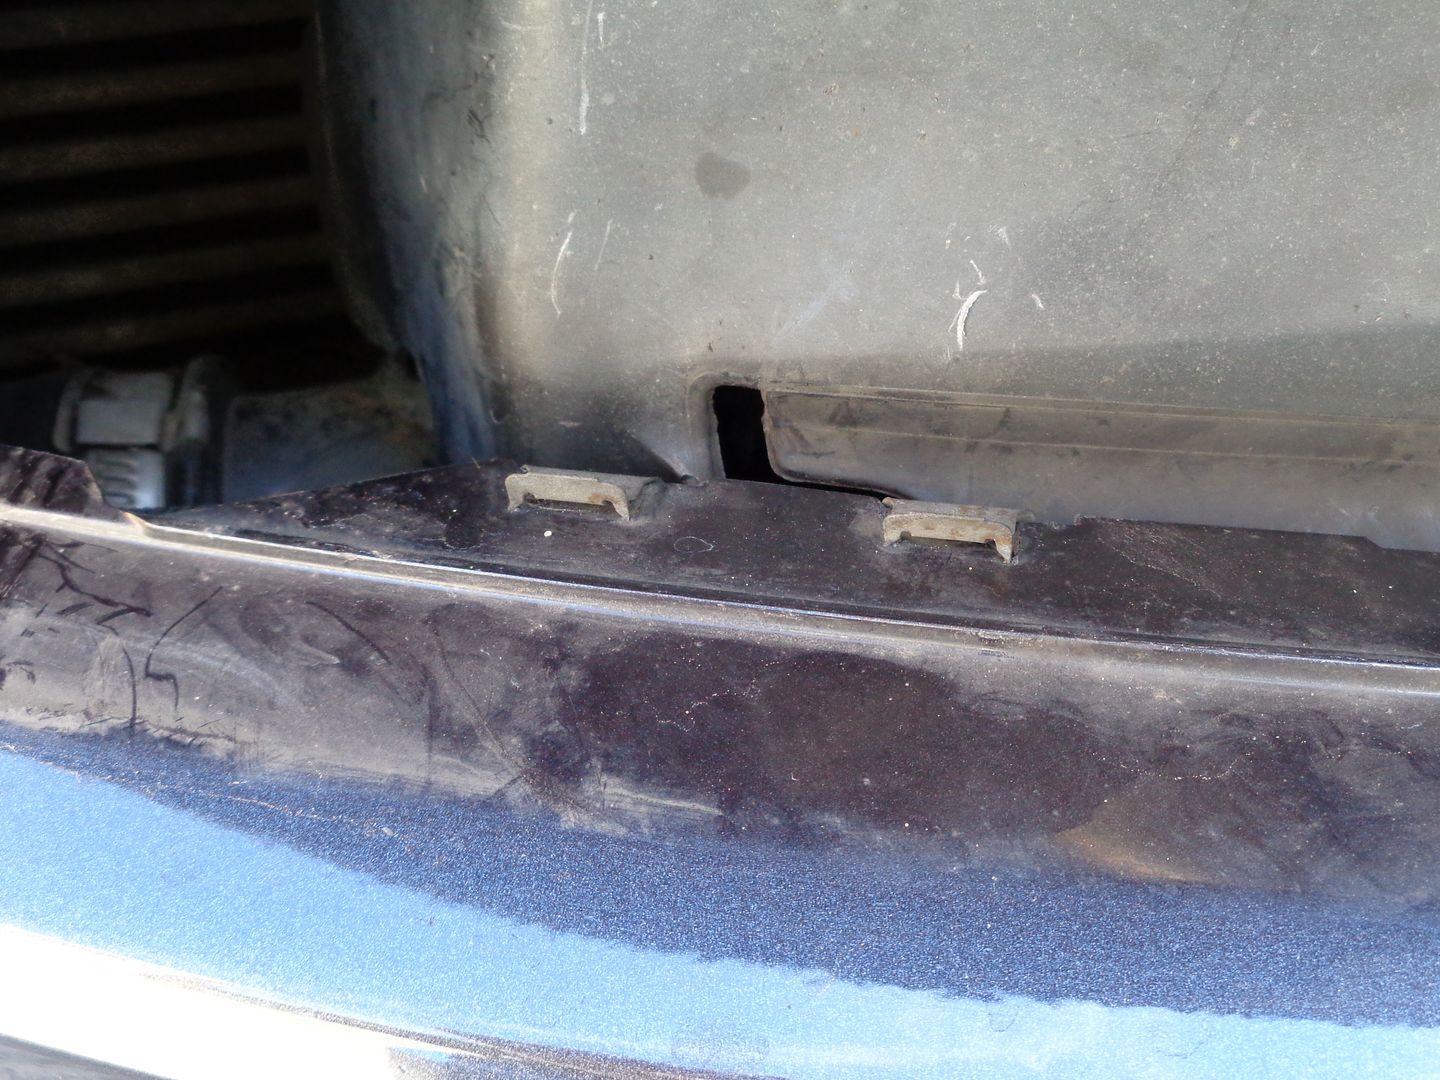  Have you container ready as the fluid will pour out as soon as you disconnect it. 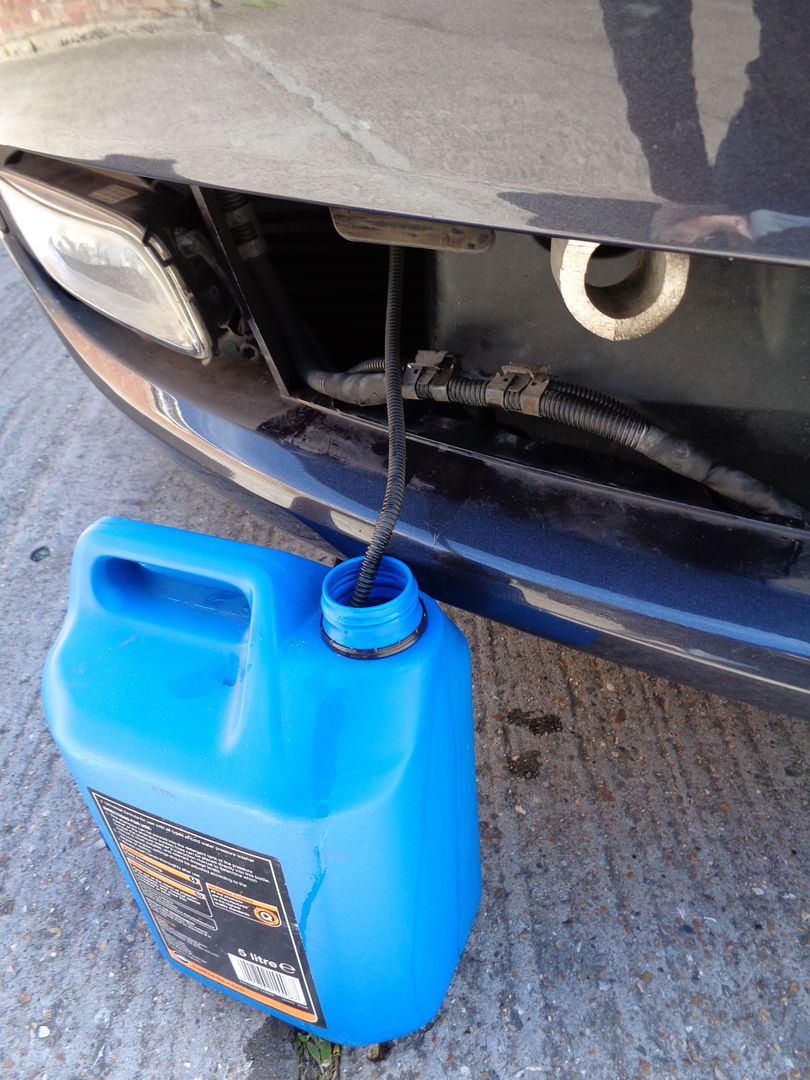 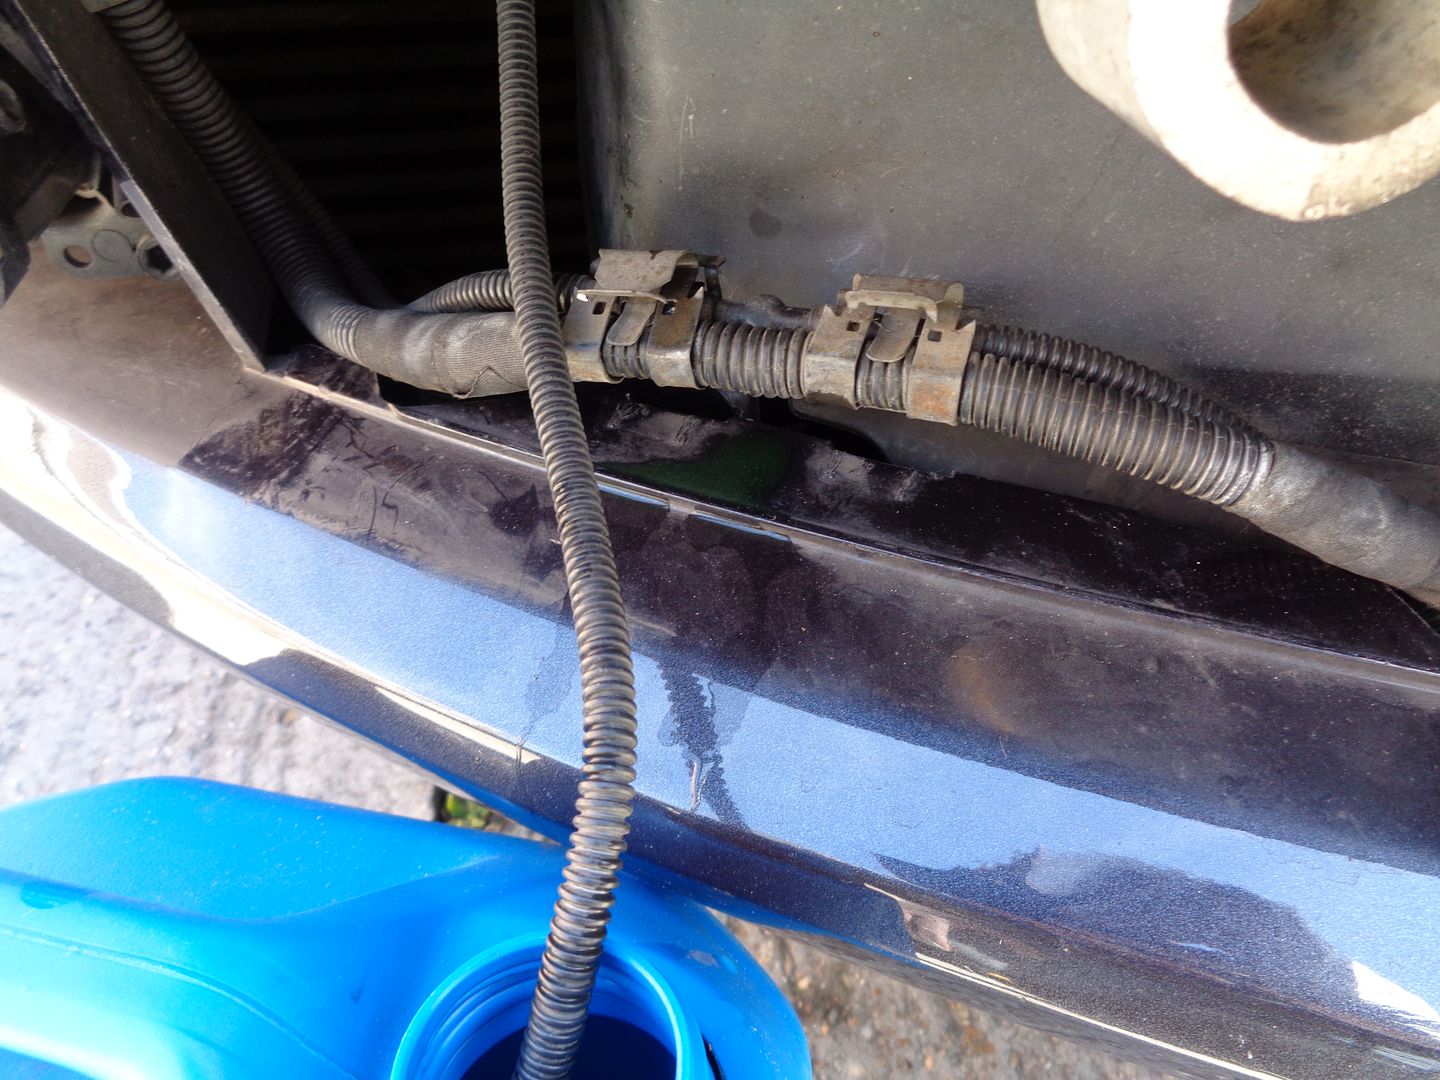 Draining will take 5 minutes… so while that takes place we can start jacking the car and take the wheels off. Firstly put the car in Lift Mode followed by Jacking Mode On in the setup menu of CAR. This is so that the car doesn't decide to level itself while it is being jacked up. 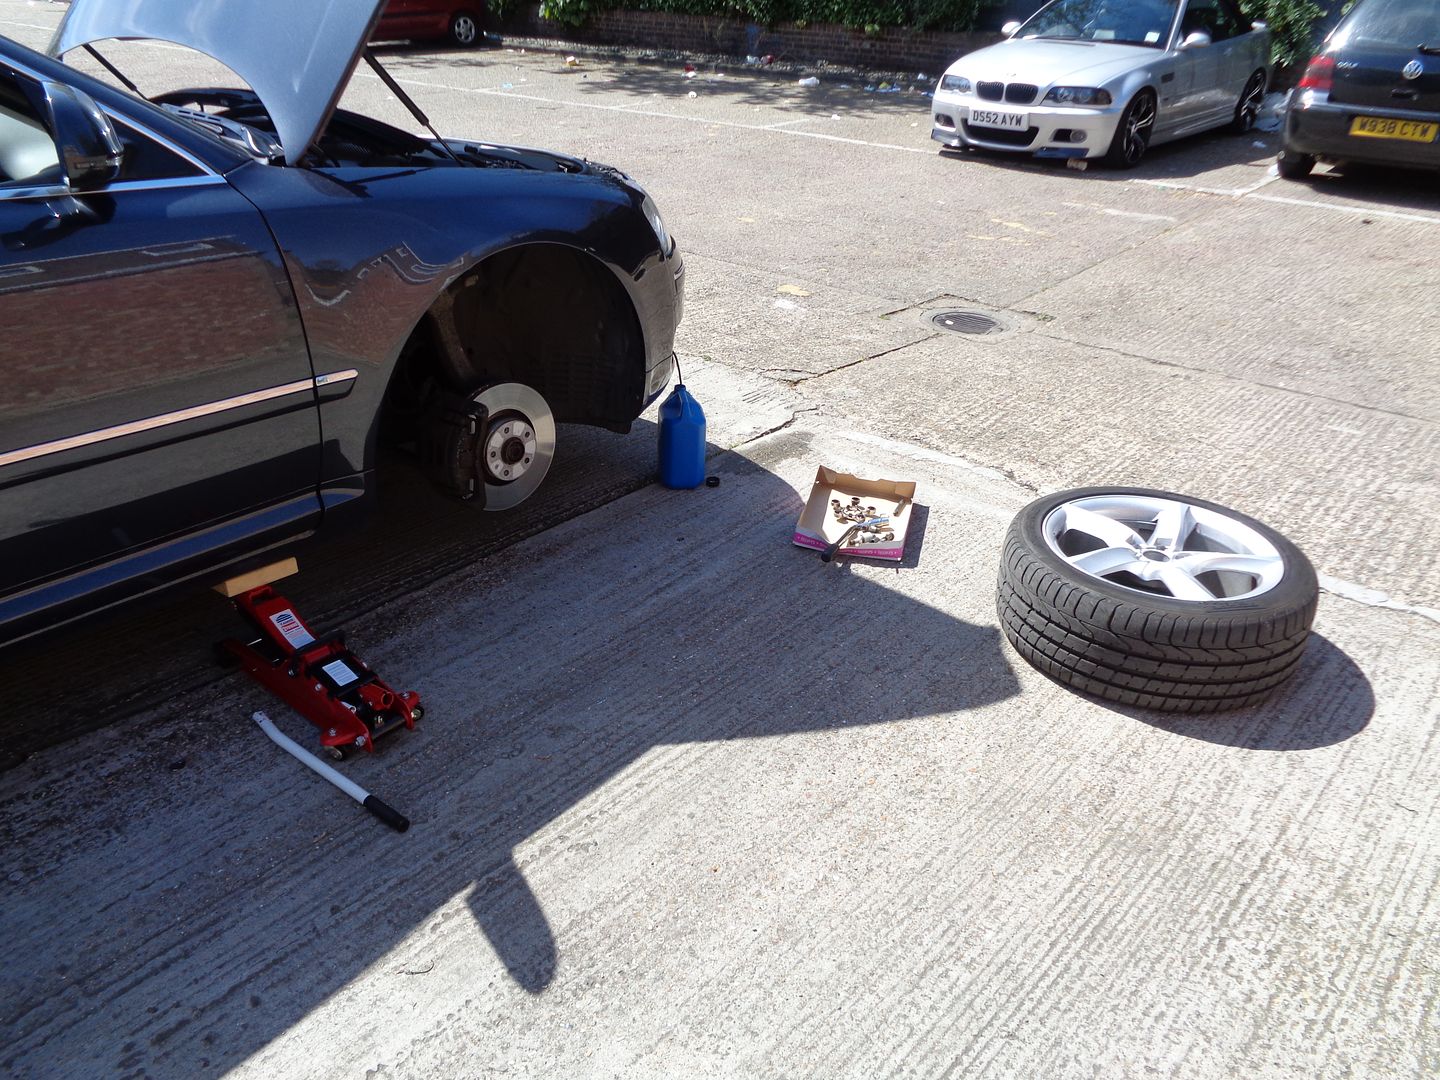 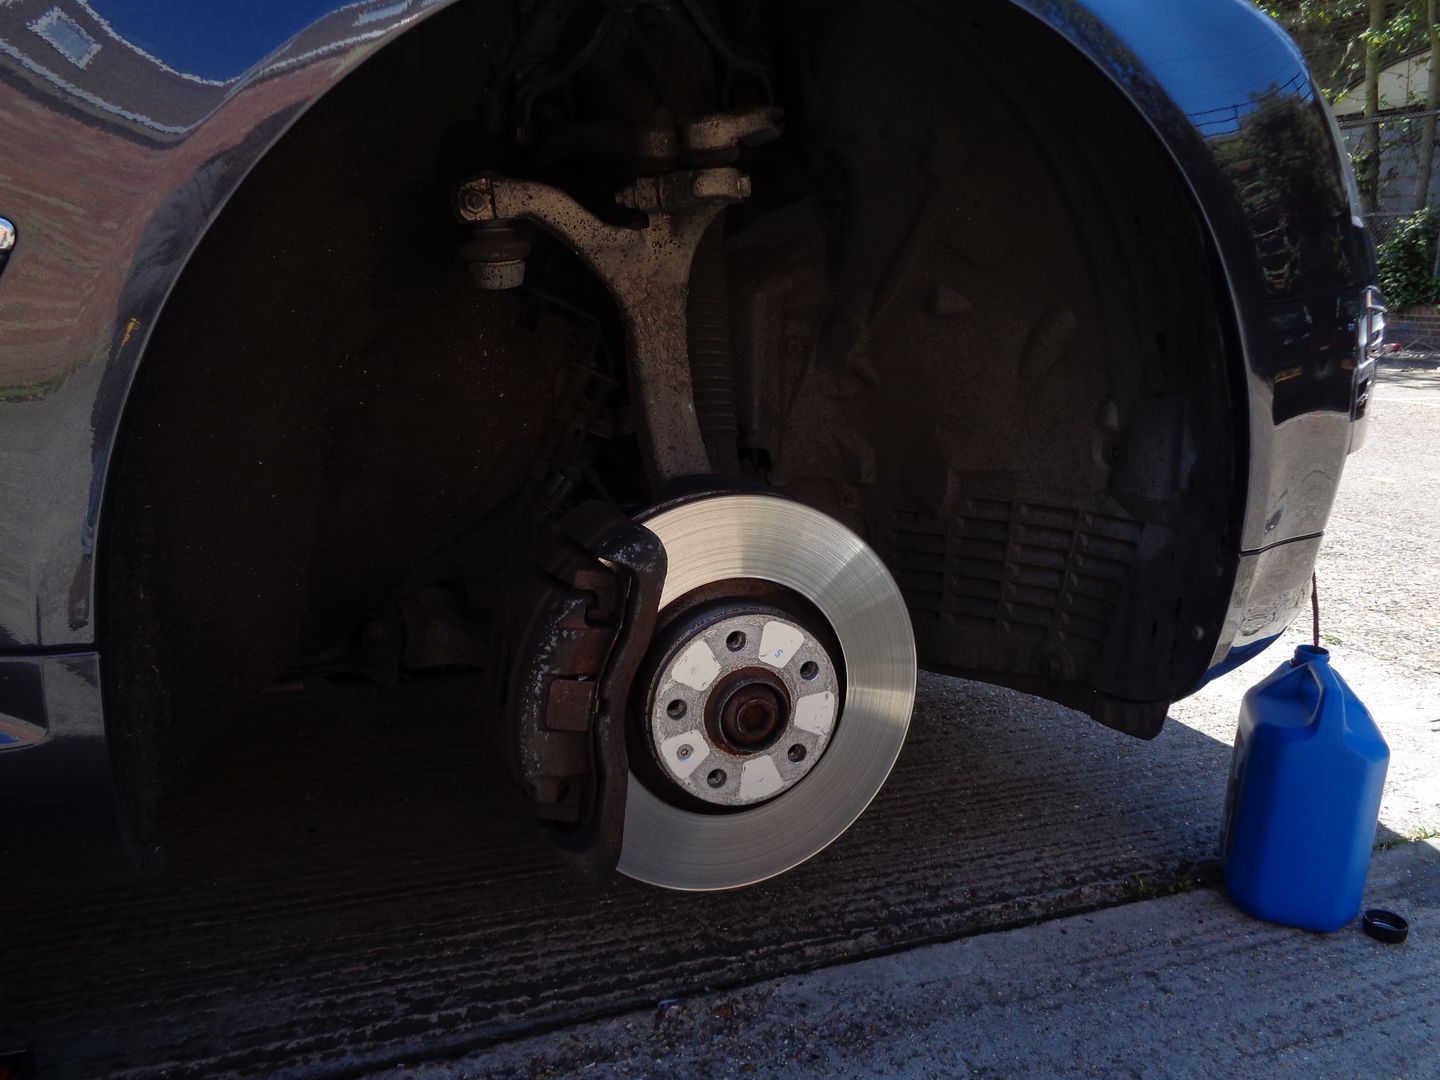 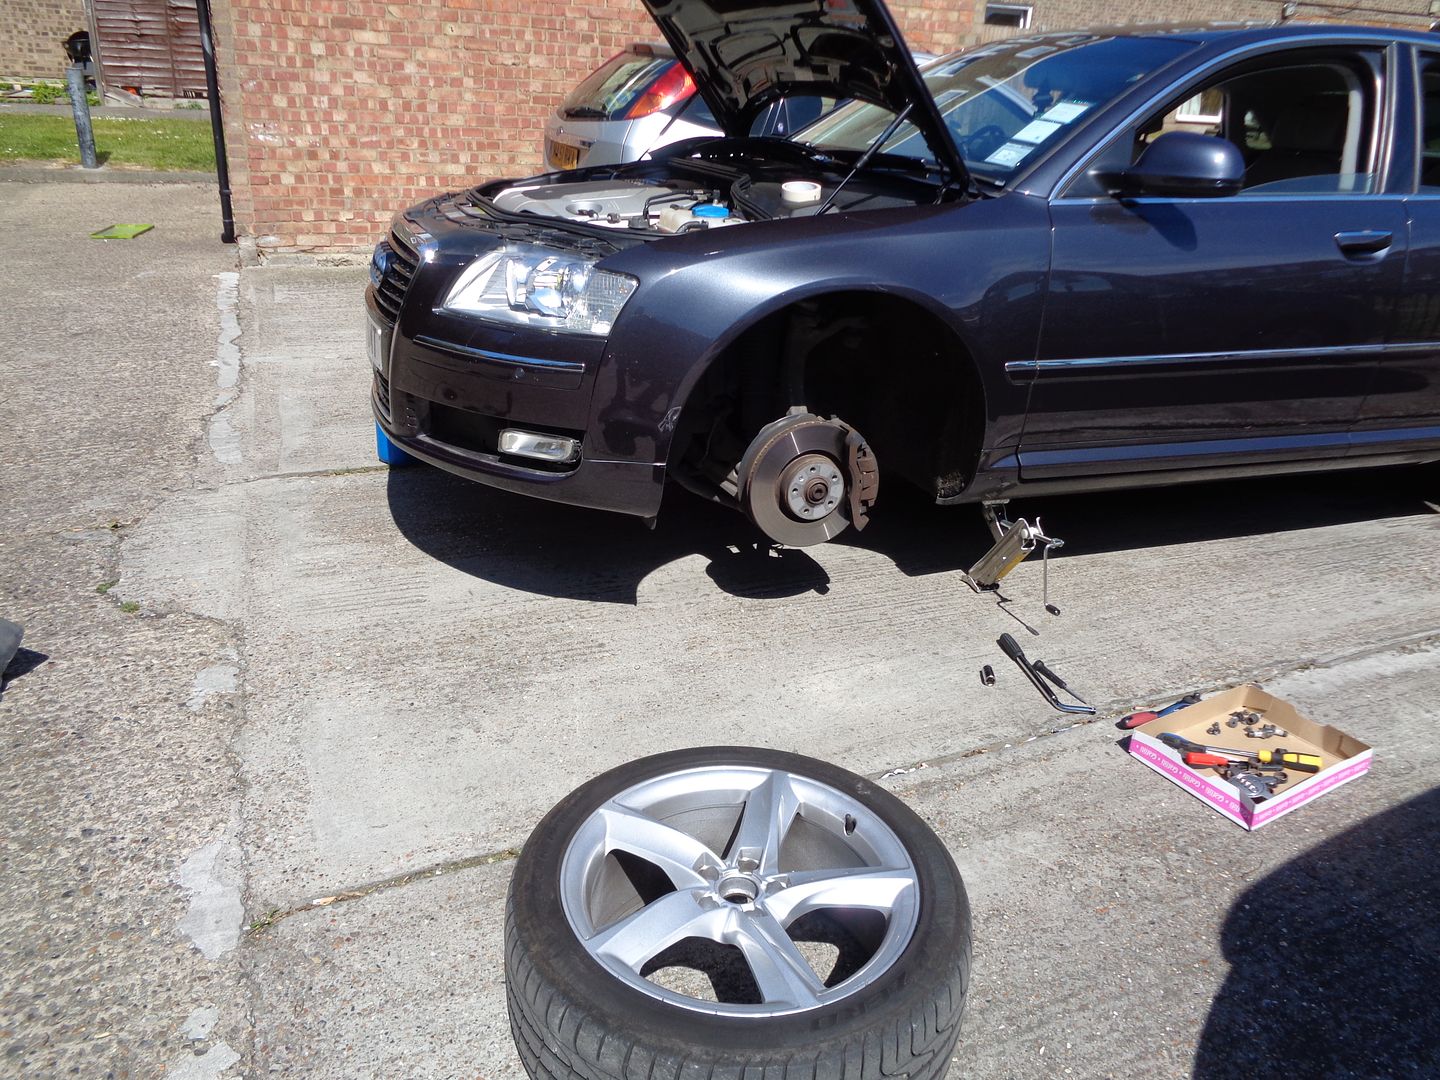 Undo these two grip pins (Part number: 4A0 805 121 C, you will the following with it too: Retaining washer 4A0 805 137 A). Both sides of the wheel liners follow the same instructions. 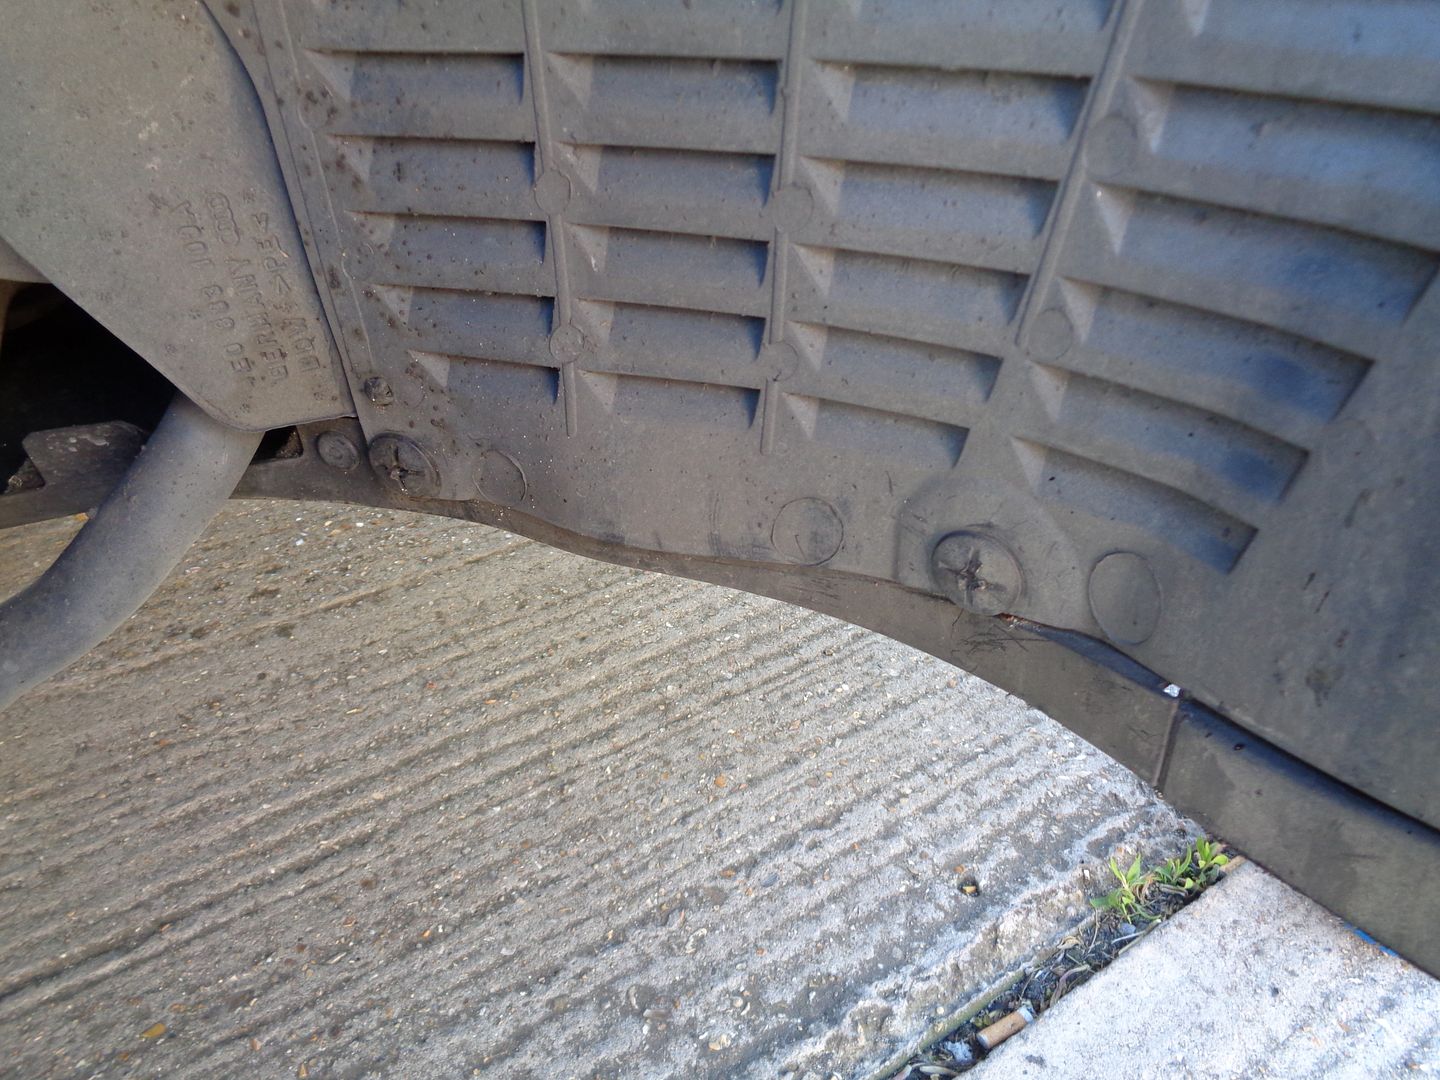 Undo the screws 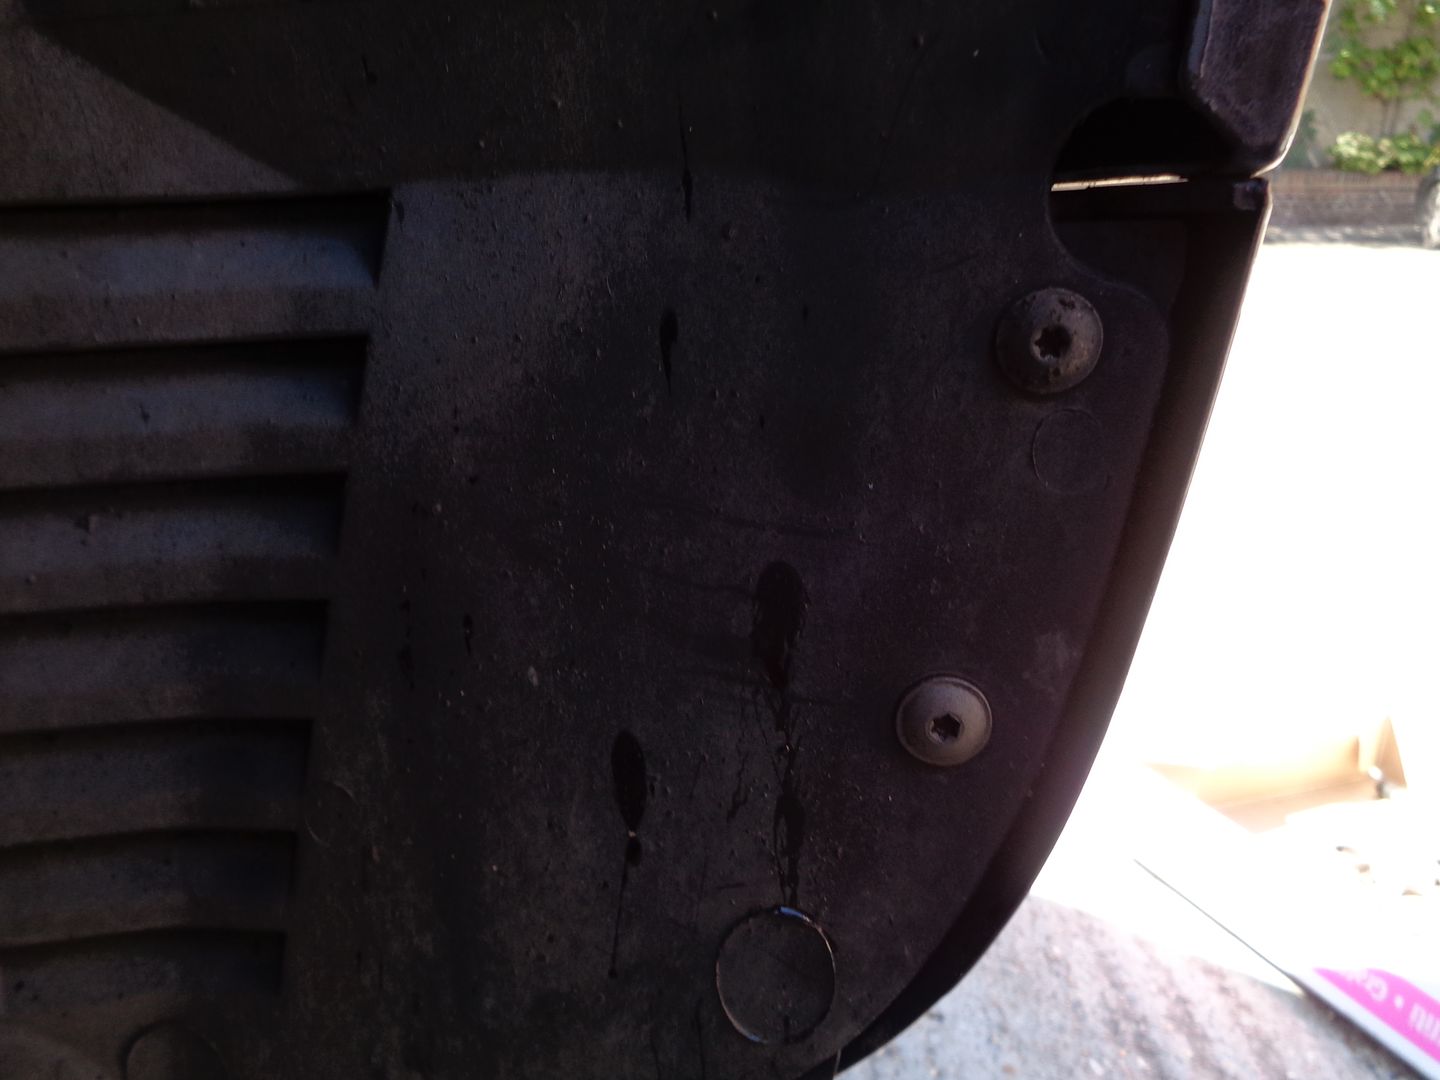 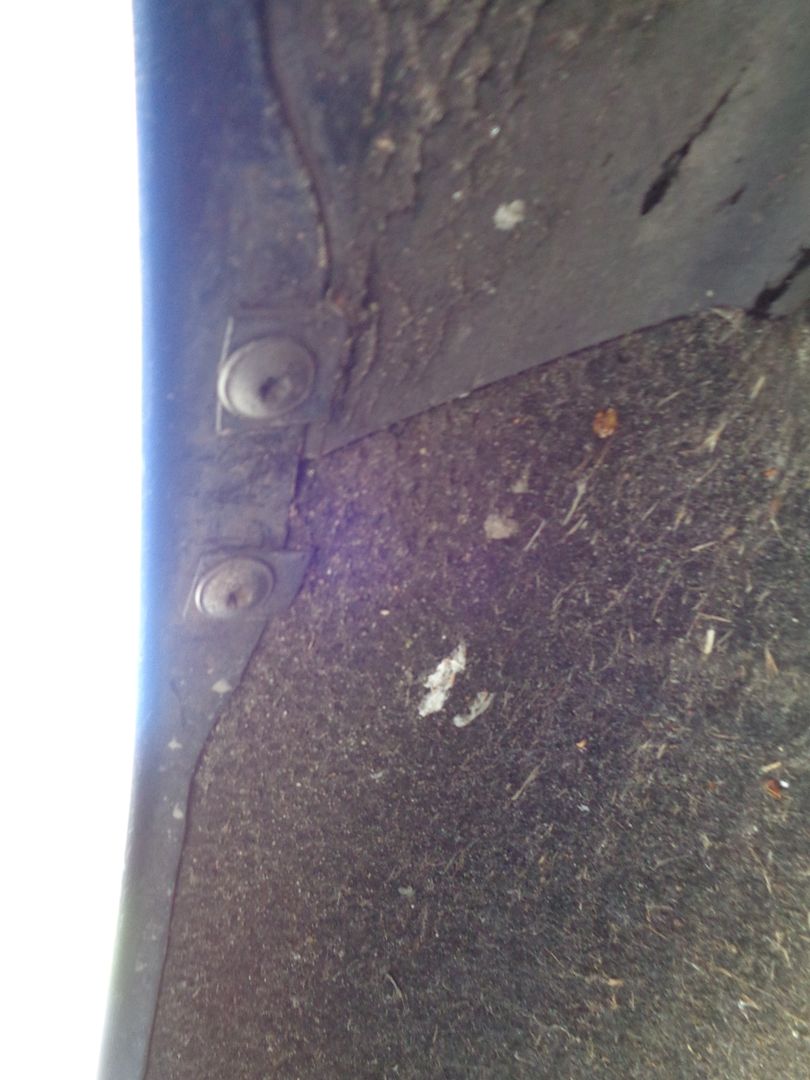 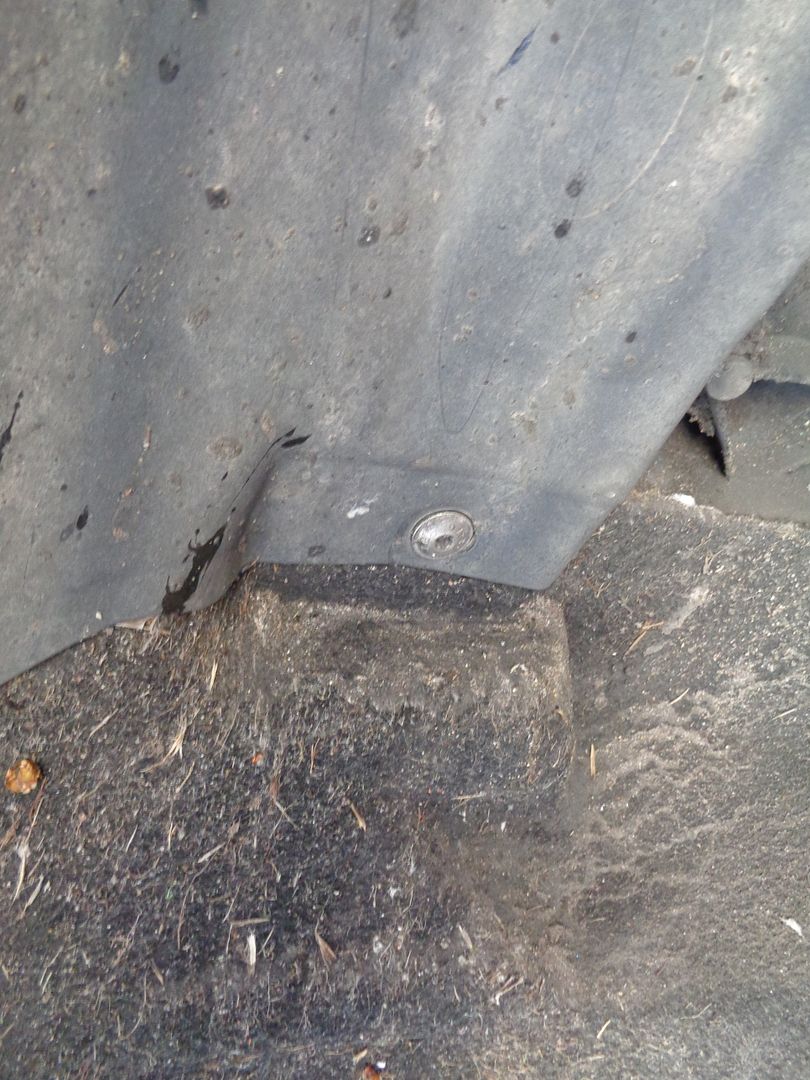 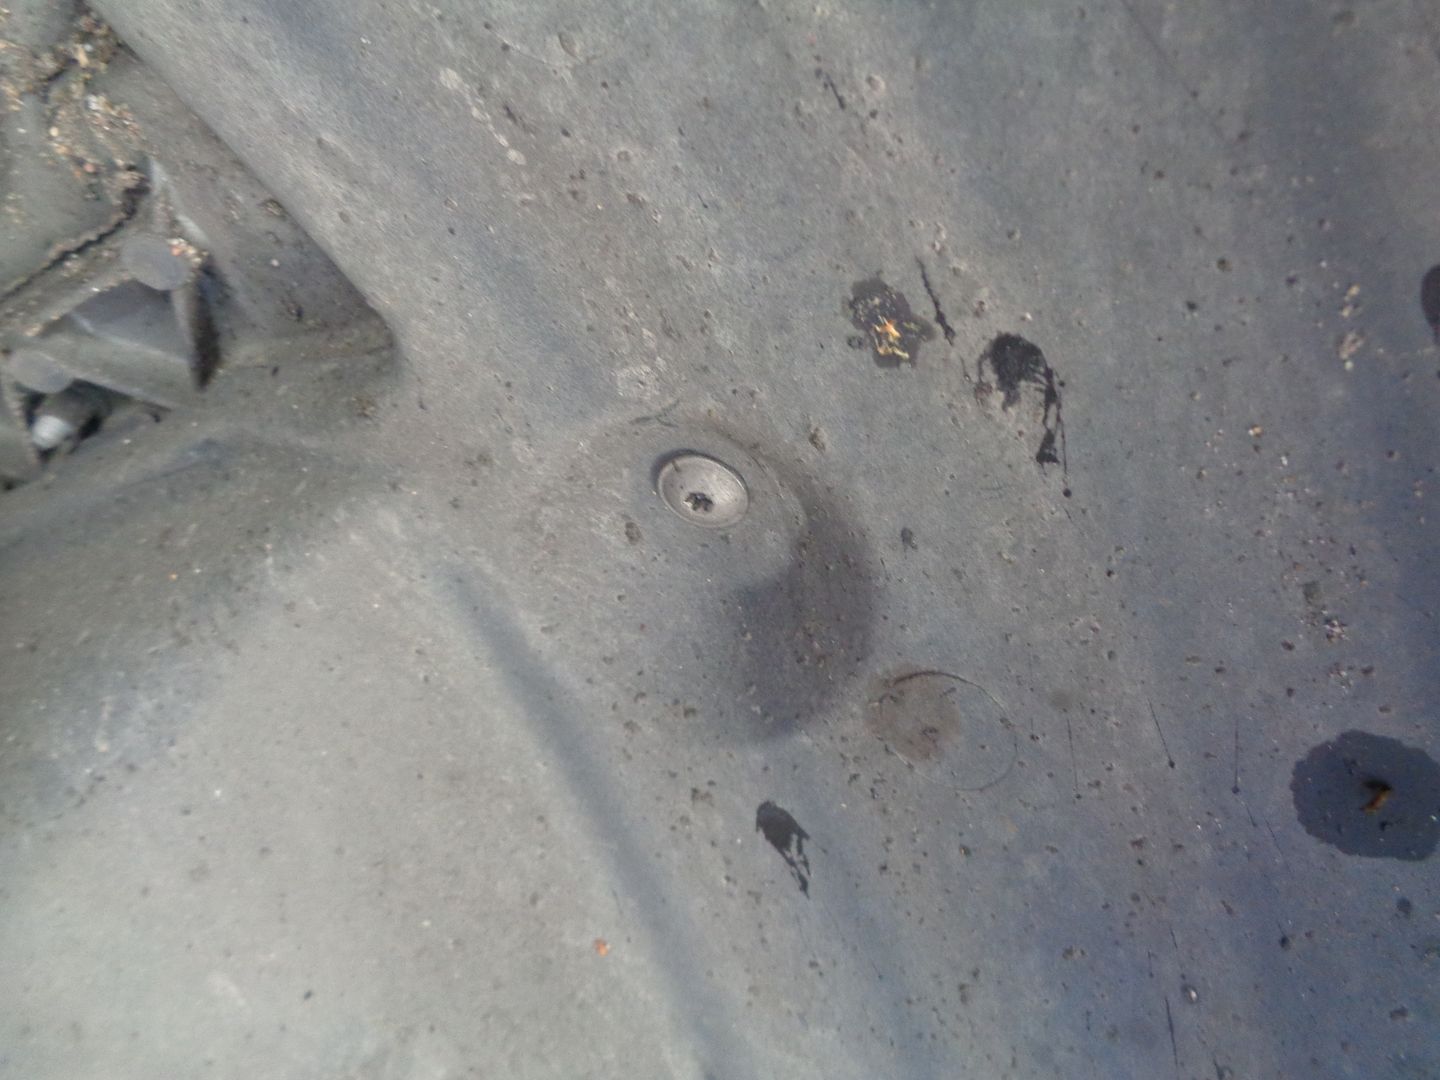 Undo the 4 spreader rivets with a torx screwdriver. Do not push the pin inwards too much as you will loose it for good otherwise. They can be reused once they are taken off but not if you loose the pin. It’s a good idea to keep some spares (Part number: 4D0 807 300) 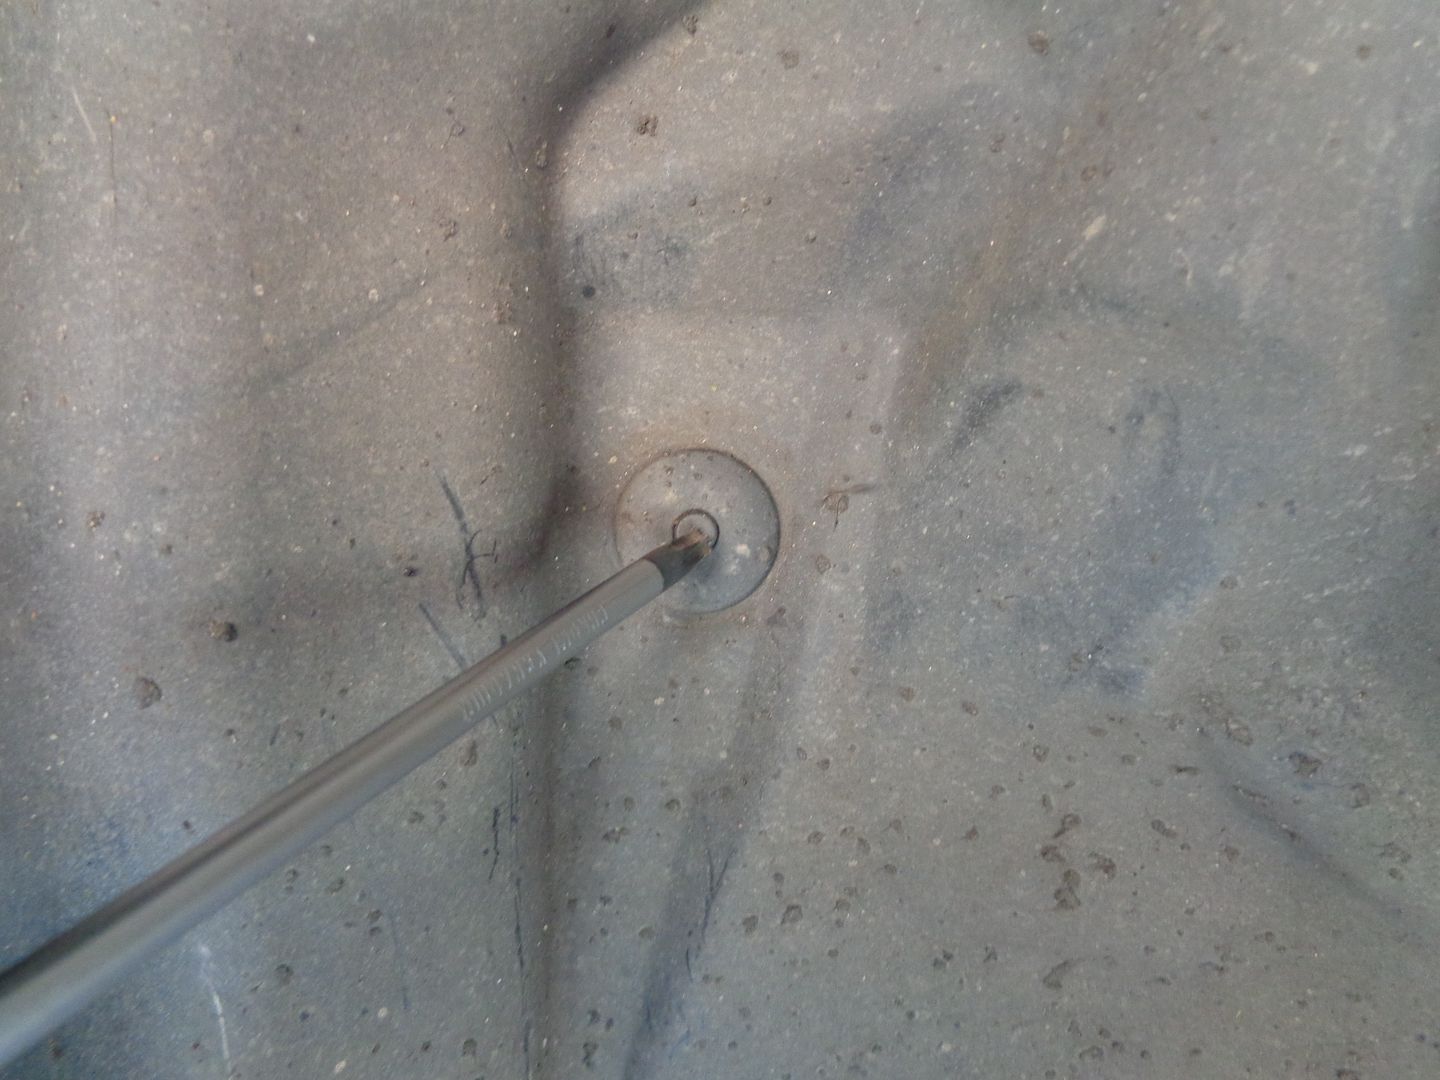 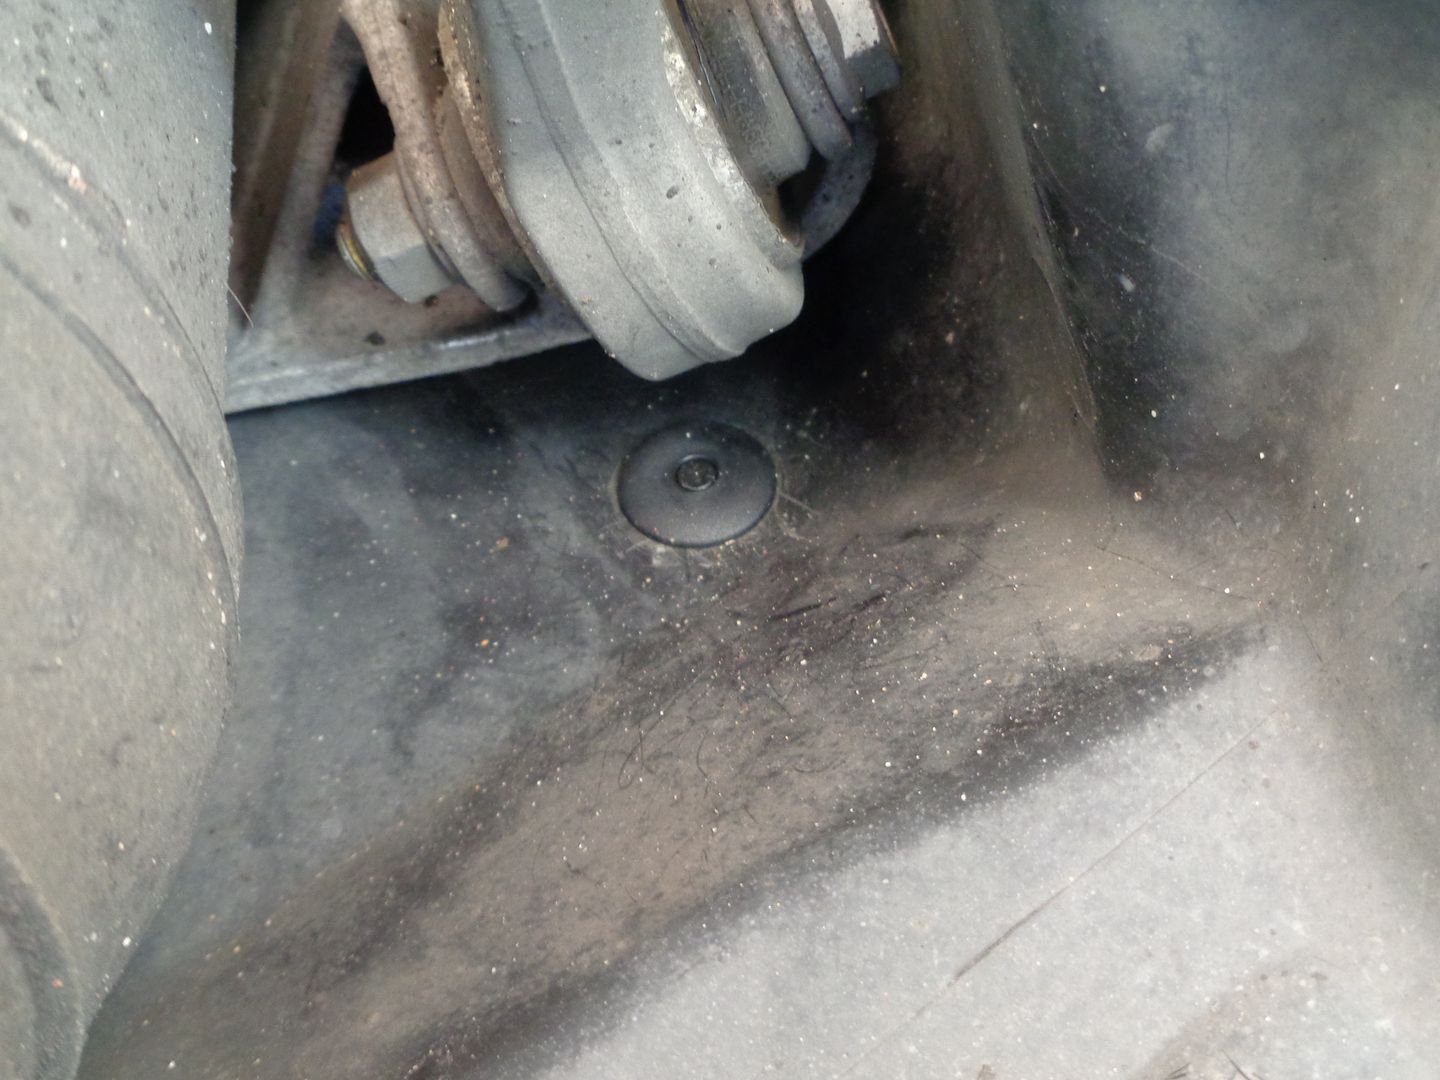  We can then go ahead and pull down the wheel liner 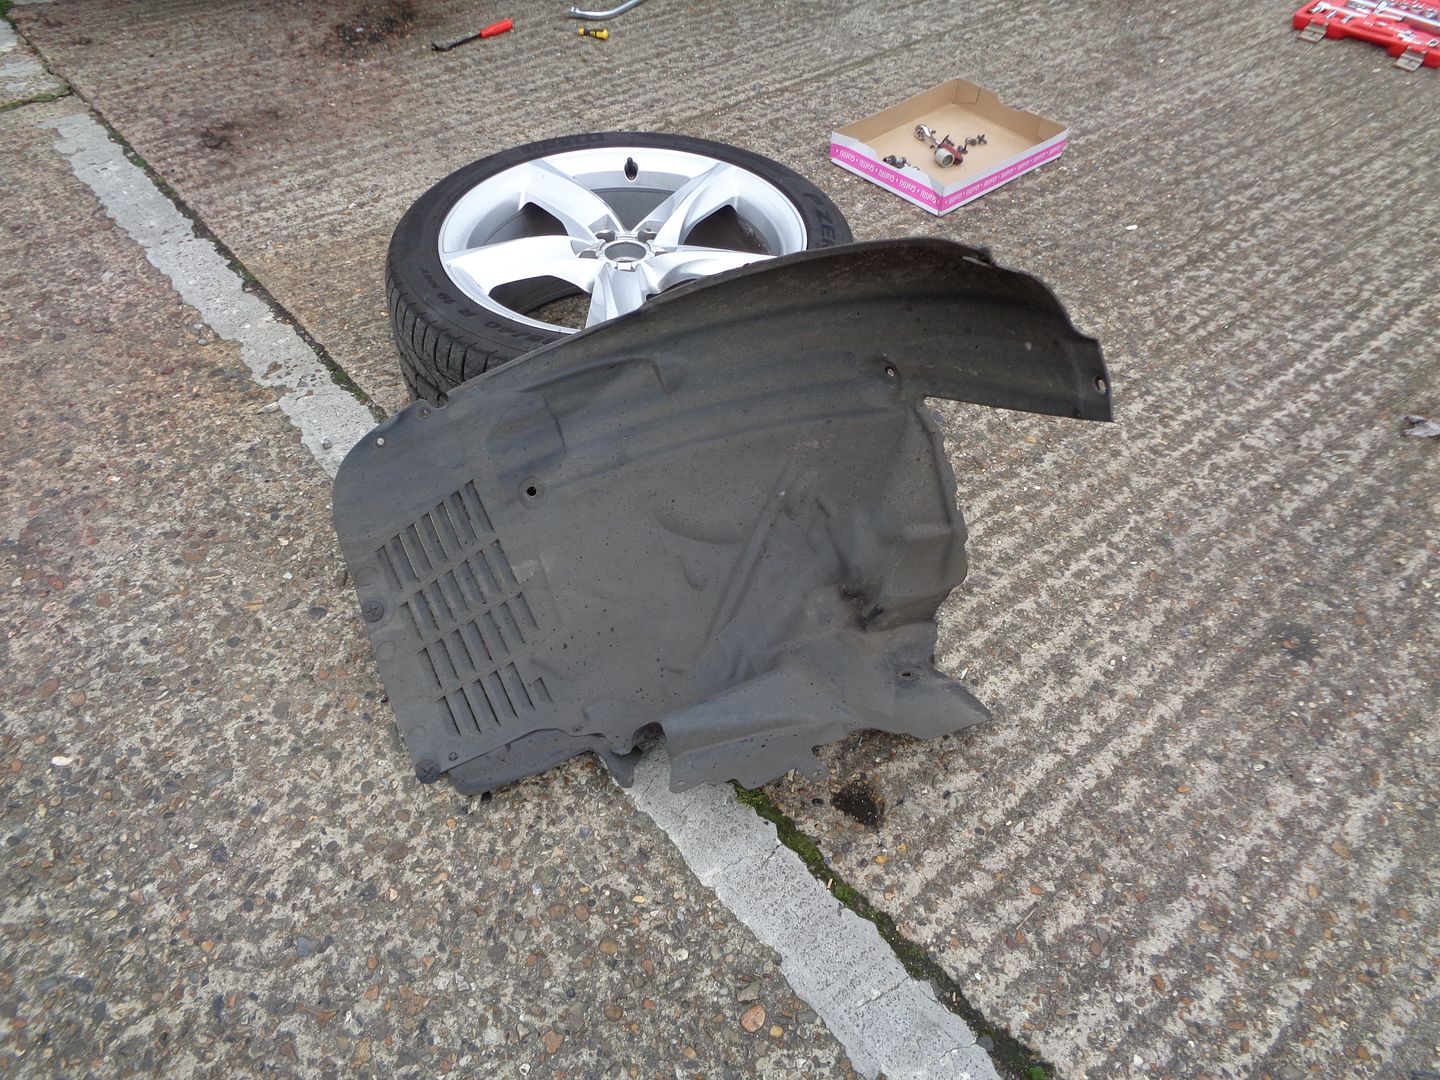 Here the bolts we need to remove on each side using a Size 10mm socket. You need a ratchet with an extension to get to them properly. 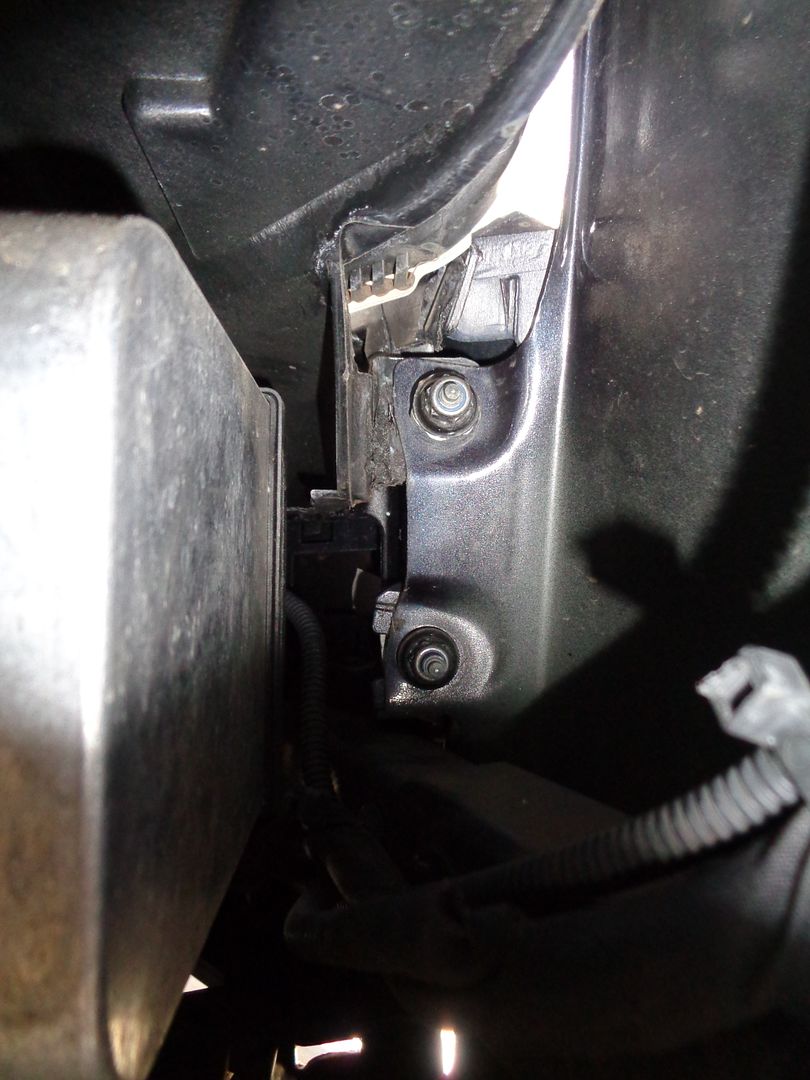 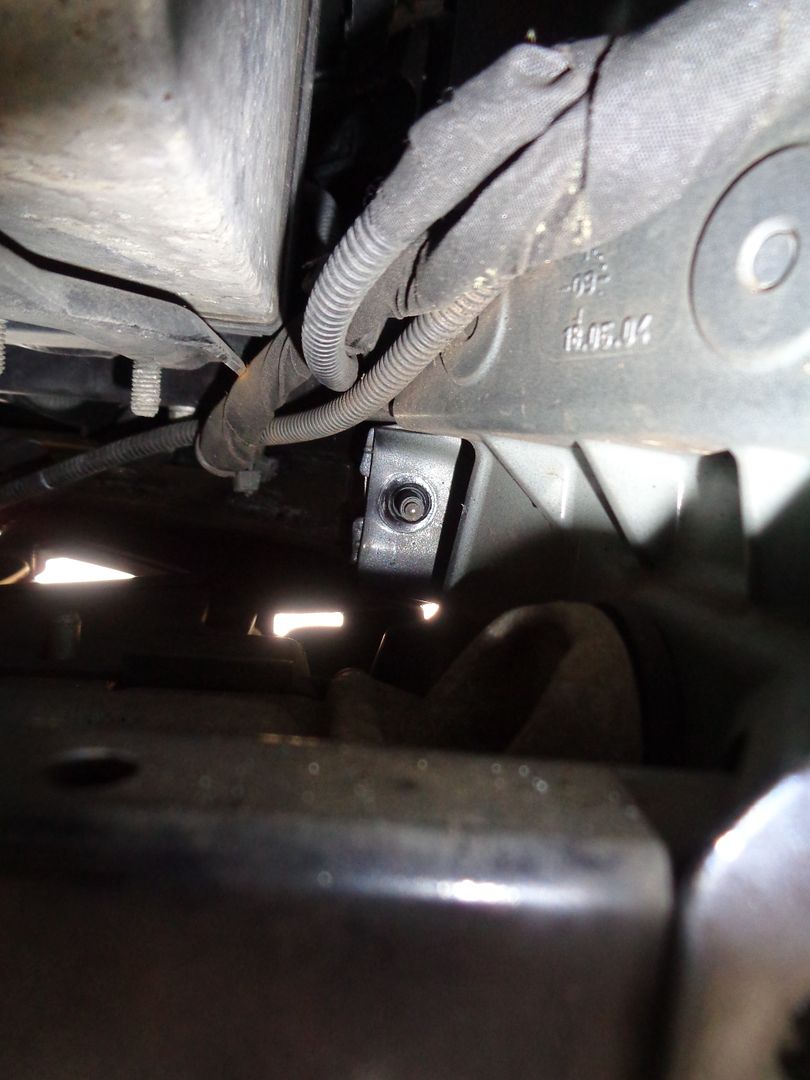 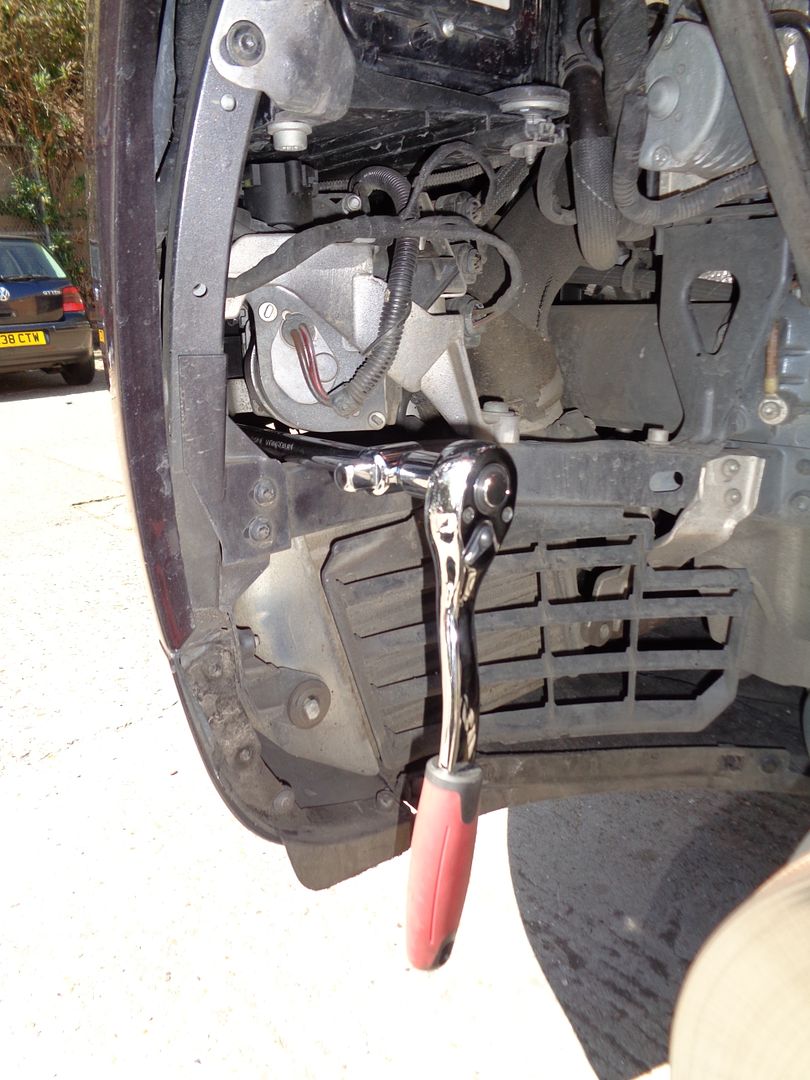 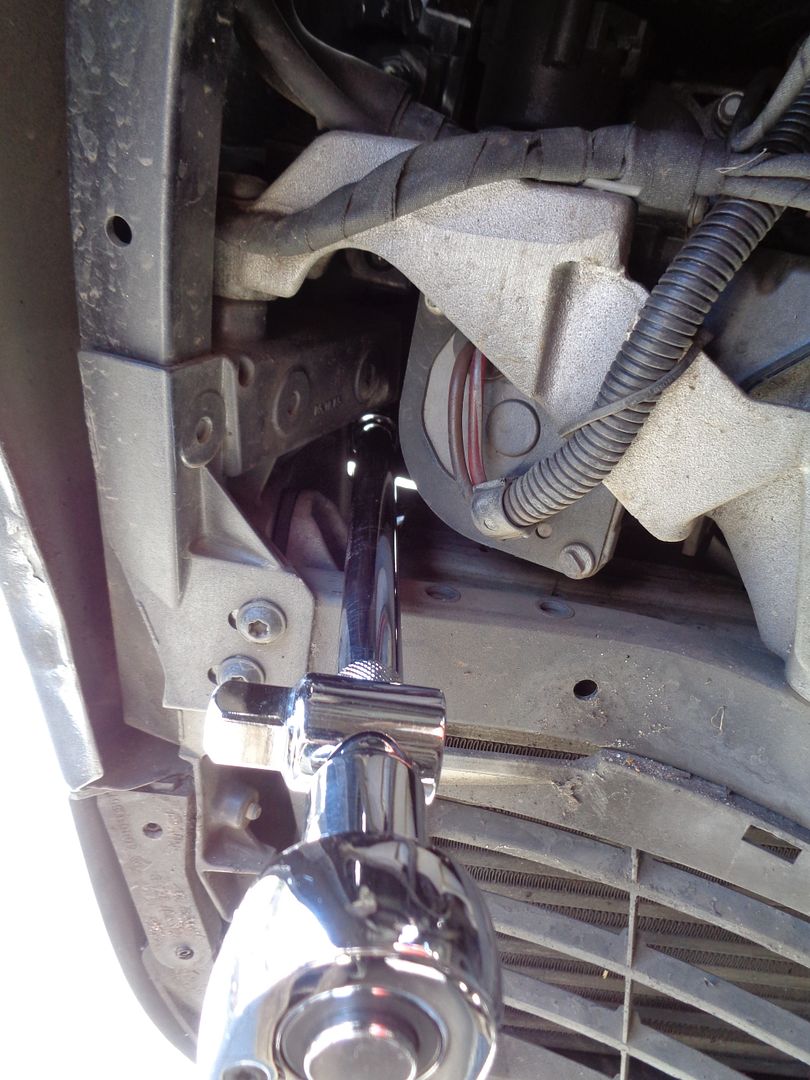 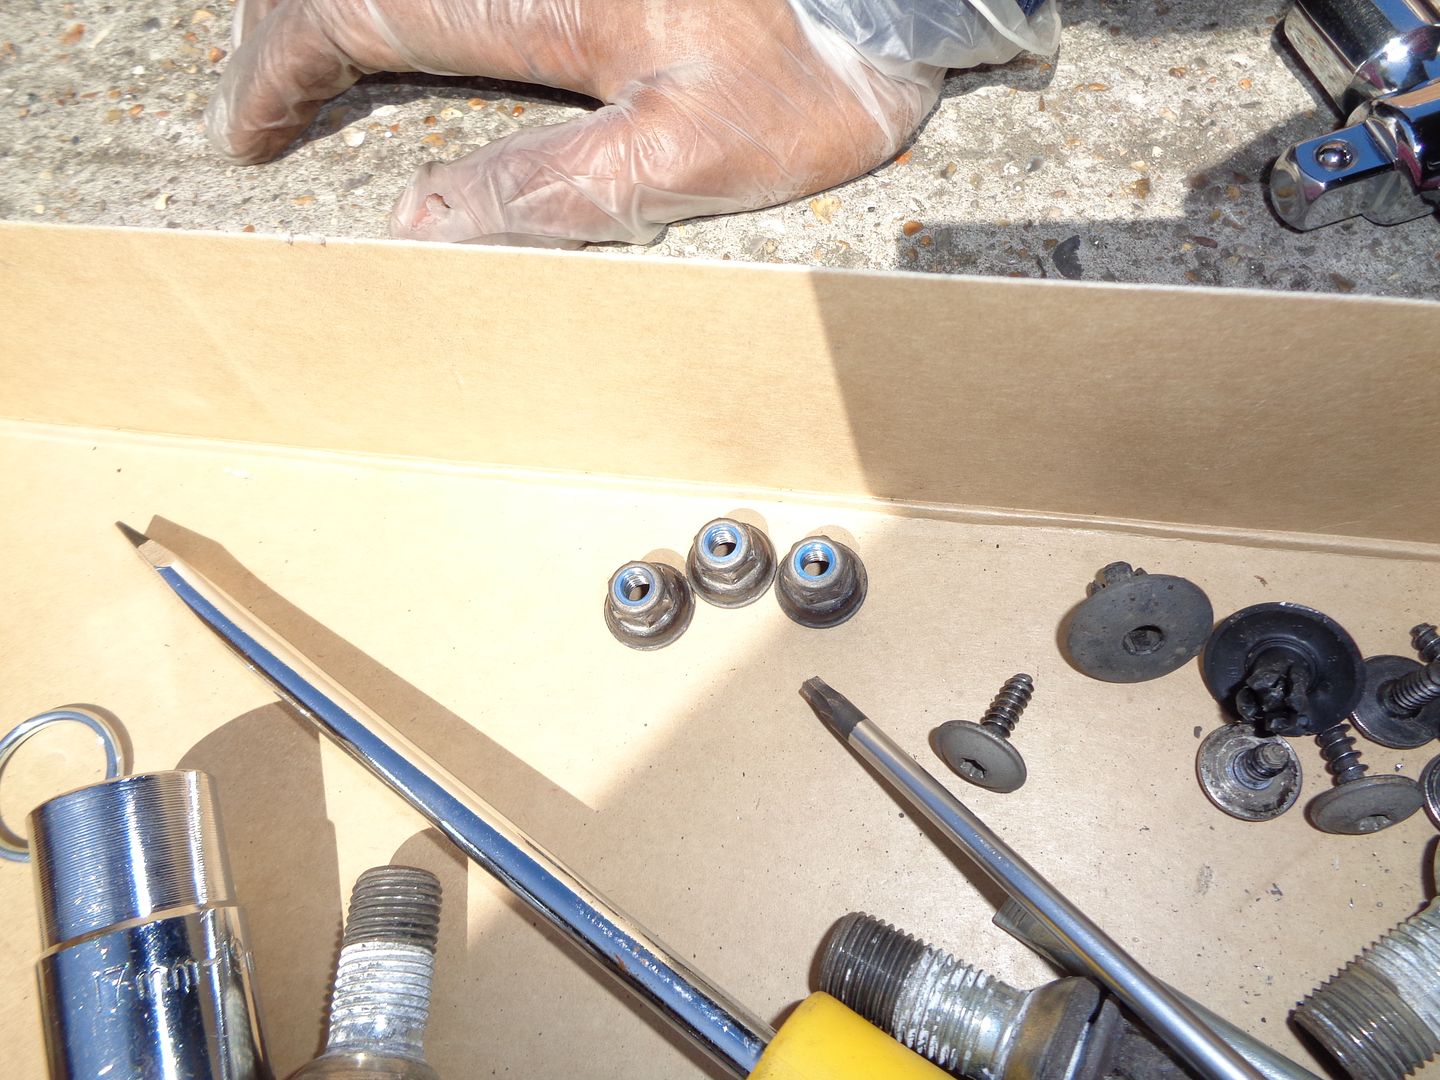 Now once the bolts are taken off, I suggest to mask the edges of the wing panel and bottom of the bumper as the securing pin from the bumper can cause damage to the paint work should you find yourself struggling to get it off. 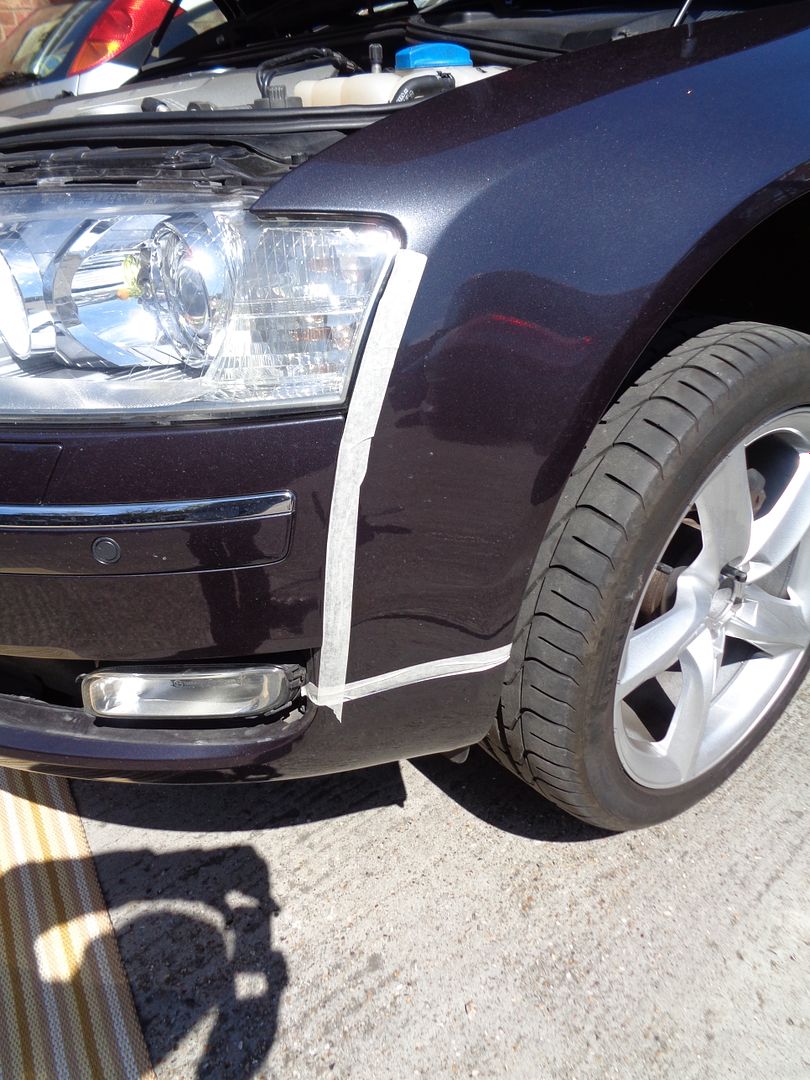 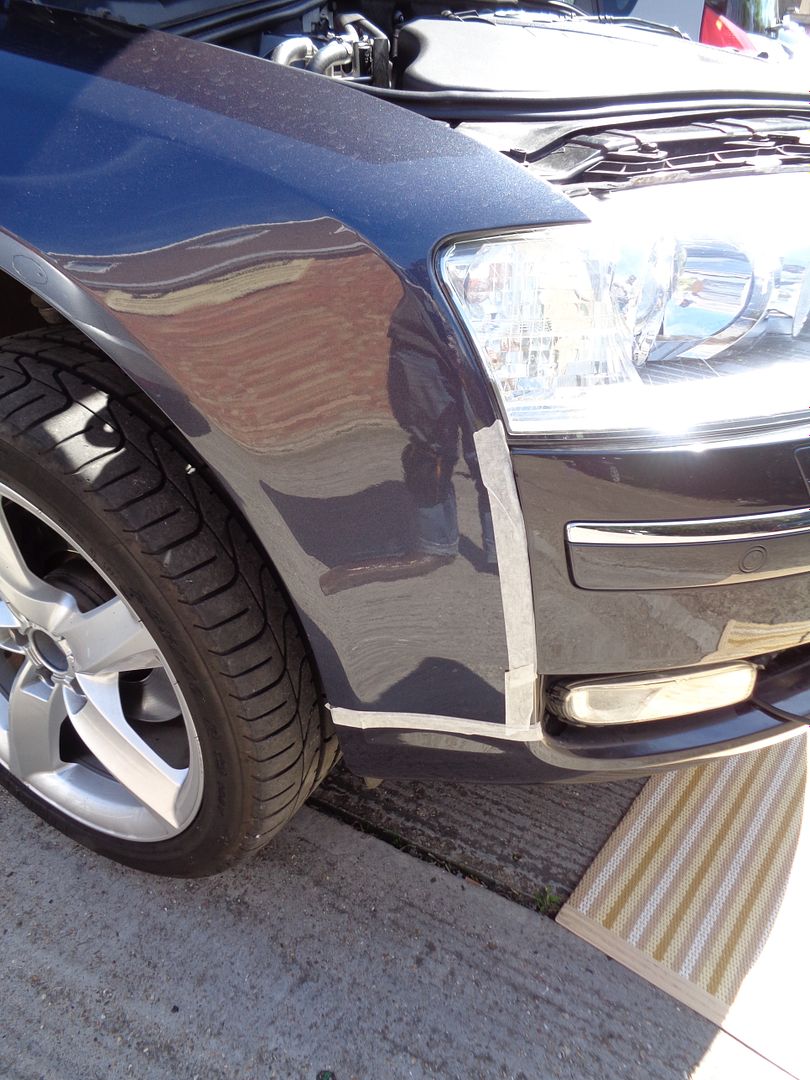 There are 3 more brown bolts to remove under the bumper, I didn’t get a chance to take pictures of that. You need to use a big sized flat head screw driver to get them off. It secures the bumper and the undertray to the radiator housing frame. Also take off the 5 x torx 25 and 2 x torx 30 screws on the top of the bumper. 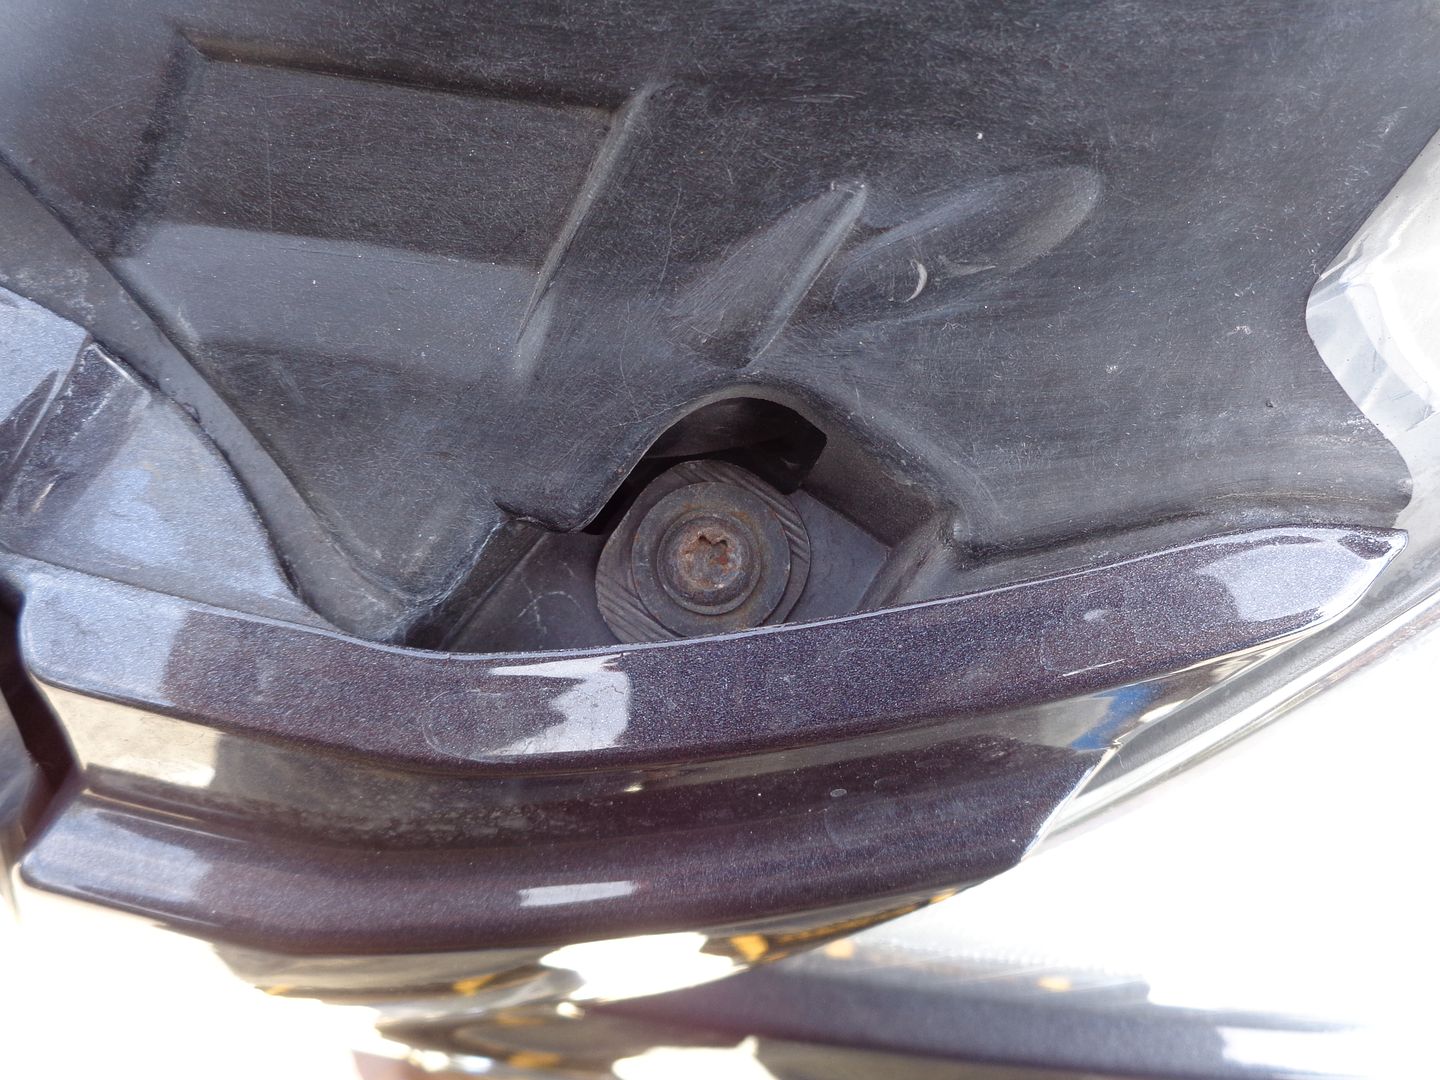 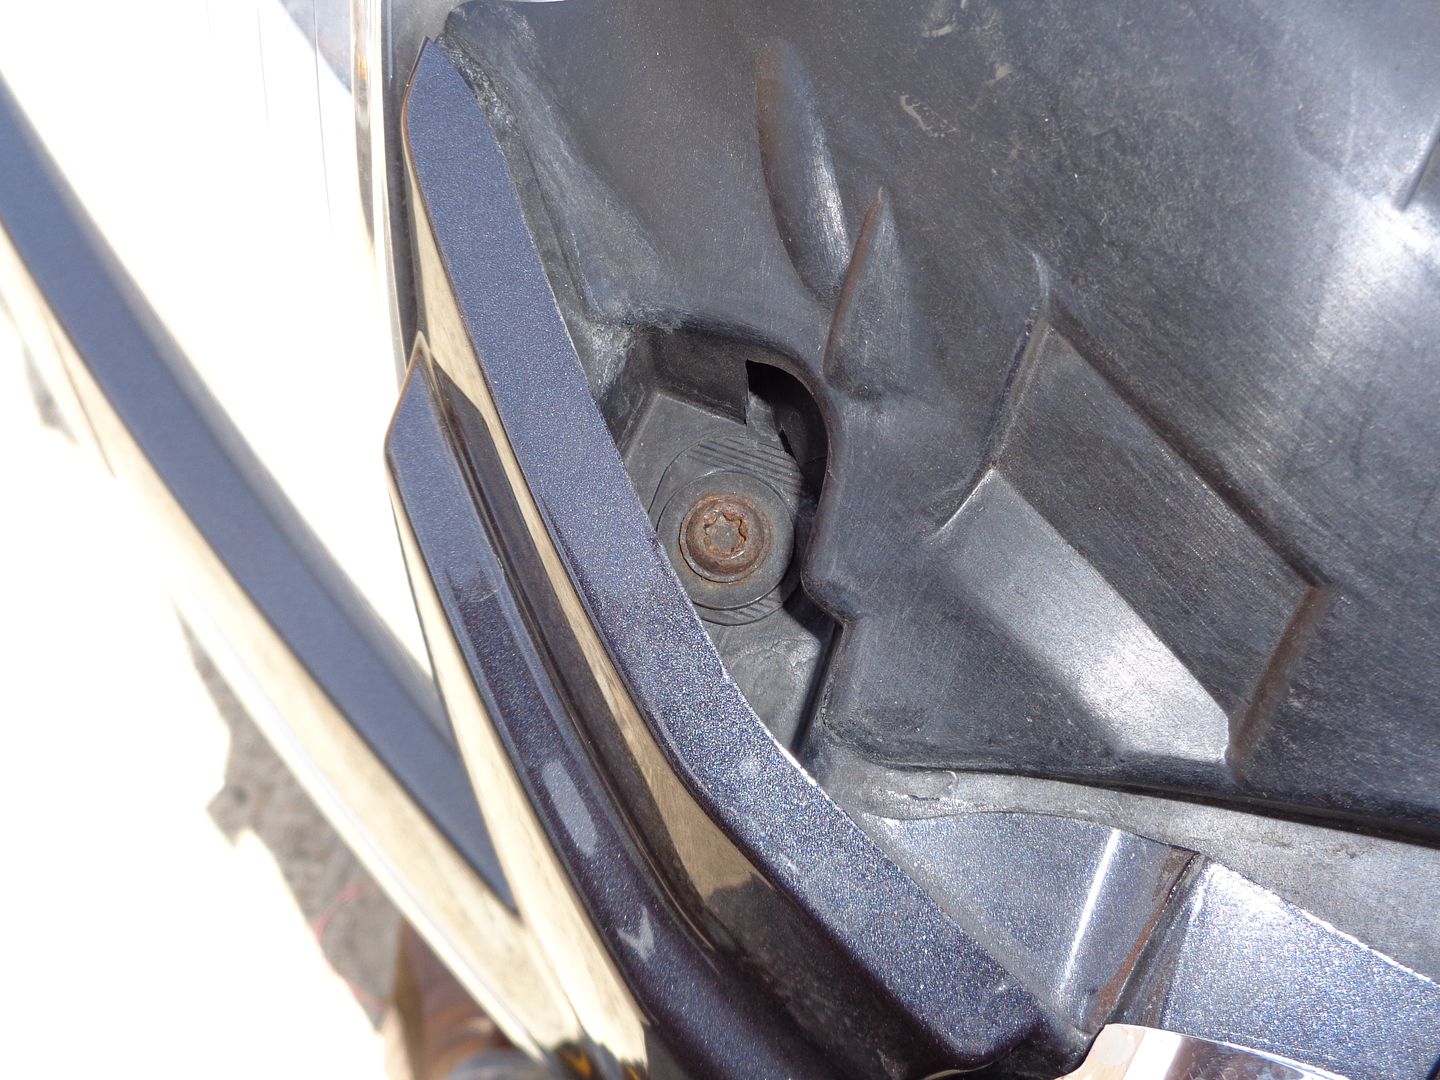  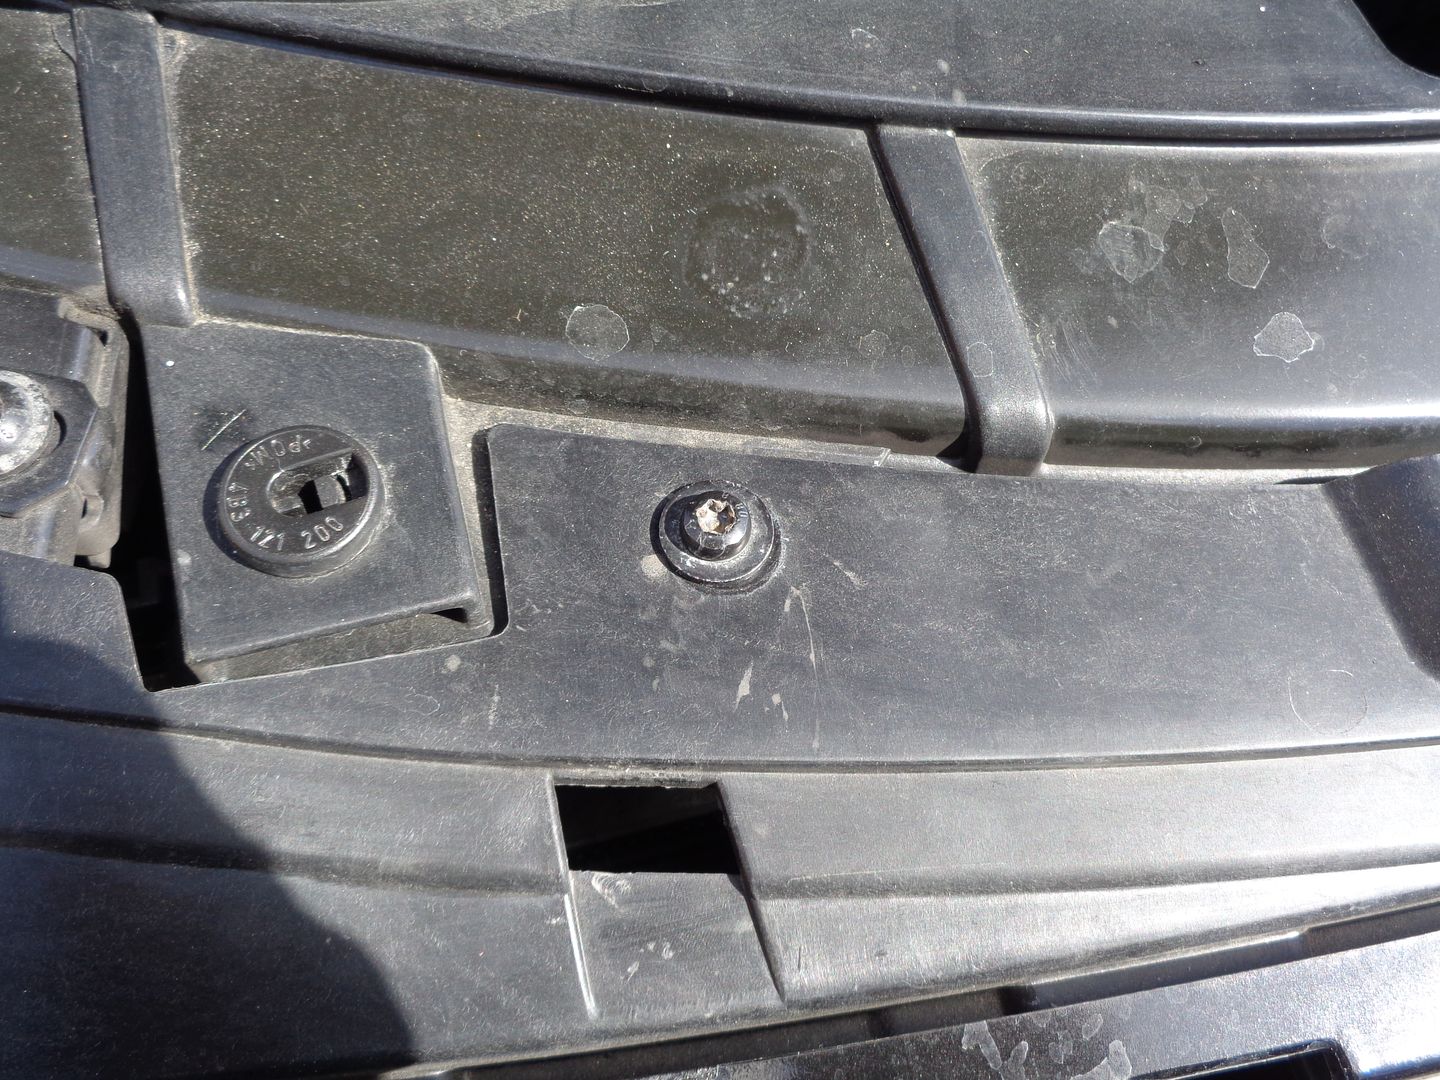 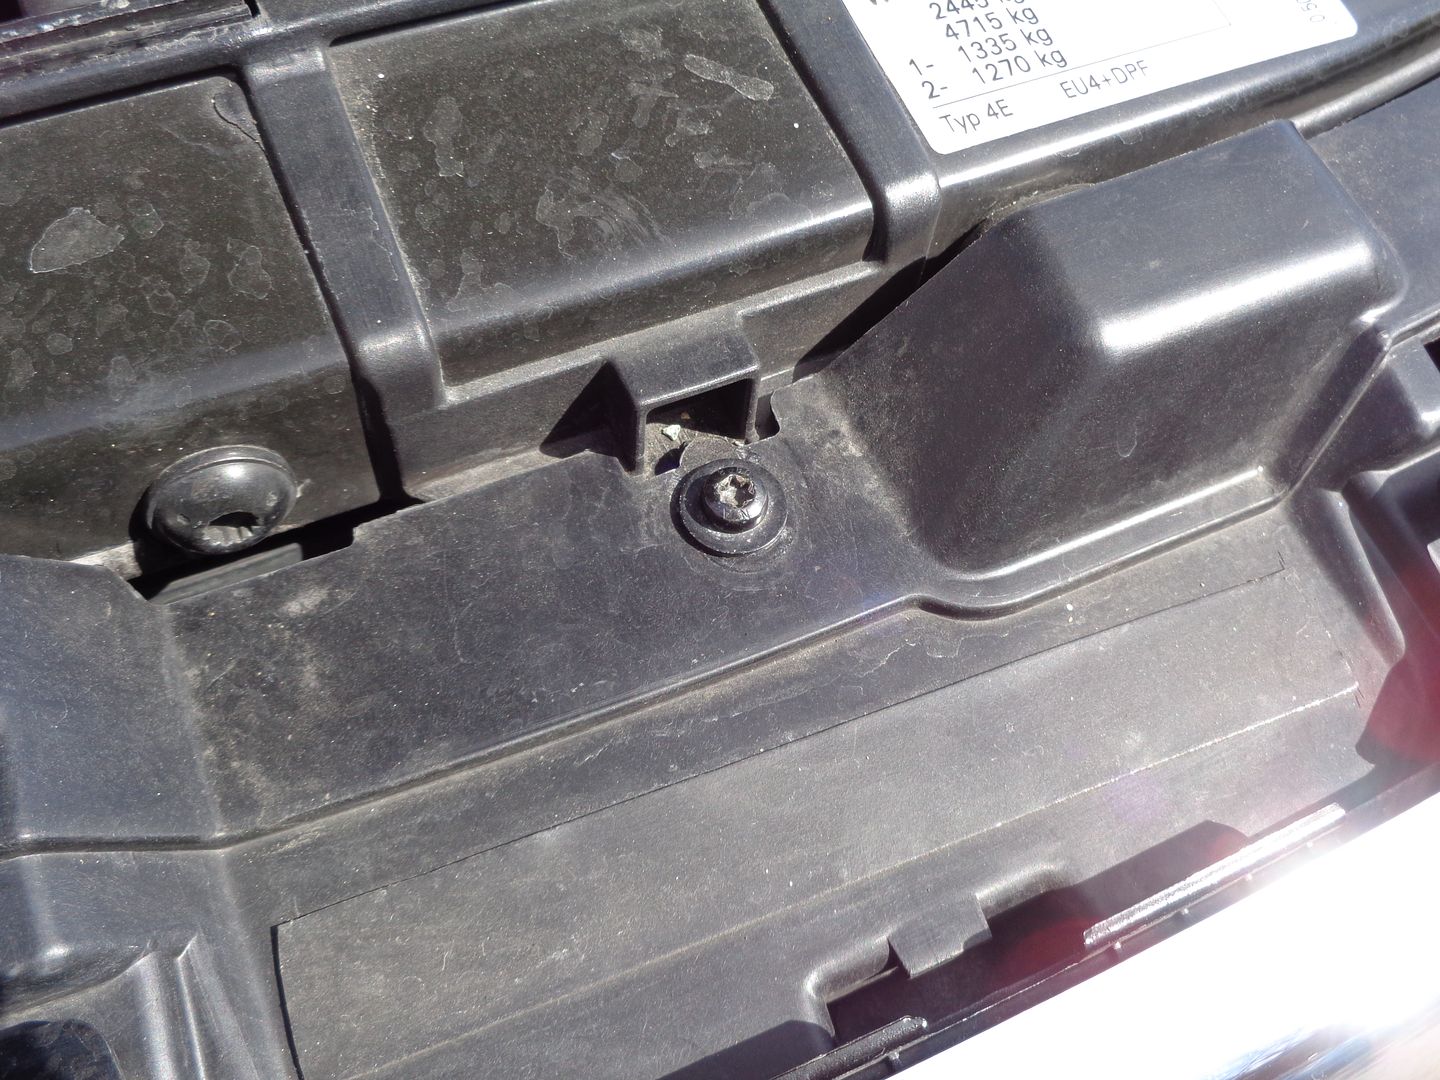 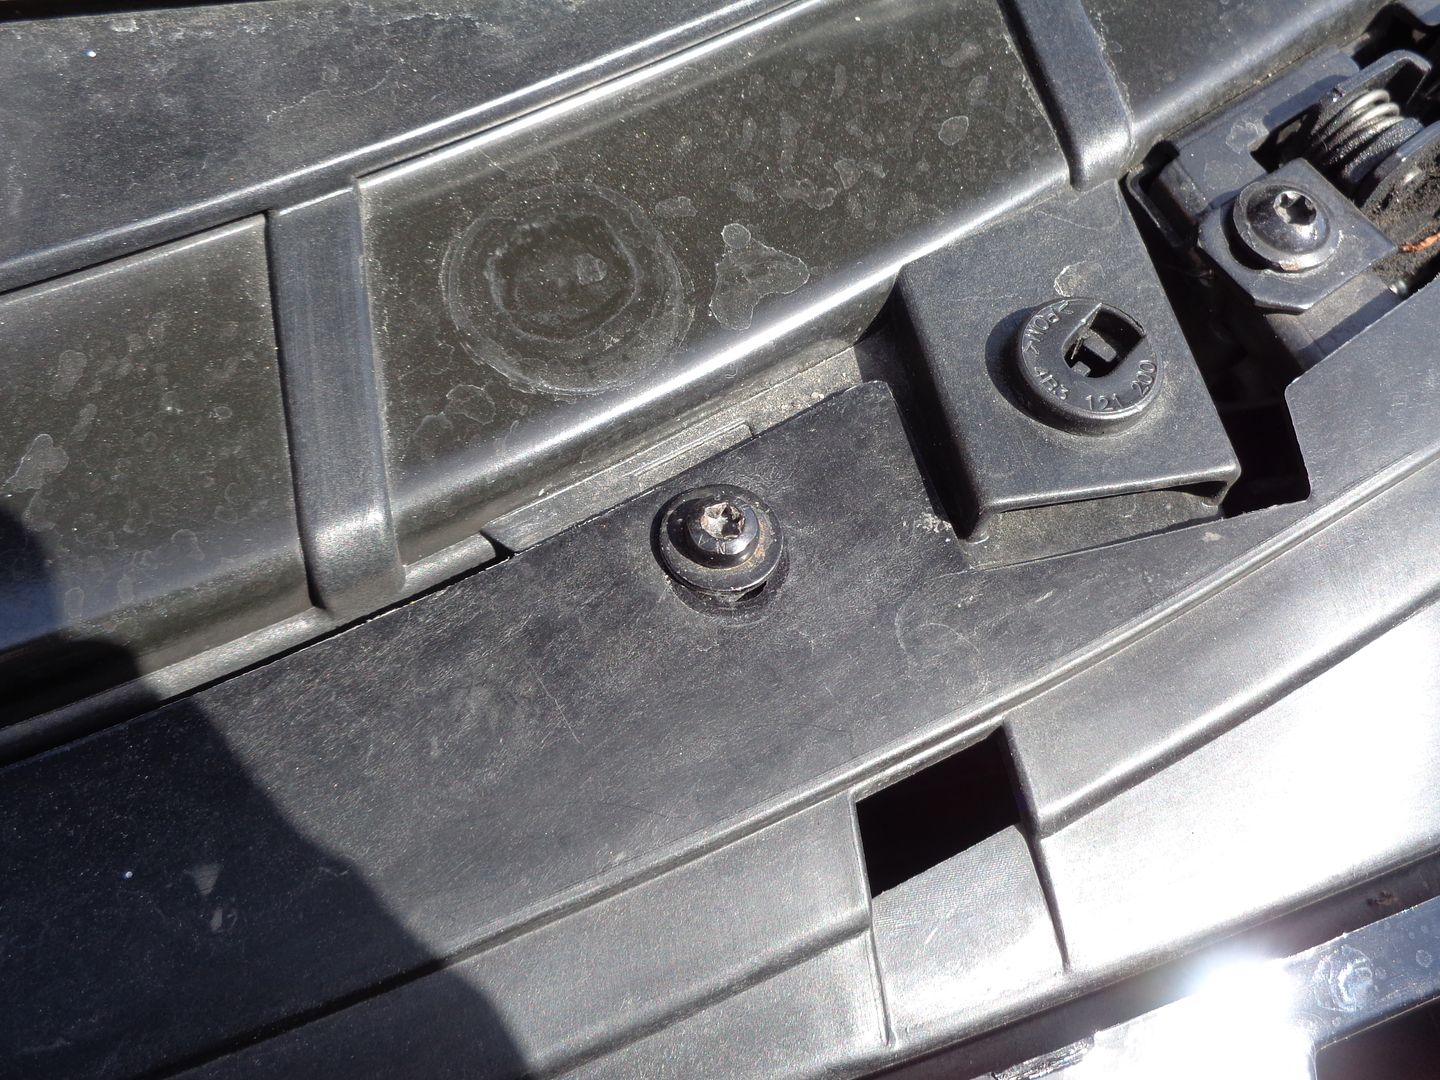 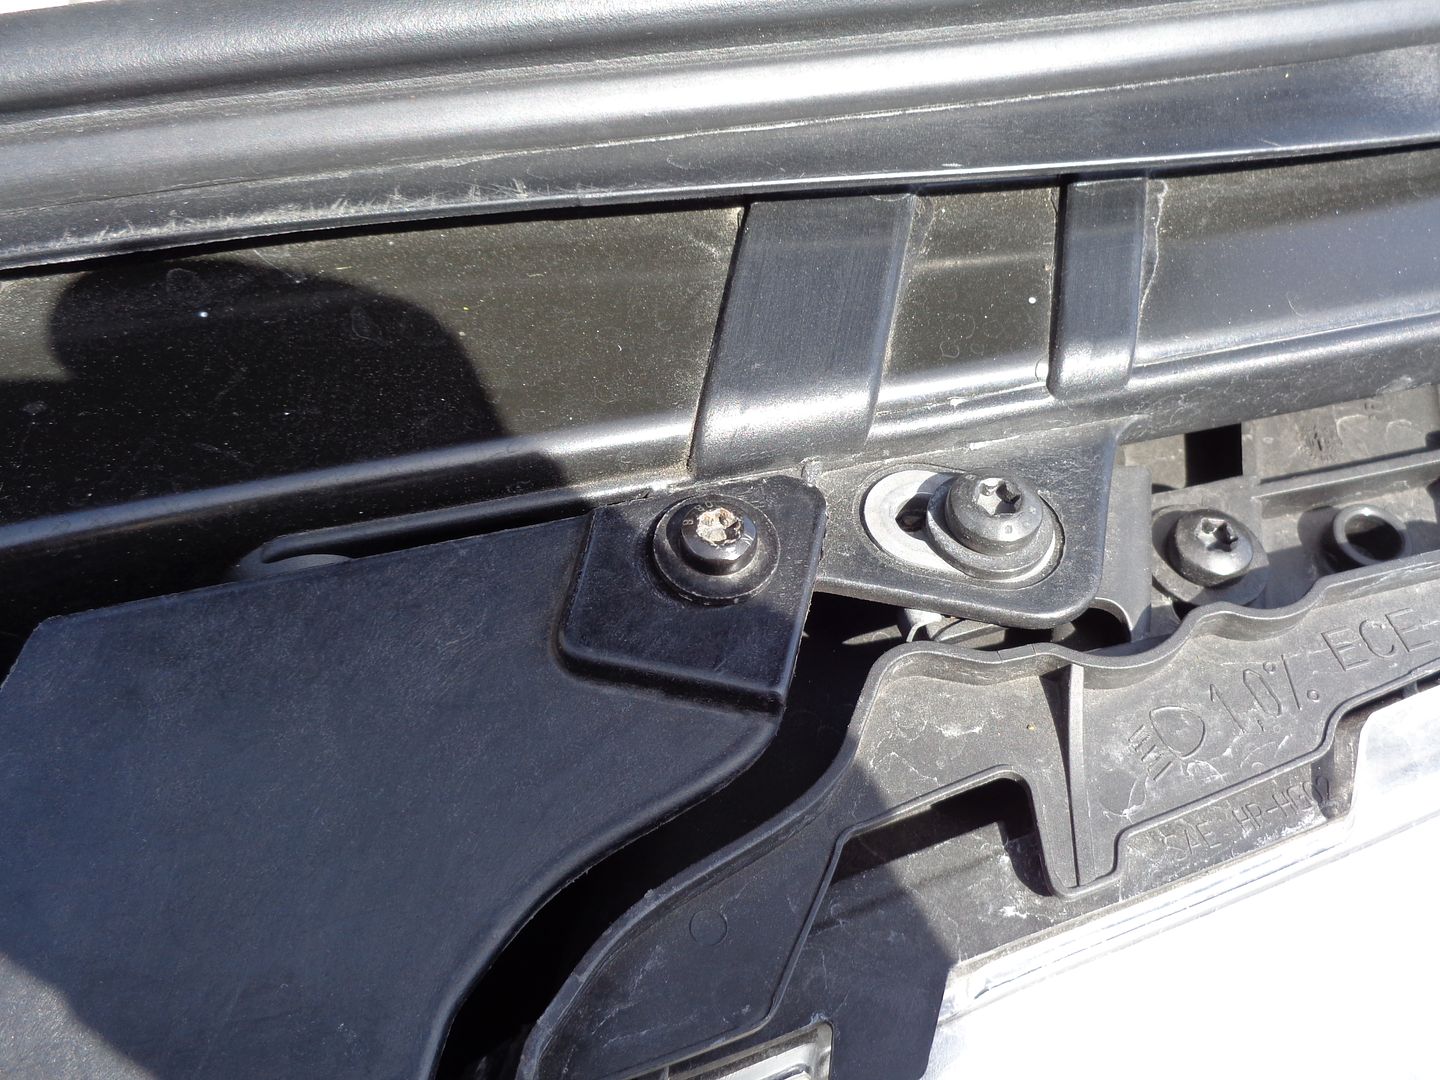 Once all is that done, check if all the washer fluid has been drained and set aside. You can start taking the bumper off by pulling out the bottom by the wing panel on both sides. After that pull the bumper forwards but watch out for the harness connectors. Have a flat head screwdriver to prise them out of the bracket on the bumper so you can disconnect them with ease. 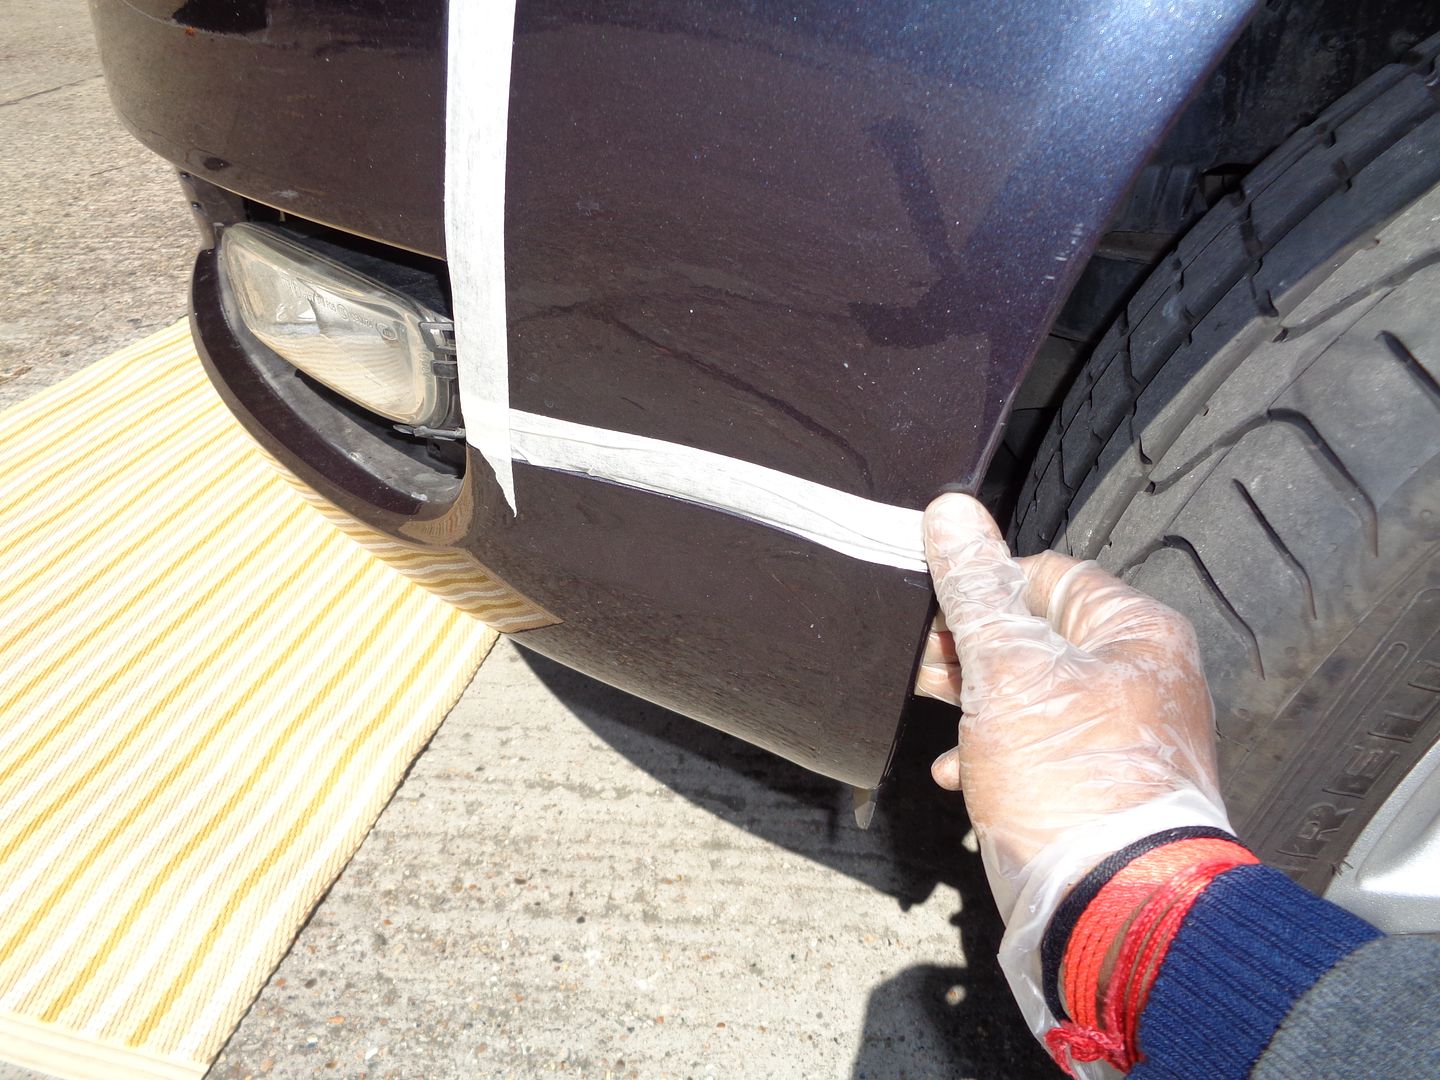 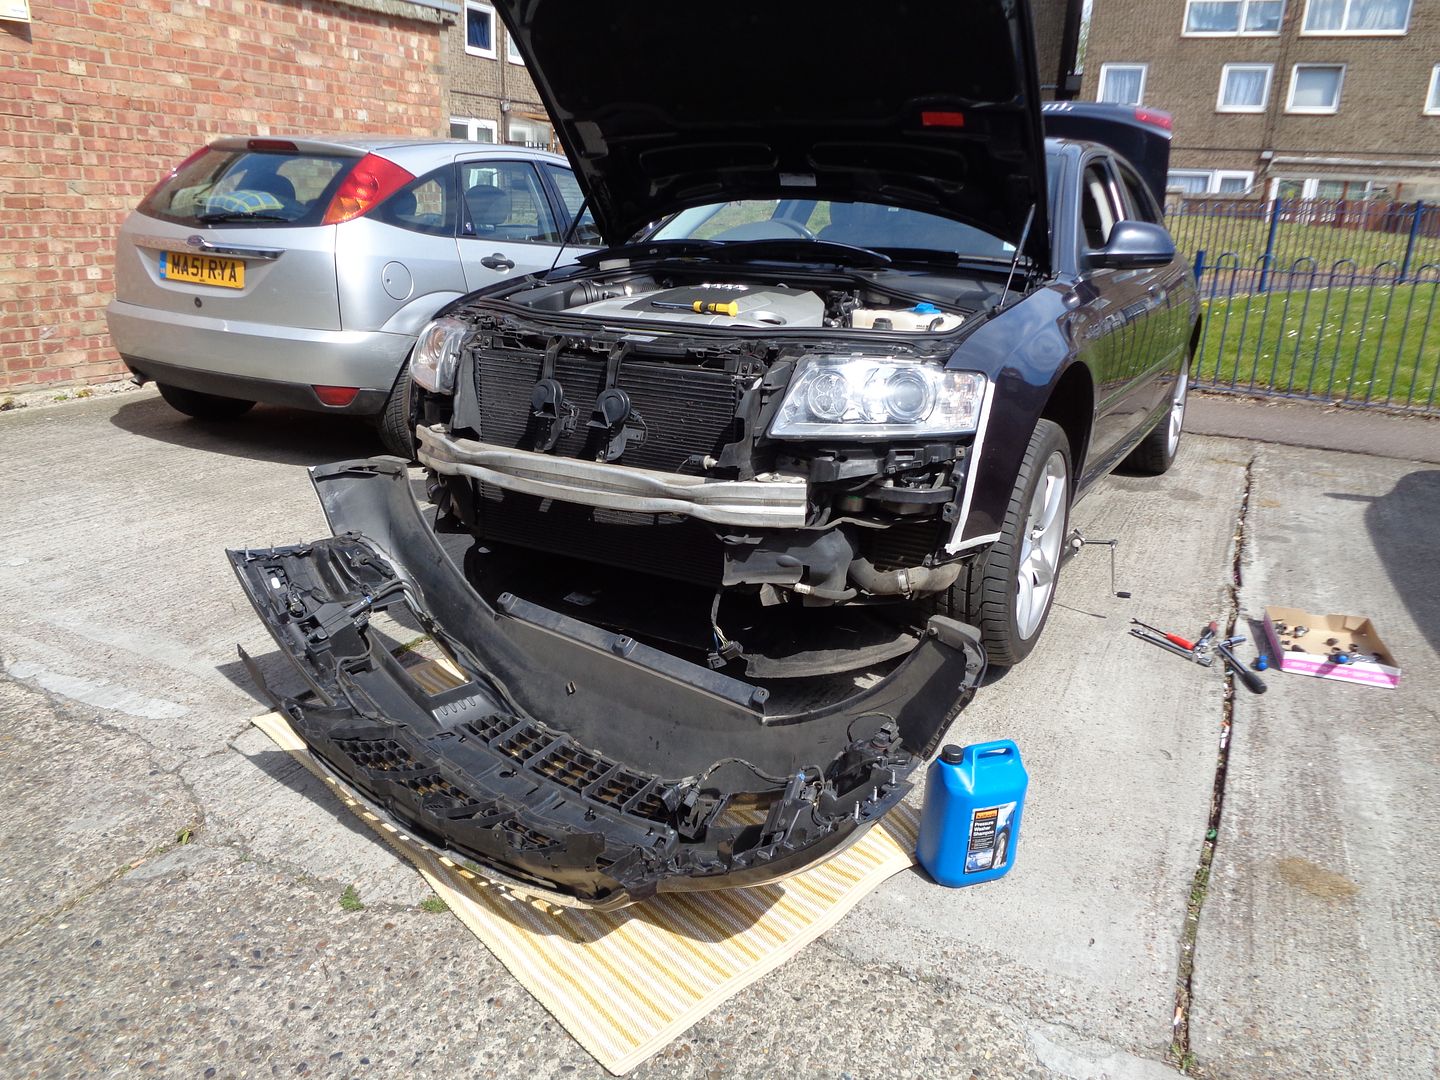 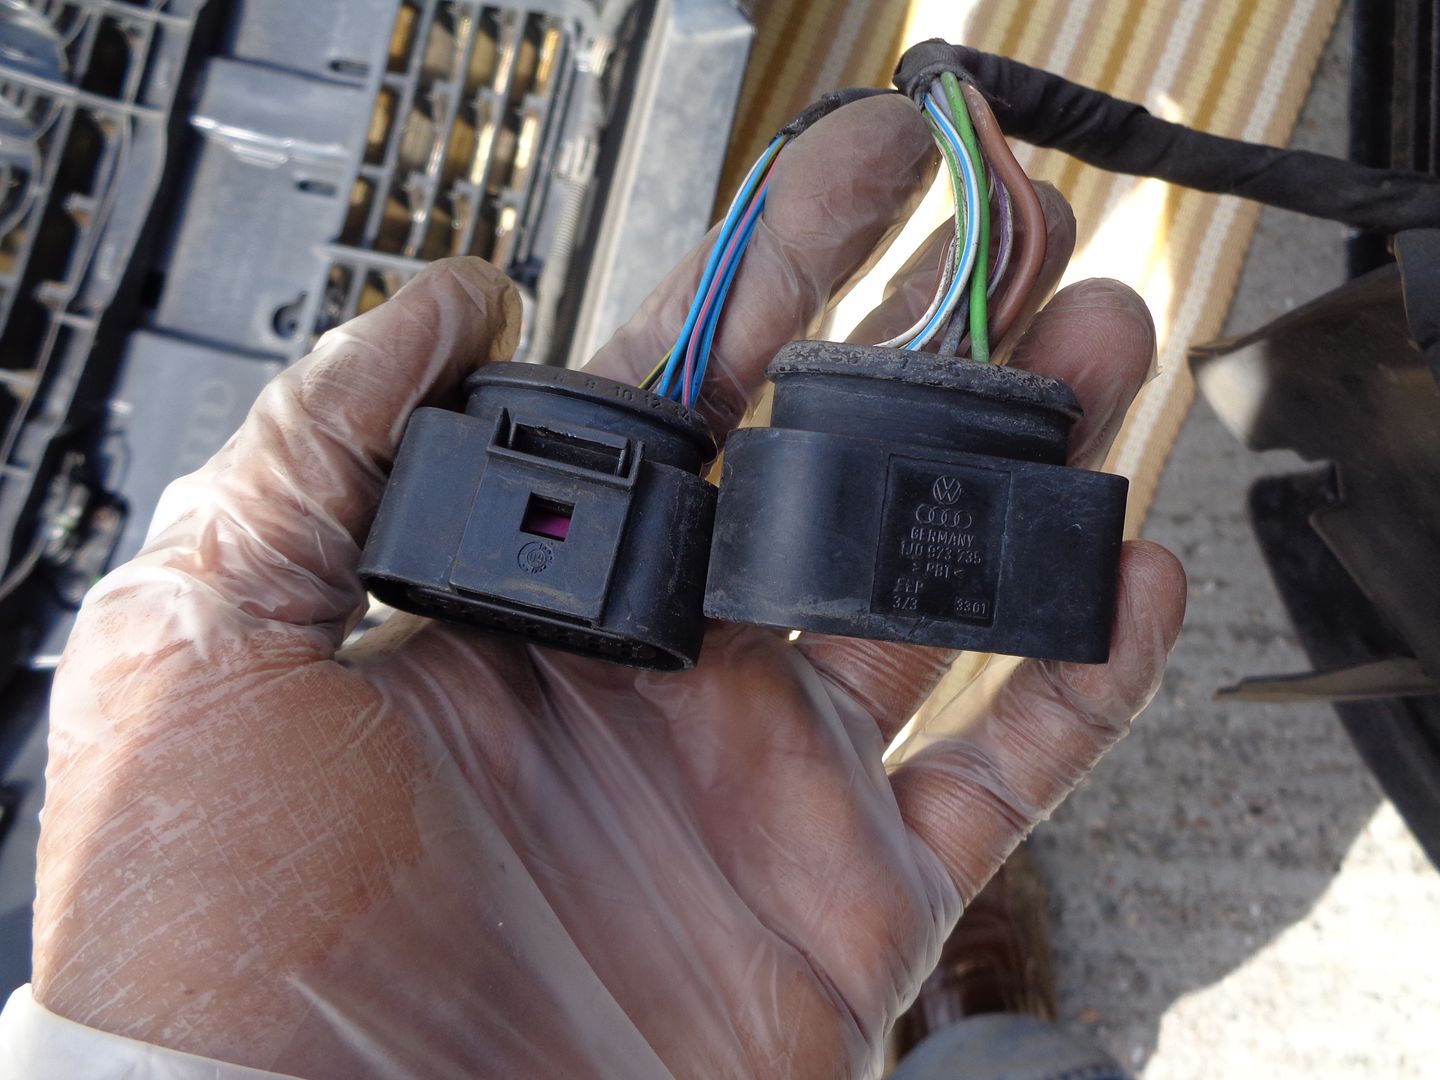  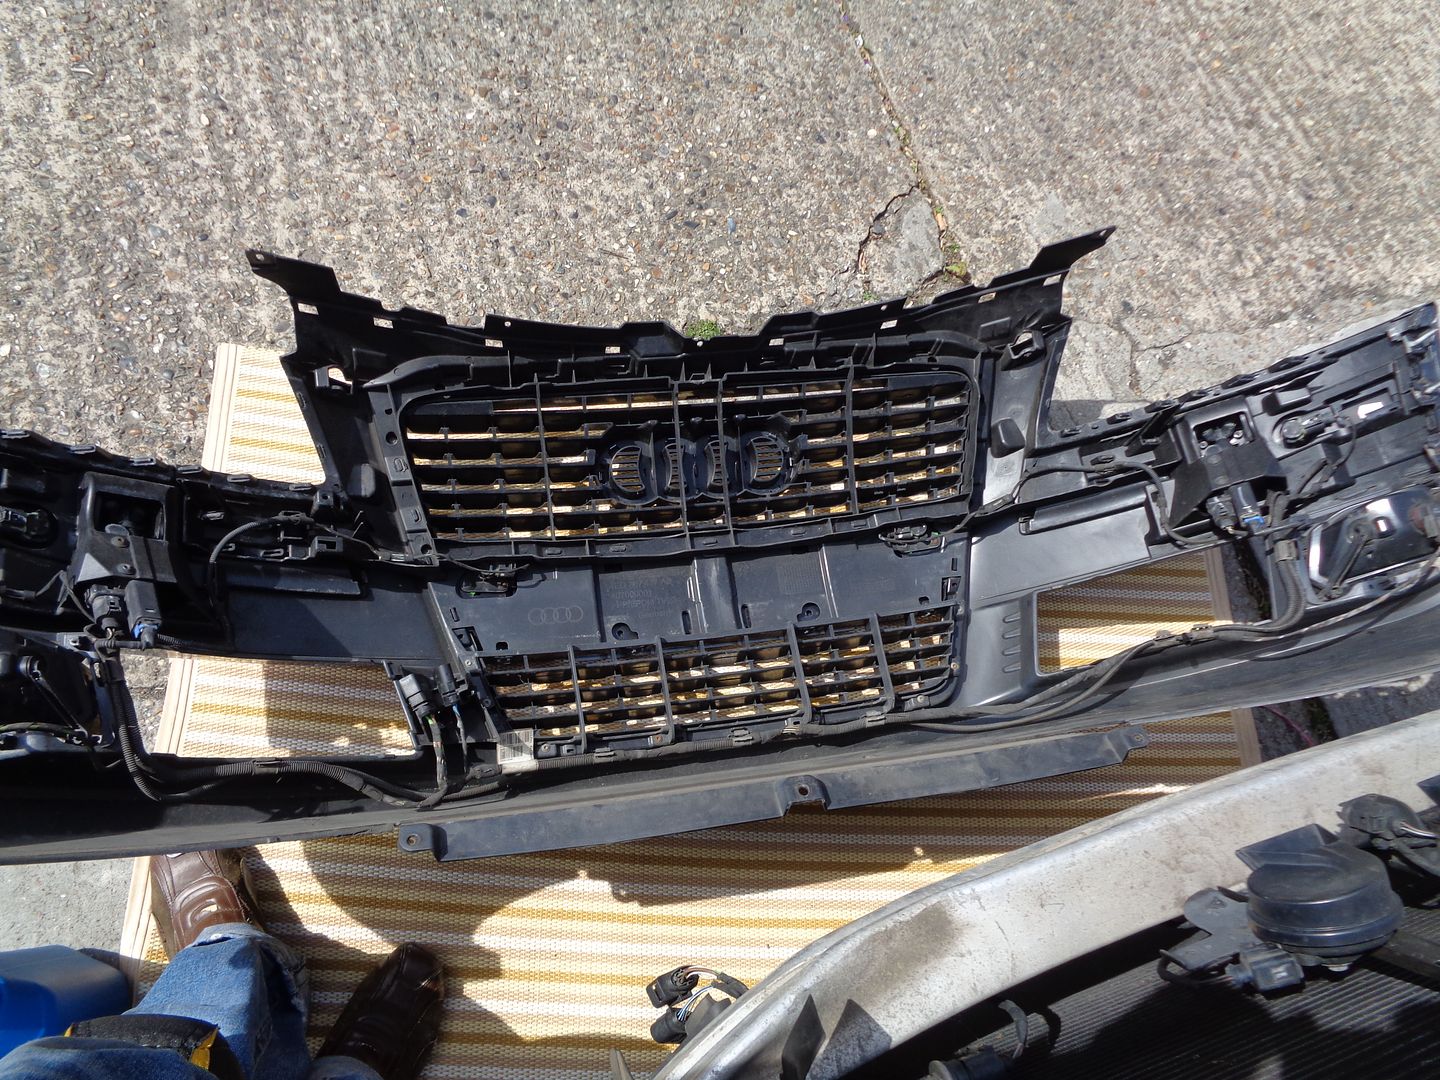 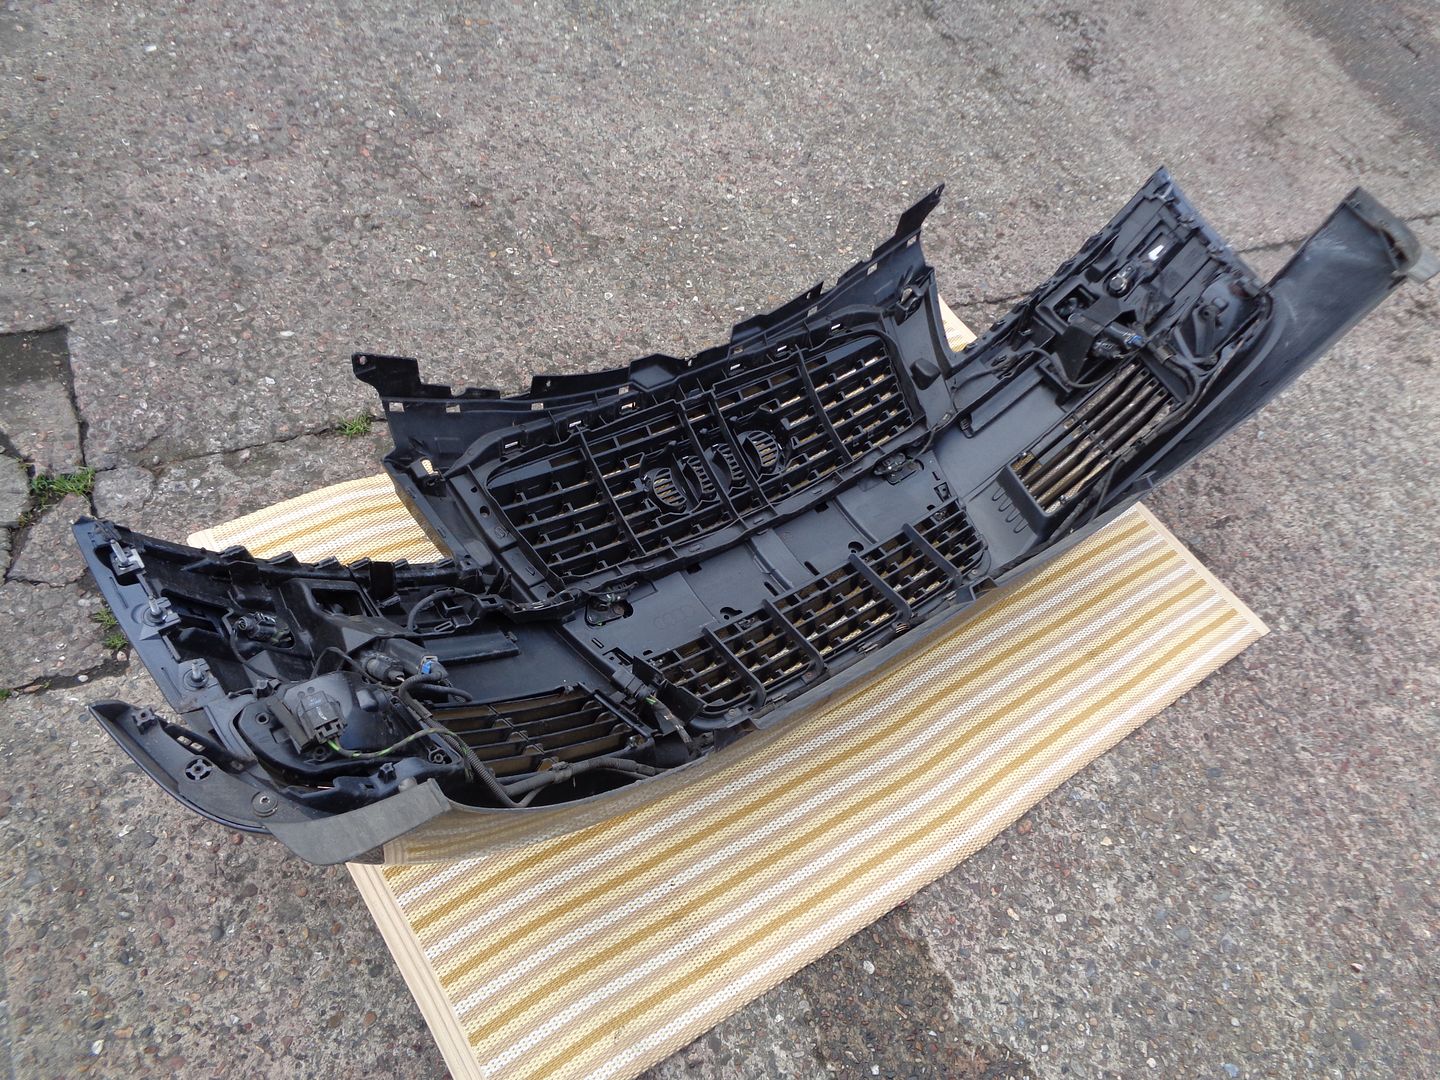 Faulty sensor to be replaced (Front right one). Unfortunately I forgot to take pictures of this step however it’s very easy. Just pull up the tabs holding the sensor down and slide it out then disconnect the connector. Installation is in reverse… just slide it back in till it clicks into place. 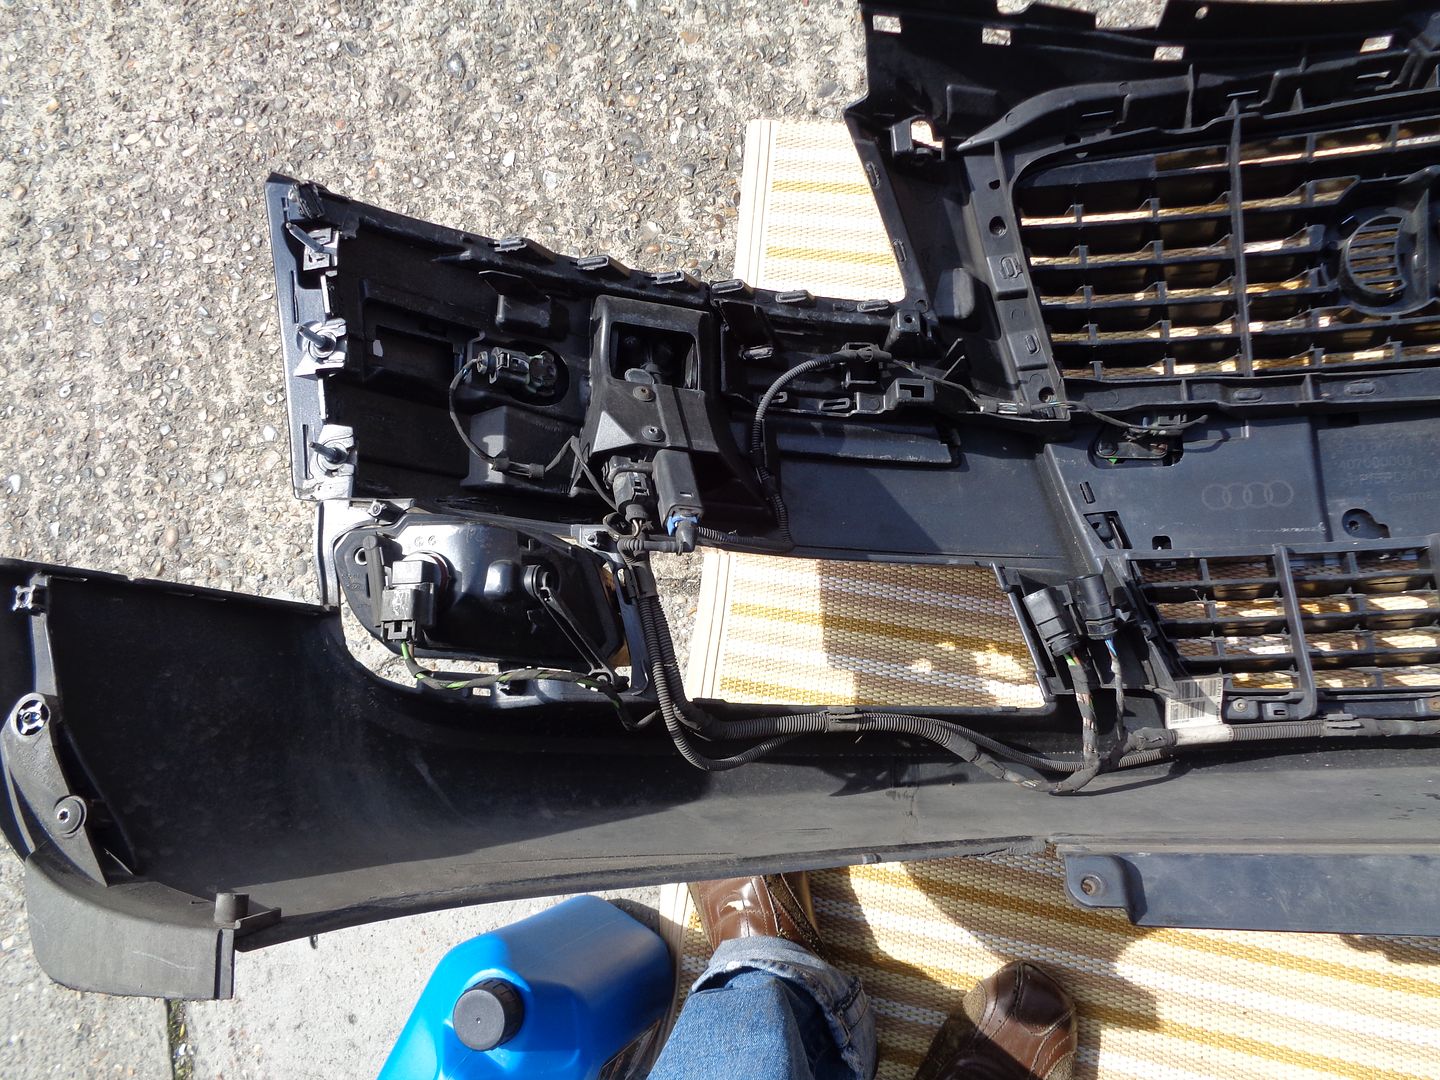 Once all that was done, I fired up VCDS and turned on the PDC system. Measuring blocks showed everything in order. 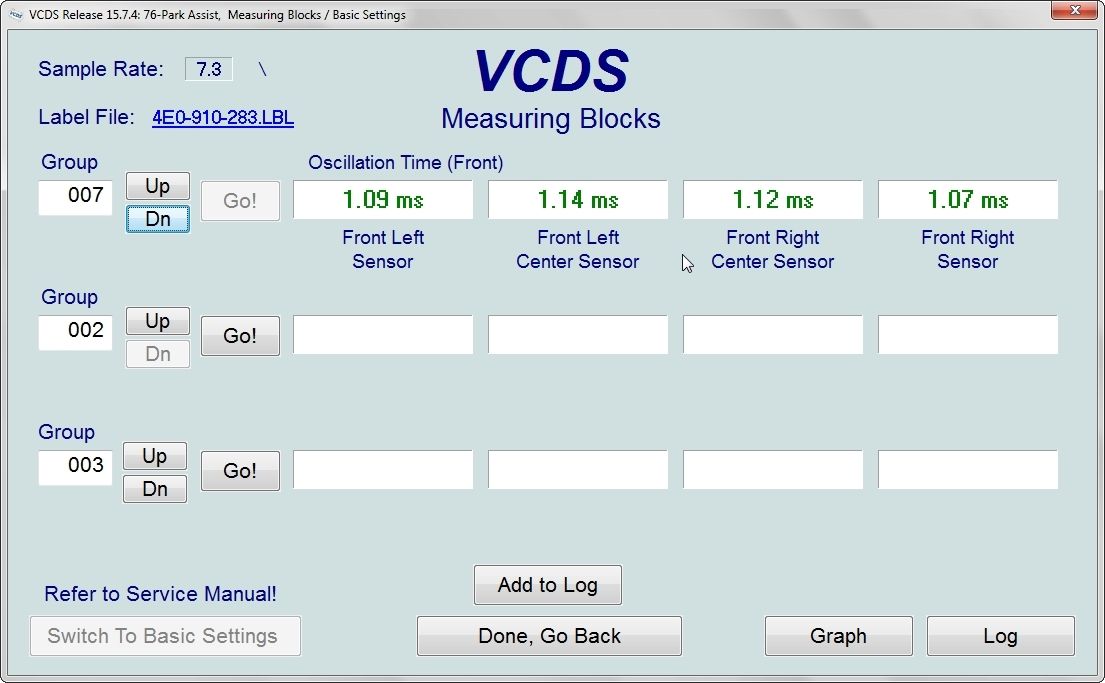 Then it was the task of putting everything back together which is all done in reverse order. If I missed anything guys, let me know and I’ll add it. I hope this guide comes handy for others.
__________________
Previously: 2010 Audi A8 4E Quattro Sport TDI Oyster Grey  Currently: 2015 Audi A8 4H Sport Executive Quattro in Monsoon Grey Last edited by neeldub; 10th May 2016 at 12:12 AM. 
|
|
|


 Threaded Mode