
|
|
|||||||
| D2 - Engine Bay Everything under the bonnet |
 |
|
|
Thread Tools | Display Modes |
|
#1
 23rd July 2009, 02:29 PM
|
||||
|
||||
|
After I was recovered the other day I thought after taking some advice that it may be alternator related. After fitting a replacement and charging the battery there was still no go. So after more discussions and because I had a spare that worked the starter-motor was next. In the interim the battery had been checked by the funny haircut youff at halffrauds and declared ok.
So out with the old and in with the working second hand unit. Elsawin has a process which involves specialist tools and lifting beams to suspend the engine. I have none of those so went the route of lifting the engine from below. Here's how it went. Usual disclaimer..... I don't 'know' what I am doing. If you do as I did and it goes wrong we will all just point and laugh. Take responsibility for your own actions. If you need help ask; plenty here will help if they can. safety: never work under a suspended load. never rely on jacks, always use axle stands. Tools: I found I used 3/8 drive sockets as 1/2" drive were to thick and fouled on several areas. Sockets used: 8mm, 10mm, 13mm, 16mm Hex sockets used: 8mm, 10mm Star sockets used: T15 Spanners: 10mm, 16mm rings 16mm open/ring cut in half (  ) )Torque wrench capable of 60Nm Lots of extension bars phillips screw driver stuby flat blade screwdriver 4 axle stands trolley or bottle screw jack The process: Disconnect engine mounts from subframe (including front) jack up engine 40mm ish unbolt drivers side engine mount disconnect starter motor electrics unbolt starter motor and remove. Reassembly is reverse of removal:  So a bit more detail.............. Start by getting the front of the car on axle stands. I jack using the proper places under the sills and place my stands under the subframe at the inboard end of the rear control arm. Don't put them under the subframe without some good size pad pieces as the frame will buckle; (Don't ask). Under the bonnet undo the fan guard from the viscous fan. 2 x 10mm bolts at the top on either side. Pull it up 15mm and it will come free; just hang it on the fan, don't try to remove it; stops the blades bending as you lift the engine (don't ask I said!) Remove the engine tray from underneath. Remove the bumper. 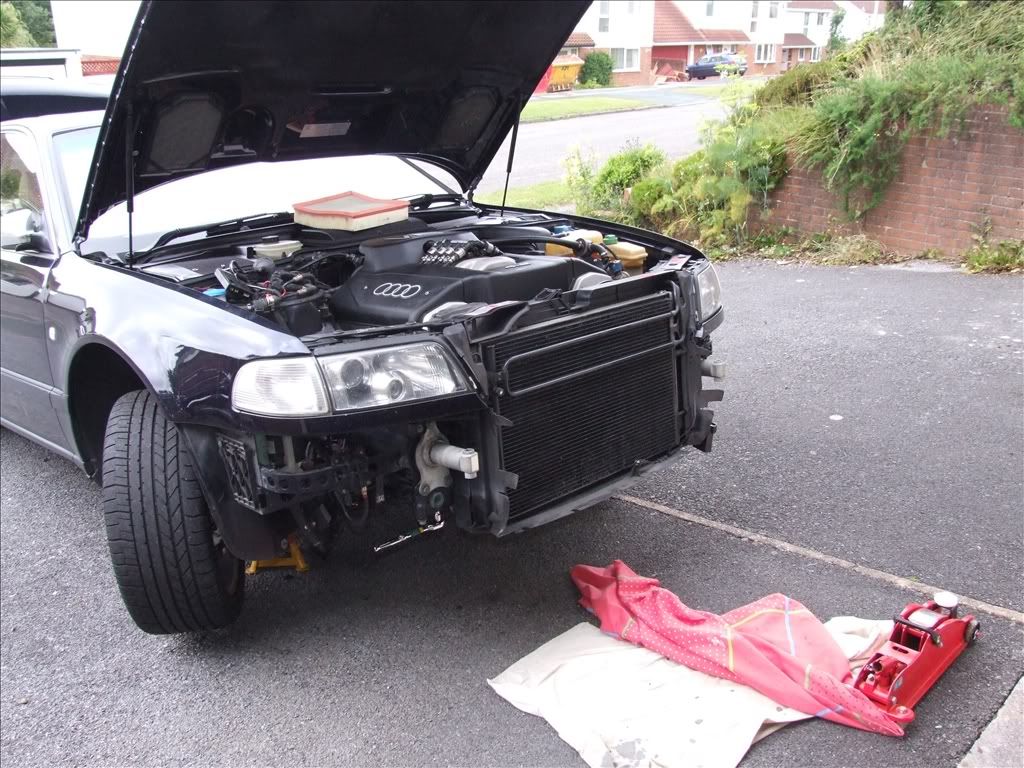 I removed the inner wheel arch on the drivers side to let light in and give more manoeuvre options. Remove the air ducting for the alternator. Unbolt the 4 x 8mm Allen bolts from the subframe to engine mounts. Unbolt the 3 8mm Allen bolts from the front mount with long extension bars and a short 8mm Allen socket. If you use a long socket it will wedge on the chassis rail before you get the bolt undone. Another picture......  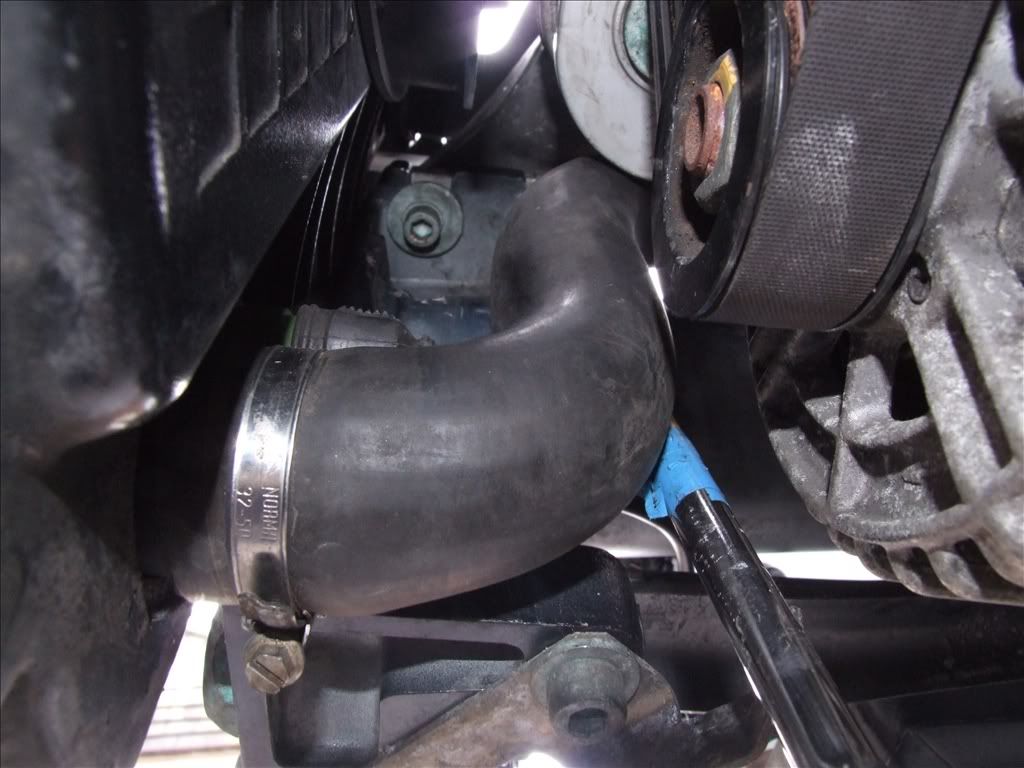 That's a view of the front mount bolts from below. Long extension bars from the other side of the radiator hose. The car all up in the air.....  Once you have all those undone you can jack the engine up by placing a pad piece under the oil sump. I use some 200mm x 25mm decking cut to 375mm and a piece of 35mm x 50mm. 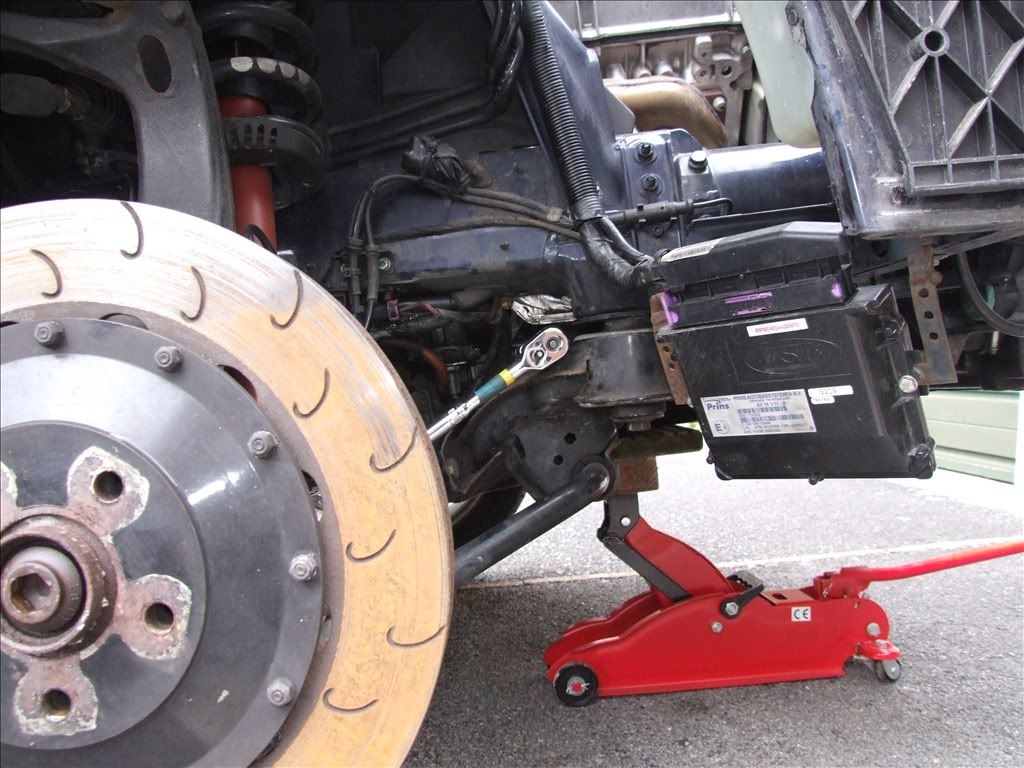 I then added axle stands in good safe workshop practice. As you jack the car watch the throttle body at the back of the engine. Once that is in contact with the bulkhead that's your limit. Then it's onto the engine mount. 3 x 8mm Allen bolts. The lower front can be accessed from the front with a long Allen socket. The rear as per the picture above. Lots of extensions and a universal joint with a short Allen socket. the top bolt is a bit more difficult. You can't see it but by laying on your back under the subframe with a hand either side and a long Allen socket you can undo it by feel. It takes a lot of ratchet work as you only get about 20 degrees of rotation. Also unbolt the starter motor supply cable from the front of the engine mount (10mm bolt). Once all are undone wiggle the mount and turn the top toward the rear of the car. You can't get it out, don't try! ( I did say don't ask didn't I). It will take some wiggleing but will eventually lay along the subframe and it can be moved outboard to let you get access to the starter motor. Now I know I should have said this at the beginning but getting the starter motor out is a mare! A complete mare. In fact the mother of all mares!  If I had said that at the beginning you may not have had the pointless read you have had, now you are not going to attempt it. If you are still going to attempt it then this bit is pointless!  The stater motor is held in by 2 x 16mm AF hex head bolts (an M10 and M12). There is also possible a bracket at the front of the starter that is held in place by 2 nuts and 2 Allen bolts fit it to the block. Undo both the nuts and the bolts on this bracket but dont try to remove it just let it habg there. Next undo the lower 16mm AF bolt that holds the starter motor to the bell housing. use a 1/2" drive with lots of extensions from the front of the subframe. You may need a universal joint to. Now you are entering a world of hurt. The top bolt is placed so I could not get a socket and ratchet on it. I could not get a crows foot wrench on it; nor could I use an offset ratchet. All I could get on it was a ring spanner. But, it was too long to to turn. I spent a day on this bolt, I just could not crack the torque with the 5 degrees of movement I had. In the end I cut down my beautiful 16mm ring spanner so it would clear the chassis rail and give me 25 degrees of rotation. Now I couldn't apply any torque to shift the bolt! Ooooooo ffs it still makes me weep  In the end I cut a length of hardwood and a lump hammer and drove the spanner upwards with soft taps until the bolt cracked. Then it was a world of pain undoing the thing a few degrees at a time, as with my hand in there I had only a few degrees of usable rotation. Once it was out and the motor was loose the front bracket comes away and can be removed and the starter will come out through the gap at the front of the subframe with lots of wiggleing. Replacement is, as they say, the reverse of removal. Points to note: The bracket on the front starter will not go back on if you have bolted it to the bell housing. (If I have to tell you again I will scream....... Don't ask!!!!!) You can torque up the lower bolt on the starter/bell housing; but for the upper one I took some bar and bent a loop in one end and welded it up. I then used a lump hammer head on the shaft of the bar with a bolt through the bottom as a sort of custom slide hammer. The loop went over the spanner on the bolt and every second strike it all fell apart; but I am happy its tight enough. When refitting the engine mount to the block get all 3 bolts in loosely. All 3 can be torqued down properly. When lowering the engine back to the sub frame stop about 10mm up and refit all the bolts as you will be able to wiggle the mounts to line up the bolts. You can't do this once the weight is on the mounts. (Right I've had enough I've asked repeatedly and you wont listen!!!! When I say don't ask, DON'T ASK!) I'm not writing anymore!  
__________________
Conan (the Librarian) Watch it if you dare Currently, 2000 S8, Merlin Purple, Leather Pack 1, Winter Pack 1, SPAX adjustable suspension, AP Racing 6 pot front caliper, 385mm fully floating disks, EBC Yellow Stuff Pads, Black Diamond grooved rear disks and predetor pads, D2 Doctors Brake Block. 1997 4.2 A8SQ - the Projekt. 12 years and ongoing! 1997 4.2 A8SQ - Ming Blue. Restoration sat waiting; saved from the Scrapyard 2003 C5 Allroad 4.2Q - Cobolt Blue. Towing car. Laid up awaiting manual conversion. 2005 C5 Allroad 2.5TDi FE - Grey - Workhorse. 2015 Q3QS SLine - Daytona Grey. Lots of extras! Long Haired Admirals cutter. Previously 2003 C5 A6 1.9TDI FWD - Loaner from D2 Doctor Lifex 1997 S8 - Ming Blue. Loaned out and written off. I loved that car. My first engine swap after cambelt failure. 1996 4.2 A8SQ - Ming Blue. 178k on a cambelt! Trader's 8. Delivered to A8Parts at Lifex. 2003 2.8 A8SQ - powder blueish. Fill in for a while. Sold on. 1998 1.8T A4 Avant FWD. Ming Blue (there's a theme here), PEX for the 97 S8. And a list of non VAG going back 40 years before I saw the light.

|
|
#2
23rd July 2009, 04:37 PM
|
|||
|
|||
|
We are all grateful for you allowing us to learn from your, er, adventures? Thorough and informative as always. I on the other hand will get my "man" to do it on account of how I'm too posh/cackhanded to get my hands dirty in such a manner. I was spoilt at an early age by engine hoists and proper tools and even now have access to a proper workshop three doors down with very good tea and an inbred apprentice type to act as my "fag". Sweet little fellow has the funniest joke. Every time I go in there he asks if I've scrapped it yet.
Oh how I laughed. As I p'eed in his tea. Bill
__________________
"Man Math" - The means by which a caring husband convinces his wife that a 4.2 A8 is in fact cheaper to run than a tiny Auto crap box "Being in touch with your feminine side" - The ability to, in the 30 seconds following a major accident, obtain your wifes approval for replacing your big german car with another "because otherwise we'd be dead". See also sulking for two years until she finally allows you to get another purely on the basis of your current one being the wrong colour.
|
|
#3
23rd July 2009, 10:32 PM
|
||||
|
||||
|
So. . . .it went well then Mike? (runs for cover!!
)
__________________
Confidence is the feeling you have before you know better . . . .  Audi A8 D2 3.7 Quattro Sport 1999 FL - Melange 2nd Place Winner - A8-Freunde Annual German Meet 2012 at Edersee 20" x 9" Bentley GTC Wheels with 385mm W12 Front Discs & Bentley Caliper Covers, Front Lowered on Coilovers, Xenons, Combined DRLs and LED Foglights to modified OEM front fog lamp position, Alcantara/Leather, Full Black Alcantara headlining + pillars and blind shelf, Bespoke Flat Bottomed Sports Steering Wheel, Dark Myrtle Wood, Autodim Mirrors, Bose, Blinds, Digital TV, Ski Hatch, Modified rear exhaust section for extra V8 Burble Audi S8 D2 Final Edition 2002, Avus Silver with Red Leather Interior Tiptronic with Sport mode button, Sony rear entertainment package, Bose sound system, Audi Navigation Plus, 20 inch Final Edition alloys, Full Cat Back Stainless Milltek exhaust, giving a great V8 burble Audi A8L D2 4.2 Petrol with LPG - Ebony Black Audi A8L D4 FL 4.0T Petrol twin turbo - Havana Black Audi A2 1.6 FSi Sport - Dolphin Grey with Votex body kit and Red Leather Interior and some other A8's A8L's and Mercs
|
|
#4
24th July 2009, 05:22 AM
|
|||
|
|||
|
Quote:
So Conan (the Librarian); Sorry to hear of the bad starter...if only it could have been known while you did the engine swap! I have a skipped timing by the cambelt and in a similar situation. I have planned to replace all of the cambelt items, plus the oil cooler gasket sets and now take the starter off for visual and electronic inspection. After all, while the donor engine is on the engine stand and wide open....it's the best time to do just about anything you can. I noticed that #1 & #8 spark plugs had excess engine oil in the chamber(s). At 1st, I thought that it might be from the piston rings but now I think its from the valve cover gaskets...leaking around these two port areas....so for the smallish cost of new gaskets...I'll fix that on the "old" engine that's pulled and "re-conditioned". Anyway, Conan (the Librarian) you have done a wonderful service for other DIY'ers. Thanks for taking your time, photos and generous suggestions and sharing them w/us. Your shared experiences & others here in the forum are priceless...exceeds even the Erwin and Bentley's "guidelines".! 
Last edited by wizzard1222; 26th July 2009 at 01:00 PM.
|
|
|
|


 Linear Mode

