
|
|
|||||||
| D2 - Axles, Brakes, Suspension and Steering Brakes, Springs, shocks, steering racks, steering columns, suspension arms, wheel hubs etc. |
 |
|
|
Thread Tools | Display Modes |
|
#1
 12th September 2012, 05:21 AM
|
|||
|
|||
|
Hello all,
I've been working on an air build since June. By working on the build, I mean I've been waiting on a company called BagYard from Austria to build a bolt-on kit for me. They continue to drag their feet, so I'm done waiting. Here's what I'm doing then. I already have my management, compressors, tank, etc. I'm using twin Viar 444c compressors, a 5 gallon aluminium tank, and a management system called Accuair E-Level. E-Level uses height sensors to determine height instead on bag pressure. This negates the need to have additional gauges in the interior, only a touchpad controller is found. Another benefit is that when weight is added to the car the suspension automatically compensates and levels the car to the desired height. The system has three preset heights and also allows for full up or full down at the press of a button, or one could change heights on each corner as desired. The system uses a four corner, eight valve manifold. Lines are 3/8 inch, but with this manifold height adjustment won't be jerky or unwieldy. Here is info on the management: http://www.stanceworks.com/2011/06/accuair-2/ http://www.stanceworks.com/2011/05/accuair-clubman-1/ And the manufacturer: http://www.stanceworks.com/2011/02/accuair/ Now, I had planned on using a bolt-on kit, but BagYard has ridiculous wait times, though their product is top notch. They are also the only bolt-on setup available. An American company called Air Lift has released a universal system though that allows for welding to the body of the strut in order to mount correctly. Here is info on that strut: http://bagriders.com/modlab/products...AL-STRUTS.html I'll be using a bellow bag setup, and probably a dampening adjustable strut to set ride comfort. For the rears I'll be using a double-bellow bag by Slam Specialties called the SS-5. I'll have to build a set of "cups" or bag mounts for the rear. I'll use either a bilstein shock or the stock S8 unit. I'm building a false floor and mounts for management, etc. in the spare tire well. I'll be having one of the armrests modified to hold the touchpad eventually, will sit flush with the top of the armrest. The one thing I need to know is the stock S8 front strut dimensions, IE compressed height and extendended length. If anyone has some struts out of the car that would be SOOO helpful. I'll post more info and photos in the AM. I hope to have the build complete in the next 1.5-2 weeks. 
|
|
#3
12th September 2012, 06:08 AM
|
||||
|
||||
|
What an interesting project. That compressor that they use in their system, well I have a very similar 12v compressor I use for inflating tyres. What interests me is the Stanceworks system used two high output compressors yet Audi, Mercedes, Range Rover etc only use one and I have often thought the compressor was the weakest link in the system
I will take a picture of my tyre inflator later and post up Here is the Stanceworks 
__________________
. Nite Blue 3.0L SE Quattro 
|
|
#4
12th September 2012, 06:08 AM
|
||||
|
||||
|
Quote:

__________________
Confidence is the feeling you have before you know better . . . .  Audi A8 D2 3.7 Quattro Sport 1999 FL - Melange 2nd Place Winner - A8-Freunde Annual German Meet 2012 at Edersee 20" x 9" Bentley GTC Wheels with 385mm W12 Front Discs & Bentley Caliper Covers, Front Lowered on Coilovers, Xenons, Combined DRLs and LED Foglights to modified OEM front fog lamp position, Alcantara/Leather, Full Black Alcantara headlining + pillars and blind shelf, Bespoke Flat Bottomed Sports Steering Wheel, Dark Myrtle Wood, Autodim Mirrors, Bose, Blinds, Digital TV, Ski Hatch, Modified rear exhaust section for extra V8 Burble  Audi S8 D2 Final Edition 2002, Avus Silver with Red Leather Interior Tiptronic with Sport mode button, Sony rear entertainment package, Bose sound system, Audi Navigation Plus, 20 inch Final Edition alloys, Full Cat Back Stainless Milltek exhaust, giving a great V8 burble Audi A8L D2 4.2 Petrol with LPG - Ebony Black Audi A8L D4 FL 4.0T Petrol twin turbo - Havana Black Audi A2 1.6 FSi Sport - Dolphin Grey with Votex body kit and Red Leather Interior and some other A8's A8L's and Mercs
|
|
#6
17th September 2012, 05:32 AM
|
|||
|
|||
|
Rear bags arrived, I started building bag brackets today. There are no off-the-shelf options for the D2 as of right now, though a gent named Drew Dorbritz sells a set that is fairly universal for VW/Audi applications. I've taken his design and tweaked it to be better suited to our cars. His design:
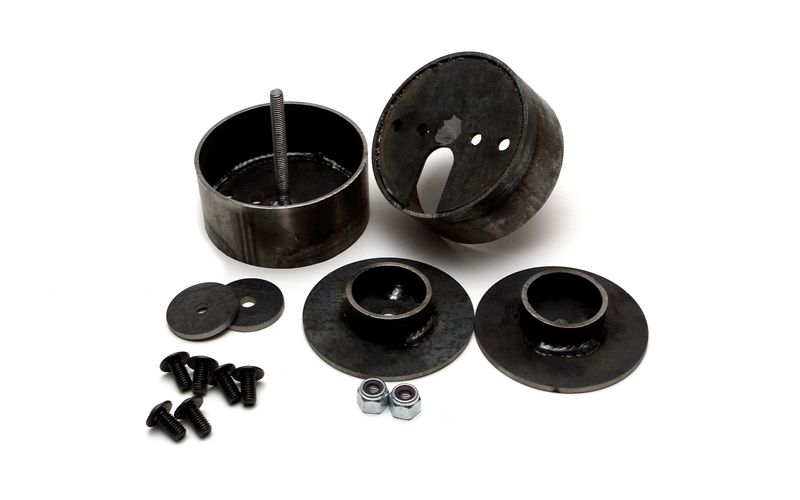 Here, the bags: 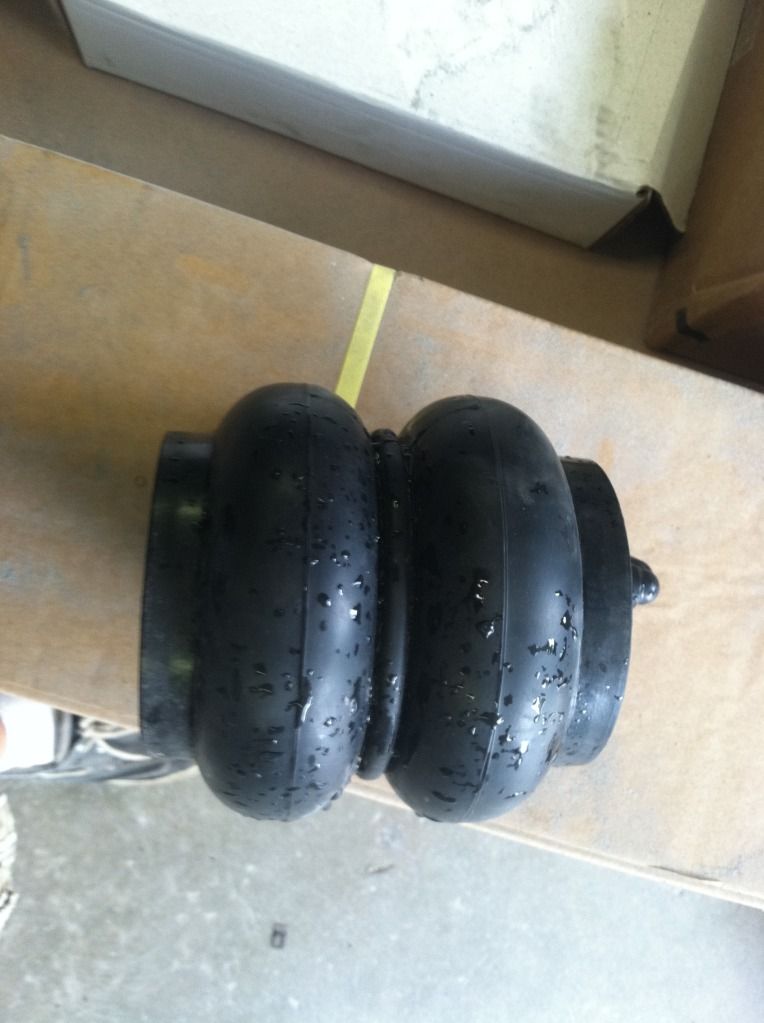 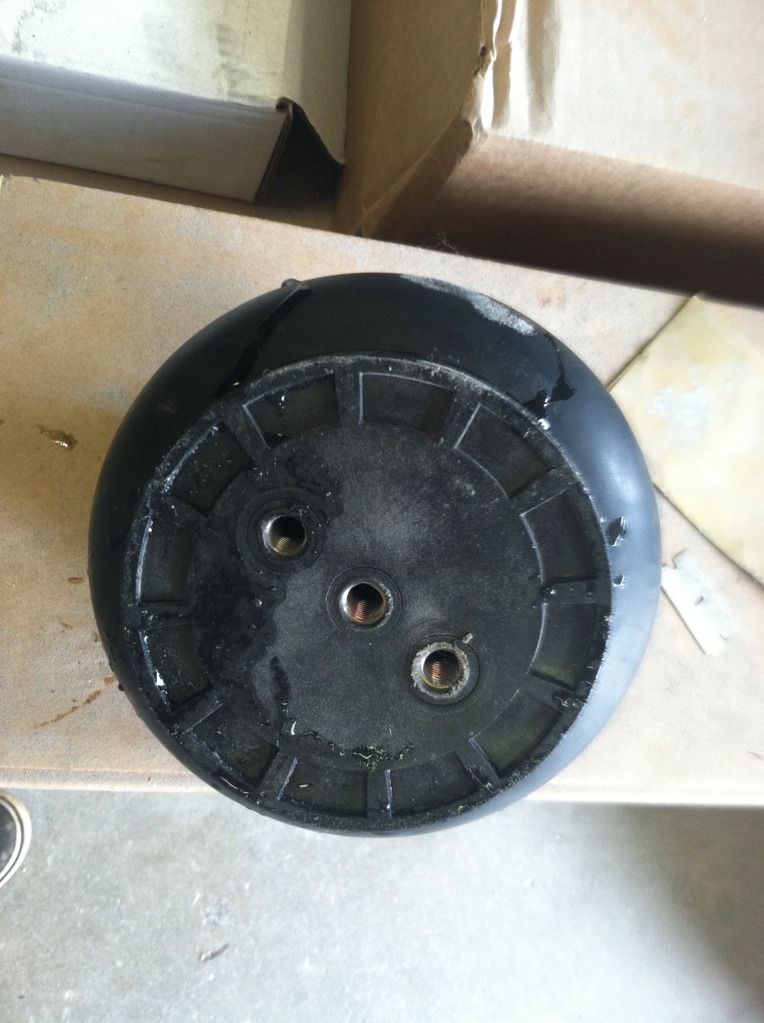 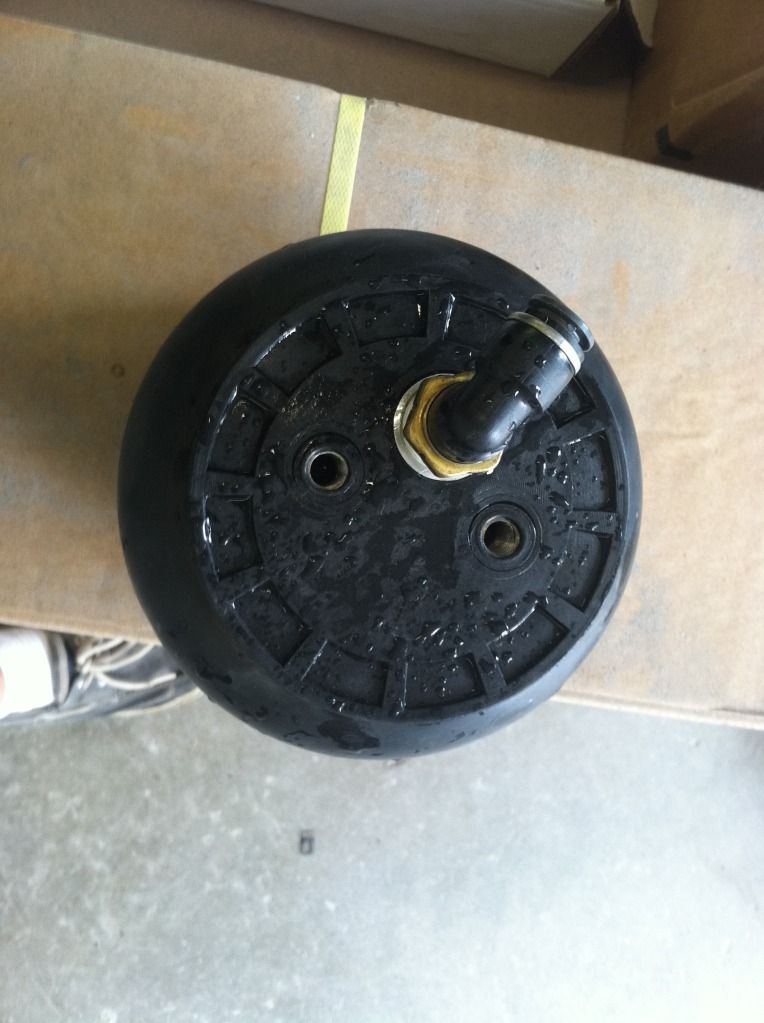 These bags are the Slam Specialties SS-5. They are 5.5 inches diameter and fully inflated are 8.6 inches tall, while when emptied they are only 2.7 inches in height. They take up to 250 PSI (driving expect to be around 40). The double bellow design is a bit more robust than a sleeve bag. The fittings are for 3/8" line, and are push-on. The brackets are fairly complex. First we'll discuss the lower mount and how it'll fit over the peg on the control arm. I'm using pipe as a base. It is Schedule 80 (1/4" wall thickness) with an inner diameter of 1 7/8". I cut to 1 1/8" length which is just tall enough to clear the peg while also allowing a mounting bolt for the bag to pass. Here is the lower "pipe" for the lower mount: 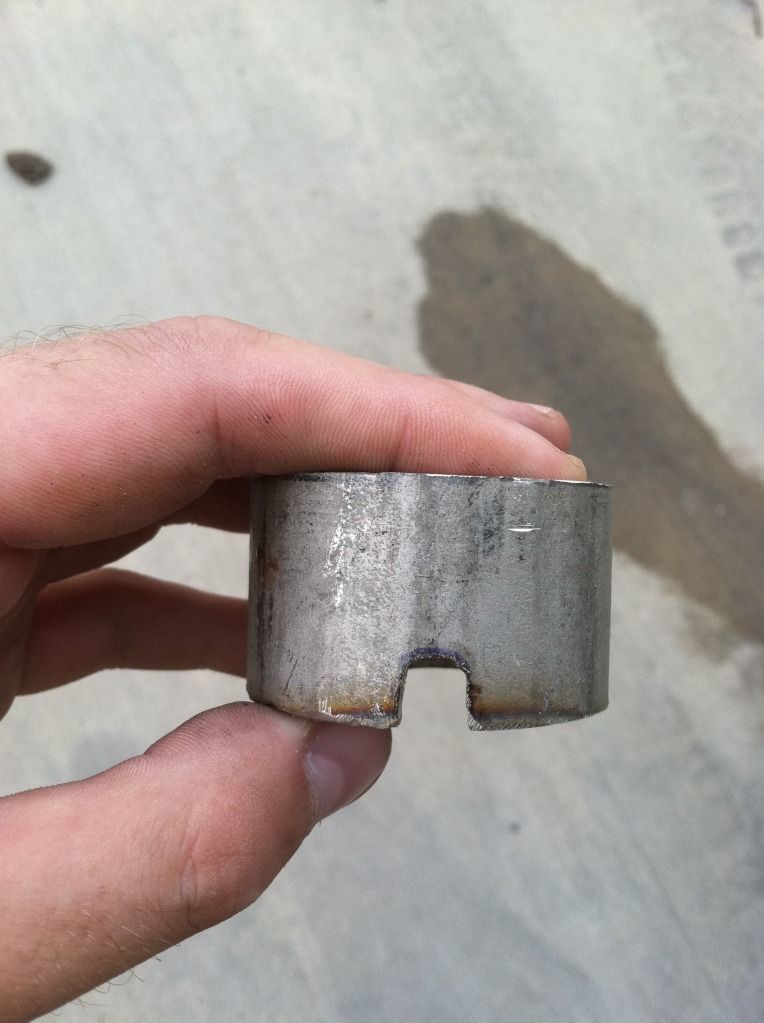 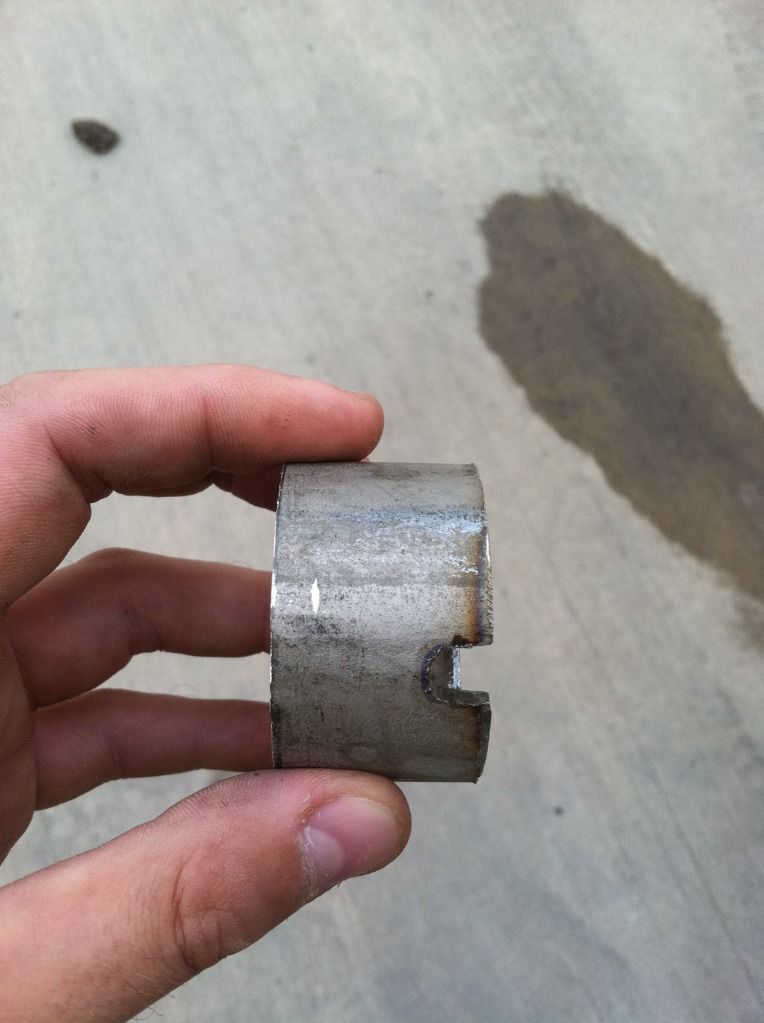 And the "peg":  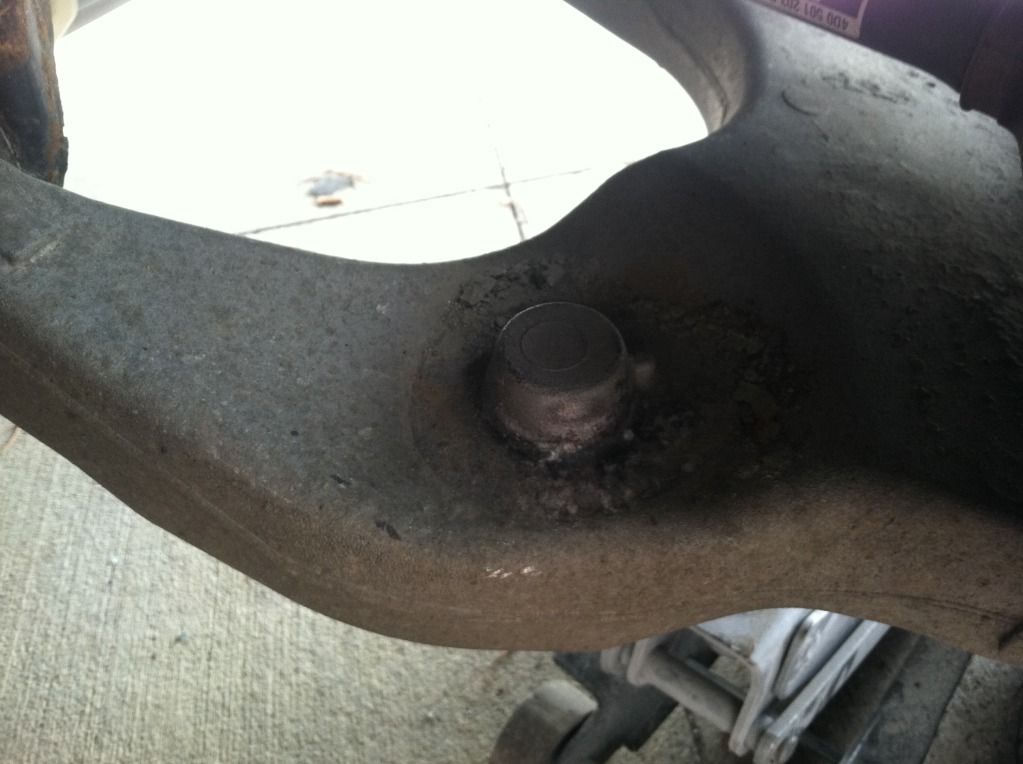 I notched it to fit over a key of sorts that is found on the peg on the control arm. This allows it to sit flat, prevents turning or twisting, and keeps the base exactly centered. I may add some material around the base as a "foot" of sorts but it isn't necessary. The bags are the same size on both the top and bottom mounting plate. Therefore I cut four identical bases (two for top and two for bottom, or one for each side on both top and bottom) for the mounting brackets. To do that I marked a sheet of 1/4"hardened steel I had in the same diameter as the base of the bags. I then marked center and punched it. After hitting the center with the punch we used a bit and drilled the center: 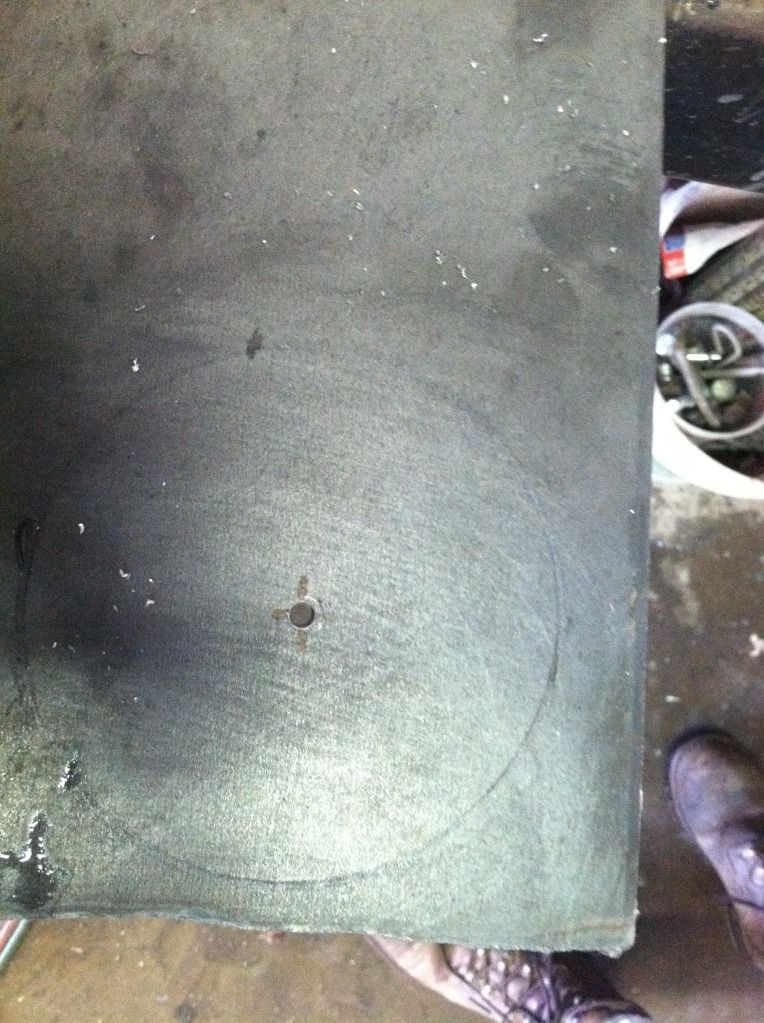 Then we cut the sheet off close to the marking and placed it on this rig we devised: 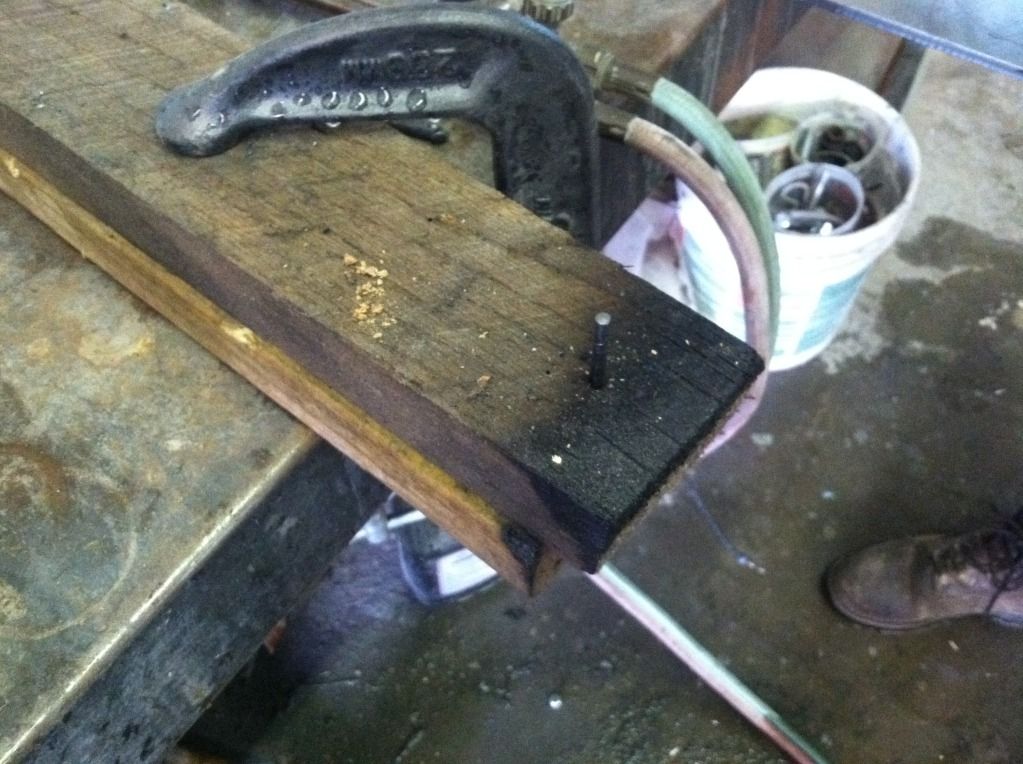 That's a couple 2x4 pieces of wood with the drill bit run into it. Once that was together we slid some washers over the drill bit and then placed the at present square piece of steel onto it. The table we were using has a vice on it so we placed a cutting torch into the vice and fired it up. Then, with the torch set to cut we spun the steel plate on the wood/washers/drill bit to get a circular "pad" to mount the bags onto. 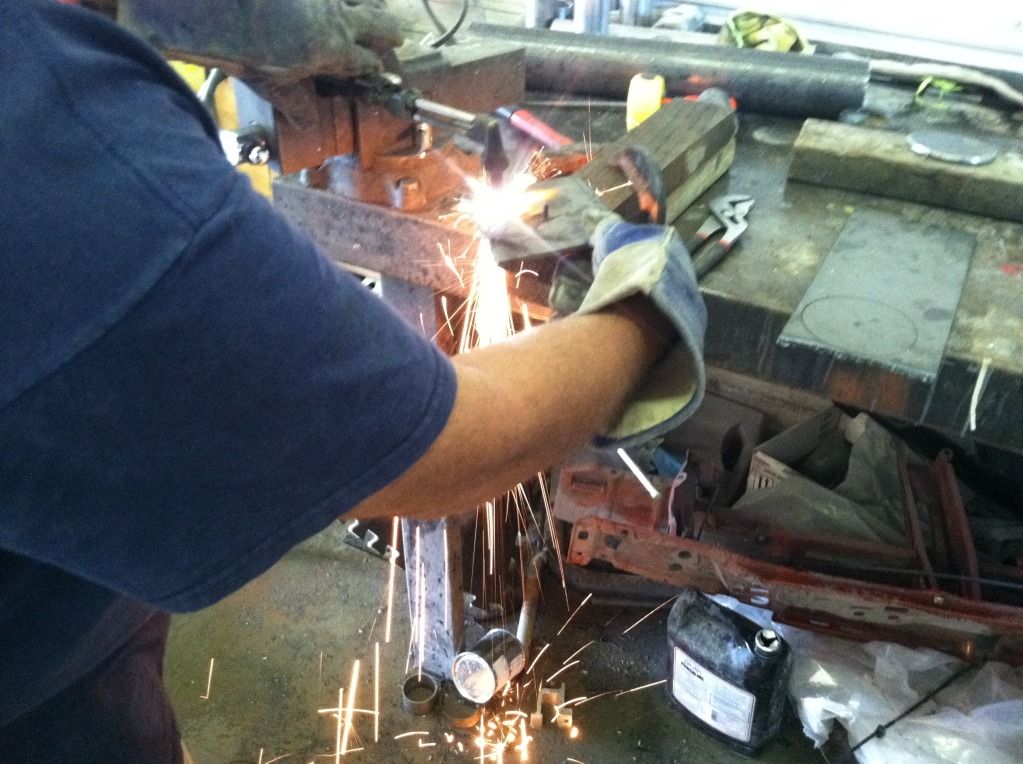 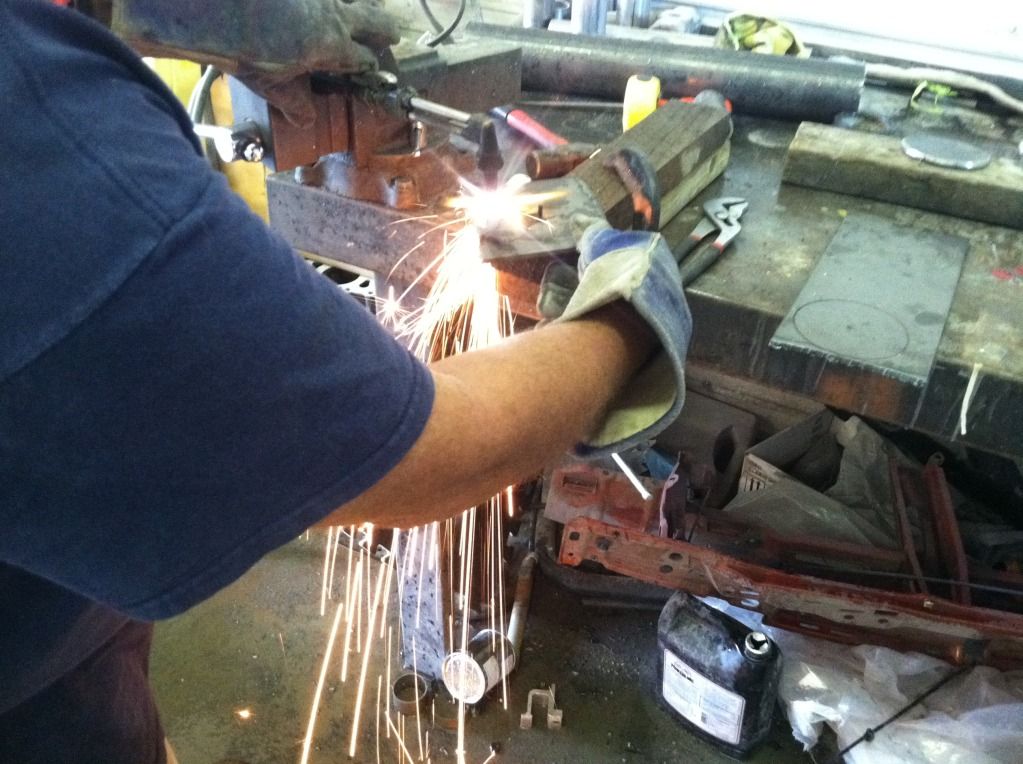 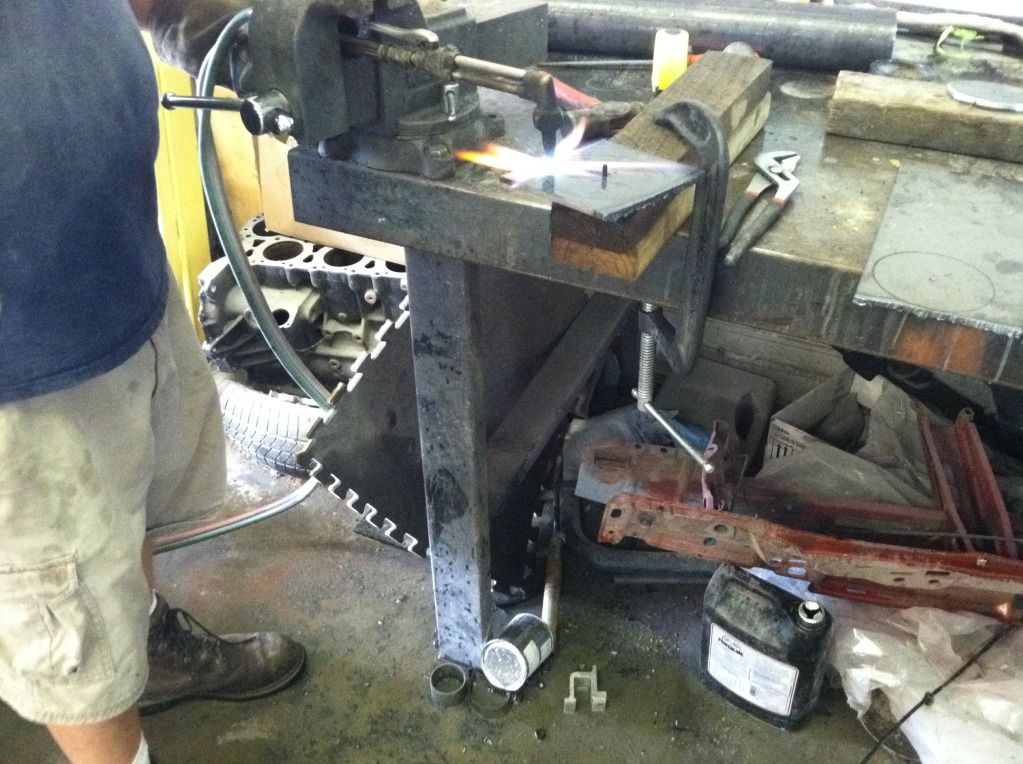 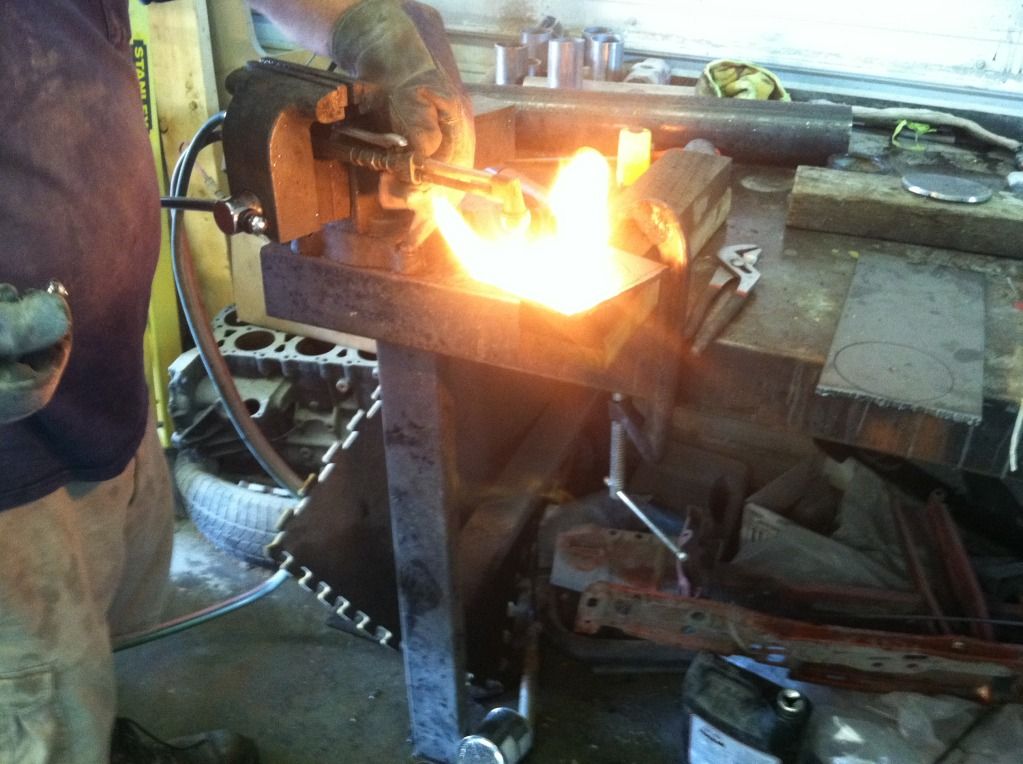 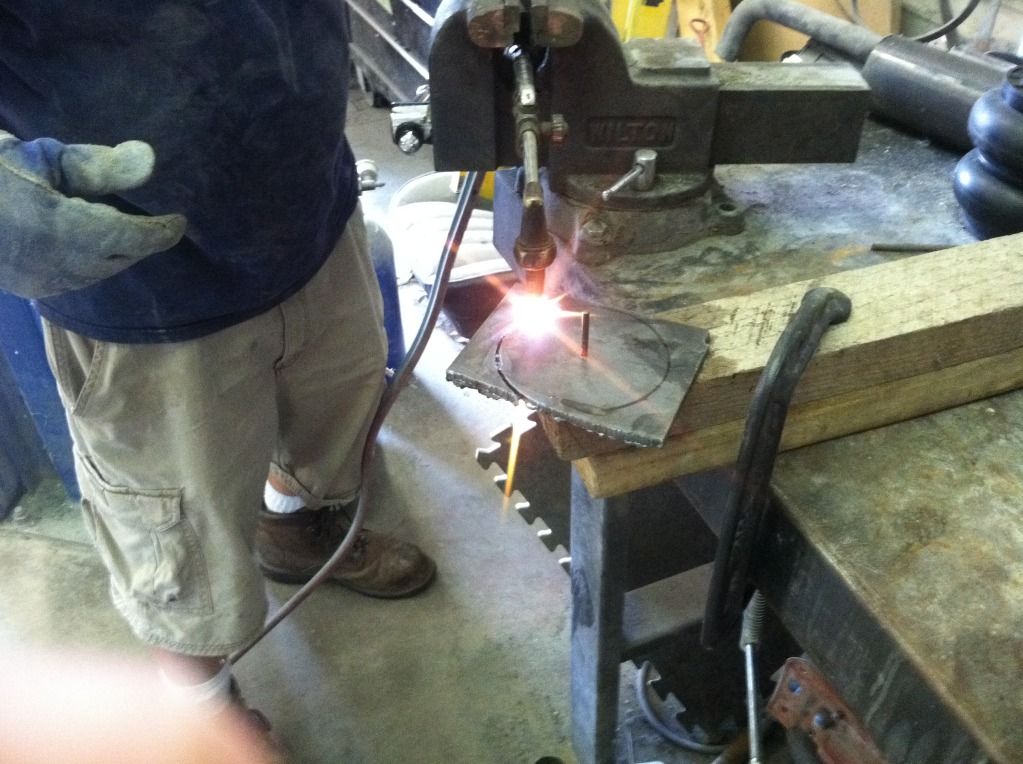 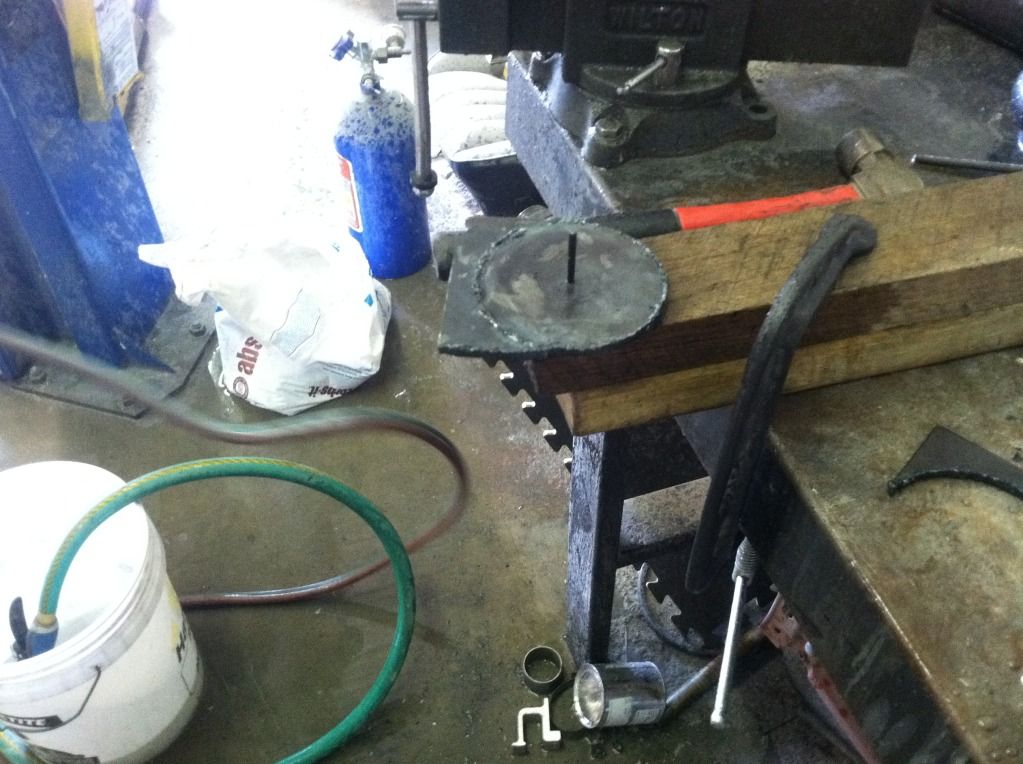 That process gave a circle but it had a lot of waste and slag so we chucked a grinder into the vice and cleaned them up: 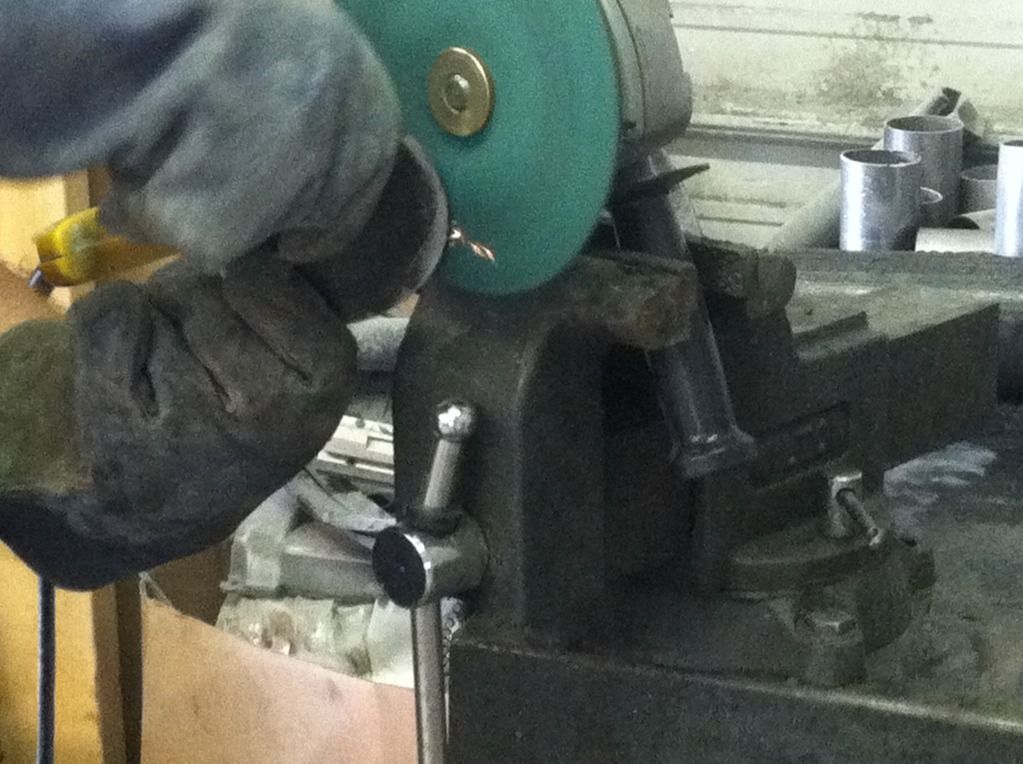 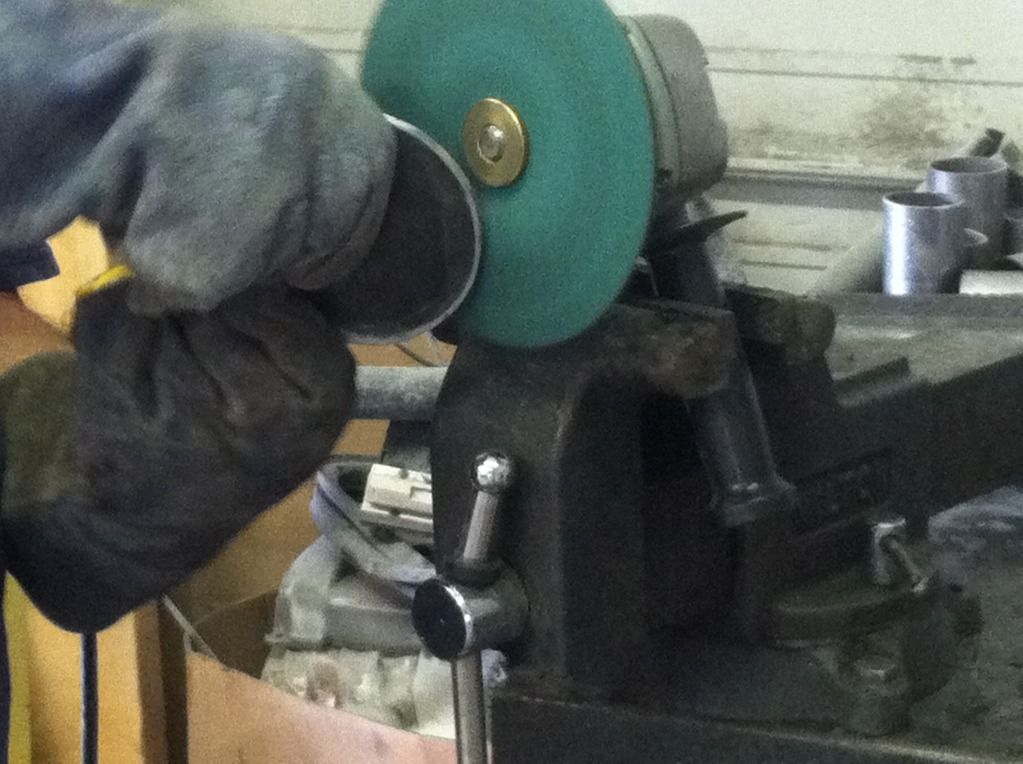 You get something like this: 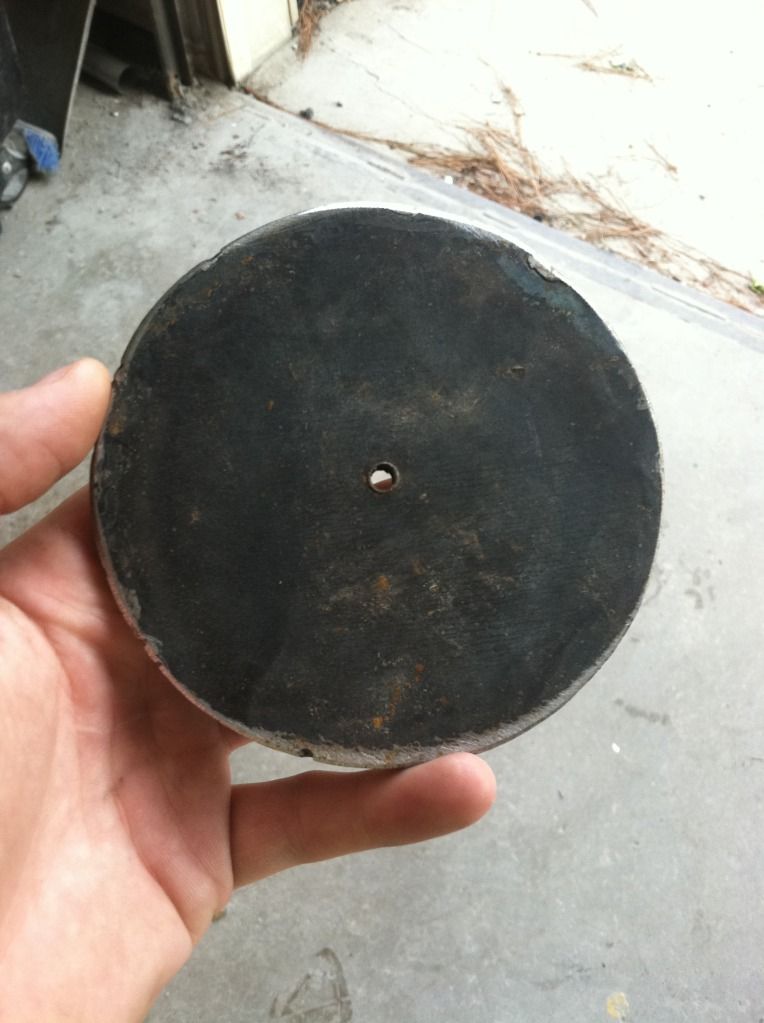 I gave these plates to my grandfather, who has a machine shop. He'll be cutting a notch to allow the air fitting to pass and drilling the holes for mounting bolts. The bottom plate will only be able to have one bolt to mount but has three holes so I'll be welding guide pins for two of the three bolt holes. The top gets two bolts into it and those won't be an issue. The top mount slides over this: 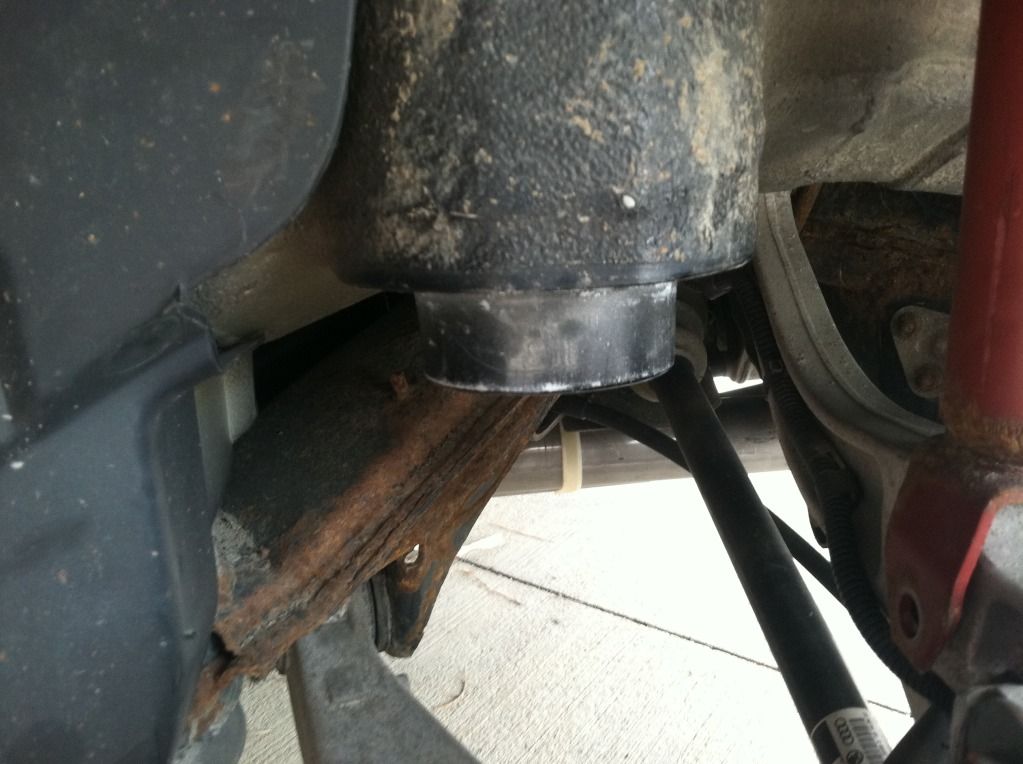 I'm using 3 inch inner diameter Schedule 80 (1/4" wall thickness) here. Cut to 2 inches it slides over perfectly and allows room for the air-line fitting. I may also build a "foot" for the top as well. Unnecessary but a bit wider distribution of weight isn't a bad thing. I'll also be drilling the mount there and passing a stud into the car with a nut and washer on the back to keep everything firmly mounted. I'll update tomorrow with more. Front struts will be here Tuesday- that's when the real work gets done.
|
|
#7
17th September 2012, 11:38 AM
|
|||
|
|||
 Nice work dude..
__________________
Andy. Current cars: BMW i4 M-Sport Peugeot 207 (the sons) Triumph Daytona 675 (2017 reg) =========================== Gone but not forgotten Ford Focus ST-2 Mk3 (the wifes) (stolen Oct 2023) 1972 T2 Bay Window Camper (Slow) Audi TT Mk1 225 - now with coil-overs and a 7inch touchscreen infotainment centre 2003 A8 Sport 4.2 (with ACC & LPG) (Feed up with all the issues so passed it on to a forum member) 2000 A8 FL QS 4.2 (with RNS-E - Nice ) (Engine poorly so sold on to be brought back by someone who has the time)
|
|
#8
17th September 2012, 05:34 PM
|
||||
|
||||
|
Loving your work.
__________________
Conan (the Librarian) Watch it if you dare Currently, 2000 S8, Merlin Purple, Leather Pack 1, Winter Pack 1, SPAX adjustable suspension, AP Racing 6 pot front caliper, 385mm fully floating disks, EBC Yellow Stuff Pads, Black Diamond grooved rear disks and predetor pads, D2 Doctors Brake Block. 1997 4.2 A8SQ - the Projekt. 12 years and ongoing! 1997 4.2 A8SQ - Ming Blue. Restoration sat waiting; saved from the Scrapyard 2003 C5 Allroad 4.2Q - Cobolt Blue. Towing car. Laid up awaiting manual conversion. 2005 C5 Allroad 2.5TDi FE - Grey - Workhorse. 2015 Q3QS SLine - Daytona Grey. Lots of extras! Long Haired Admirals cutter. Previously 2003 C5 A6 1.9TDI FWD - Loaner from D2 Doctor Lifex 1997 S8 - Ming Blue. Loaned out and written off. I loved that car. My first engine swap after cambelt failure. 1996 4.2 A8SQ - Ming Blue. 178k on a cambelt! Trader's 8. Delivered to A8Parts at Lifex. 2003 2.8 A8SQ - powder blueish. Fill in for a while. Sold on. 1998 1.8T A4 Avant FWD. Ming Blue (there's a theme here), PEX for the 97 S8. And a list of non VAG going back 40 years before I saw the light.
|
|
#9
18th September 2012, 03:44 AM
|
|||
|
|||
|
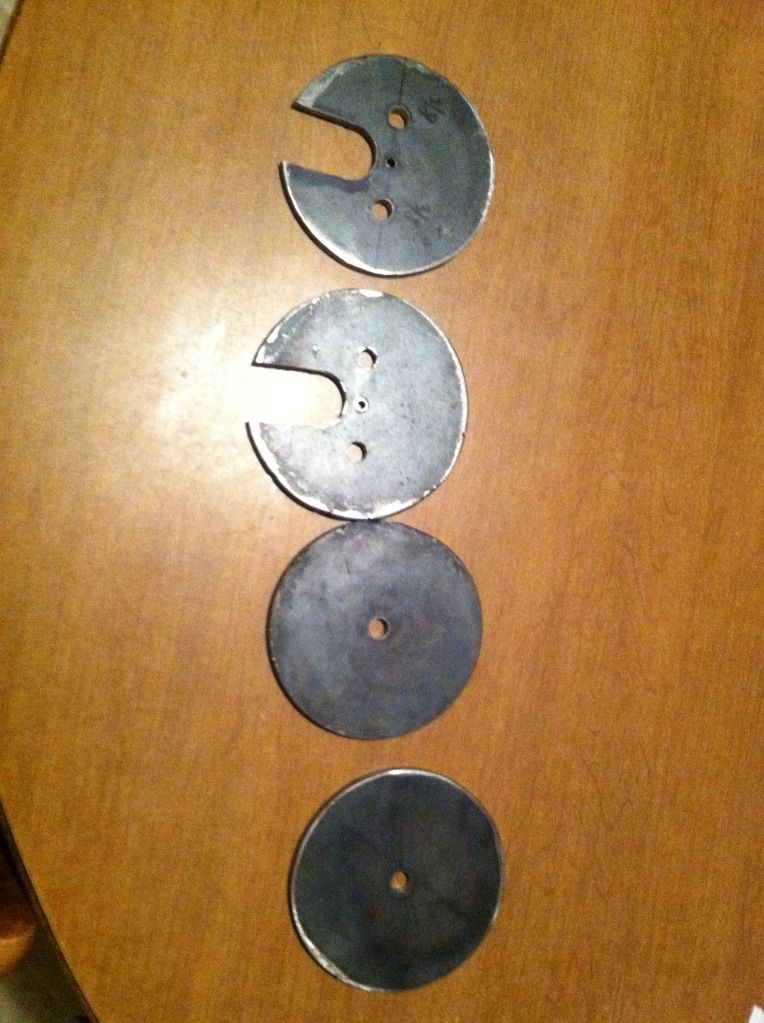
Well, the plates are punched and cut, so here they are:
 In the meantime I decided to build my trunk setup. I cut out a piece of medium density fibreboard first to fit the spare tire well. I then carpeted both sides in an effort to quiet it and to make it somewhat attractive: 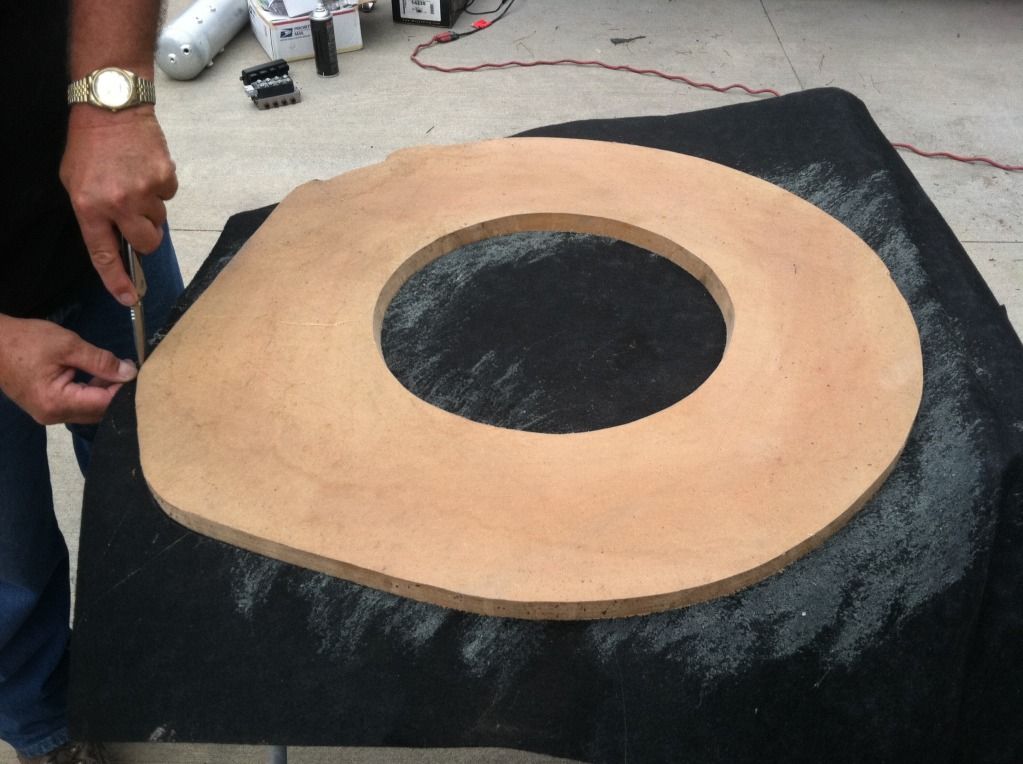 Note that the center bore is cut at an angle to match the taper of the spare tire well. Now I'm placing everything where the spare would normally be in order to keep most of the setup hidden. The tank will be partially visible in the trunk. I initially placed everything like this: 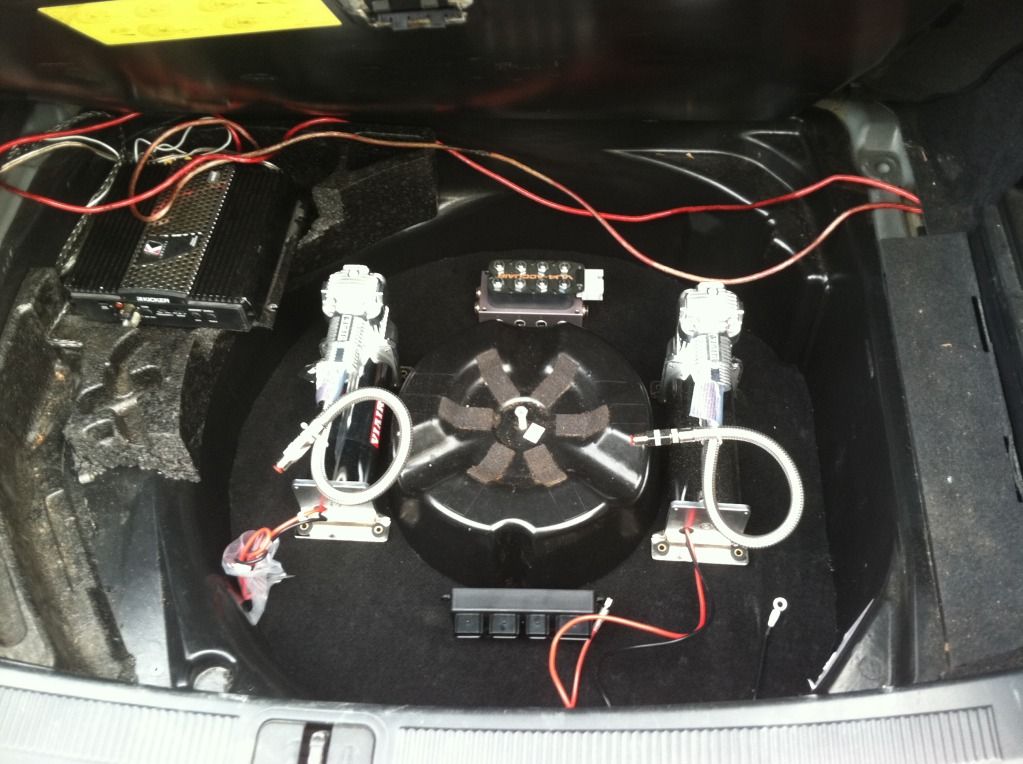 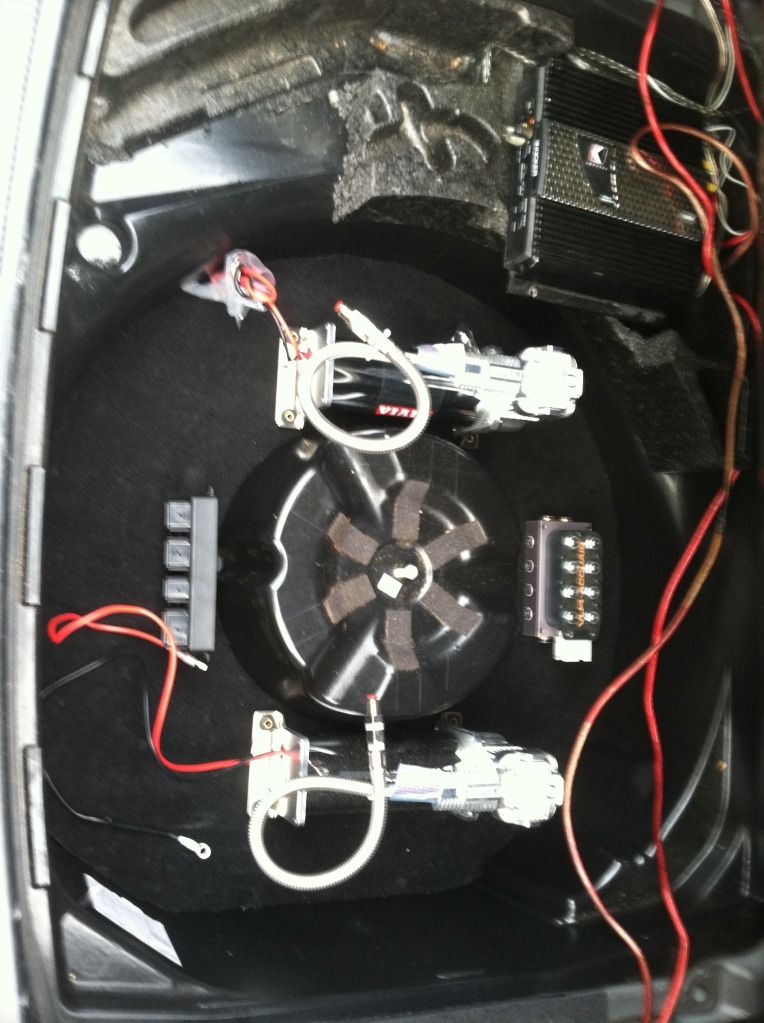 Now that looked good but I realized that it would require running air lines directly into the dual exhaust I'm building. That's no good. I settled on this: 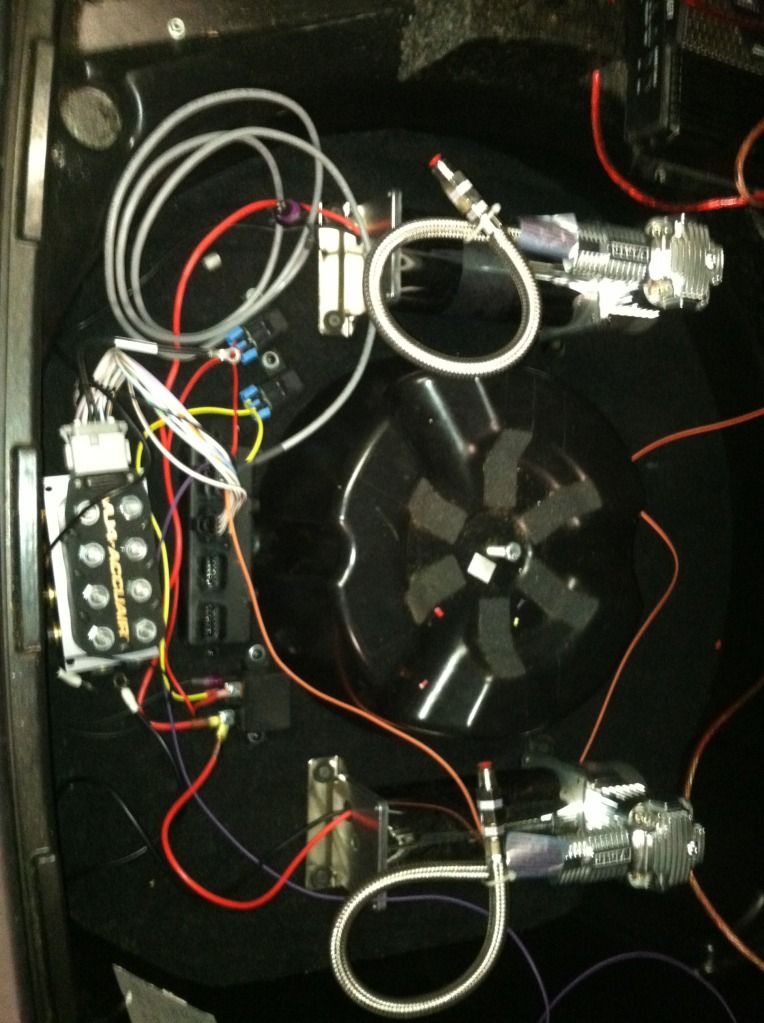 Before everyone asks about all the wiring run all over the place, I'll be taping it or running it through conduit and using some sort of straps or something to keep it professional looking. But, other than grounds and power off the battery, the trunk portion is completely wired. I have to run the controller harness to the front and I have to run the level sensors, But I'll wait to have them placed to do that. Here is the manual that includes wiring diagrams. I won't begin to think I can explain it here. I can give suggestions as to where to wire in the portions of the harness that need to go to existing wiring in the car. Page 4 in particular. http://www.accuairsuspension.com/pro...S4-TPAD_25.pdf Switched power (labeled IGN_12V) I ran to switched power for my amp, which itself is run from switched power on the Bose amplifier. Headlights (labeled Headlights) I ran to the grey w/red stripe wire running to the right side tail lamp. That is on the headlight switch. It allows dimming of the controller pad when headlights illuminate. Grounds I am grouping and running to the negative battery terminal. I look to have the rear brackets welded tomorrow, and front struts arrive tomorrow as well. I MIGHT have the bags on tomorrow, with level sensors following. I will have the wiring more presentable tomorrow. I'll also need to build a platform to mount the tank onto. I'll paint it black for now, but I plan on having a cover sewn in the same leather as my seats (caramel).
|
|
#10
18th September 2012, 04:19 PM
|
||||
|
||||
|
Great work. With regard to your compressors, did you know there is an OEM Audi D2 compressor that runs off the engine? I'm away ATM but when I get by I'll look it up. It was fitted to D2s with self levelling rear suspension. I don't know the specs but it would probably keep your tank topped up.
__________________
Conan (the Librarian) Watch it if you dare Currently, 2000 S8, Merlin Purple, Leather Pack 1, Winter Pack 1, SPAX adjustable suspension, AP Racing 6 pot front caliper, 385mm fully floating disks, EBC Yellow Stuff Pads, Black Diamond grooved rear disks and predetor pads, D2 Doctors Brake Block. 1997 4.2 A8SQ - the Projekt. 12 years and ongoing! 1997 4.2 A8SQ - Ming Blue. Restoration sat waiting; saved from the Scrapyard 2003 C5 Allroad 4.2Q - Cobolt Blue. Towing car. Laid up awaiting manual conversion. 2005 C5 Allroad 2.5TDi FE - Grey - Workhorse. 2015 Q3QS SLine - Daytona Grey. Lots of extras! Long Haired Admirals cutter. Previously 2003 C5 A6 1.9TDI FWD - Loaner from D2 Doctor Lifex 1997 S8 - Ming Blue. Loaned out and written off. I loved that car. My first engine swap after cambelt failure. 1996 4.2 A8SQ - Ming Blue. 178k on a cambelt! Trader's 8. Delivered to A8Parts at Lifex. 2003 2.8 A8SQ - powder blueish. Fill in for a while. Sold on. 1998 1.8T A4 Avant FWD. Ming Blue (there's a theme here), PEX for the 97 S8. And a list of non VAG going back 40 years before I saw the light.
|
|
|
|


 Linear Mode

