
Mmmmmmm home made fried rice and garlic sausages! 
Any way, I also started resembling the front suspension. As it was all off the car it was fairly straightforward. The 2 lower arms went back on before the subframe was refitted. the 2 upper arms were put back in the strut upper bracket before it was put back on the car. No herein lies a problem. You can't get a socket on the rear lower and upper arms bolts to torque them up when they are in the car.
See here

Bolts 5 and 23.
Here they are on the car
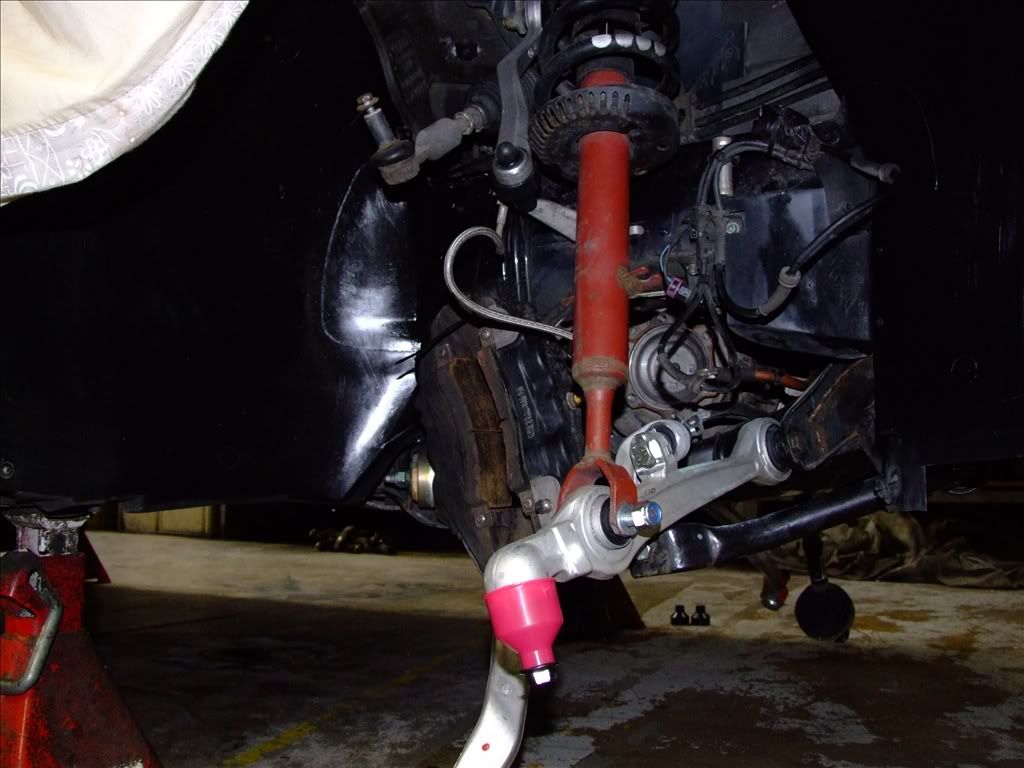
The problem is that are to close to the bodywork. So how do you torque them up to the 90Nm and 90° when you can't get a torque wrench in.
It's common knowledge that the suspension components should be torqued up when the are under load to avoid any pre-loading of the bushes.
After lots of discussions with some Navy engineers there are 2 possible ways to achieve this.
Method 1 - (long Winded) Rebuild suspension. load it up by putting and axle stand under the hub carrier and allowing the weight of the car to come on the suspension. Torque up all the control arms you can and mark the position of the control arms you can't so that after a further dismantling you can line up the control arms and torque them up before putting them back on the car.
Method 2 - (Quicker but less accurate) Practice torquing up the bolts when off the car and undo and redo them using a spanner. Check with your torque wrench. Once you are happy how much effort it needs, reassemble on the car, tighten with the spanner until you think you are there then do a further 90° and mark up the nut, washer and arm with a dash of paint and monitor.
Method 2 was the method I used.
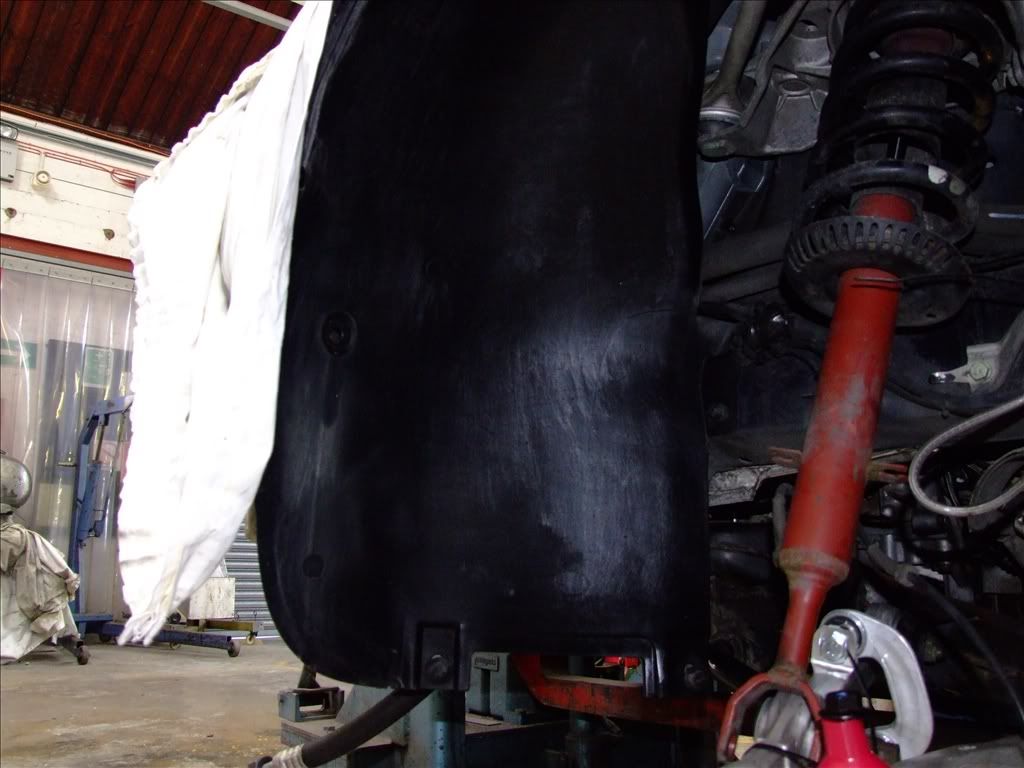
A gratuitous picture of the state of the inner arch after I used W&D to remove the paint...
More tomorrow when I will mostly be attaching things and filling things with liquid and maybe electrifying things.
Disclaimer:
I really am stumbling along blindly with any person living or dead who will talk to me. Anyone who uses this work which is nobody's intellectual property maybe certifiable! :P
__________________
Conan (the Librarian)
Watch it if you dare
Currently,
2000 S8, Merlin Purple, Leather Pack 1, Winter Pack 1, SPAX adjustable suspension, AP Racing 6 pot front caliper, 385mm fully floating disks, EBC Yellow Stuff Pads, Black Diamond grooved rear disks and predetor pads, D2 Doctors Brake Block.
1997 4.2 A8SQ - the Projekt. 12 years and ongoing!
1997 4.2 A8SQ - Ming Blue. Restoration sat waiting; saved from the Scrapyard
2003 C5 Allroad 4.2Q - Cobolt Blue. Towing car. Laid up awaiting manual conversion.
2005 C5 Allroad 2.5TDi FE - Grey - Workhorse.
2015 Q3QS SLine - Daytona Grey. Lots of extras! Long Haired Admirals cutter.
Previously
2003 C5 A6 1.9TDI FWD - Loaner from D2 Doctor Lifex
1997 S8 - Ming Blue. Loaned out and written off. I loved that car. My first engine swap after cambelt failure.
1996 4.2 A8SQ - Ming Blue. 178k on a cambelt! Trader's 8. Delivered to A8Parts at Lifex.
2003 2.8 A8SQ - powder blueish. Fill in for a while. Sold on.
1998 1.8T A4 Avant FWD. Ming Blue (there's a theme here), PEX for the 97 S8.
And a list of non VAG going back 40 years before I saw the light. 
Last edited by Conan_the_Librarian; 28th April 2009 at 05:58 AM.
Reason: Error correction
|