 |
|
|||||||
| D3 - Interior Trims Seats, dashboards, plastics, everything inside the cabin |
|
|
Thread Tools | Display Modes |
|
#1
|
|||
|
|||
|
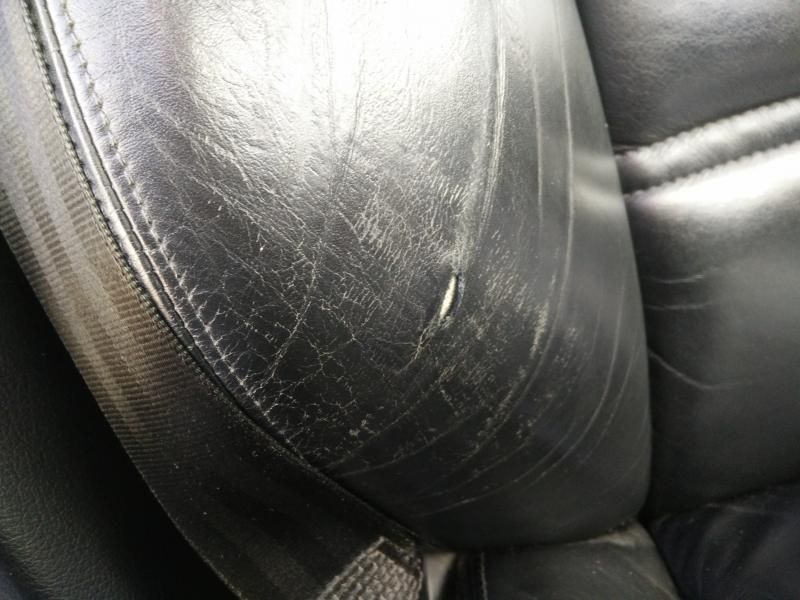
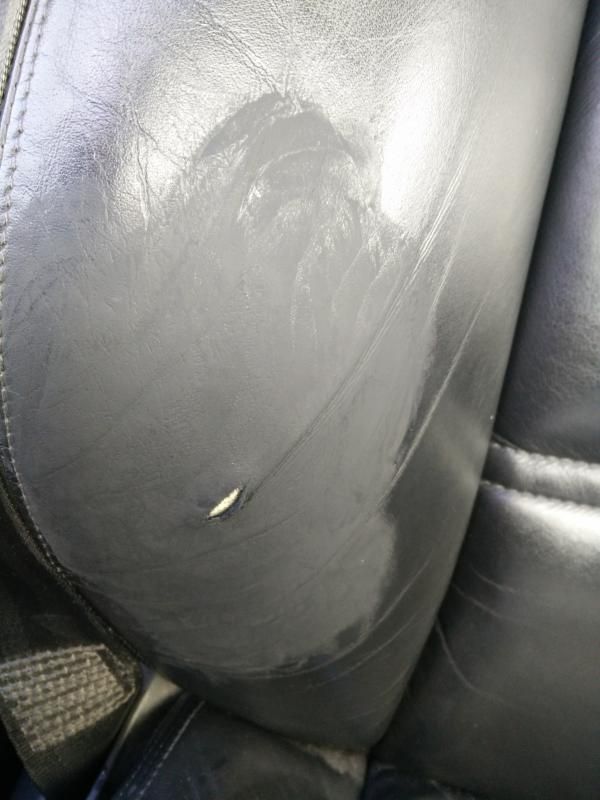
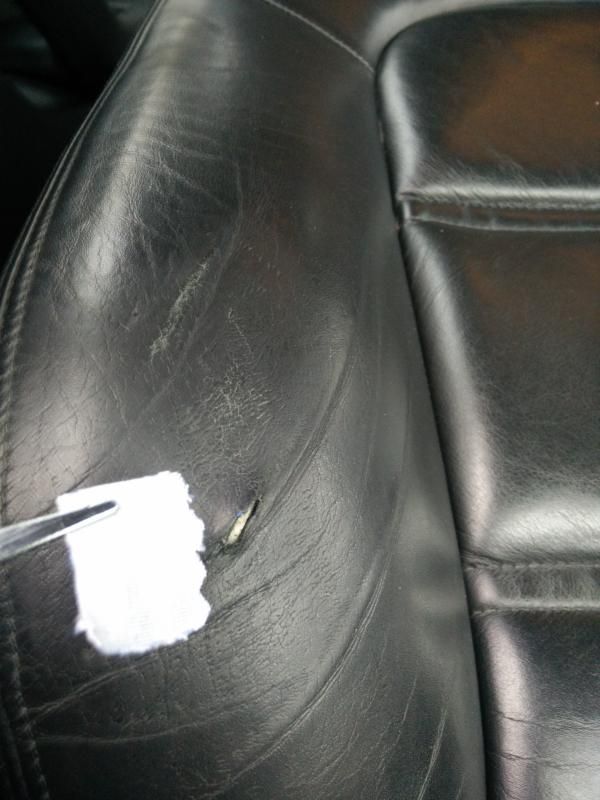
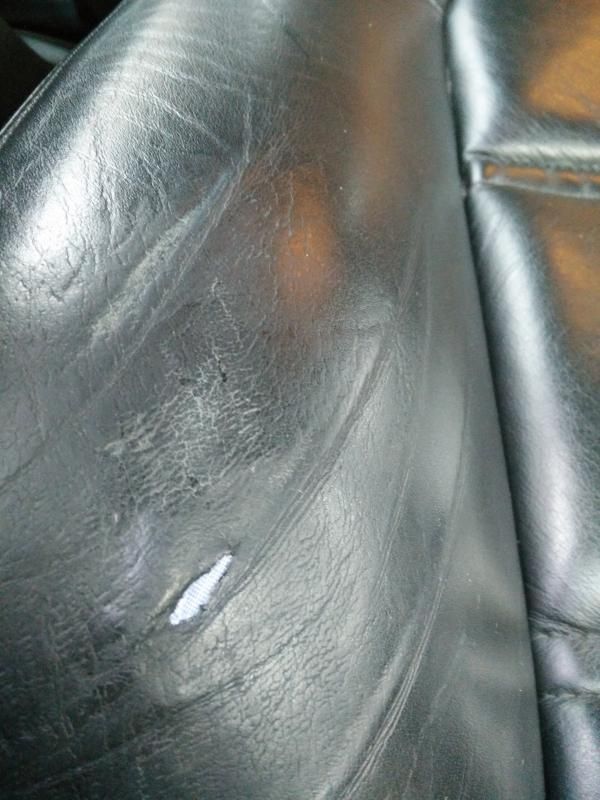
Drivers seat has a small hole. I tried unsuccessfully to seal it last autumn and didn't do the best of jobs with covering it over with a Woolies kit afterwards, so I thought I'd have another go.
I'm not particularly 'handy' so I'm sure I've achieved the lower end of whats possible but I'm happy(ish) so thought I would share. First the kit, there's loads to choose from I bought this one for £15.00, helps I guess having black leather. Took a couple of weeks to get it (first one lost in post apparently) but their CS was very good.  Next the hole  After my bodge with the Woolies kit I attacked the area first with 2000 grade wet and dry (not supplied). I generally blame Marcin for what is becoming an obsession, he suggested I gave my headlights the once over with some and the result was a revelation so everything gets sanded now!  Then a clean up and put the repair patch in place  Once its in place glue the repair patch to the back of the leather.  Fill the hole and leave it to dry  Add the colour, let it dry and finally put on the protector. The colour comes with a 'duller' and I used too much (you're supposed to test it, leave for 24 hours etc... I didn't ... it was too dull) so a quick once over with some boot polish was needed.  It looks quite good IMO. The photo makes it look lumpy to the left of where the hole was which I didn't notice until I took the photo.... I'm guessing I rucked something up behind the leather. In real life it doesn't show anywhere near as much, not sure what I did tbh. |
|
|