
 |
|
|||||||
| D3 - Lights Headlights, xenons, foglights. Everything outside the car that glows |
|
|
Thread Tools

|
Display Modes

|
|
|
|
#1
|
|||
|
|||
|
Non xenon lights on mine but they have projectors so I wanted to upgrade clearly, my lights were always really good and functioned well I had no complaints over the light output, but that yellow tinge, please ��
So I read a million how to's and opened many stickys, I must say the stickys on here are dreadful. Major update needed. Anyways...... FOG LIGHTS. We all know what's involved here, I started with the fog lights and they was dead easy, pulled the covers off, removed 3 torque screws and the light was out, I then removed the back cover and pulled the wires off, replaced the bulb and simply replaced in reverse order. Nice and simple, makes a wonderful upgrade. MAIN HEADLIGHTS. We all know these are horrible to replace even the side lights and full beam are accessible but still tricky, so airbox off, then everything just pops off..... Covers removed and then you'll see the sidelights and full beam bulbs, sidelights simply pull off and no leds work here, unless you get involved with resistors and that's just annoying, so went with normal bulbs but xenon gas filled and a blue glass so they work a treat. The full beam bulb simply twist and pulls out, I found it pretty tricky to get out but it does come out. Then replace as normal, remembering not to touch the bulbs here, gloves or tissue paper are the best. Then put the cover back on, I used a flat blade to push down and pop the covers off. The other side is exactly the same but you have a power steering black box there. Moving it out the way makes 0 difference like 10mm at best just leave it alone. You can remove the bulbs easily enough with it in. Now the main bulbs behind the projectors. Drivers side was easy to do as its all accessible so pull and twist like the other bulbs. Again remove the cover and the small torque screw ontop first. Make note of the tab location so it goes back as it came out. Passenger side is the tricky area as its has everything in the way, I read removing bumper and wheel off, arch liner removing etc etc.... No1 wants the do that so I put it in lift mode, turned the wheel so I could remove the screws on the arch liner, all the obvious ones on the bottom, one push Clip in the middle and two near the very top.... Pull it down enough so you see the back off the bulb..... I used a stubby screwdriver as access on my lowered car is tricky. You normal height guys might get away with a big screwdriver. So it now looks like this. 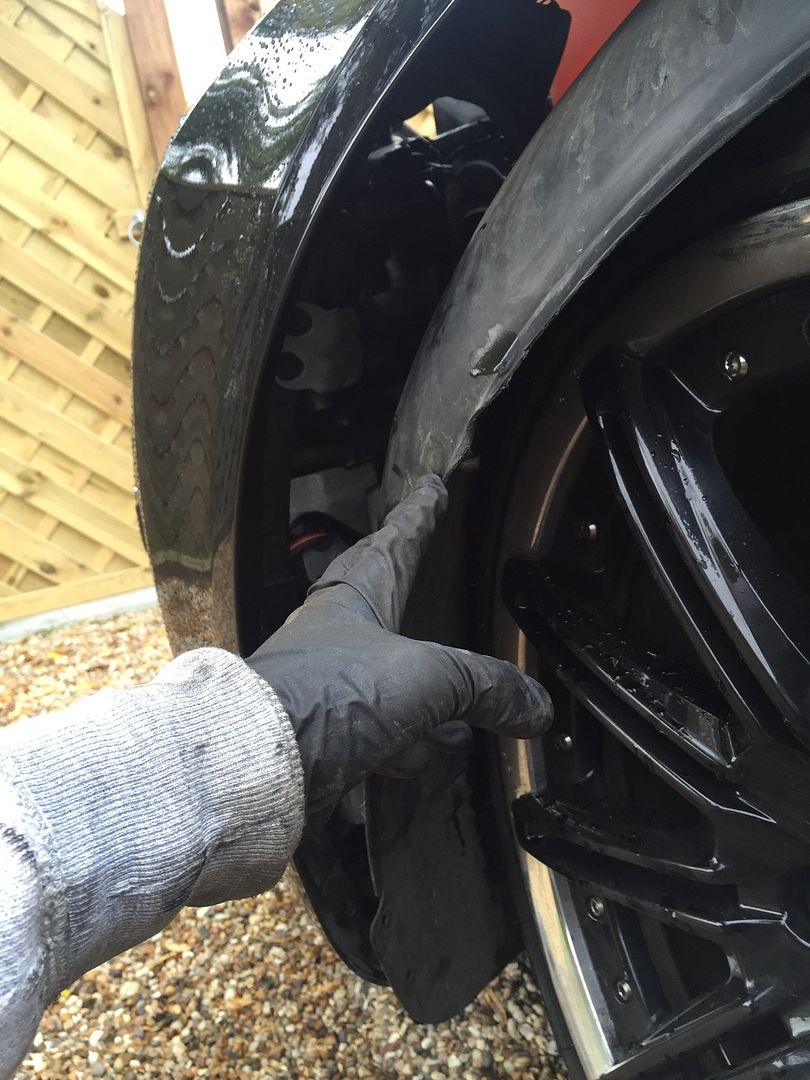 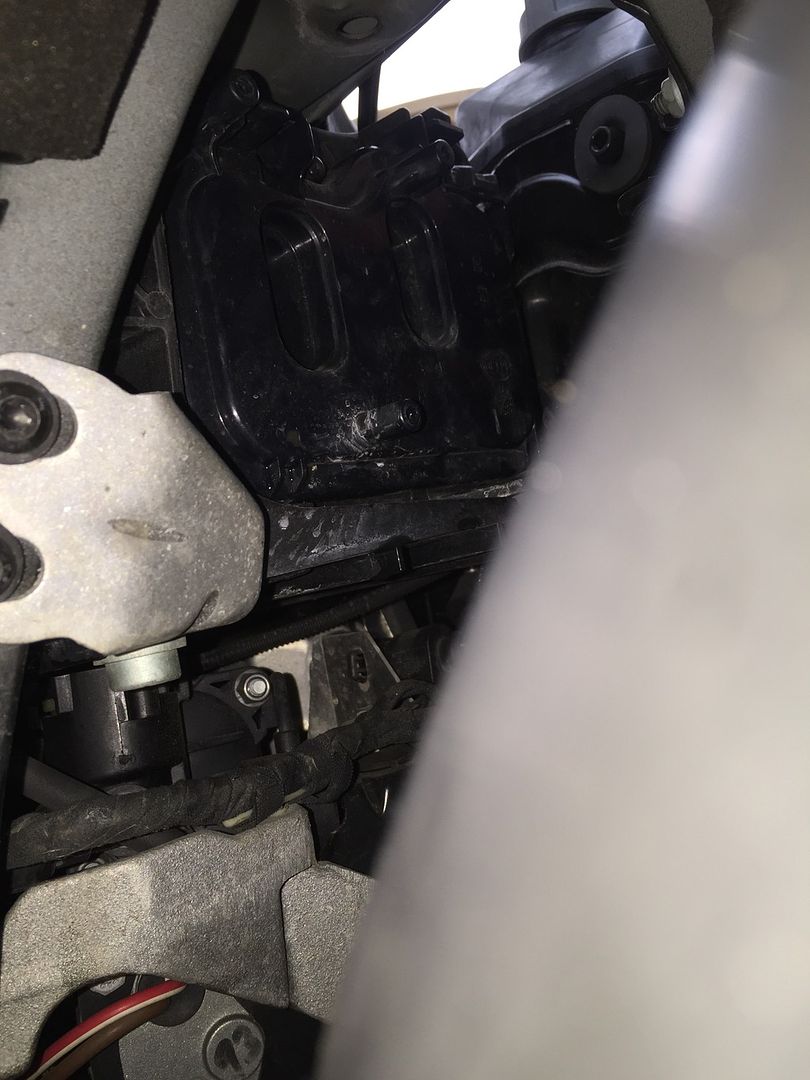 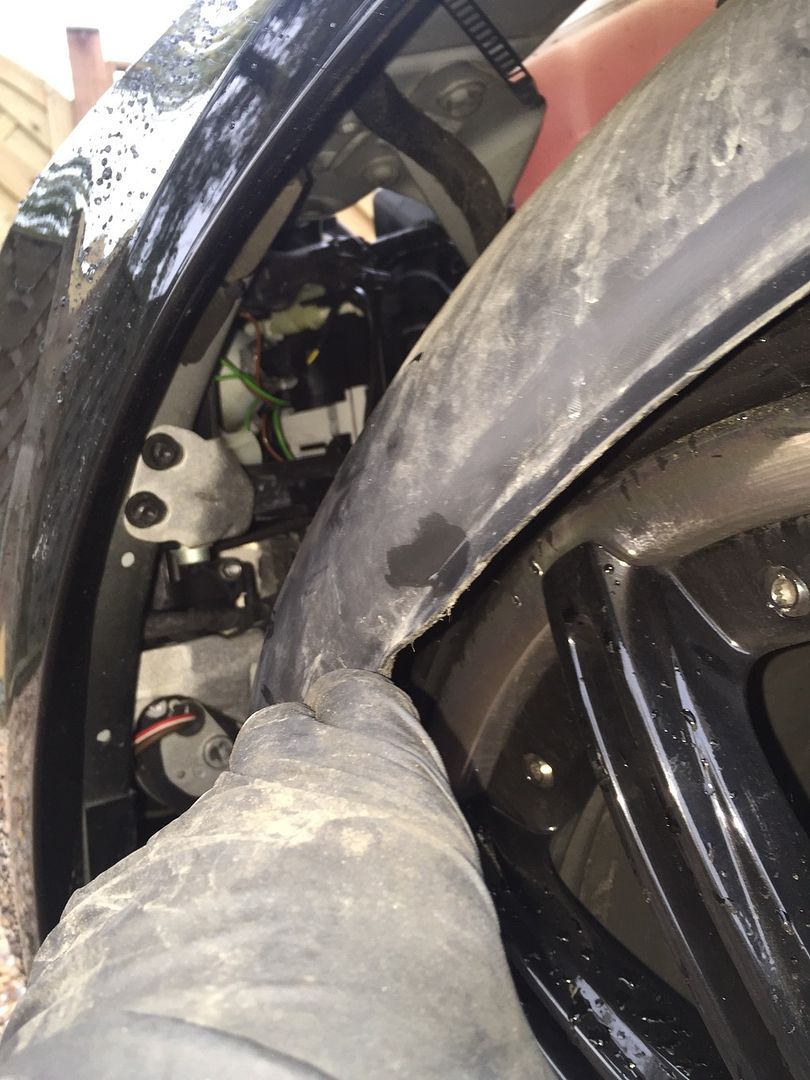 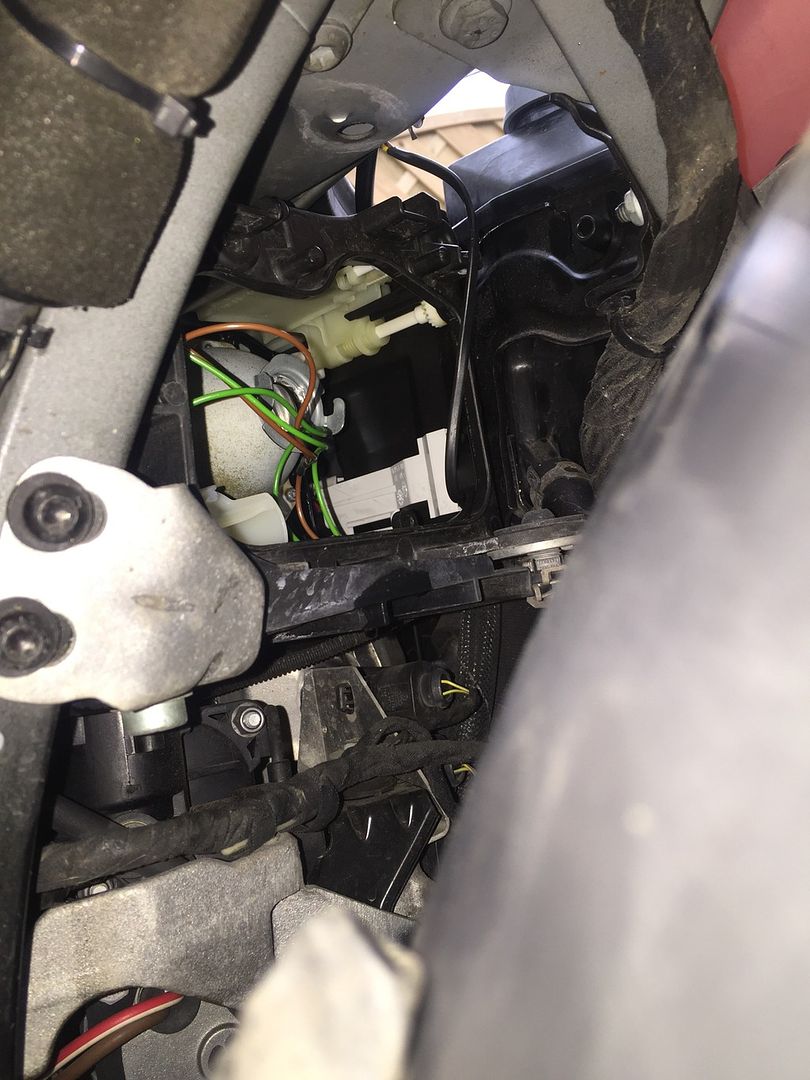 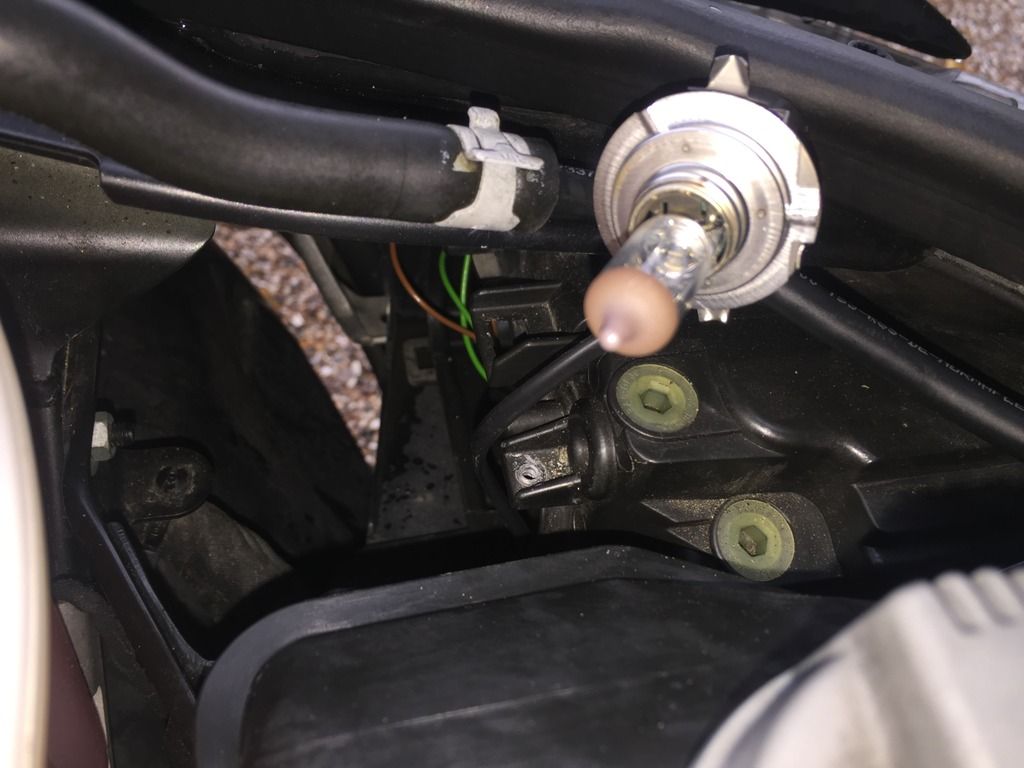 There's your bulb, twist and pull and pop it up into the engine bay, easier to get the bulb out, wiggle and pull noting the way it came out. Wiggle it back down into the arch and refit as a reverse. Job done. 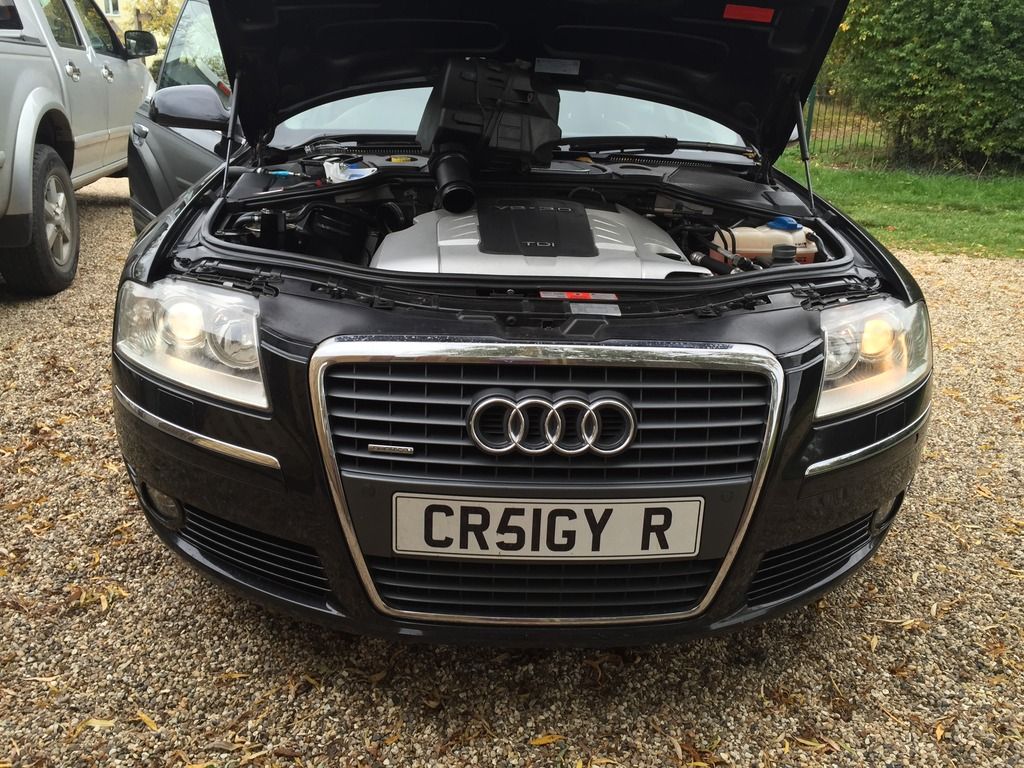 The difference is unreal. I used Phillips diamond vision 5000k on the fog lights and main beam, Phillips ultra vision 130% full beam and w5w wedge gas blue 4600k rated sidelights. All in all a good upgrade. As you can see. Also raised the lights so I can see a tad further as I'm lowered more on the front it dips down. Any questions feel free to ask. Last edited by CR51GYR-A8; 24th October 2015 at 04:14 PM. |
|
|