 |
|
|||||||
| D2 - Fuel and Exhausts Everything to do with getting fuel into the engine, and fumes back out again |
 |
|
|
Thread Tools

|
Display Modes

|
|
|
|
#1
|
|||
|
|||
|
Quote:
I don't have a welder and don't have a drill press. So I can't take a metal bar to weld two bolts to it or take a metal bar and drill two holes to fit the bolts though. I guess I'm going to have to buy the tool. |
|
#2
|
|||
|
|||
|
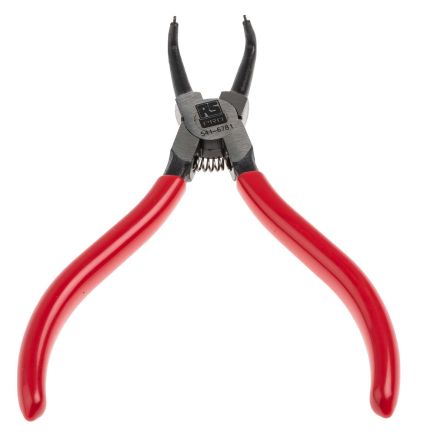
This is what I use:
 Lube sometimes helps too - I tend not to use WD40 on o-rings or plastic, but some sort of light oil maintenance spray which is thin enough to soak down the cracks would help. |
|
#3
|
|||
|
|||
|
I used cordless drill and and bolts with nuts,
__________________
Currently 8less 2011 Q7 S Line 3.0TDI, 2016 Tesla Model S 90D 8 history: 2006 A8 Sport 4.2TDI quattro SOLD, 1997 S8, reached end of life with gearbox failure |
|
#4
|
||||
|
||||
|
This solution cost me a few dollars from a hardware shop. No tools or welding required - just a measurement or two. Ok, I lied - I did have to file the channels in the angled metal a little.
Did you read the notes that I posted? Click here . . .
__________________
1998 D2 S8 Jaspis Green Last edited by C4R 100N; 19th May 2020 at 08:36 AM. Reason: added notes link |
|
#5
|
|||
|
|||
|
If anyone's interested. Just recently did this and that video wasn't much help at all. There's a youtube video tho in Russian, which shows... exactly how it's done. Slow it down, watch it a few times and, worked for me. One thing about that seal and cap, I found it's much easier if you lube up the large ring and cap threads with silicone lube, will allow smooth seating of the ring and tightening of the cap. Really don't need the special took for the cap, just tap it down with small hammer and maybe hard piece of wood so as not to damage the tabs? Needs to be quite snug or you'll get leaks and be smelling fuel. Mine wasn't tight enough, had to take it back out and lube up the parts, went smooth after that.
|
|
#6
|
|||
|
|||
|
You really don't want silicone grease anywhere near fuel, even small amounts of silicone can contaminate O2 sensors and cats and prevent them from working correctly, engine oil would be better bet.
__________________
Currently 8less 2011 Q7 S Line 3.0TDI, 2016 Tesla Model S 90D 8 history: 2006 A8 Sport 4.2TDI quattro SOLD, 1997 S8, reached end of life with gearbox failure Last edited by ainarssems; 29th July 2020 at 02:49 AM. |
|
#7
|
|||
|
|||
|
How tight does the fuel pump lock ring have to be?
This picture of the lock ring was taken before I removed the lock ring and you can see the yellow marks that I made for reference points before removal. I'm trying to finish up reinstalling everything and as you can see in this picture the yellow marks are not lined up. To me it feels like I have the lock ring pretty tight but as you can see in the two comparison pictures that the lock ring reference marks are not in line from when I originally made the marks. I have another issue where I can't get the left side fuel float to sit down in the hole flush. When I push down it seems like it's bind up against something? Any tips on getting this installed correctly? Last edited by Audifan; 9th November 2020 at 10:28 PM. Reason: switched pictures to attachment |
|
#8
|
|||
|
|||
|
Any tips for properly installing the left fuel float?
|
 |
|
|