Current state of the CR-10S:
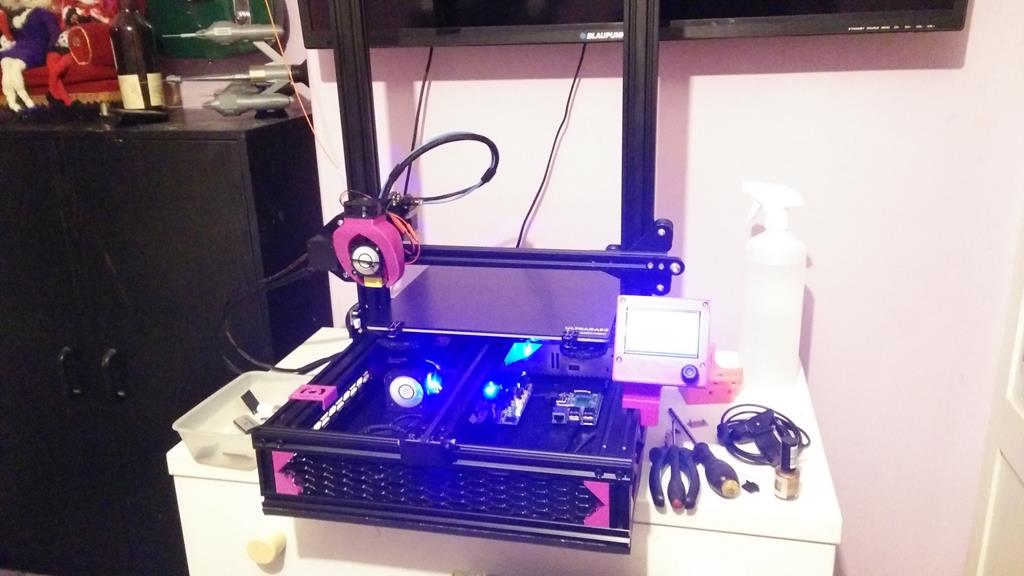


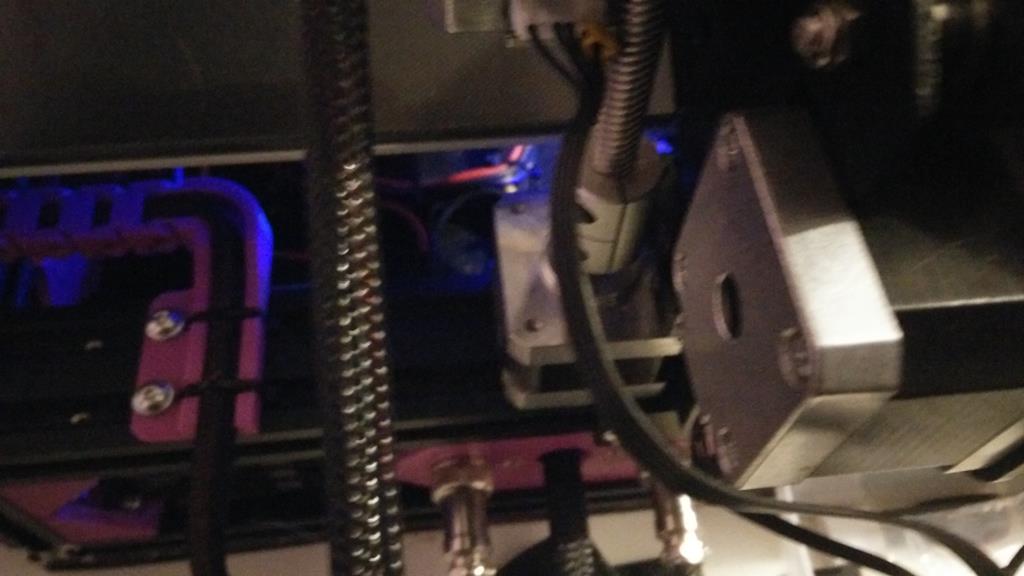
Fully self-contained now with all the electronics in the base, including a Raspberry Pi 3 which was supposed to be running Octoprint. More on that later.
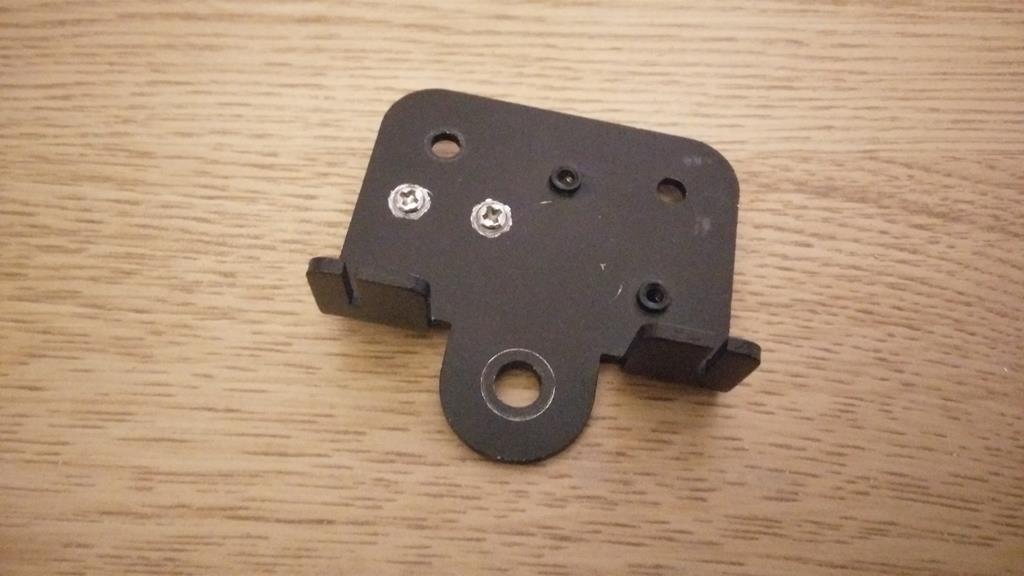
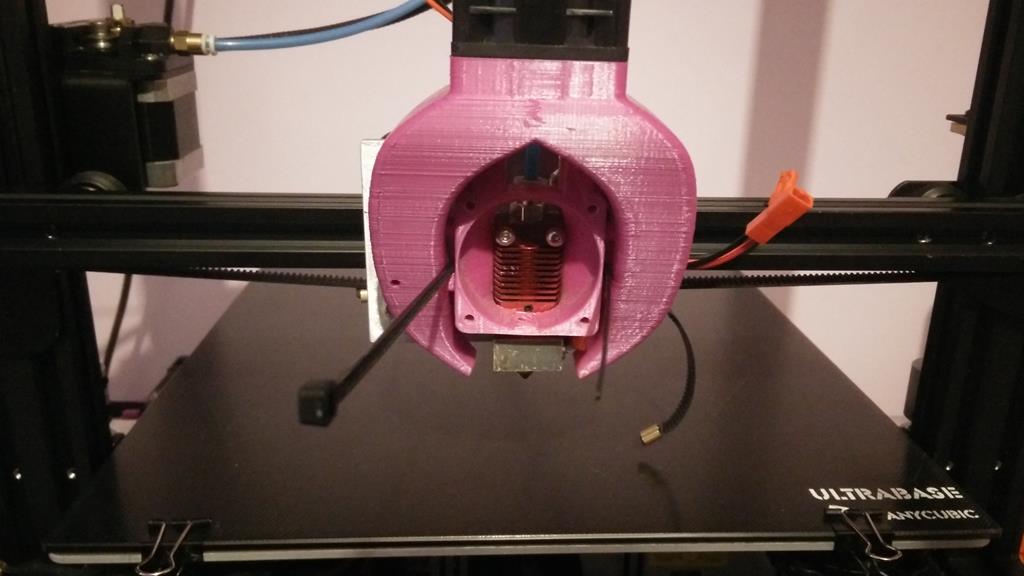
The X carriage broke again. Turns out its actually from the nozzle running over blobs of filament when its messed up a bridge etc. The hard plastic simply pushes the nozzle out of the way, and the X carriage is the weak link so it breaks the studs off. This is my temporary repair from last time which has now worked loose again:


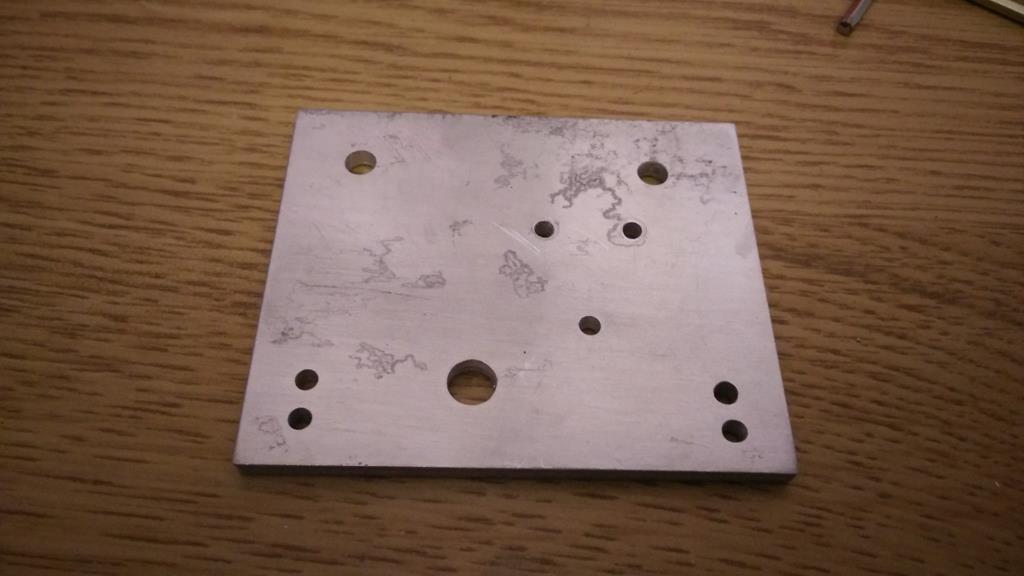
Enough of that. I made a new piece from 4mm aircraft-grade 7075 aluminium plate:
I also made a support bracket / spacer thingy which spaces the hotend off the plate and supports its base. The groove is for a cable tie. I made this in the mill.


Installed
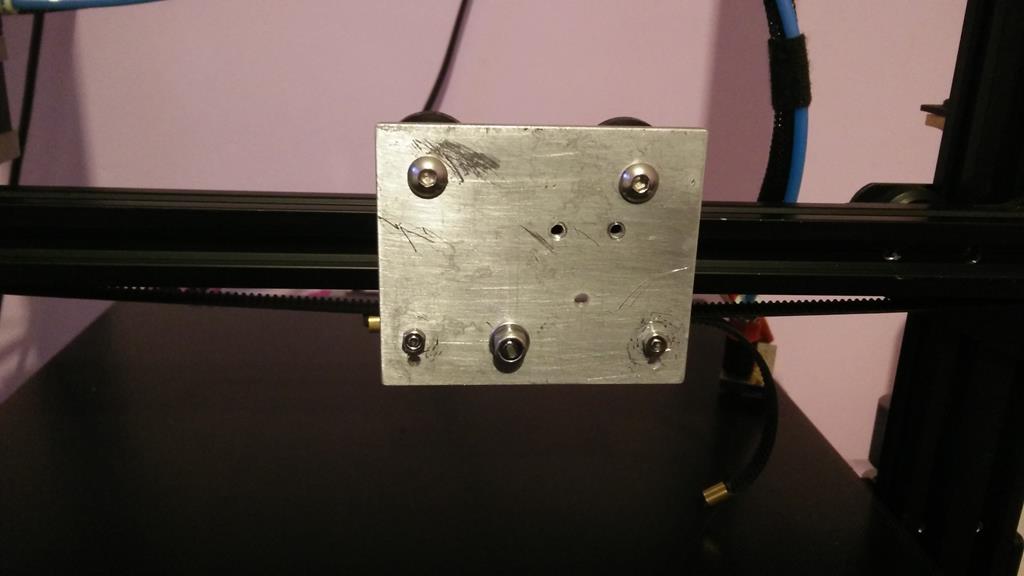

This is so much more stable than the original! The belt is cable tied to a bolt for now. Not ideal, but it got the printer running again.
I'm currently printing this to hold the belt properly:

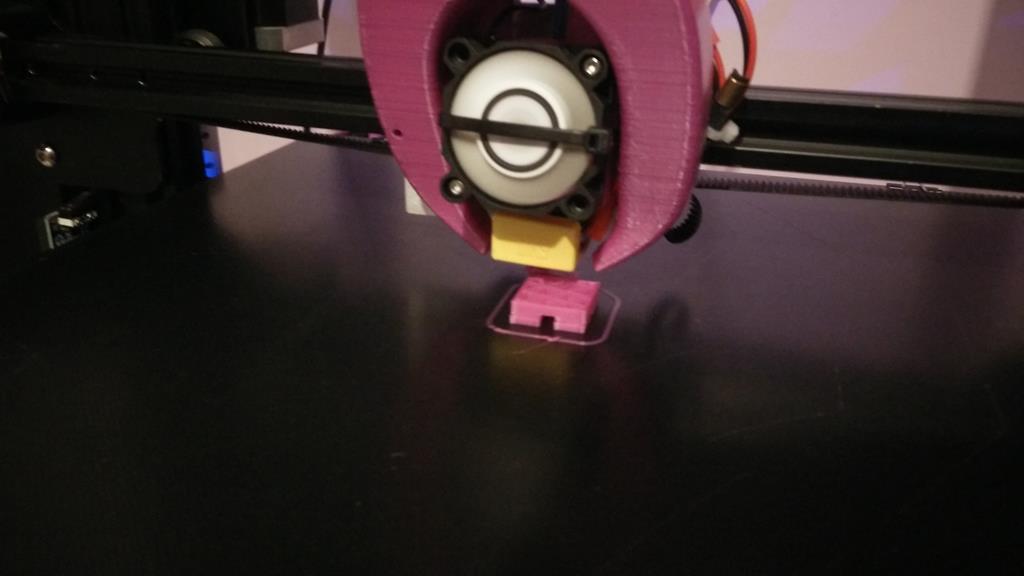
The part cooling fang is held on with a cable tie. I was going to do something fancy bolting the fan right through in to the X carriage, but actually it doesn't need it. The cable tie holds it all still just fine. I might tidy it up in the future when I'm at a loose end...
Printing again! Much better quality than it has been doing for a while too.
I also had a cunning plan to solve the Z height misalignment issue I've been having. I homed the Z axis and straightened the Z couplers up so the slot is parallel with X. This took about an hour to get right! But, once I had both couplers parallel and the X carriage perfectly level with the frame I levelled the bed and did a test print.
The couplers were set like this before printing:

Re-homing after a print the right hand coupler ended up like this:
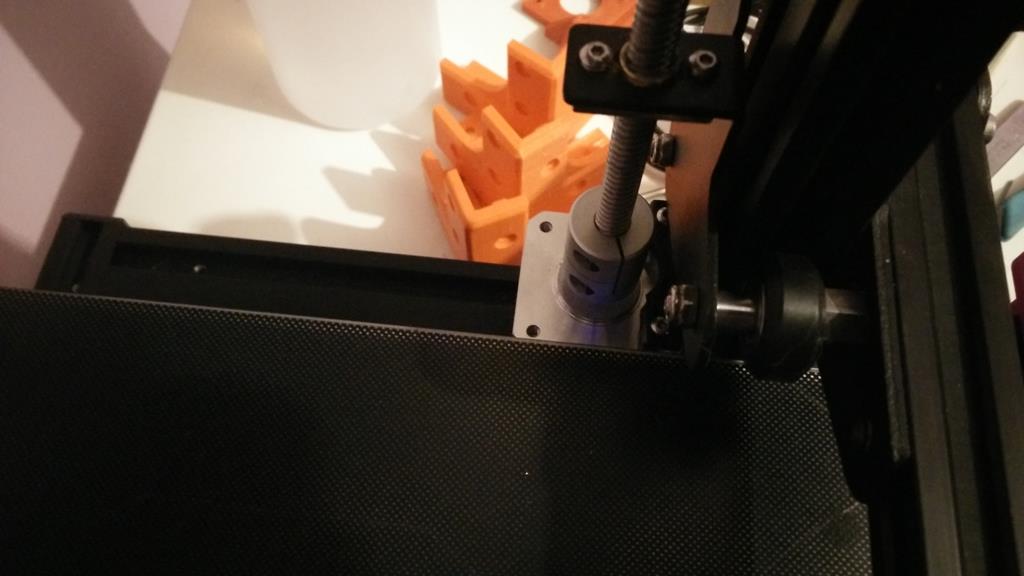
All I have to do now is home the printer before a print and then manually straighten the right hand Z coupler, then I know its in the right place and I can start the print
