
|
|
|
|
#1
 7th January 2021, 08:53 AM
|
|||
|
|||
|
OK, you gave me your time. I give you a follow-up and some pictures
 So, the alternator gave up and I ordered a new alternater + a belt tensioner that I suspected to be bad. Unfortunately I missed to order the two gaskets for connecting the cooling to the alternator. Wasn't worth chancing re-using the old ones. Christmas Hollidays messed up the delivery so first chance to take on the job was this week. I don't have that much experience working with cars but this kind of job is more of a tear-down-replace-rebuild job. I have removed the front wheel house liners + front bumper a couple of times but not more than that. Started the job before Christmas by printing the necessary guides from ElsaWin. They are pretty OK but the main problem with all these guides is that you sometimes have no clue where a part is situated. Even with a detailed figure it is impossible to locate the area. I used one evening to prepare for the work and to do as much as possible up until removing the lock carrier which required a few more hands than I possess. Yesterday I started from that point. Everything took it's time but no major problems or stuck screws. Had to be creative to remove one of the screws on the motor torque support (welding a handle to a allen wrench). Also I found that some steps in the guide was easier to carry out in a different order. With the front off, I got confirmation on the broken belt tensioner. Corrosion had cracked the spring mount. After removing the belt, the source of the noise was obvious. The alternator was really hard to rotate, bearings probably worn out. I replaced it with a new third-party one (yeah, don't plan to own this car forever). The swap and the following re-build of everything was actually really pleasant. The re-build wasn't made in the exact reverse order because I wanted to get the coolant system together to find any leaks early. Used a chineese kit for vacuum refilling. That was a first time, worked out really well. Then put the system under pressure for the rest of the work time to ensure no leaks. When everything related to the engine was in place I started her up and ran through the recommended steps for bleeding the coolant system. Engine sound was back to normal and alternator was charging as it should according to VCDS. Finally put the bumper + wheel house liners back and then cleared all fault codes caused by battery disconnection. Took her for a 15 minutes ride and again checked for fault codes. Seems fine. Really fine. Me happy A few thoughts: - Is there any good way to locate different things in the car? I mean, it took me 10-15 minutes to locate the darn front airbag sensors event though I knew they would be somewhere in the lock carrier. - A bit strange that the alternator failed both in bearings and in charging functionality (diodes?) at around the same time. Five pictures from yesterday:  Lock carrier removed 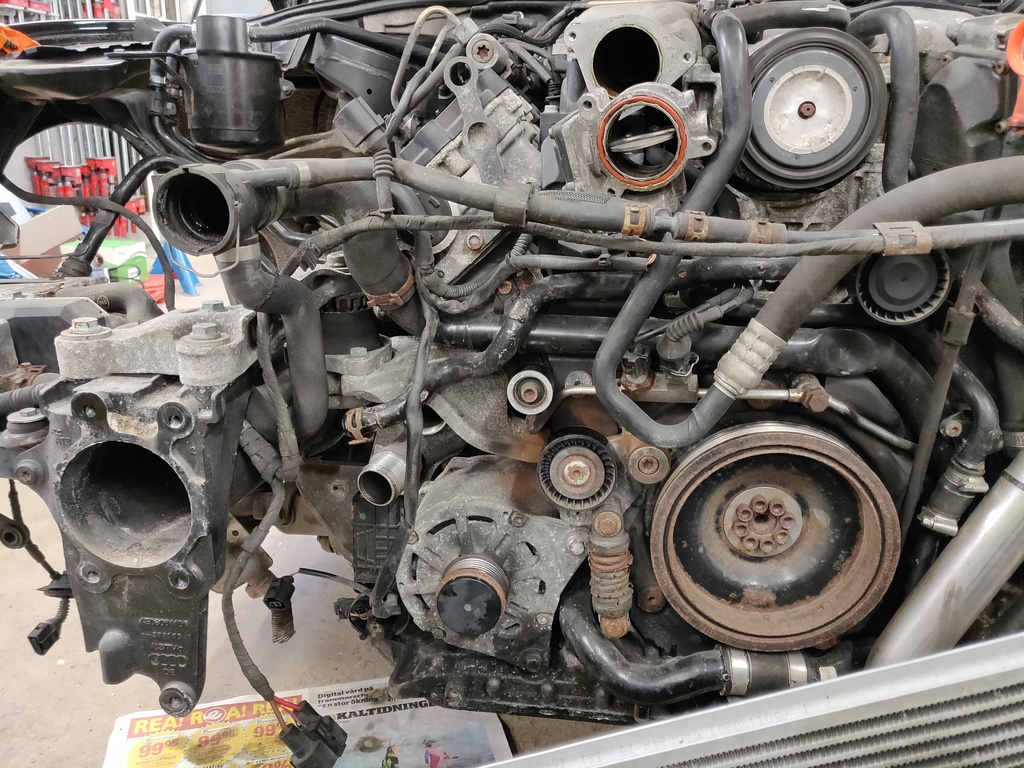 Closer view 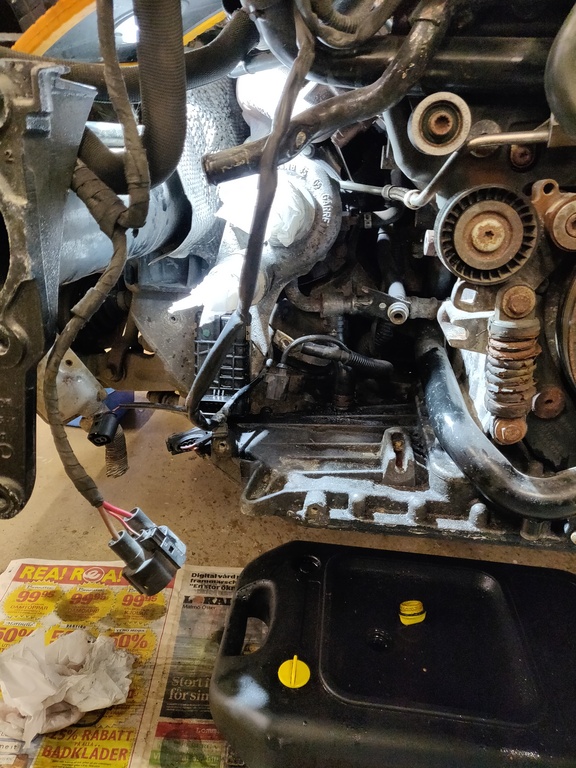 Alternator removed, note the belt tensioner  The darn thing removed. 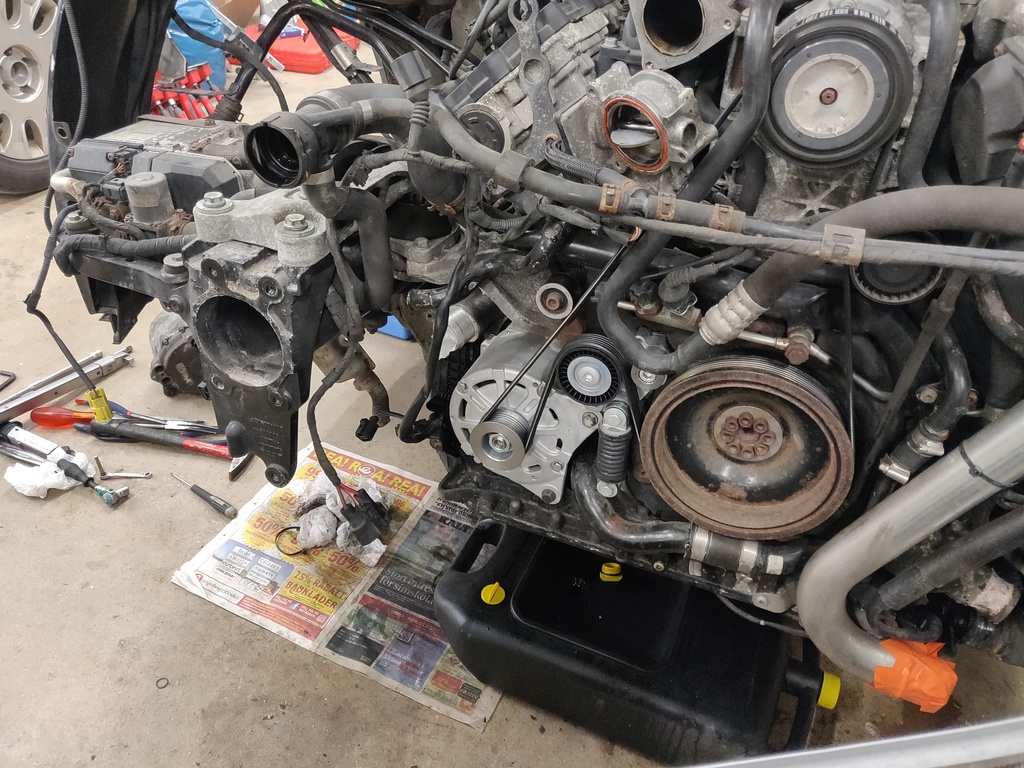 New alternator, belt tensioner and belt in place Thanks for answering my questions. Let's see what's up next 
__________________
2005 A8 D3 4.2 TDI Engine: BVN, Gearbox: JEF, Colour: Z9Y Phantom black pearl effect, Interior: Amaretto brown with alcantara headliner 
|
 |
|
|


 Hybrid Mode
